How to Install & Play Pokemon GO on PC with BlueStacks

Update: We have released a new version of App Player specific to Pokemon Go
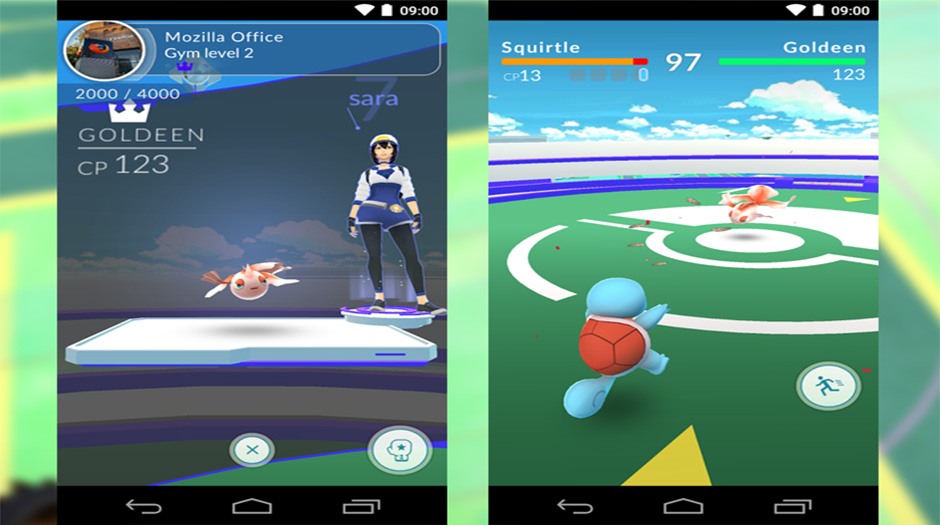
Everyone is raving about Pokémon GO, an augmented reality game to get out in the real world to and collect virtual Pokémon characters. Although our BlueStacks app player is based on the PC or Mac, it does not limit playing the game on an emulator. There are several valid use cases for this; try it out before going mobile, collect all characters from the comfort of your desk versus walking around to find them, or it can be used to cheat within the game.
Before we continue we want to acknowledge full disclosure that this is against Niantic’s terms of use of the game so use at your own risk. We, BlueStacks, do not endorse nor support this in any way. Any loss of data, ban, or other recourse taken by Niantic as a consequence of this process is solely the responsibility of the player.
Thanks to DIY tips from Travis D’s YouTube video he was able to successfully illustrate it, however, it is rather long and some steps are not entirely necessary. So we’ve fine tuned the process to show you the easy & concise way how to install and play Pokémon GO on PC with BlueStacks. This works for even the latest version of BlueStacks and on Windows 10, 8.1, 8 & 7. In a nutshell, you’ll need to root BlueStacks, install a handful of apps (links below) then you can play Pokémon GO on PC.
How to Install & Play Pokémon GO on PC with BlueStacks:
- Download BlueStacks & install
The new version of BlueStacks incorporates the features below.
- Download Kingroot APK
- Download Lucky Patcher APK
- Download Fake GPS APK. Click “Direct Download APK From Dropapk” link (Eliminate all popups). Continue to “Free Download”. Click “Create download link” then click the generated link.
- We suggest you pay for this app from Google Play versus grabbing freely above then backup the app on mobile and restore in BlueStacks. The above site will pop up many ads and malware sites. If you do not have a malware blocker installed you just very well get a malware virus installed onto your computer.
- Download Developer Options Tool APK
- Download Pokemon GO APK
Once you have all of the software downloaded it’s time to root BlueStacks, install apps then play Pokemon GO!
- Open BlueStacks and install Kingroot APK using the APK icon on the left side. Once installed run tool until 100%.
- Next install Lucky Patcher APK
- Do not install Fake GPS using the previous method but use Lucky Patcher by navigating to the APK location. Click “Rebuild & Install” at bottom, then navigate to sdcard > windows > Documents > click Fake GPS APK and make sure to “Install as a System App”.
- Note: if you get “[Documents] folder can’t be read!” error, some users may need to move APKs to a folder that can be accessed easily by Lucky Patcher. In my case I simply used Explorer to move APKs from Downloads folder to Sample Pictures folder under Public Photos. Then returned to the app and navigated to PublicPictures > SamplePictures folder. Click No to reboot to apply changes prompt and restart BlueStacks manually by right-clicking the cog wheel in top right in click “Restart Android Plugin”.
- Once Fake GPS app is installed, you will not see it in the apps drawer as it is a hidden System App. You will have to use Lucky Patcher to launch the app each time. To find it click Search at the bottom, then Filters at the top right then select System Apps and Apply. Click FakeGPS from the list to open more options and choose Launch App. First time, go to Settings then check Expert Mode. Next search for a location or double click a location on the map then click the play button to the bottom right (the app will close).
- In my case, I still received “Failed to detect location” or “GPS Signal not found” errors. To fix these problems install Developer Options Tool APK in the normal fashion. Open the installed app and turn the settings off if they are on! Navigate to Settings > Location app in BlueStacks and ensure Mode is set to High Accuracy.
- Now it’s time to install Pokémon GO APK using the previous method.
How to Play Pokémon GO on PC with BlueStacks:
Now that the game is installed you can open and sign in with your Google account. After choosing and customizing your character you will be able to interact. It’s important you toggle off the “AR” setting so you can see the character in a virtual world rather than real world using the device’s camera. To move around you will have to rinse and repeat Step 4 just above. Meaning use Lucky Patcher to open Fake GPS in order move the pinpoint on the map to the locations you want to go in the game. Note: If you jump locations too far you risk getting soft banned for 30-60 minutes.
Troubleshooting Common Errors with Running Pokémon GO on BlueStacks:
How to Fix Crashes when Catching Pokémon GO?
Start Pokémon GO then go to Settings > Account then remove Google account. It’s a pain however, you will have to re-enter your account information each time you leave the game for a while. Then repeat this step of removing your Google account while playing the game.
How do I fix “Failed to detect location” error?
Change the GPS to High Accuracy, move your location on Fake GPS and restart Pokémon GO. (If this does not work then do teleporation fix below.)
When I try to disable AR, everything freezes or crashes.
Disable camera by going into Run > type REGEDIT on your computer and navigating to “HKEY_LOCAL_MACHINE > SOFTWARE > BlueStacks > Guest > Android > Config”. Press camera and change to decimal then change the 1 to a 0 then save.
Pokéstops not working/Pokémon fleeing after 1 Pokéball?
You probably traveled to fast and got soft-banned. Don’t fret it only lasts one hour.
My player keeps teleporting between locations.
Install an app from Google Play called Disable Service and allow root, look for Service then click Fused Location and disable it. Then click Settings in top right of bar and Restart Android Plugin.
When I start Pokémon GO I get a grey screen.
Either close BlueStacks entirely and relaunch or uninstall BlueStacks and redo the tutorial above.
If you found this video tutorial helpful please link to it and share! Read our review of Pokémon GO. Subscribe to our YouTube channel for more helpful videos and read our blog for more new apps & games, reviews, guides, tips & tricks.


