4 Reasons Why You Should Move to BlueStacks 5 to Get the Best Experience with Free Fire
It’s been some time since the global release of BlueStacks 5, the latest version of our Android app player, designed to be the lightest and fastest it’s ever been and give the players the best competitive edge in their favorite mobile games. Compared to the previous version, BlueStacks 4, this iteration consumes fewer resources, offers more stable performance, and has a sleek and minimalistic UI design that perfectly complements these advantages. And the best part is that it achieves all this without requiring more resources. If anything, BlueStacks 5 is much more efficient than its predecessor, being able to provide better performance at no additional resource cost.
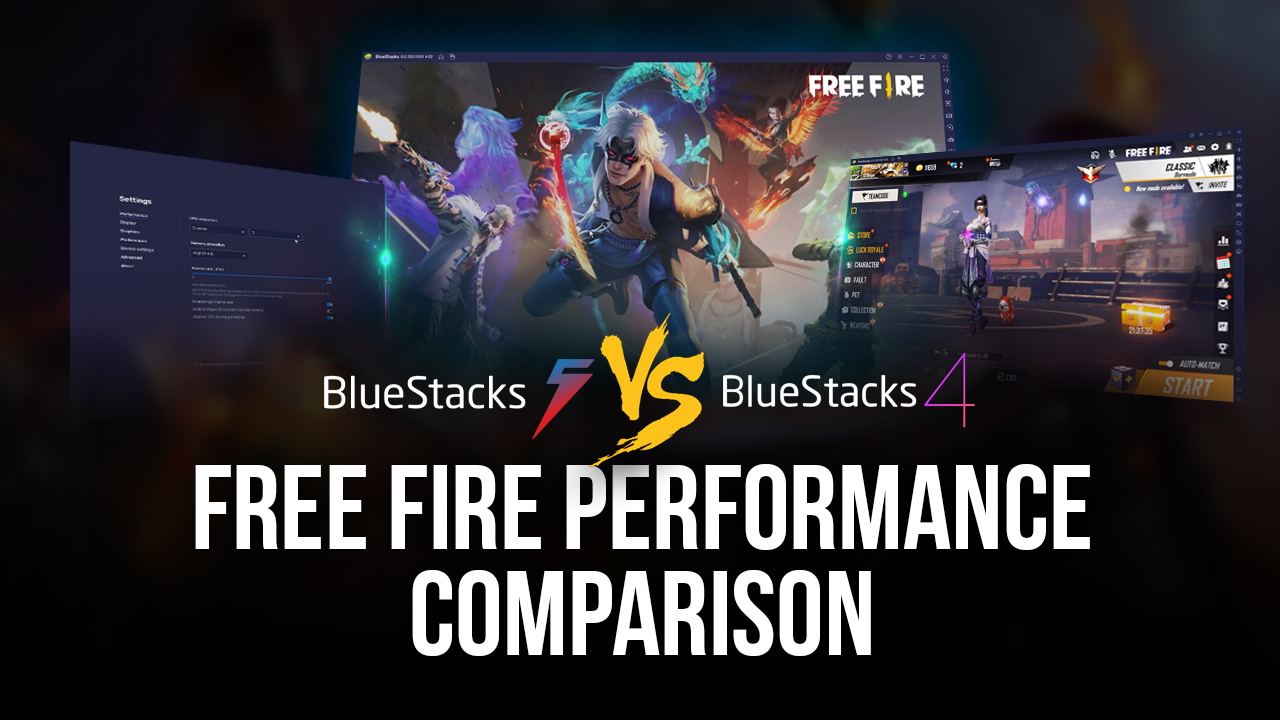
But we’re not here to simply talk about how BlueStacks 5 offers a better experience than BlueStacks 4; we’re here to show you concrete results. And in this particular article, we’ll be comparing how both of these emulators fare in relation to playing Garena Free Fire on PC. We’ll be examining the popular mobile battle royale on both versions of BlueStacks, and comparing their boot times, in-game performance, the keymapping features and usability, and their resource consumption while playing the game. And by the time you’re done reading, you’ll realize why you should move BlueStacks 5 if you want the best experience with Free Fire on PC.
With that being said, let’s get started!
Loading Times
What’s the very first thing you see when you first launch a game? The splash and loading screens, of course! And while these loading sections are inevitable, since the games have to load their assets into the device’s RAM before running, the efficiency of the app and the hardware it’s running on can affect the time it takes to load the game on any given device. And even though mobile games are on the lighter side of things, compared to their PC and console counterparts, titles like Free Fire can be a bit heavier, considering that they have lots of assets and elements to load.
Nevertheless, even big games like this one do not pose any issues for BlueStacks as our Android app player can easily run it and give you the best experience when playing them on PC. Regrettably, loading screens are still mostly inevitable, so let’s see how both versions of our emulator measure up in this regard:
BlueStacks 5
BlueStacks 4
When it comes to loading times, BlueStacks 4 took 28.71 seconds from the moment we clicked the Free Fire icon on the home screen, until we landed on the main menu login screen. On the other hand, BlueStacks 5 took 20.12 seconds to do the same. And while a difference of a little over 8 seconds doesn’t say much in practice, it still means that BlueStacks 5 is around 30% faster than its predecessor, at least when it comes to boot times.
However, not everyone cares about the time it takes to run the game. But what about the time it takes to load into matches? Surely this is more important, considering that the core gameplay of Free Fire is playing, dying, and playing again until you win. In this sense, the less time spent in loading screens, the more you’ll be able to play.
With that being said, let’s see how both versions of BlueStacks compare when loading into the training room in Free Fire:
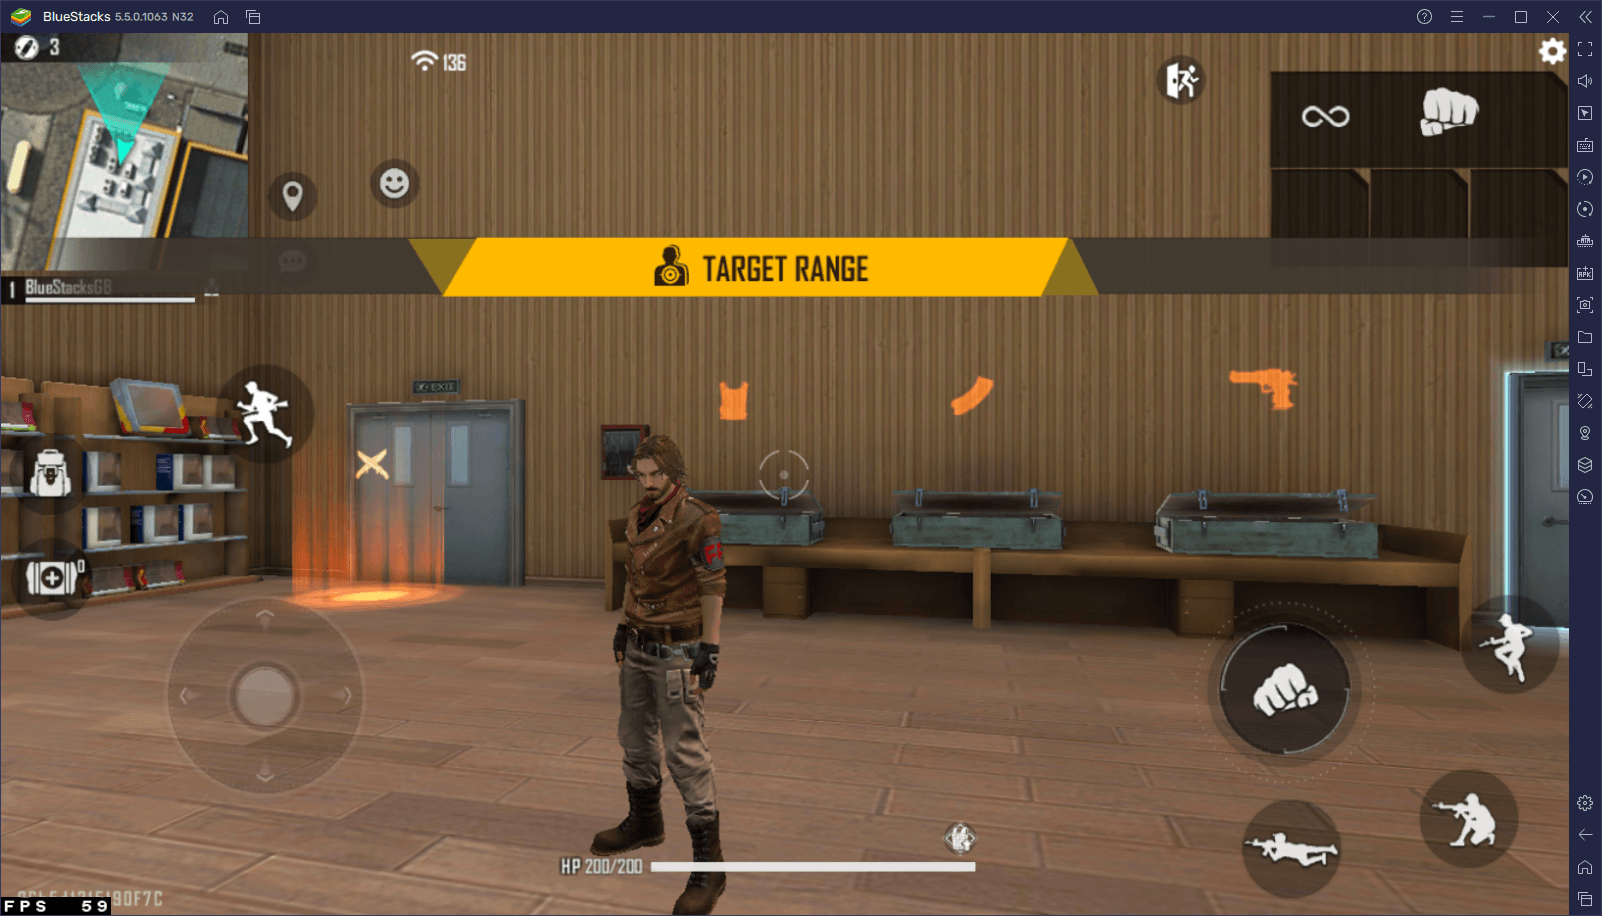
BlueStacks 5
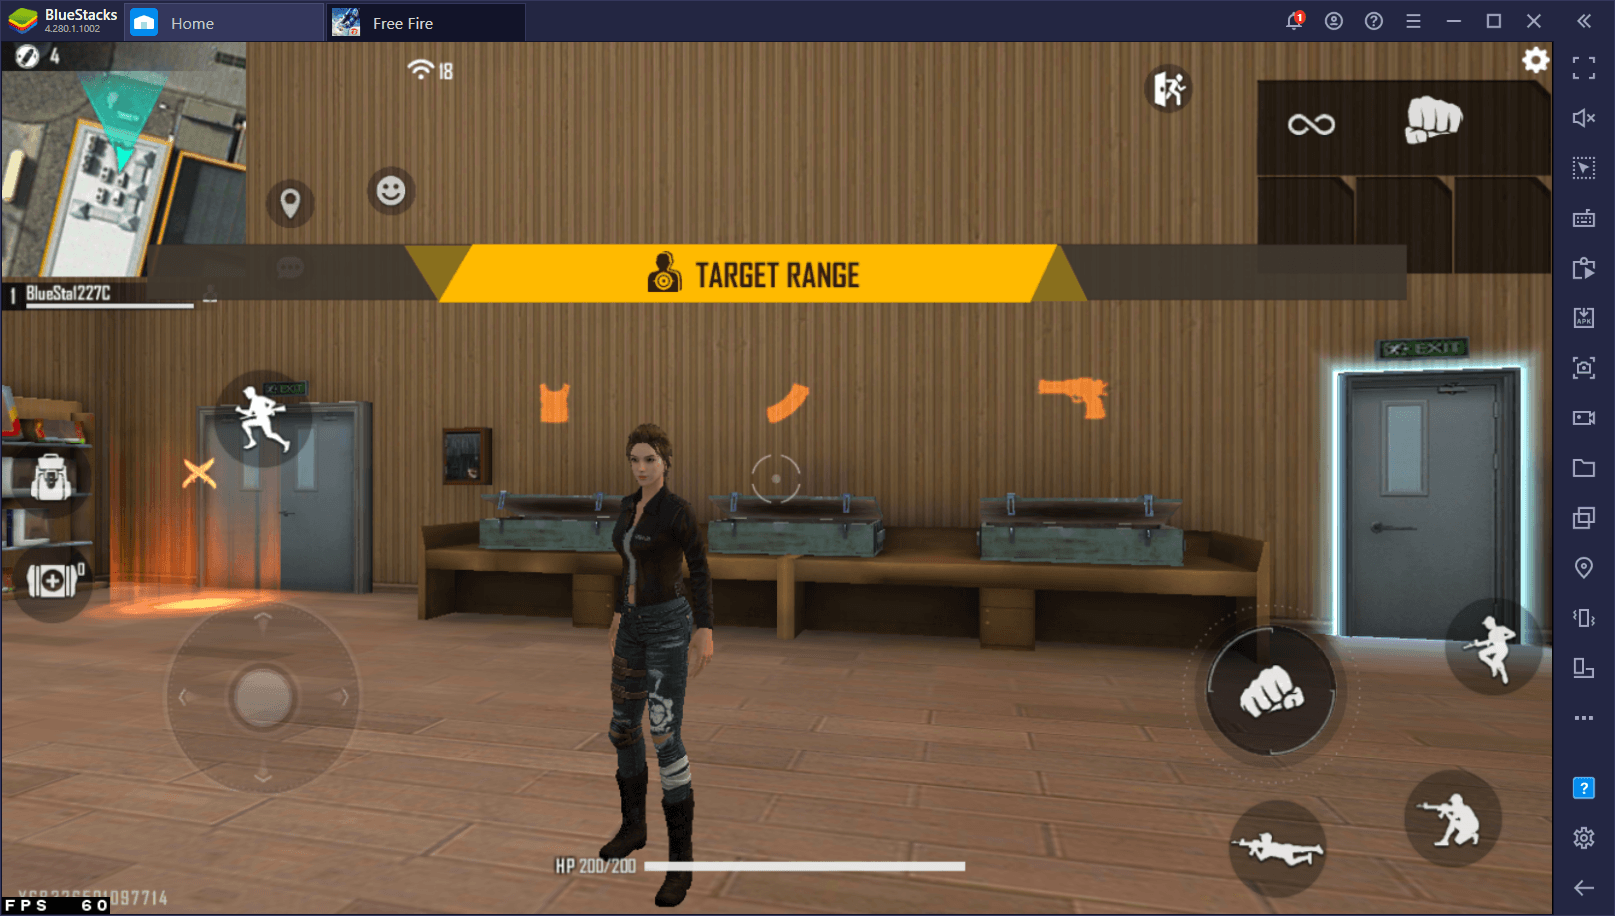
BlueStacks 4
Once again, the difference is significant: BlueStacks 4 was slower than its more recent counterpart, taking 10 seconds to load into the training room. In this sense, and with its 7-second loading time, BlueStacks 5 still stands out as being around 30% faster than its predecessor.
In conclusion, you can get pretty good loading times with both versions, but if you’re looking for the absolute best performance, then BlueStacks 5 is the obvious choice here.
Keymapping Features
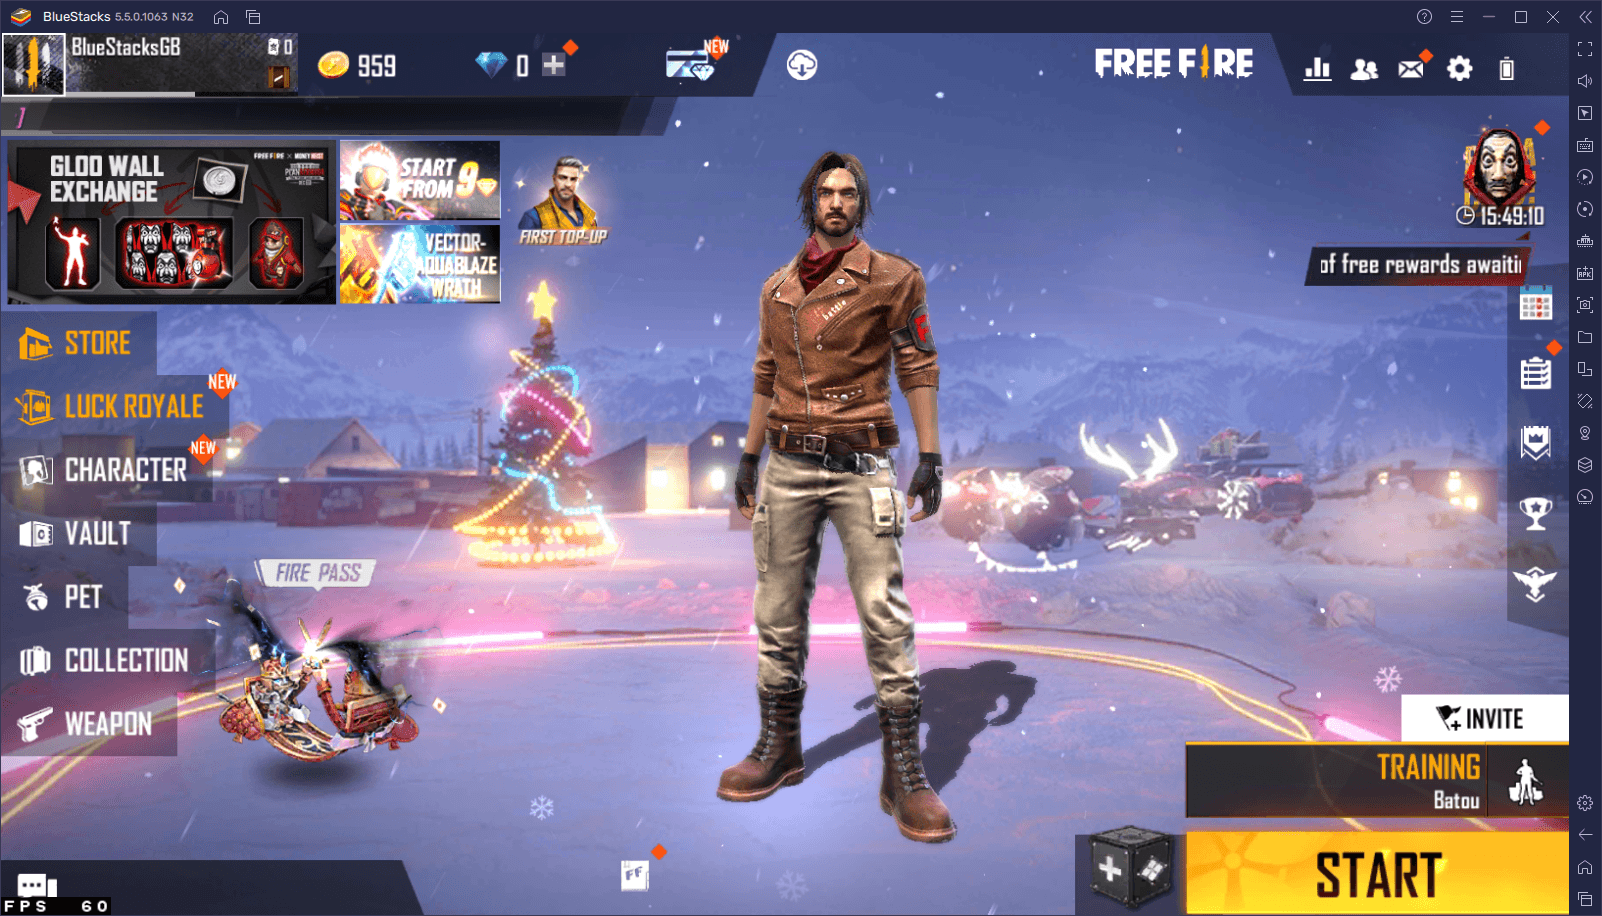
One of the most important parts of playing Free Fire on PC with BlueStacks is the fact that you can use the Keymapping Tool to control the action with your mouse and keyboard, rather than having to tap and swipe on a small touchscreen with your fingers. And it goes without saying that, when it comes to precision, a keyboard and mouse setup is basically considered the best option for shooter games.
Through this important feature, you can enjoy Free Fire as if it were a regular PC shooter, with all the accuracy and maneuverability that your computer peripherals can provide. In this sense, you’ll be getting a competitive edge over the players who are gaming on their phones, and over other users that are playing with other inferior setups.
Regardless, when it comes to the Keymapping Tool, while both emulators can use this tool to create intuitive and versatile control schemes for Free Fire, BlueStacks 5 has several advantages over the previous version in this aspect:
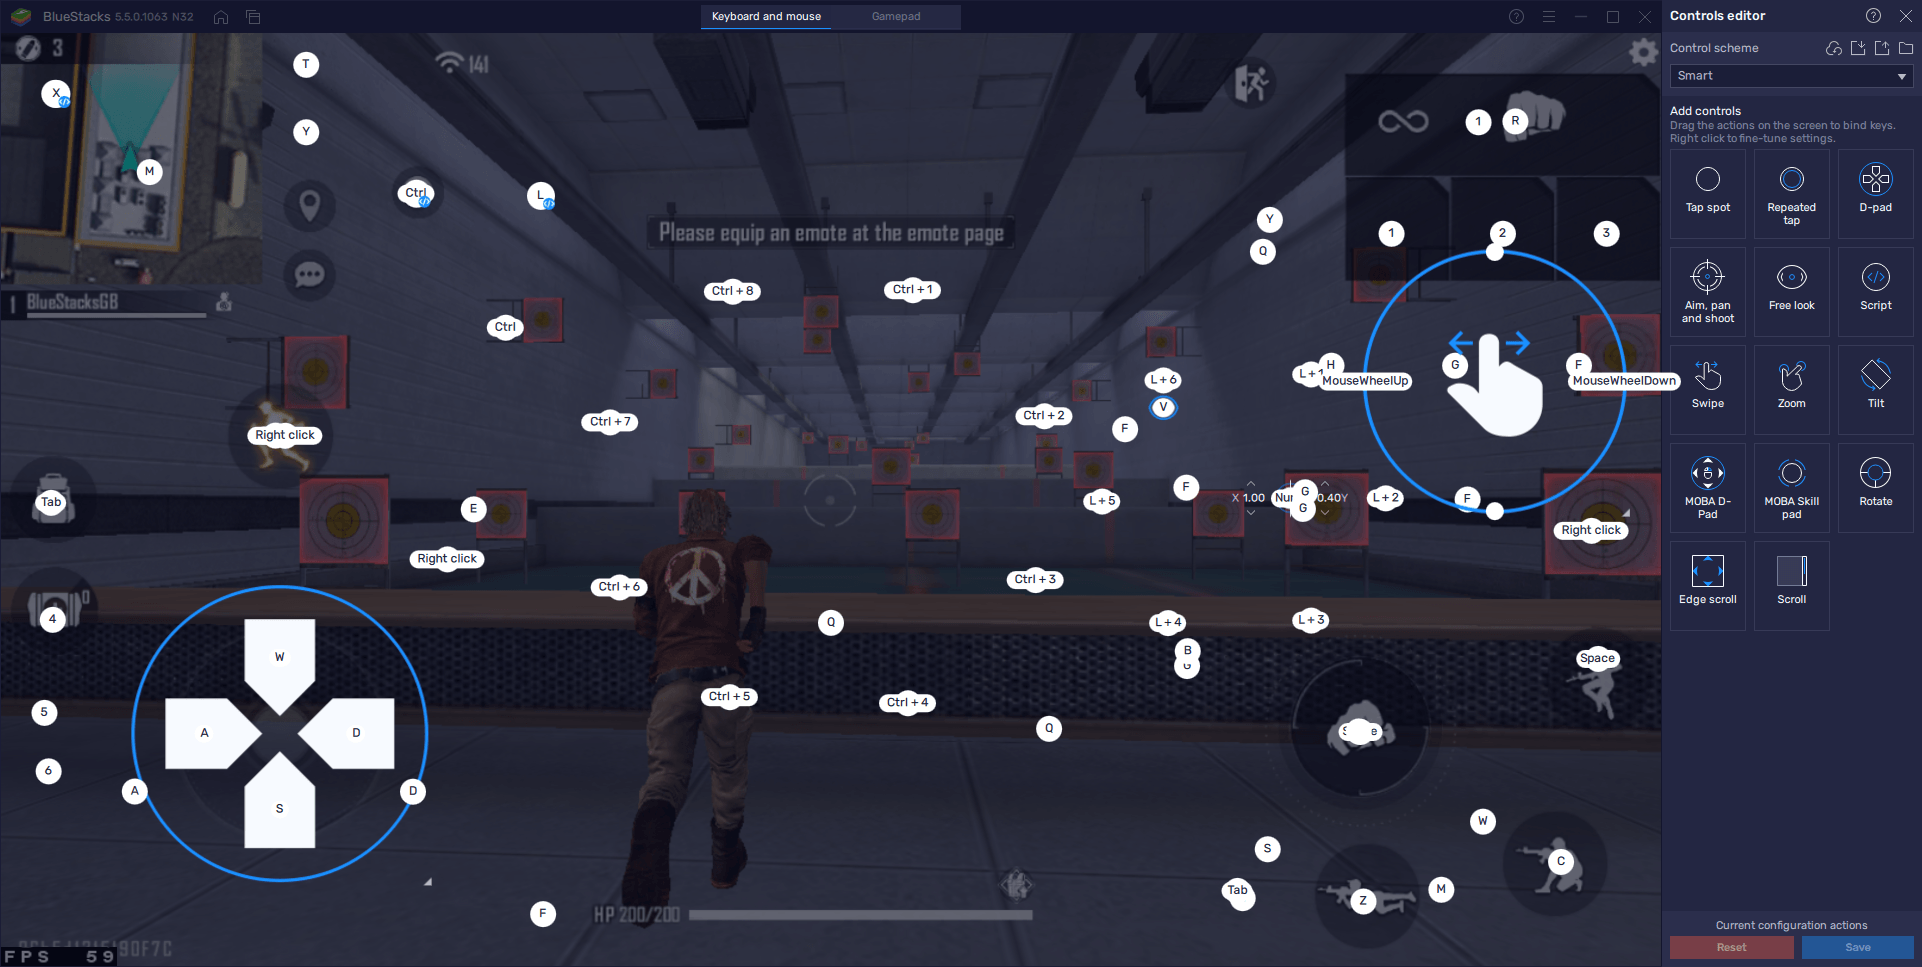
BlueStacks 5 Keymapping Advanced Editor
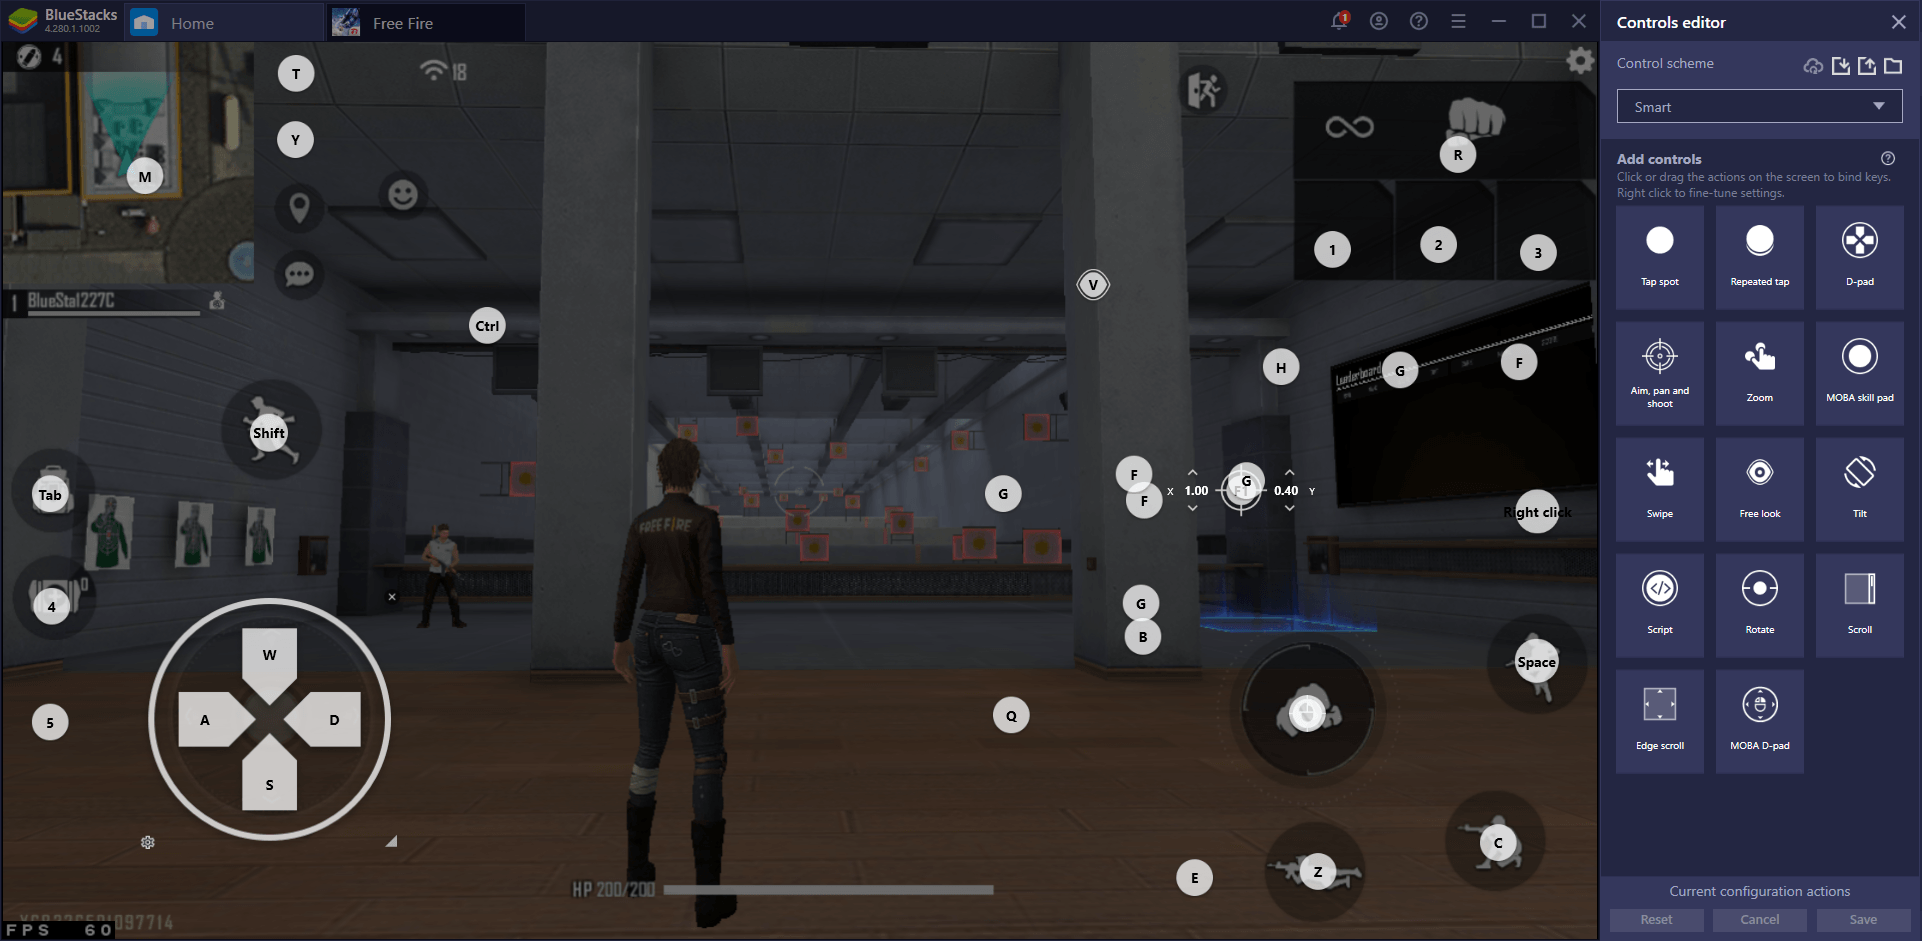
BlueStacks 4 Keymapping Advanced Editor
Specifically, the Keymapping Tool in BS5 offers support for double-key shortcuts, letting you assign a wider variety of keybindings across a smaller area of the keyboard, to keep all the important functions nearby at hand. With BlueStacks 5, you no longer need to keep all your shortcuts spread out across the board. Furthermore, for those who like couch gaming or simply playing on PC using their controllers, the Keymapping Tool in BlueStacks 5 offers full support for gamepad controls for any game. And while setting up a decent scheme for Free Fire might be a bit challenging, it’s definitely possible to do so. And lastly, BS5 offers several improvements for the game’s Smart Controls over the ones in BS4.
In general, the playability of Free Fire on PC is much better on BlueStacks 5.
Resource Consumption
What good is a game that can run and look great, when it consumes too many PC resources, leaving a significant chunk of the community unable to actually enjoy due to insufficient hardware? Well, as it turns out, BlueStacks in both its versions is highly efficient and is capable of providing the very best graphics and performance, with very low CPU and RAM consumption.
The question left to answer is: Which of the two versions is the most efficient? And to test this, we entered the training room in Free Fire on both clients and measured their resource consumption through the Task Manager. The results are as follows:

Our findings here are quite conclusive in the fact that, while both versions show similar percentages of CPU usage, BlueStacks 5 is much more lightweight, occupying just 50MB of RAM, in relation to the 176MB of BlueStacks 4. And this is without mentioning that BlueStacks 5 has a Memory Trim feature through which players can easily and quickly free up RAM that’s being occupied by the emulator, but that isn’t currently in use, giving it back to the system to be used in other operations.
The Memory Trim tool, combined with the app player’s lightweight programming and design, makes BlueStacks 5 the fastest and most lightweight that our emulator has ever been. If you’ve been using BlueStacks 4 until now, and want a superior, more efficient emulator that consumes fewer resources and provides comparable or even better performance, then we strongly suggest upgrading to the latest version.
And speaking of performance…
In-Game Performance
To wrap up this comparison between BlueStacks 5 and BlueStacks 4, we can’t leave out the Android app players’ actual performances while in-game. After all, a good, stable frame rate for action shooter titles like Garena Free Fire is pivotal to the user’s success, since a faster frame rate makes it much smoother to aim and shoot and get those powerful headshots.
Once again, to test this aspect, we’re diving into the training room in both versions and will try outshooting the targets with a few weapons, followed by a bit of combat training in the battle room. During these tests, we’ll be keeping an eye on our frame rates and see how they fluctuate and vary. Our expectations are that both versions remain as close as possible to the 60 FPS mark, which is the golden standard for good performance.
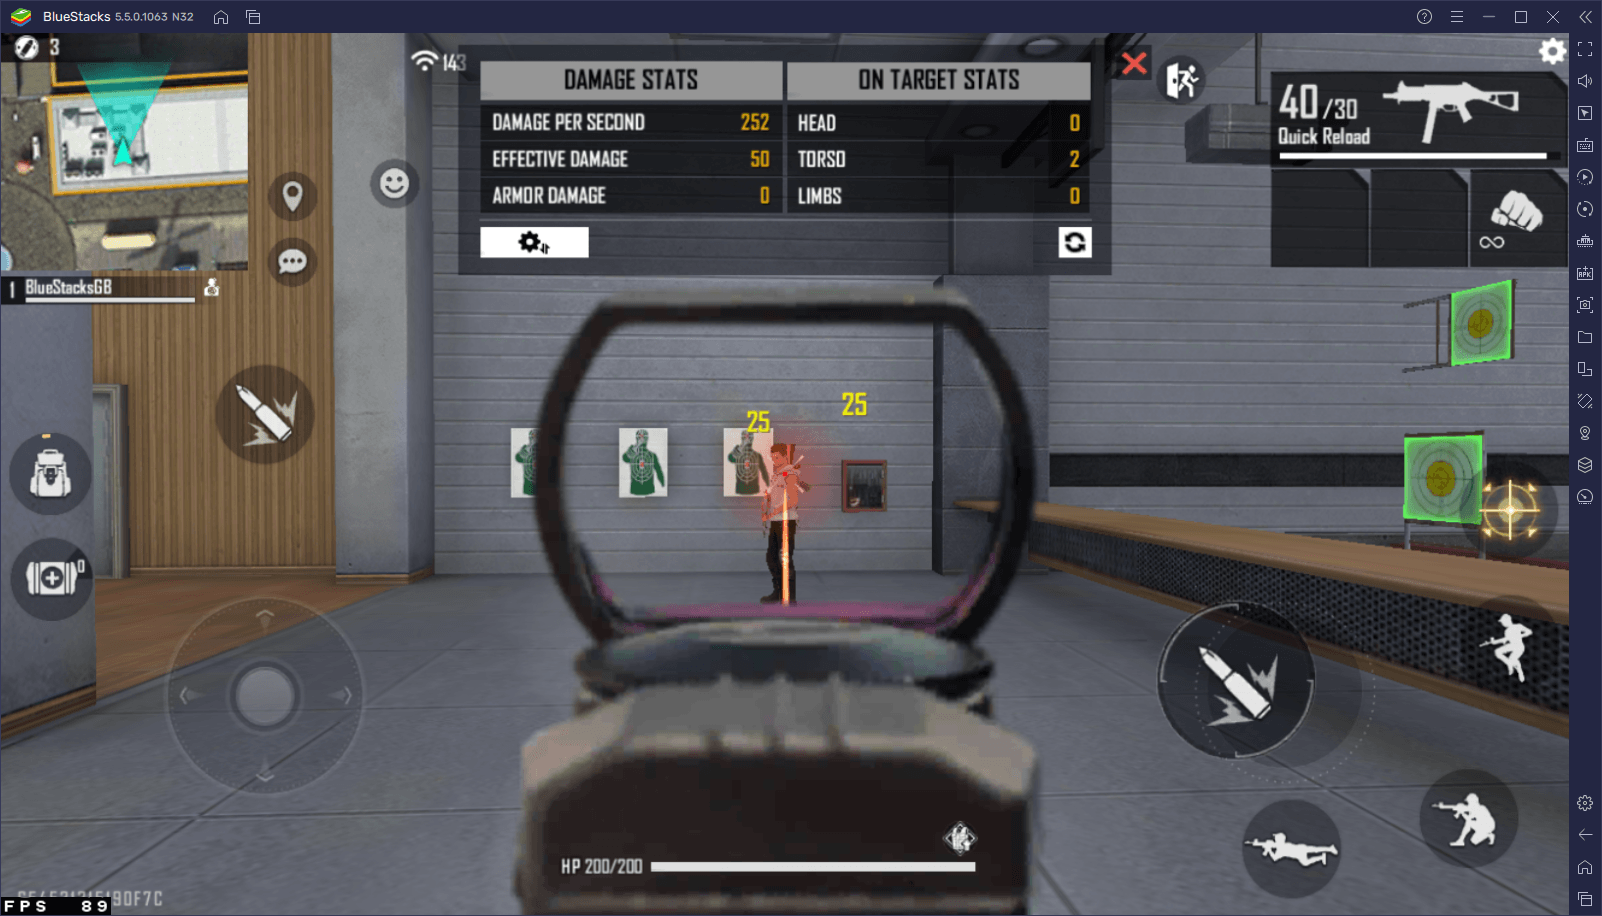
BlueStacks 5 in the Training Room
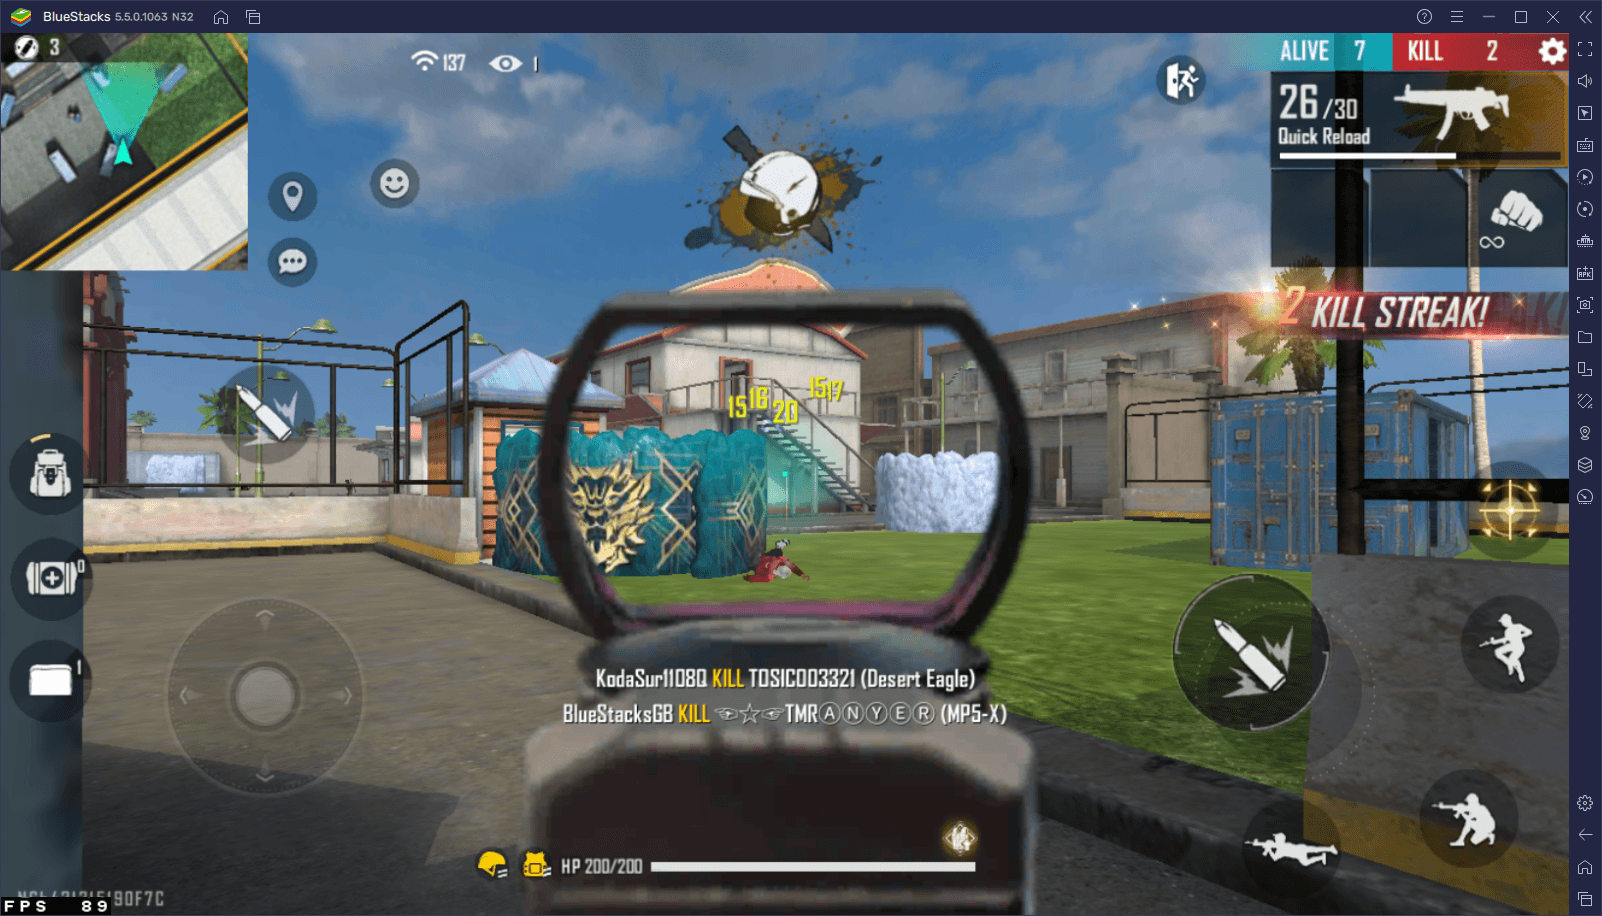
BlueStacks 5 in the Combat Room
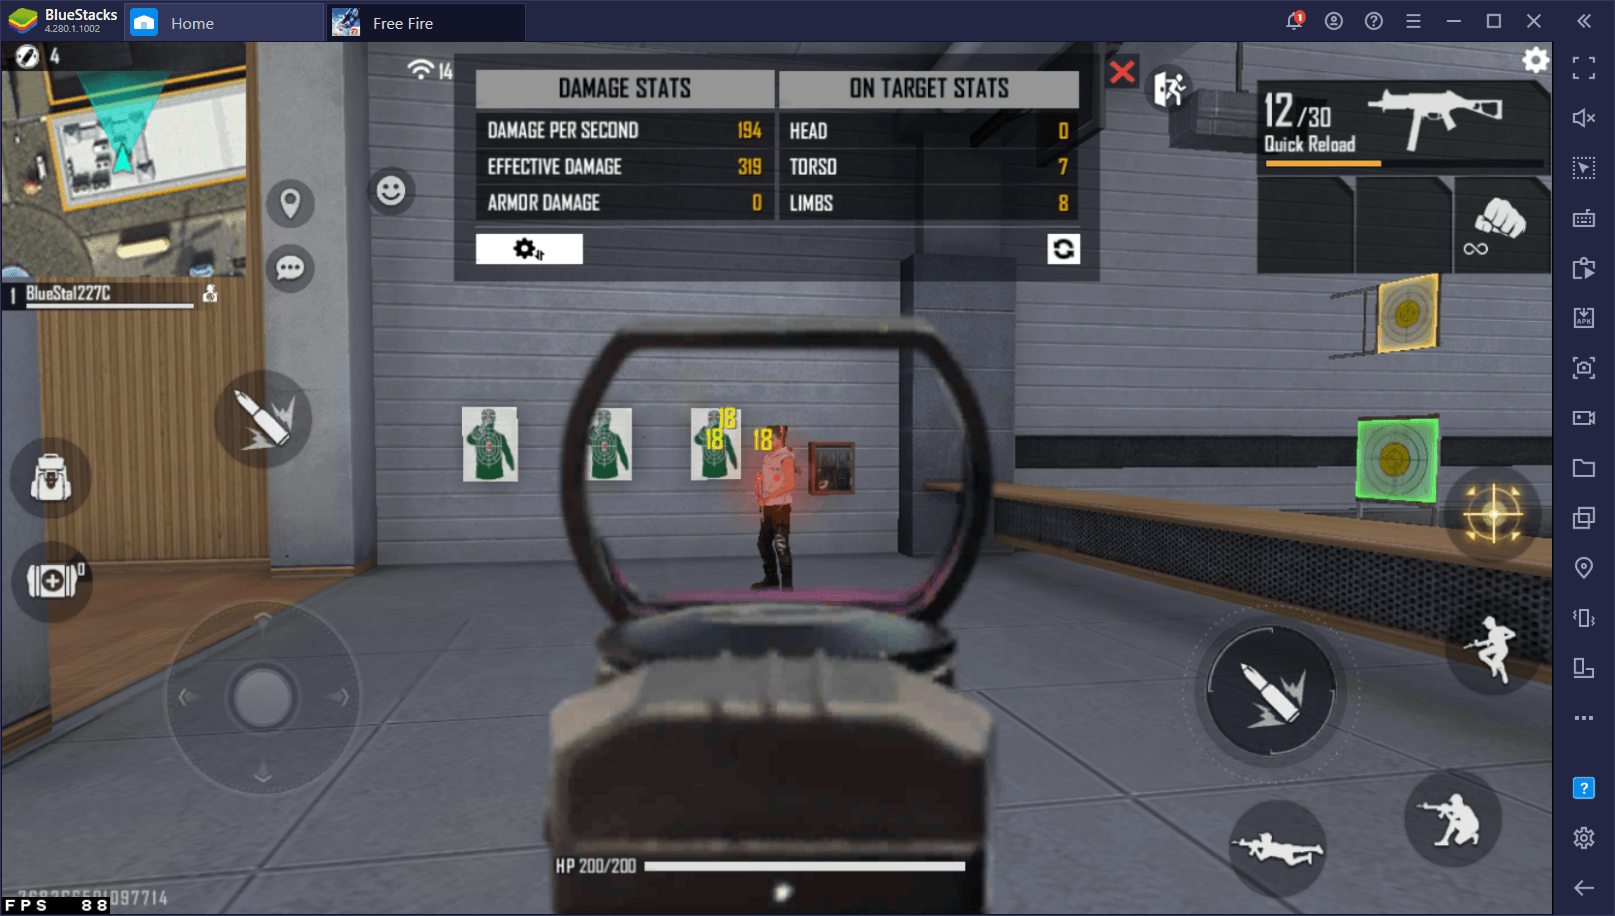
BlueStacks 4 in the Training Room
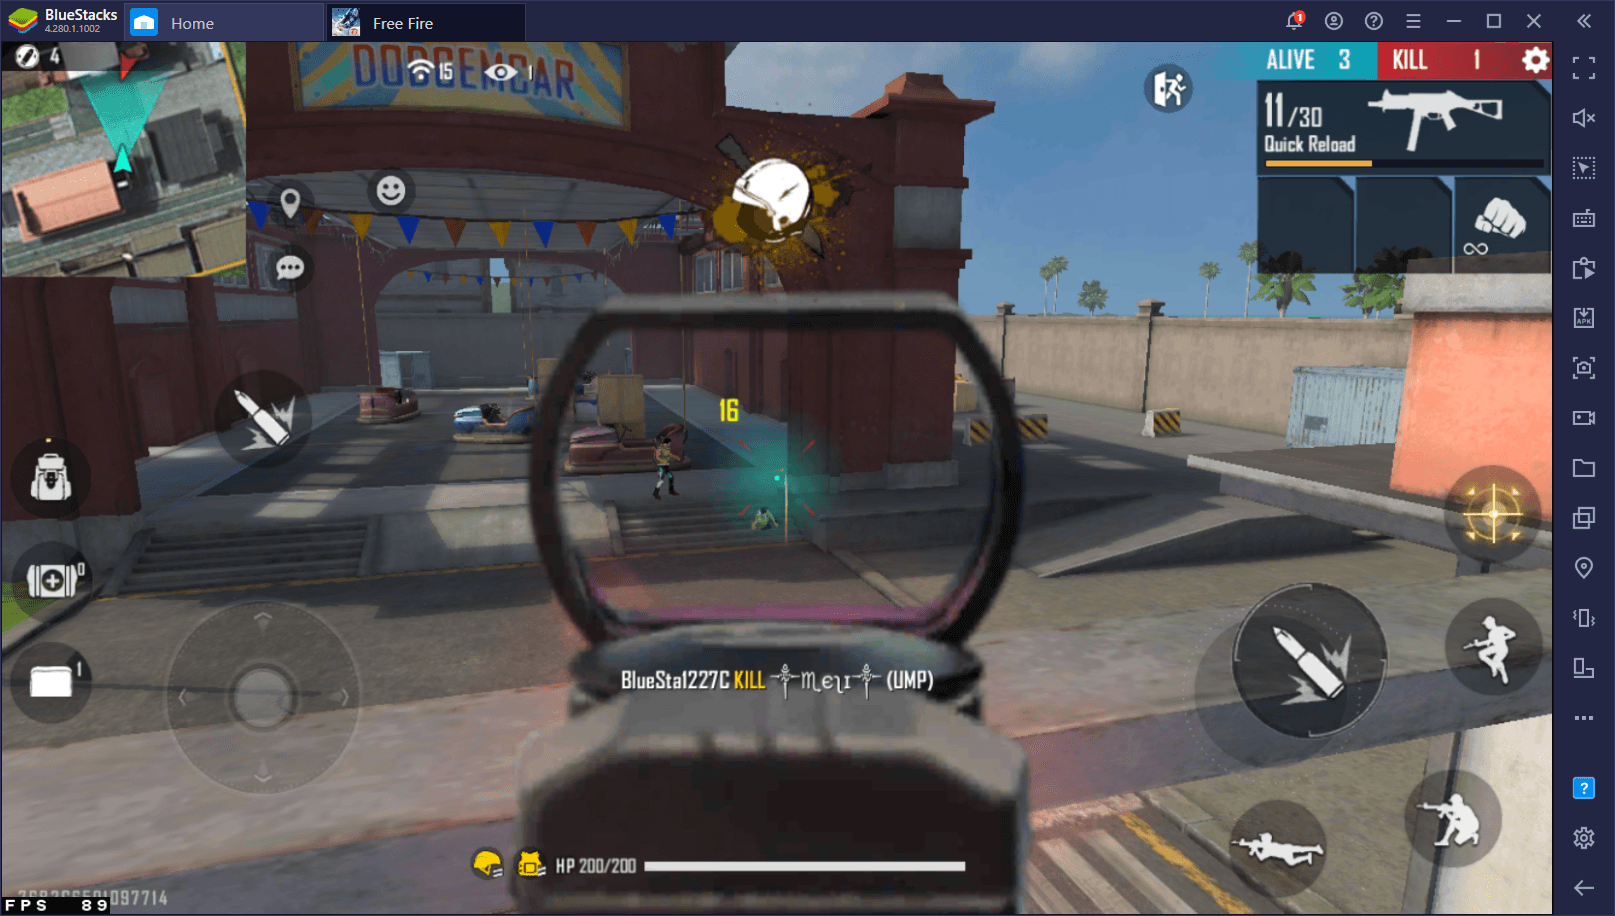
BlueStacks 4 in the Combat Room
As expected, both versions of the game run at exactly the same frame rate both in combat, as well as in the training range. However, instead of 60 FPS, our emulators are able to produce a whopping 90 FPS in Free Fire. In this sense, you can expect to find the very best and top-notch performance, regardless of the BlueStacks version you’re using.
However, as our demonstration earlier has proven, BlueStacks 5 can achieve the same level of performance with a lower resource cost, which might be an incentive for users with lower-end PCs to consider upgrading. Furthermore, BlueStacks 5 has a more stable frame rate, producing its glorious 90 FPS and maintaining them even during combat encounters. On the flipside, BlueStacks 4 experienced slight fluctuations, which in some cases could lead to missing shots or even losing entire matches.
There’s no other way to go about this, BlueStacks 5 is the king of performance as well as efficiency, and can provide the best Free Fire gaming experience on PC, regardless of your computer specifications.
Conclusion: BlueStacks 5 is the Best Version for Free Fire
After reviewing all the data across all the aspects that we examined, we can safely say that BlueStacks 5 offers the best experience with Free Fire, in general. This doesn’t mean that BlueStacks 4 is bad, but it instead reinforces the fact that its successor was developed to provide the best experience, but with a more lightweight and efficient design.
In any case, if you want the best controls, as well as gamepad support and support for double key shortcuts, as well as a few other optimizations here and there, then BlueStacks 5 is definitely your best option here.