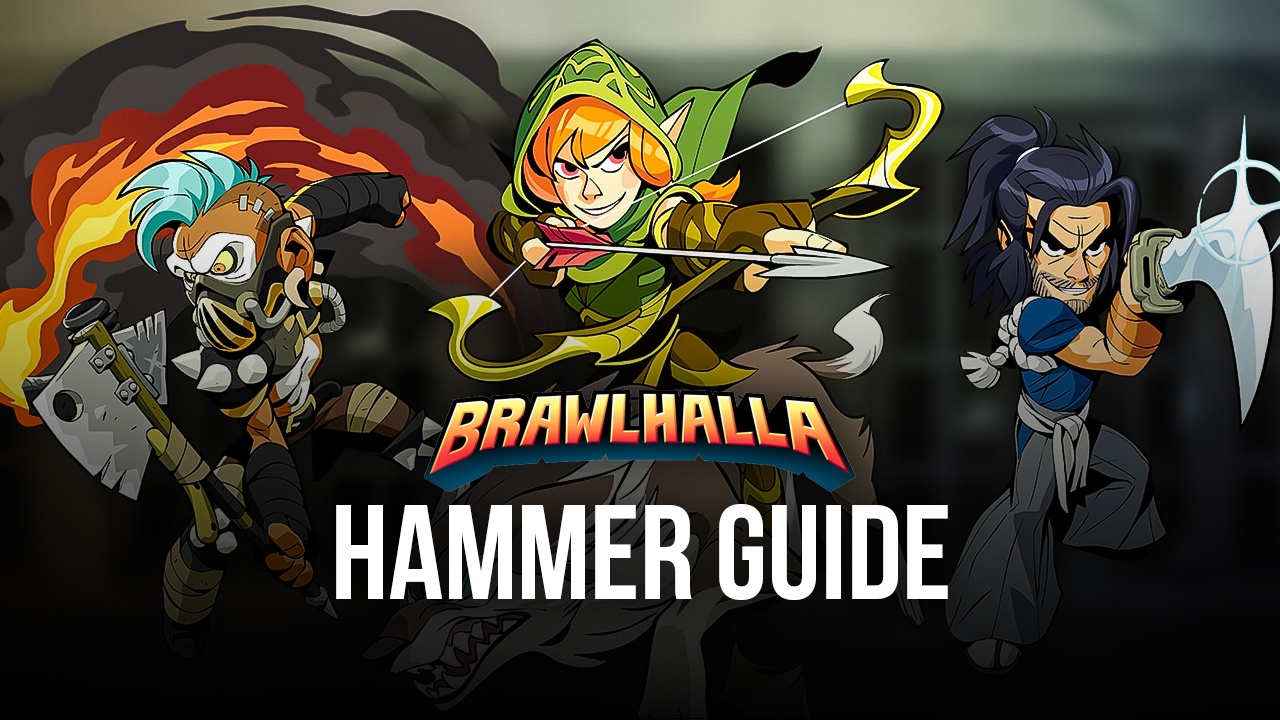
Brawlhalla Hammer Guide - How to Punish Your Enemies and Control the Stage with the Hammer
Brawlhalla is Ubisoft’s answer to Nintendo’s widely popular Super Smash Bros. franchise, offering a fresh new perspective and a new approach to brawling and platforming, revolving mainly around weapon-based gameplay. In other words, Brawlhalla is a freeform fighting game featuring a wide variety of characters, called Legends, each of which can equip up to two different weapons, giving them a different and unique playstyle.
There are 12 different weapon types in Brawlhalla, all of which have their own movesets. And while the basic moves are the same regardless of the character, every Legend in the game has its own signature moves with their weapons, adding a bit of variety, despite featuring most of the same moveset. Each character, however, has its own attributes, which means that, even though they might share similar movesets depending on their weapons, they can play differently due to their unique stats. Check out our beginner’s guide to Brawlhalla where we went over all the basic mechanics in the game, and that will serve as a handy introduction if you’re just getting started.
This time around, however, we want to focus on a specific weapon type, the Hammer. In the following paragraphs, you’ll find many useful bits of information about this amazing weapon to help you get familiarized with it.
Hammer Intro and Overview
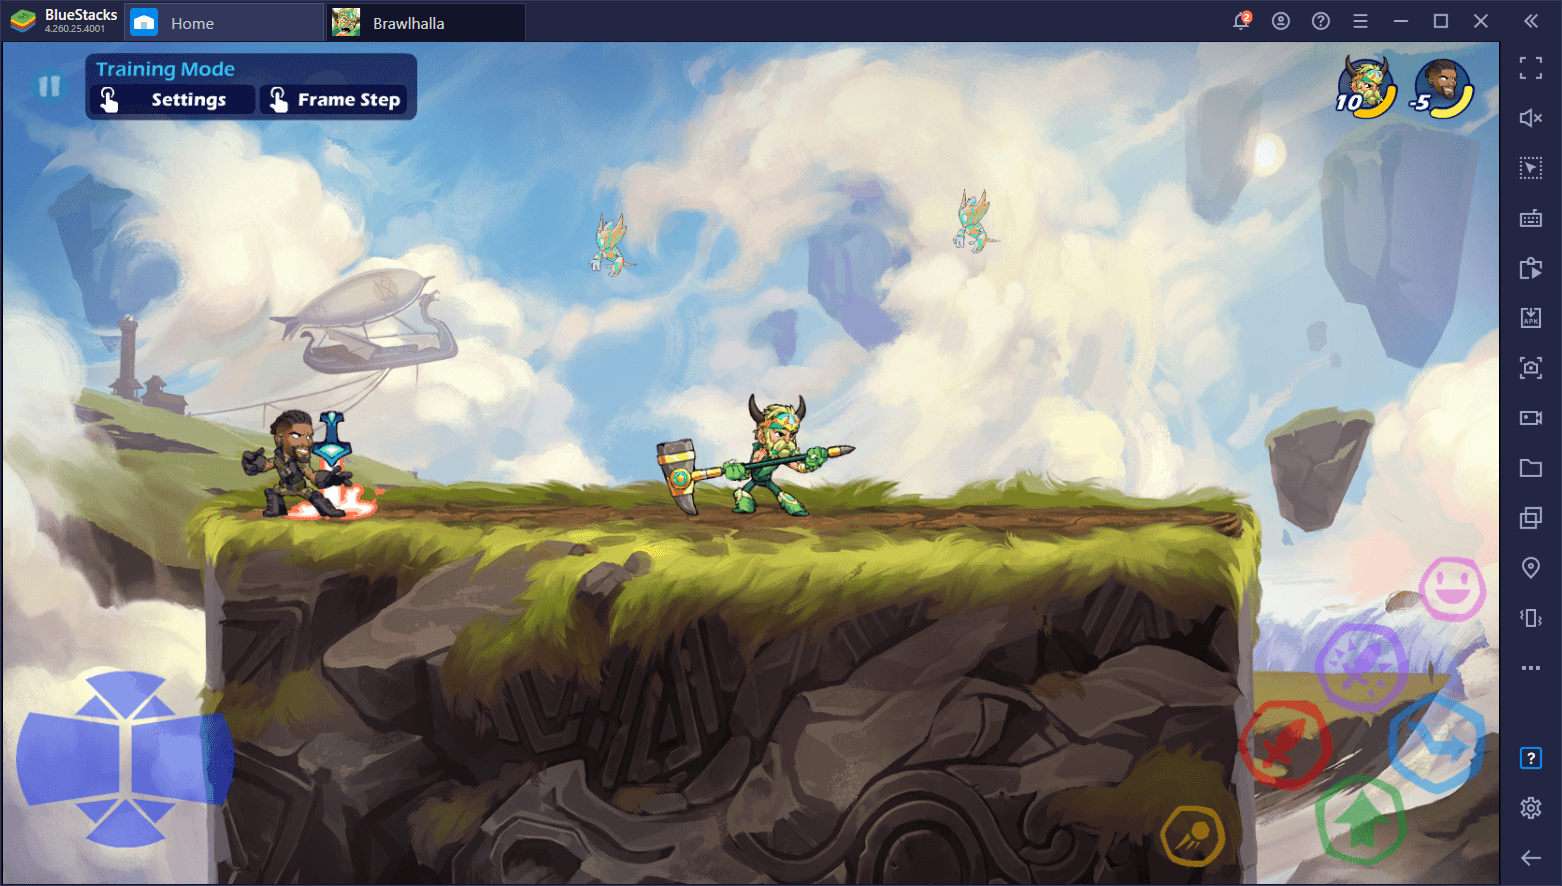
Despite their weighty appearance, the Hammer is actually a deceptively agile and versatile weapon, featuring one of the fastest moves in the game, as well as amazing aerial and ground domination options, and even a large number of true combos that will help you adapt to any foe. It is, however, mostly a defensive weapon, which means that, while you can definitely rush enemies with a few of its moves, you’ll mostly be baiting dodges and whiffs and effectively punishing mistakes, rather than constantly playing aggressively. This is particularly true since its most punishing moves, aside from suffering from high startup frames, also have long recovery frames, leaving the player exposed if careless.
Nevertheless, Hammer is in a really good spot right, featuring favorable matchups with most weapons, and unfavorable matchups with only some long ranged weapons. Specifically, Hammer plays well against all except Orb, Spear, Rocket Lance, and Blasters, since its poor range puts it at a disadvantage when trying to bait against enemies that can simply stop you with a few basic moves.
With all that being said, let’s take a look at the Hammer’s moves:
Ground Moves
- Neutral Light: Two short-range kicks followed by an overhead swing. One of the fastest moves in the game, with very low startup frames and lots of active frames. Very high damage, and also is a true combo if you land the first kick.
- Side Light: A swift side swing with the hammer. Very fast as well, though with a shorter range than the neutral. The advantage here is that this attack also makes your character slide to whatever side you’re attacking.
- Down Light: A swift stomp on the ground with even shorter range than the previous two. Deals very light damage, but its hitstun is high enough that it can easily combo into a variety of other moves. Your bread-and-butter combo starter, though it’s a bit difficult to use.
Aerial Moves
- Neutral Light: A vertical upswing. Has high startup frames and does very high damage. Its arc also hits a small area beside the character. Amazing tool for pressuring a recovering airborne enemy due to its high mixup potential.
- Side Light: Similar to the previous move, but swings horizontally towards either side. Its hitbox is somewhat smaller than its neutral counterpart so it’s almost always the second choice when it comes to aerial engagements.
- Down Light: A very fast grab attack that flings the enemy upward, dealing little damage but opening them up for follow up attacks when in the air. The first few frames of this attack begin underneath and slightly behind the character so it’s actually better to use it when enemies are behind you since you’ll catch them much faster during the startup animation.
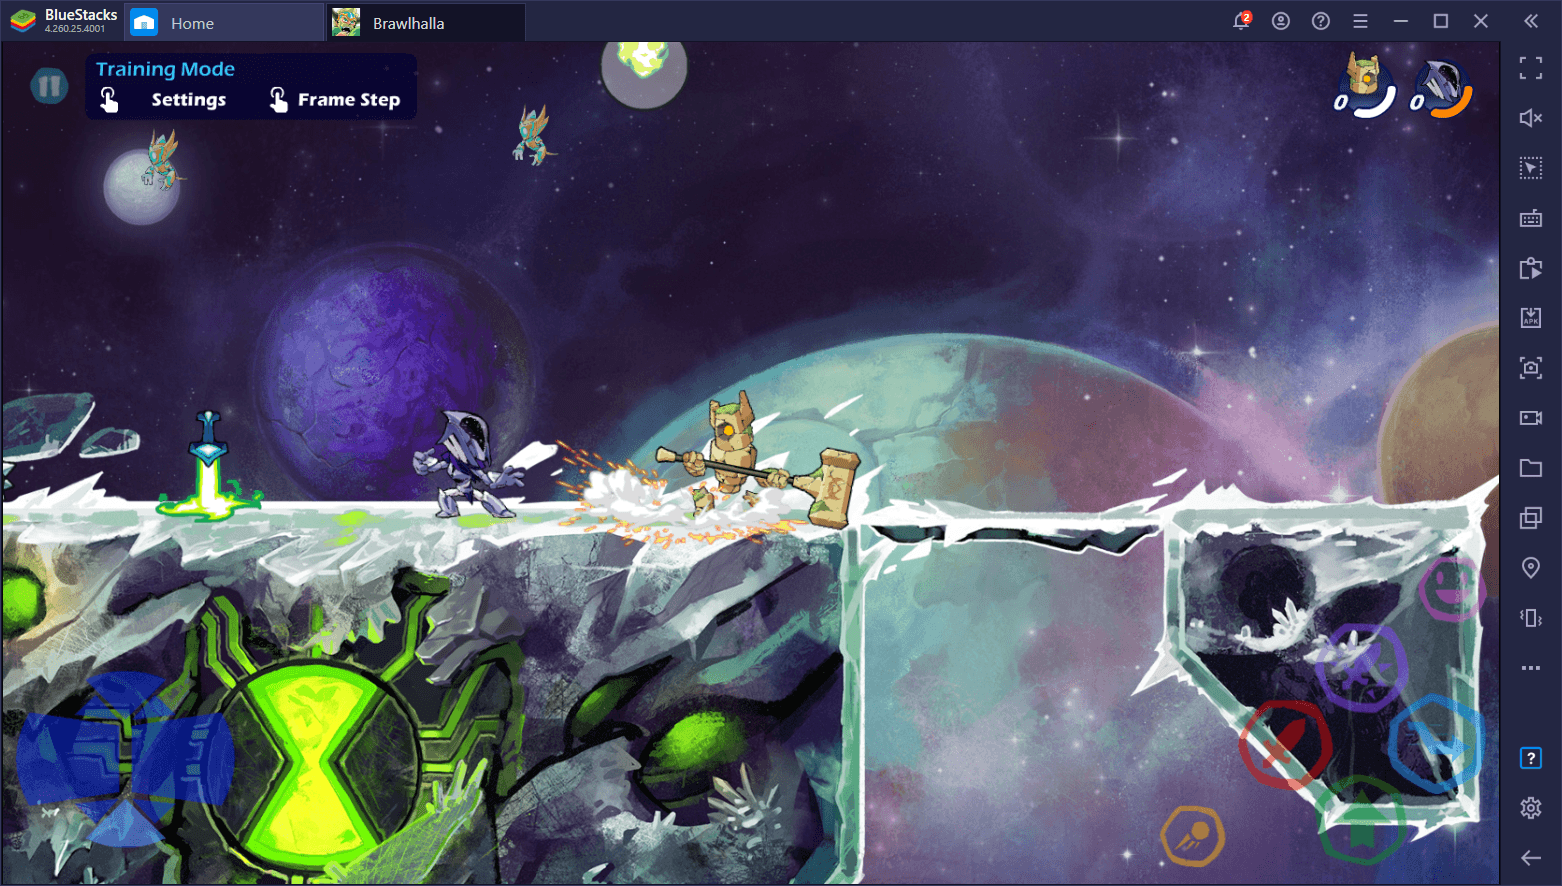
- Neutral Heavy (Recovery Move): The character positions the Hammer above him, gaining a bit of upward momentum. Useful for recovering after jumps and dodges have already been exhausted. If the enemy touches the Hammer during this move, the player will switch positions with him, launching him downward and gaming even more upward momentum. This makes the move ideal for edge guarding and baiting enemies into attacking from above, only to get swapped and thrown downwards.
- Down Heavy: The character positions the Hammer underneath him and dives downward, striking any enemies in the way. Has very high impact potential, but is very slow and easy to dodge. Since this move is mostly used during edge guarding, most enemies will expect this move, so mind games are necessary in order to land it.
As is the case with all other weapons, the ground heavy attacks are the signature moves of the Legend, and will vary according to the character. The other attacks listed here, however, are shared among all Hammer-wielding Legends.
Hammer Engagement Basics
As we mentioned above, and despite having some slower attacks, the Hammer is actually a very fast weapon, though it requires proper mind games and fundamentals in order to actually capitalize on its moveset. Once again, check out our beginner’s guide to learn a bit more about these fundamentals, but to give a brief rundown: spacing, positioning, and footsies are all important aspects of Brawlhalla, in general, but they’re even more important in methodical weapons like the Hammer. These are all basic fighting game terms that you can look up anywhere and that refer to the correct way of moving and managing your distance from the enemy at all times.
Hammer Mind Games
Your best moves with the Hammer, while very fast, also have extremely short range. Among these moves are your neutral light, your side light, and down light. As such, you must master the art of playing mind games with your enemies to bait them into dodging or attacking, and then swooping in to capitalize on their mistakes. These mind games include playing footsies—moving back and forth and dodging in place, just outside the enemy’s reach—, and intentionally whiffing attacks, to bait them into attacking.
Once the enemy has made their move and missed or fell for the bait and dodged in place, you can go ahead and begin your combo, often with the neutral light as it’s one of the most damaging moves in the neutral game, plus it gives decent arena control by knocking the enemy away after its third hit. In some cases, if you’re out of range, you can get a quick side light in to deal some damage, but don’t forget to move away immediately as this move can leave you open.
In some cases, instead of attacking or dodging in place, your enemy might opt to jump and try to attack from above whenever you whiff an attack. However, if you baited with a down light, this move is fast enough that you can easily recover and counterattack with your own aerial side or neutral light. These aerial attacks have enough reach to cover most angles and effectively stop the enemy in their tracks.
Aerial Hammer Mind Games
In the air, Hammer also has tons of mixup potential through which you can keep your enemy guessing and capitalize on their mistakes when trying to recover, either from above or below the arena.
For instance, your aerial neutral light has one of the largest arcs in the game, making it an amazing tool for preventing enemies from coming back down after knocking them into the air. You can mix up this attack by dodging in the air, or performing a double jump before attacking, to keep the enemy guessing when you’re actually going to launch the attack. If you can bait them into wasting their aerial dodge, you can then very easily land another side light or neutral light to send them flying once again, and repeating the process until you KO them.
Similarly, when it comes to edge guarding with the Hammer, you have three main tools: Your down light, your down heavy, and your recovery move:
The first is rarely used in edge guarding as a successful hit would put the enemy above you, potentially allowing him to recover, but it still has its uses, especially when down heavy is not an option. Speaking of which, your down heavy is very strong, but very slow. However, this move lasts for as long as you hold the button down, so you could potentially initiate it from high above the edge, let go of the button halfway down to bait your enemy into dodging, and then quickly follow up with another down heavy for an easy kill. If the enemy manages to dodge your mixup, you can then use your recovery move to try and pull them back down.

Nevertheless, since you have three useful tools for edge guarding, the idea is to mix them up constantly to keep your enemy guessing. While doing the down heavy ground pound might seem like a good idea all the time, your enemy will easily dodge it since it’s very slow. Moreover, if you spam the same moves, it’ll become increasingly easier to predict your moves and you will lose the tactical advantage. This is why mind games are so important to a Hammer user.
Hammer Combos
While the Hammer offers a nice mix of slow and fast moves, it stands out due to its sheer combo potential. In fact, this weapon is the one with the most true combos in the game, and it’s all thanks to one little move: down light.
When used in the ground, your down light attack is the perfect combo initiator, despite doing very little damage by itself. This is because this move can send your enemy slightly into the air, and thanks to its massive hit stun, they won’t be able to react to follow up attacks in time, leading to what is called a “true combo”. Just remember that, since it has very short range, you’ll need to effectively bait your enemy into missing or dodging before going on the offensive.
One other important fact about the Hammer down light is that it has extremely short recovery frames, making it one of the best moves for baiting the enemy into attacking since they’ll be thinking that you’re vulnerable after missing your move, only to get kicked in the face with your neutral light quickly afterward if they try to launch a dash attack. Alternatively, if they decide to jump to dodge your down light, you can recover fast enough to follow up with an aerial attack before they can react.
Basic Neutral Light Combo
One of the base Hammer combos is simply your neutral light attack, which consist of two kicks followed by a swift swing of your hammer, sending them flying away somewhat. At 0 damage, the enemies don’t fly very far, and you can easily follow up with an aerial side light to continue the assault. Once they’ve taken some damage, however, your neutral light will put them out of follow up range, but you should always try to chase afterward to increase your arena control and keep the enemy pressured.
Comboing With Down Light
As we mentioned above, the Hammer Down Light move is the main combo initiator for this weapon since it leaves the enemy stunned enough to follow up with just about any attack. The most popular choice at high damage (orange and above) is what is called the “Russian Mafia” combo, which is a bit tricky to pull off, but can easily KO anyone at orange damage. The way it goes is as follows:
Down Light Confirm* → Jump Dodge Into Recovery → Reverse Aerial Down Light
*The term “Confirm” means that you must land the attack in order to continue the combo—you cannot perform it with a whiff.
If performed correctly, you should knock your opponent upward with down light, quickly jump and dodge towards the airborne enemy, following up with a recovery attack to grab and bounce them against the ground, and then immediately finishing with a down air to send them careening towards the top of the screen, potentially resulting in a KO. Here’s a video guide detailing how this combo looks and how to pull it off:
Another combo that frequently results in an instant KO at higher damages, and is very easy to perform, is down light followed by neutral heavy. If done correctly, you should knock the enemy into the air, and then immediately send them flying with your neutral signature move, which is frequently a strong upwards smash. Since they’ll be in hitstun, they won’t be able to dodge after your down light attack, leaving them defenseless for the follow up.
As a general rule of thumb, your down light with the Hammer generally leaves the enemy open for a variety of true combos. The ones we mentioned in this section are some of the most reliable and effective, especially for KO’ing at high damage.
The Hammer in Brawlhalla is actually quite a mechanically simple weapon. With a few exceptions, its moves are basically all about KO’ing the enemy with individual hits instead of relying on smaller attacks to gradually build up the damage. However, while it does have strong combos, its initiators often have very short range and are best used to capitalize on the enemy’s mistakes. In this sense, this weapon is all about mastering the mind games and constantly deceiving your opponent in order to get the upper hand.
Did you find this Brawlhalla Hammer guide useful? Feel free to share your own Hammer tips and tricks in the comments below to help your fellow brawlers out!