LifeAfter on PC: How to Build Your Base Properly
While the game is available on Play Store, it does not work on BlueStacks at this time. Please check this space for updates.
Building a beautiful (and practical) manner in LifeAfter is one of the most entertaining aspects of the game, but it’s actually no small feat. Sure, it looks easy in the beginning when you’re in a rush to create a few walls and keep yourself safe from zombies, but it gets significantly harder as you progress through the game.
Once you’ve created a proper gun and you’re done with your first few newbie missions, you’ll want your base to be more than a mere place to hide. You might even check out the homes of a few other players on your server, some of which look absolutely stunning. At this point, dozens of questions will race through your mind, the most important of which is: Do I have to start over in order to create something equally impressive?
Sometimes, the answer is yes. But the whole point of this guide is to make sure that you start your base properly so that you don’t have to tear it down later on. Let’s get right to it.
1. How Building Works in LifeAfter
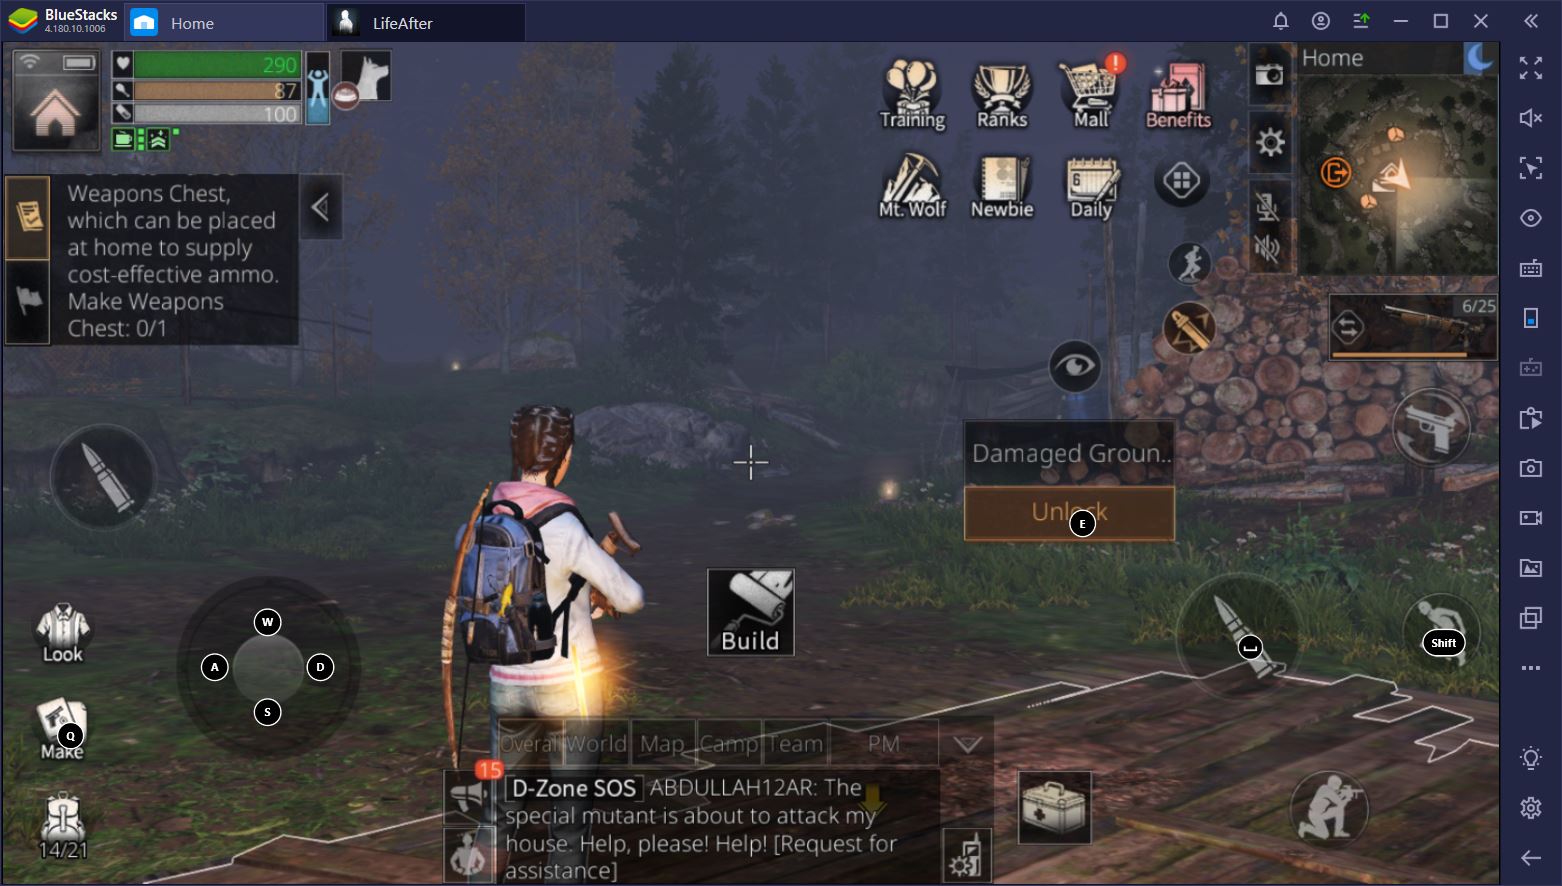
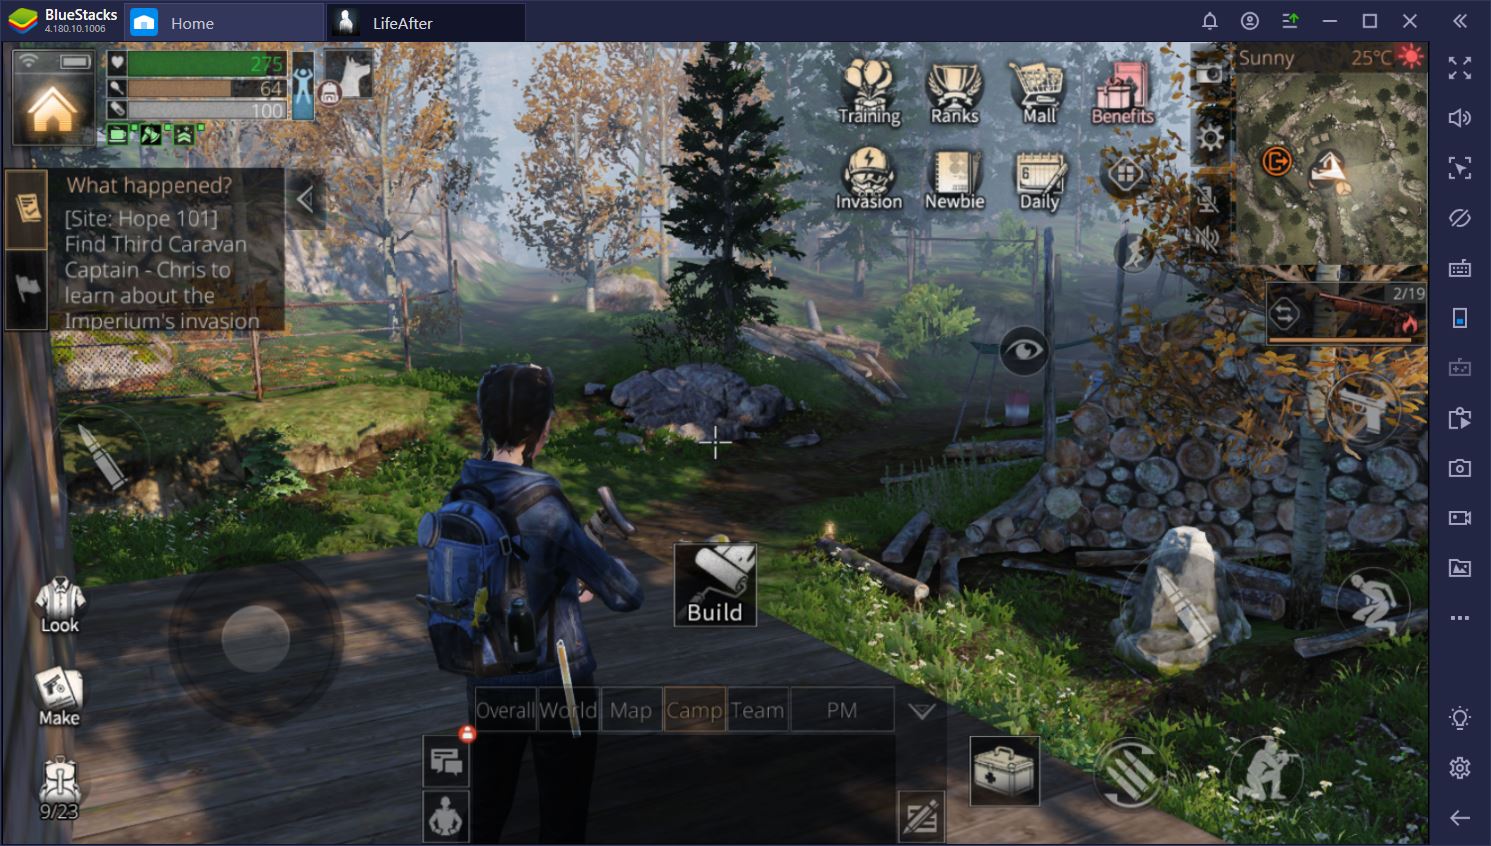
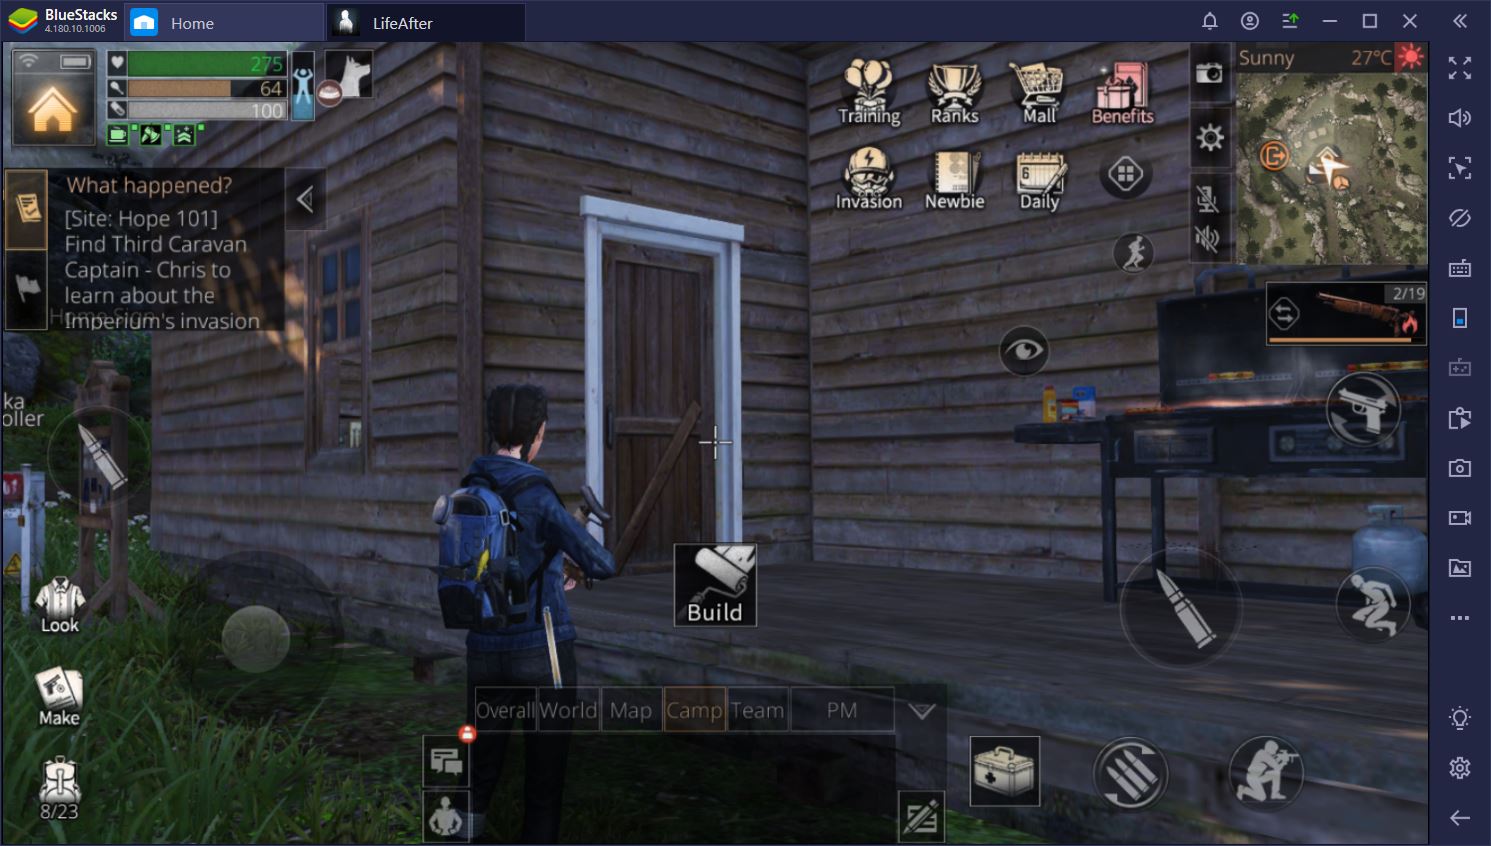
If you’ve already completed the tutorial, then you know that you can only build inside a designated “Building Zone”. Although the entire Development Area is technically your home, you can only place walls, floor, and most furniture on top of the foundation that you were given during your first few missions. For a long time, you’ll only be able to expand vertically, by adding multiple floors to your house, so keep this in mind when you design the first floor of your home.
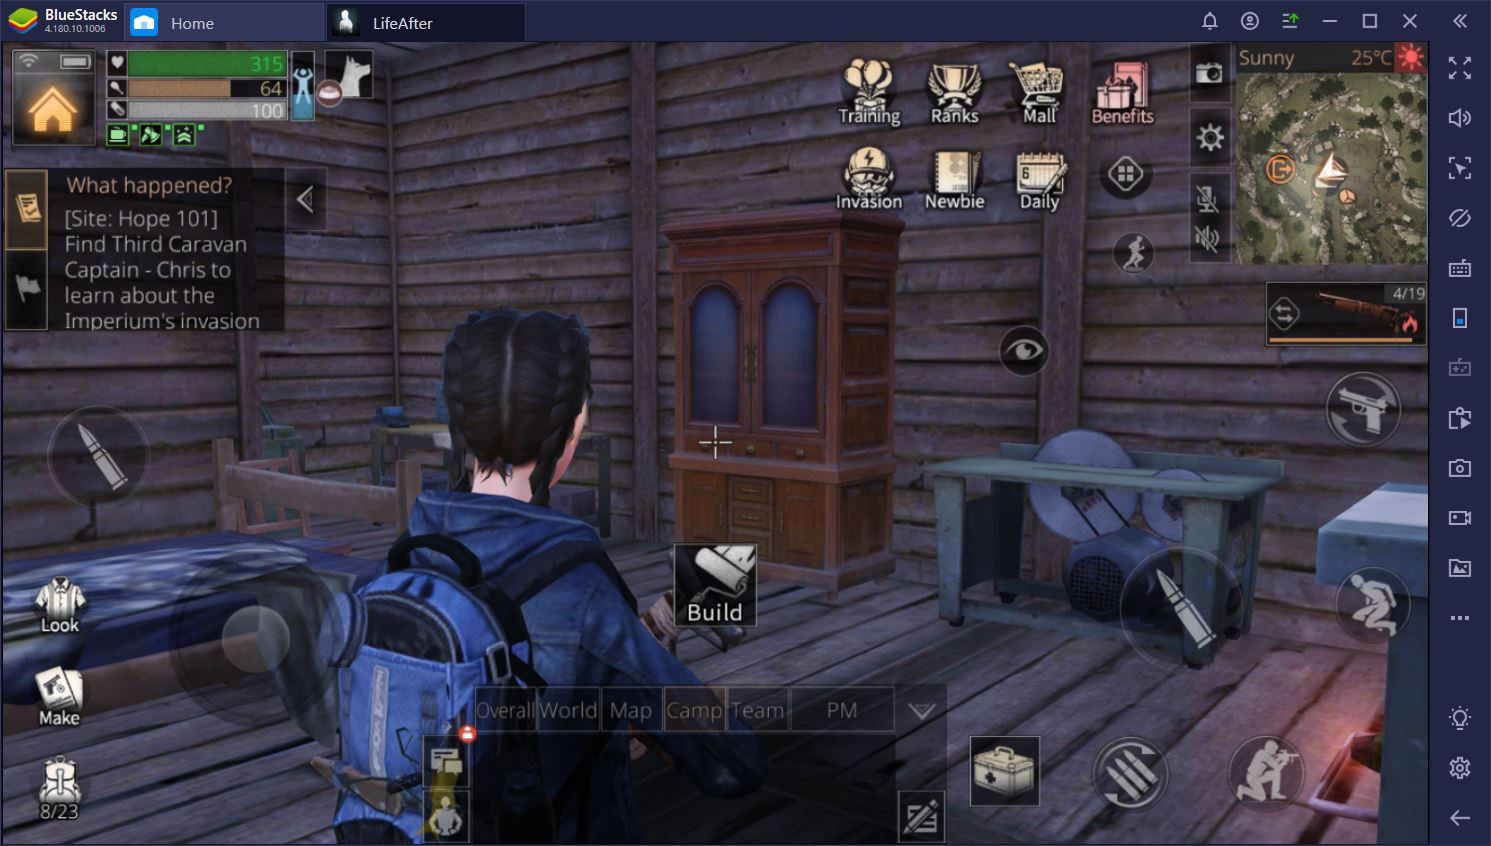
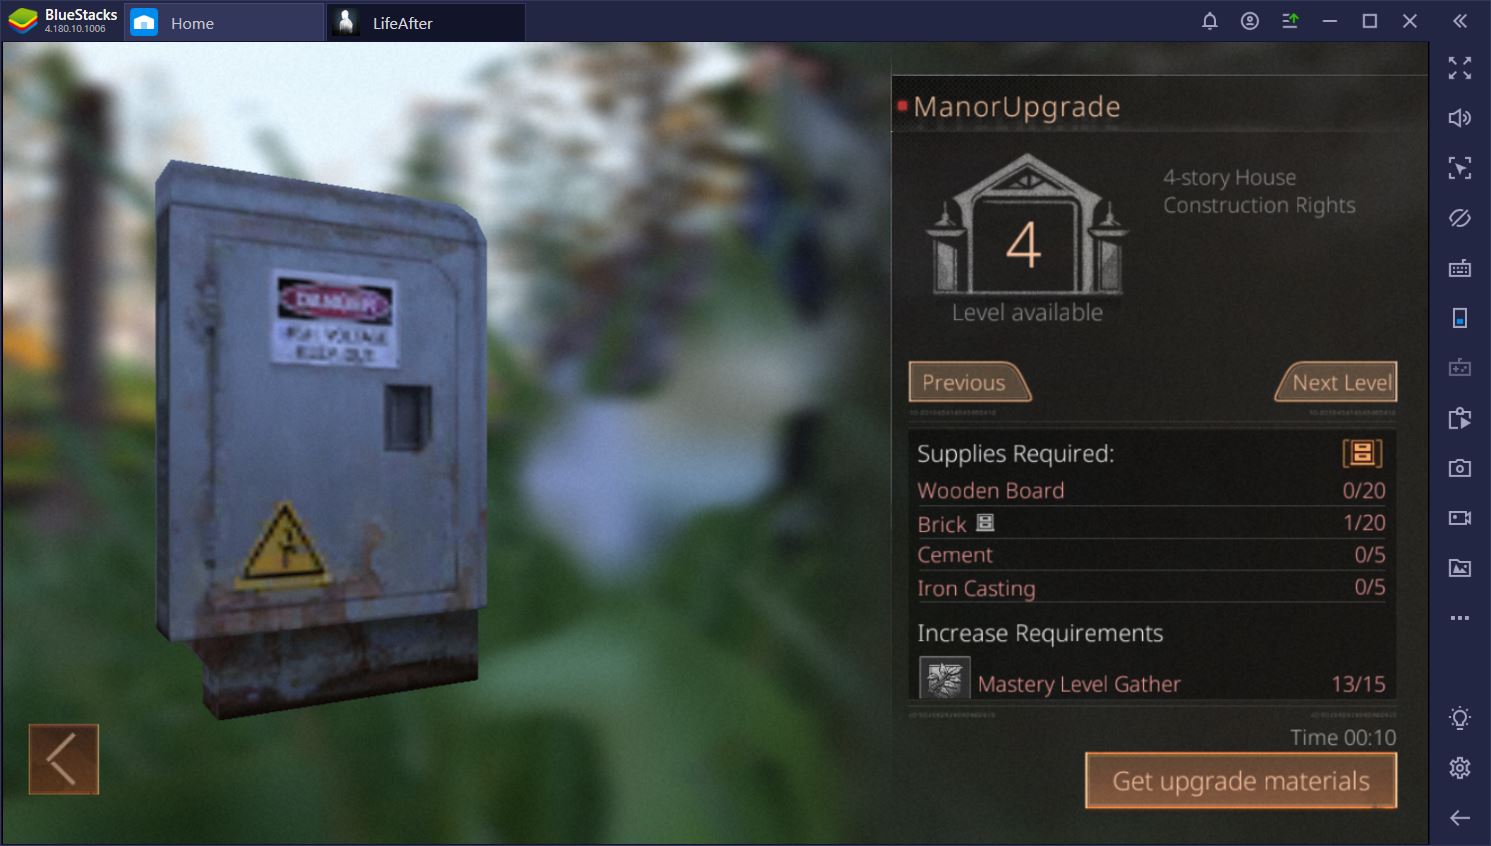
To add more structures and furniture to your house, you’ll mostly use the Material Bench. To begin with, you’ll want a few basic walls, door frames, doors, and windows, all of which can be created using just wood. As you improve the level of your Mansion, however, you’ll be able to make Enhancement kits using more advanced materials in order to upgrade your current structures.
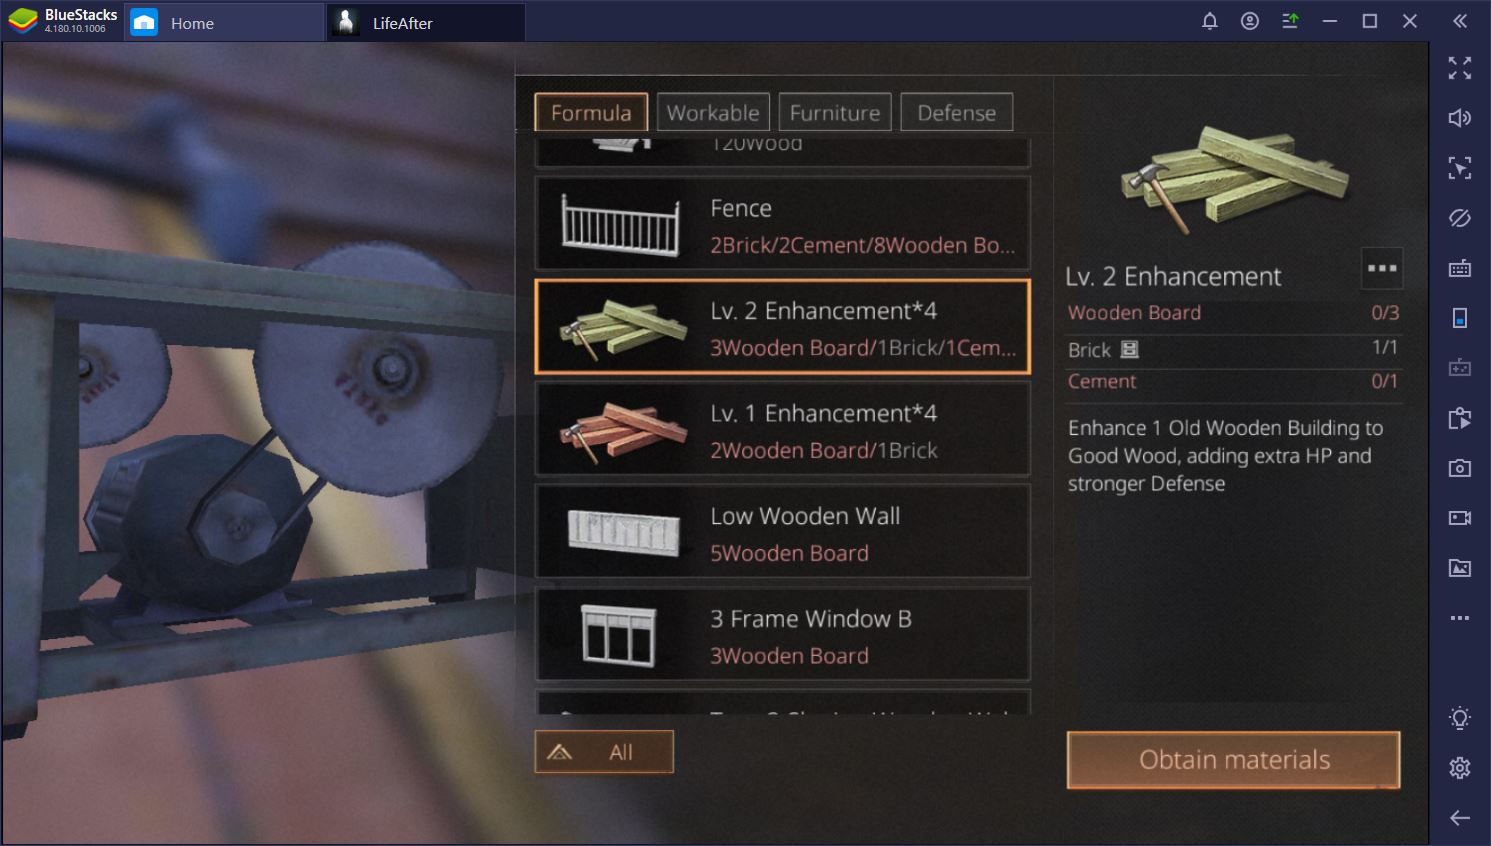
The more they increase in levels, the more each Enhancement kit will cost you. This is why, by the time you reach Mansion level 3, you should definitely have a plan or blueprint in mind before you continue to improve your home. Otherwise, you’ll be spending valuable resources on things that you might later tear down.
2. Placing the Foundation and First Set of Stairs
During the tutorial that introduces you to the Development Area, you’ll be given a foundation structure and access to the Material Bench. Now, you’ll be in a bit of a hurry to place the foundation seeing as zombies are about to invade your newly acquired home, but that doesn’t mean you should drop it at random. Find a good position that is more or less at the center of the area because you’ll want to surround your home with walls later down the road.
If you’ve already completed the tutorial and placed the foundation, but you are now unhappy with where you put it, don’t despair. You don’t have to start over, but you will have to reach Mansion Level 3 and spend quite a bit of money to have the foundation (alongside your entire house) moves to a better location.
One important thing to remember when you place the first walls of your home is that you will need to save some space for the stairs to the second floor. Stairs need a square of floor in front of their top end to work, so keep this in mind when you assign their spot on the first floor. You don’t need the same for the bottom end, but it can look rather inaesthetic if you place the stairs right in front of a wall. Trust us: it will bother you later on.
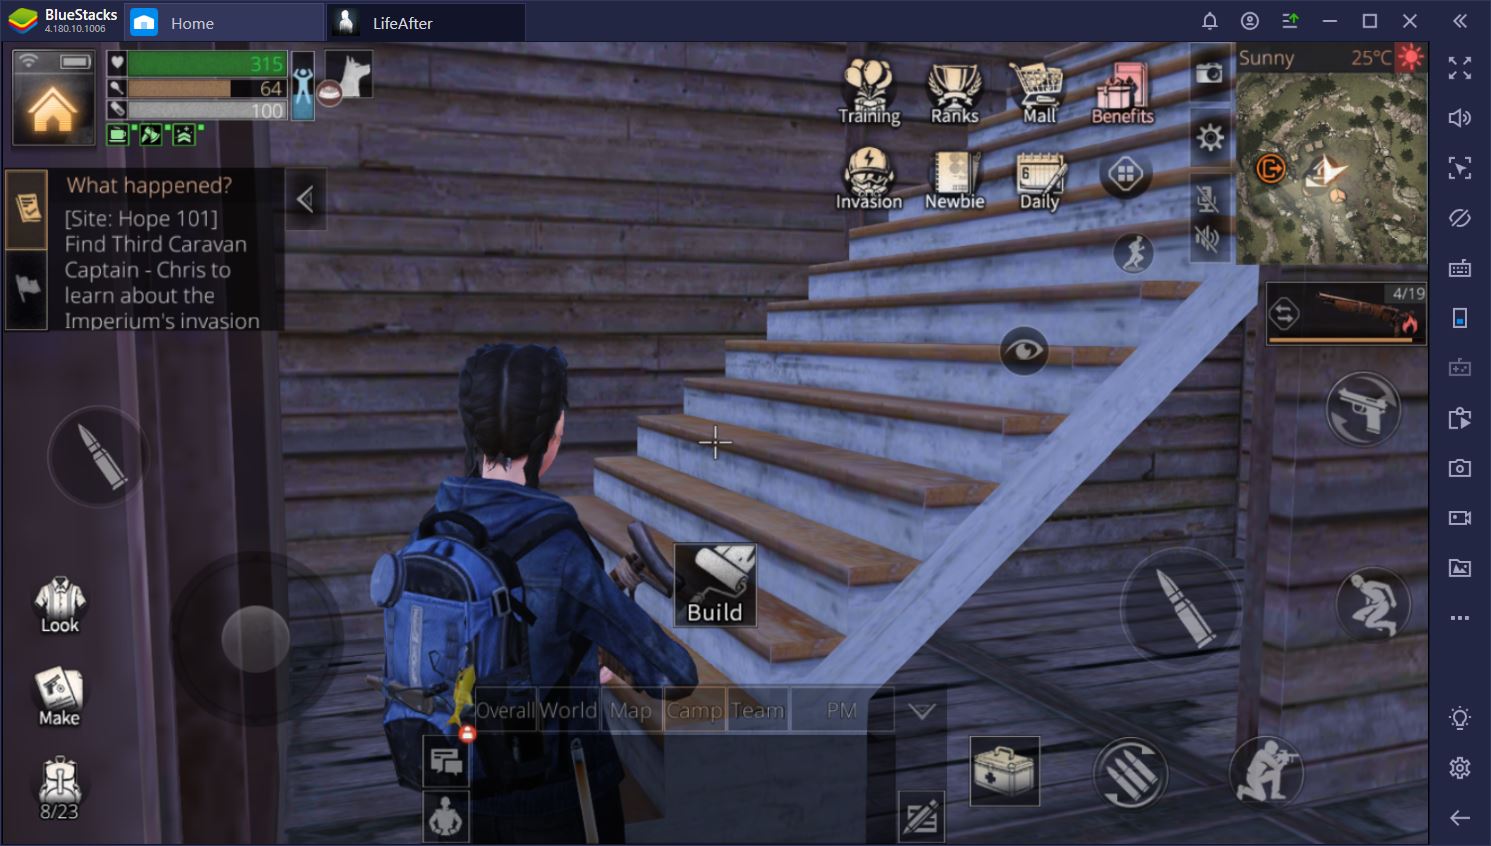
Fortunately, you can replace the stairs you get initially with a more compact structure once you reach Mansion Level 4. This will help you clear up some space and make your home look better overall.
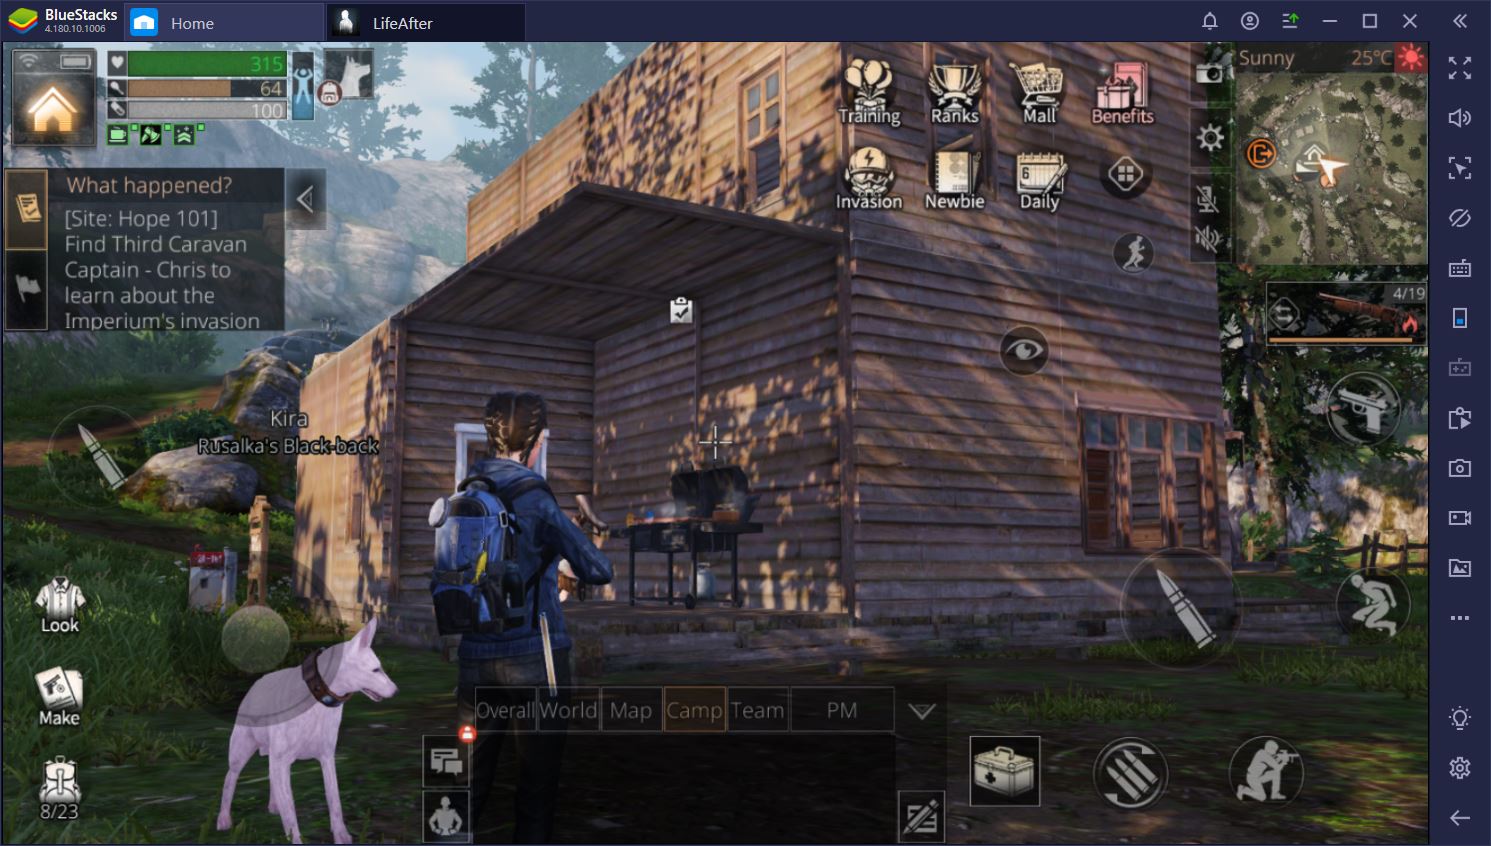
3. Walls, Doors, Windows, and Rooms
As you’ve already probably noticed, the foundation is fairly small and doesn’t give you a lot of room to work with. Since you’ll mostly expand on a vertical level, this is not that big of a problem, but you might want to make use of as much of the foundation as possible when you build your first enclosure of walls.
Just don’t forget to leave a bit of room for the porch in front of your door. Again, this might not seem like a big deal now, but it will annoy you later on if you have to jump straight into the door without a nice porch to make the transition between the ground and the house.
A door is a two-part structure in that you need both a frame and the door itself to make it work. Since your interior space is fairly limited, you might want to refrain from using doors on the inside. Instead, you can use separating walls to divide between rooms or give yourself some privacy while you’re using the toilet, for example.
As for windows, their purpose is mostly aesthetic. After all, you want plenty of light in your new home in order to showcase your gorgeous interior design. One practical use of windows is to give you a way to shoot enemies from inside your home. To be able to do this, though, you have to strategically position your windows to get the best all-round view of your property.
4. Terraces and the Roof
Roof structures become available at Mansion Level 2, but you have to reach Craft Mastery 10 in order to create them at the Material Bench. Our advice is to avoid them altogether, at least until you reach Mansion Level 5. Why? Because your house will have at least 3 levels and there’s no point in adding a roof on top of the first or second floor if you’re just going to destroy it later on.
If it bothers you that your house is not covered, you can always use simple floor pieces to create a temporary roof. This way, you don’t have to destroy anything once you decide to expand to another floor.
As for terraces, they are – like windows – a wonderful way to improve the overall design of your house. Also like windows, you can position them strategically, on the second and/or third floors, to have the high ground over invaders. Zombies, in particular, will not be able to reach you if you’re shooting from a terrace on the second floor.
That’s it! These are the construction basics that you should keep in mind when you start building a new home in LifeAfter. As your mansion improves in level, you’ll have plenty of new options to explore, including rounded floors and walls. Provided that you’ve built a solid foundation, though, you shouldn’t have to destroy many of your existing structures to create a beautiful home.