Standoff 2 Strategy Guide: Learn How to Play Against the AWM
In this Standoff 2 guide, you will be learning about countering the AWM. You’ve all been in games where one enemy buys the AWM and the entire game changes, spiraling into a loss. That’s because your team isn’t playing against the AWM properly. While the AWM is extremely strong, it’s actually quite balanced, with a ton of counterplay and ways to abuse the purchase, and absolutely destroy the enemy economy. It just takes a little extra effort. This is why this guide is going to be covering everything from how to optimize your aim in battles against an AWM in a standard fight, to the proper ways to play against an AWM to avoid those bad fights altogether and skyrocket your win percentage against enemies who pick up the weapon.
Smoking
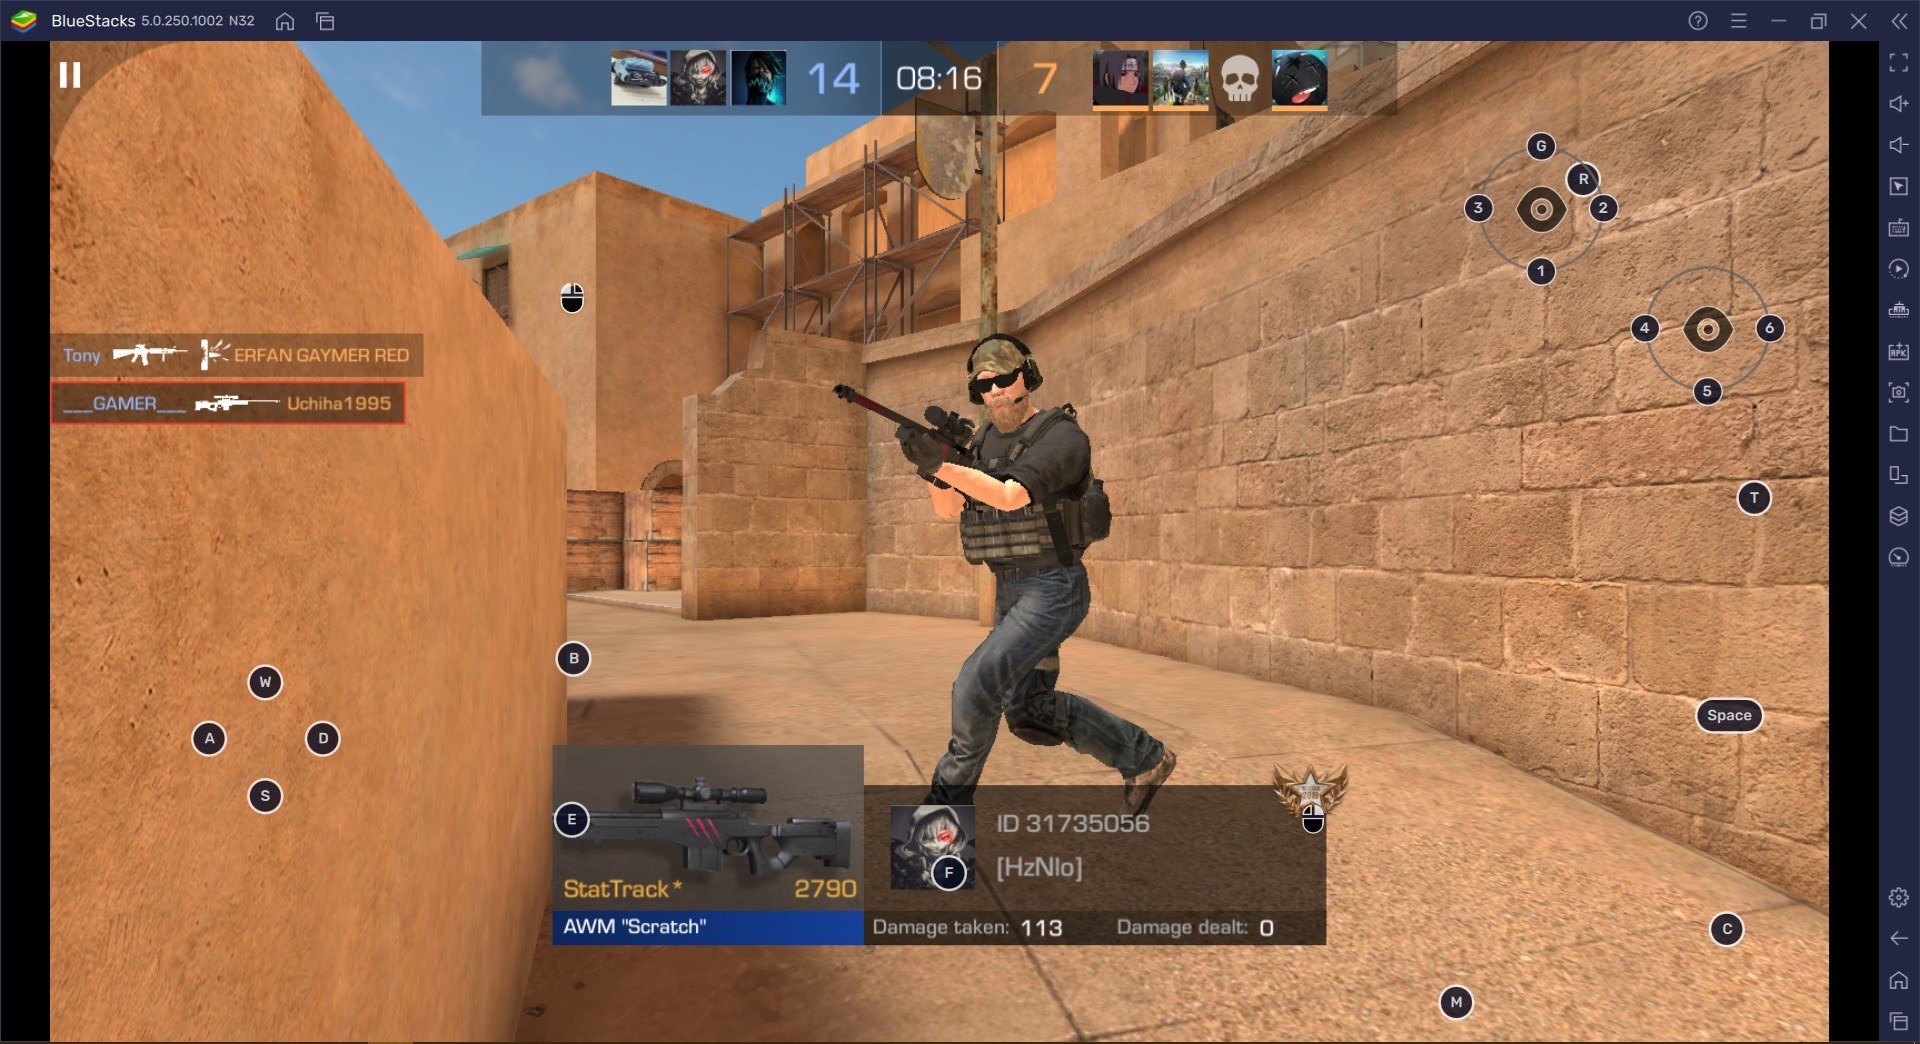
Now, smokes and controlling an area are going to be the most important things for countering the AWM. Let’s start with smokes. Smoking off areas is the obvious answer because long sightlines and unblocked vision is the perfect scenario for an AWM to thrive in. Instead, you want to smoke off the problem areas of whatever you’re trying to take. That’s the base level that a lot of people are learning. You should also be changing up the smokes that you’re throwing to counter the AWM as well.
You’re going to be smoking off areas deep in bomb sites to take control of a large area to post plant from. However, instead of throwing those and giving the AWM a chance to fall back and reposition to take another shot, you should be throwing choke smokes. This way you choke out an area to stop the AWM from having anywhere to play. Your smokes should be used right on top of the angles that you think an AWM could be playing to choke out a bomb site to keep all the fights close range, so that peeking with an AWM would be a death sentence.
Even with this smoke strategy, you can’t always know where the Operator is or have smokes readily available to deal with it. So in this Standoff 2 guide, you will learn about how to optimize your chances in a 1v1 against an AWM, with proper peeking strategies.
Shoulder Peek
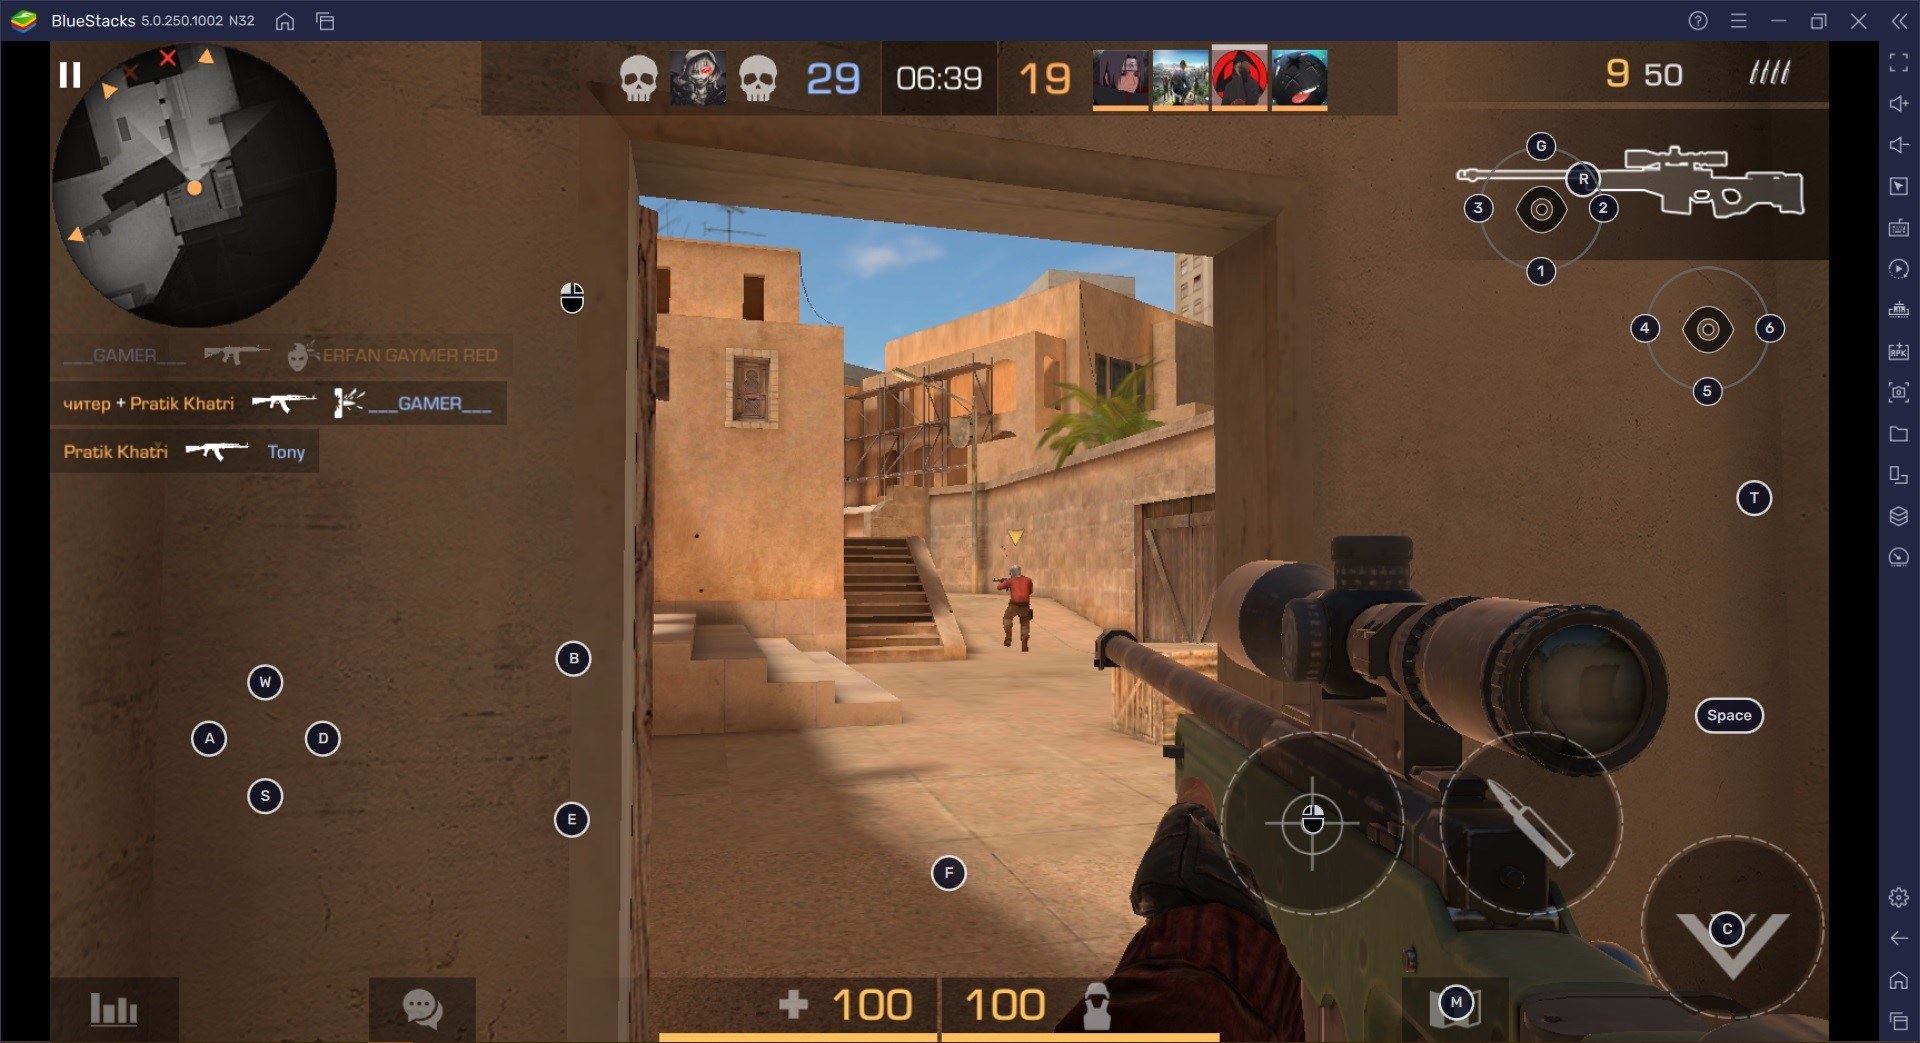
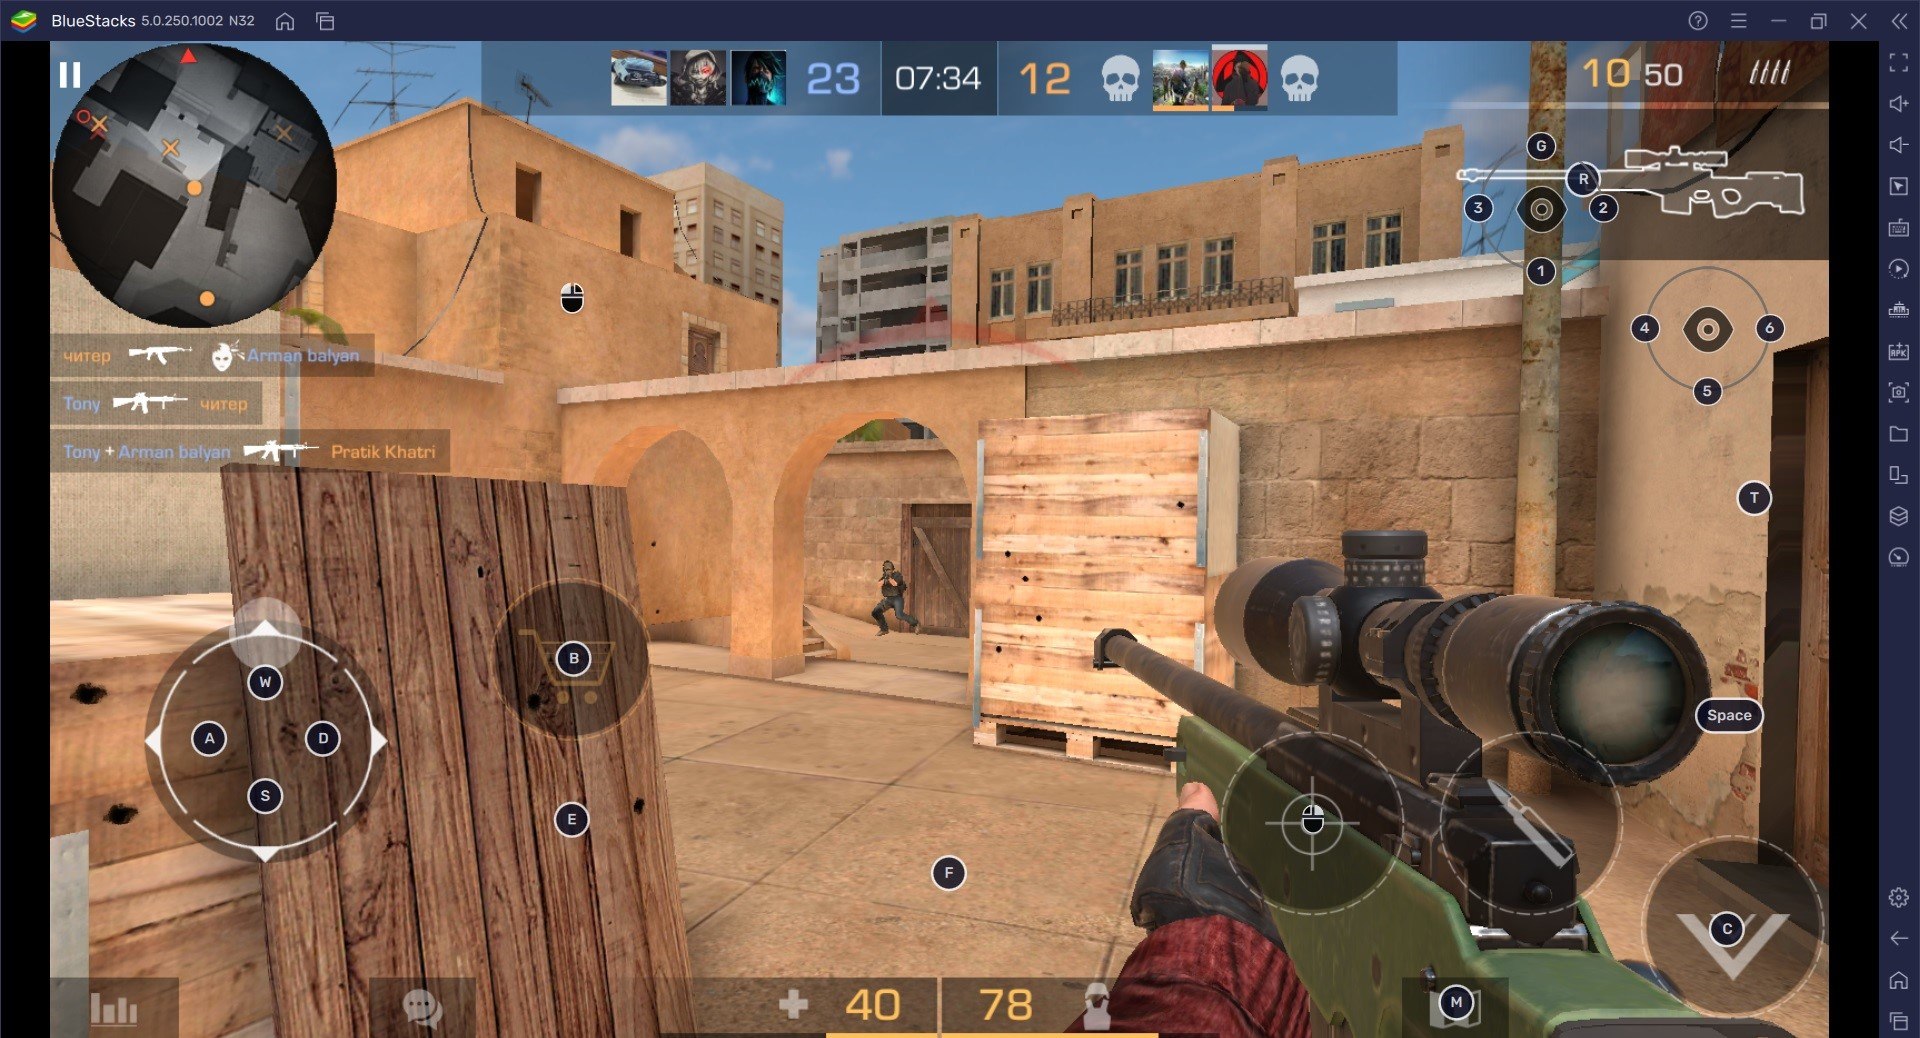
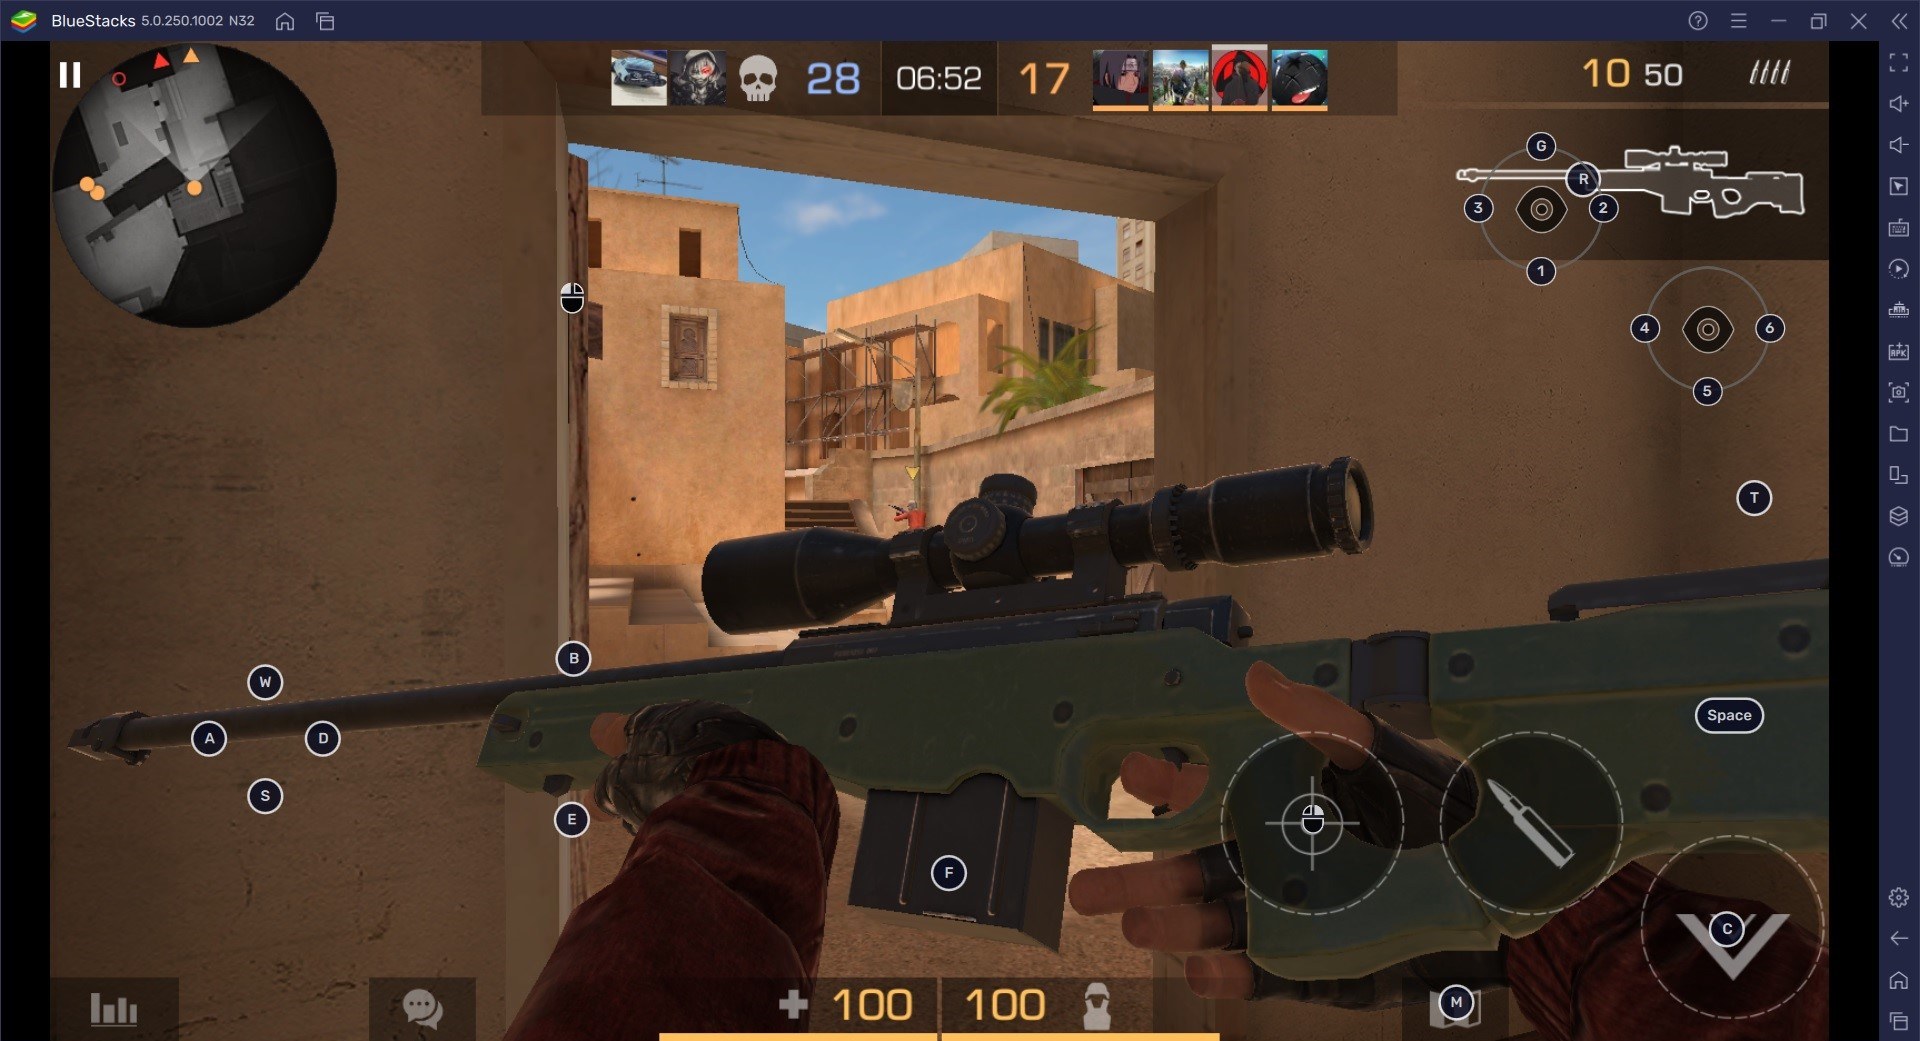
Now, first and foremost, shouldering is going to be one of the best ways to kill an AWM player. That’s because the goal is to not actually to peek the AMW, but to show it your shoulder. Just enough to draw a shot out, but fast enough to where they can’t actually hit you. Whenever they shoot you, immediately peek to the corner and take the fight, or just take the area control. The trick is to not show too much shoulder and end up getting shot on your peek. So keep the shoulder peek tight and immediately get back behind the wall before they take the shot.
Strafe Peek
The next step from the shoulder peek is the strafe peek. Now, you can pull your knife out and jiggle peek the angle to see if the AWM is there and get back behind the wall. This is a great strategy that probably won’t get you killed in most scenarios. Strafe peek is much faster and even in high ranked games players almost never hit the shot on the strafe peeker. So the whole goal is to angle yourself towards the corner that you want to peek, run towards it, jump, allow your eyes to get slightly past the angle, so you can see, and immediately press A while holding W and drag your mouse to the left to get back behind the wall.

Another way to do it would be to press D while holding W and dragging your mouse right to get back behind the wall. With this, you’re staying full running speed the entire time throughout the peek. The disadvantage being that you will be at an uncommon angle with very unpredictable movement. From there, though, you can catch a glimpse of the AWM through your strafe peek. Now you can set yourself up to peek them and immediately swing out and prefire the angle they were holding. You can also use the information you gathered from your peek to counter the AWM and play properly around it.
Double Peeking
This brings the guide to the final peeking tactic, double peeking. So the whole goal here is for you and another teammate to swing an angle at the exact same time. That way there are 2 targets on the enemy screen, making it less likely for them to be able to hit shots. You have 2 people shooting at them to kill them first and be able to get the trade whenever a teammate dies. A 1v1 against an AWM is a huge win for the team that killed the AWM.
The basic strategy is for both players to be perfect peeking the angle. The first person should be swinging a little further than normal for the angle, that way they give their teammate a little room to peek out and not be lined up with you, so they don’t get killed through you. Even if you have to do a 3 2 1 countdown to coordinate it, being able to double peek effective will win you a ton of games, even if it’s not against an AWM.
Mobility
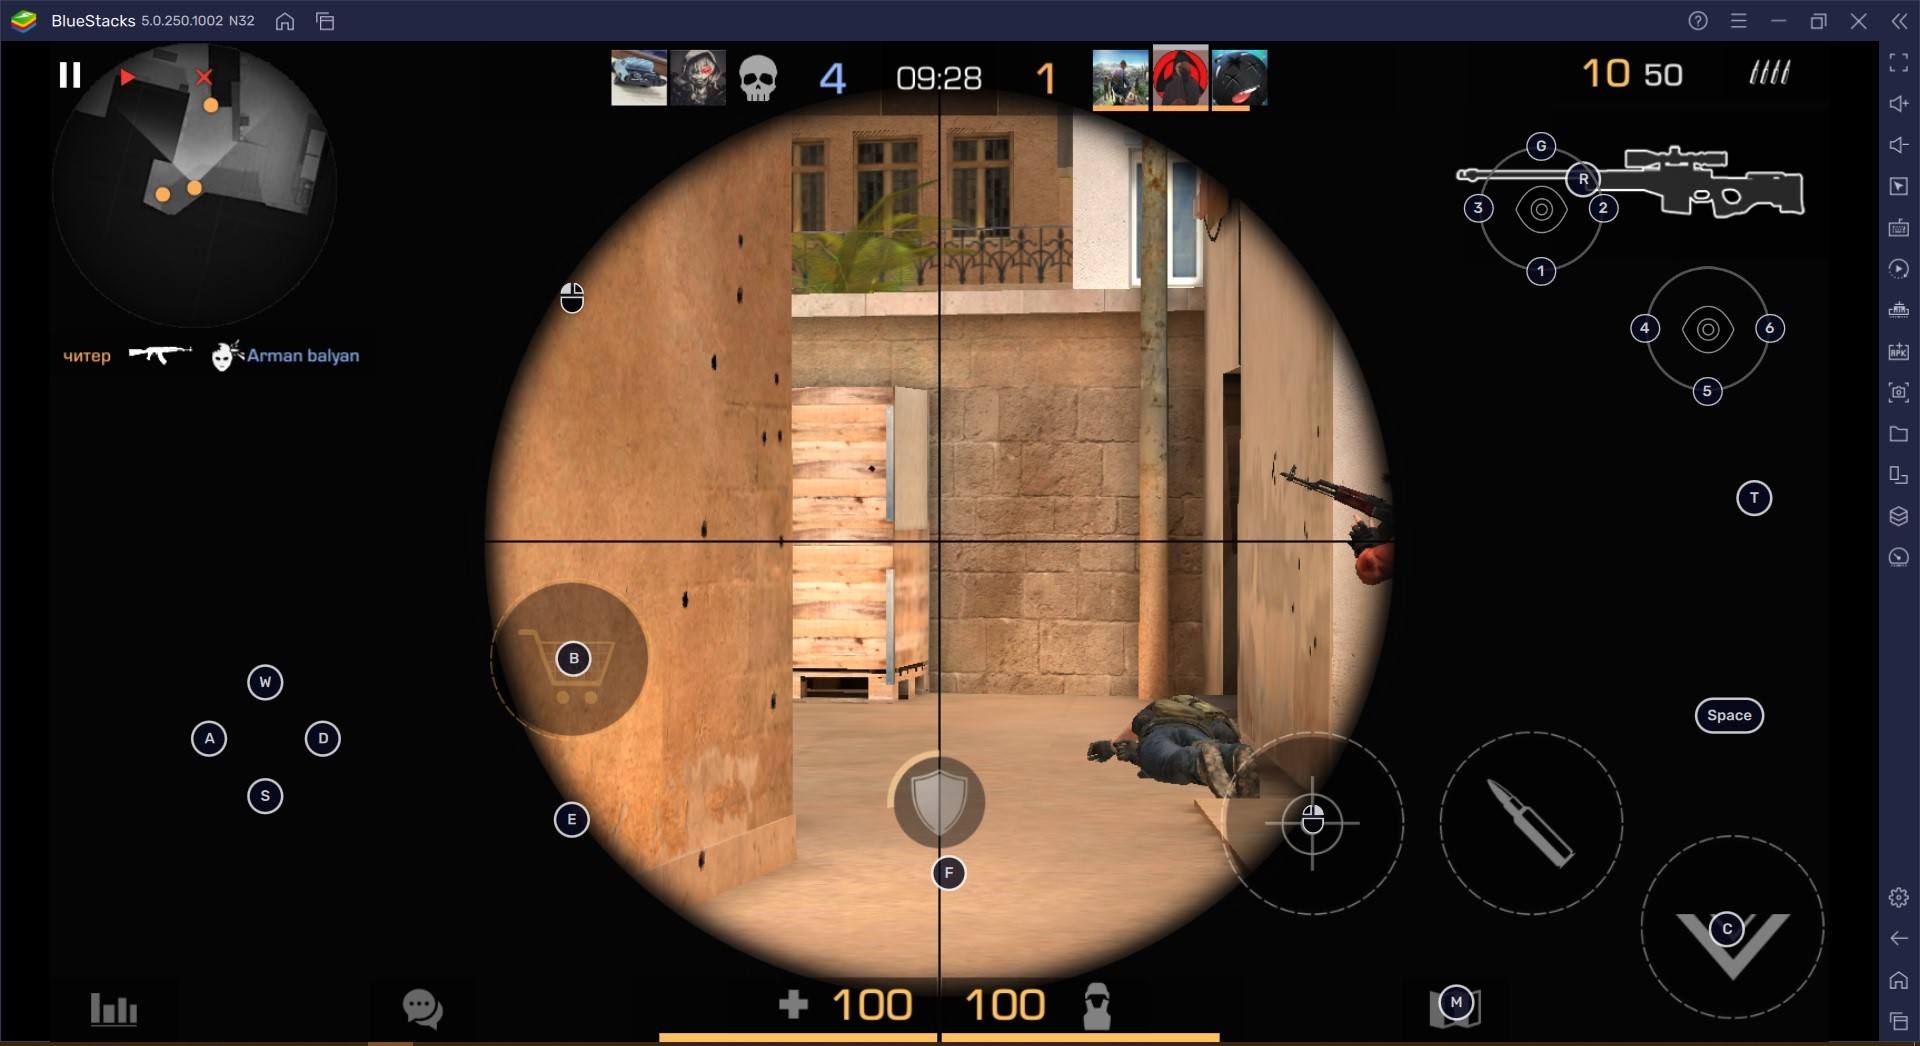
Next up, though, you have mobility. Mobility is one of the most difficult things for an AWM to deal with because it is quite slow. The goal is to literally get on top of them with your mobility whenever the enemy has an AWM. So for example, if you know that the enemy has an AWM, instead of smoking the entrance way to cover that little extra distance, start smoking from further back. That way you’ll have the height and speed whenever you come around the corner. This way you can move in smoke cover straight into the middle of the site and be right on top of the AWM. There’s a chance that they hit a good shot on you or no scoped you.
For the most part, you will be winning that fight if you don’t mess your smokes. You have to combine your mobility with your smokes that we talked about earlier. With choke smokes, it makes mobility so much more effective. Smokes in the middle of the site give you safer spaces to pull your gun out and to play around and be unpredictable with. Don’t forget, whenever the enemy AWM shoots, they have a pretty long delay before they can get another accurate shot off. So if you hear the shot and are in mobilities range away, hit that run and get in their face. Usually, even if you miss a couple of shots because it was an impulse play, you have enough time to finish off the kill anyway. That’s because the Operator has such a slow fire rate.
Playing the Enemy AWM
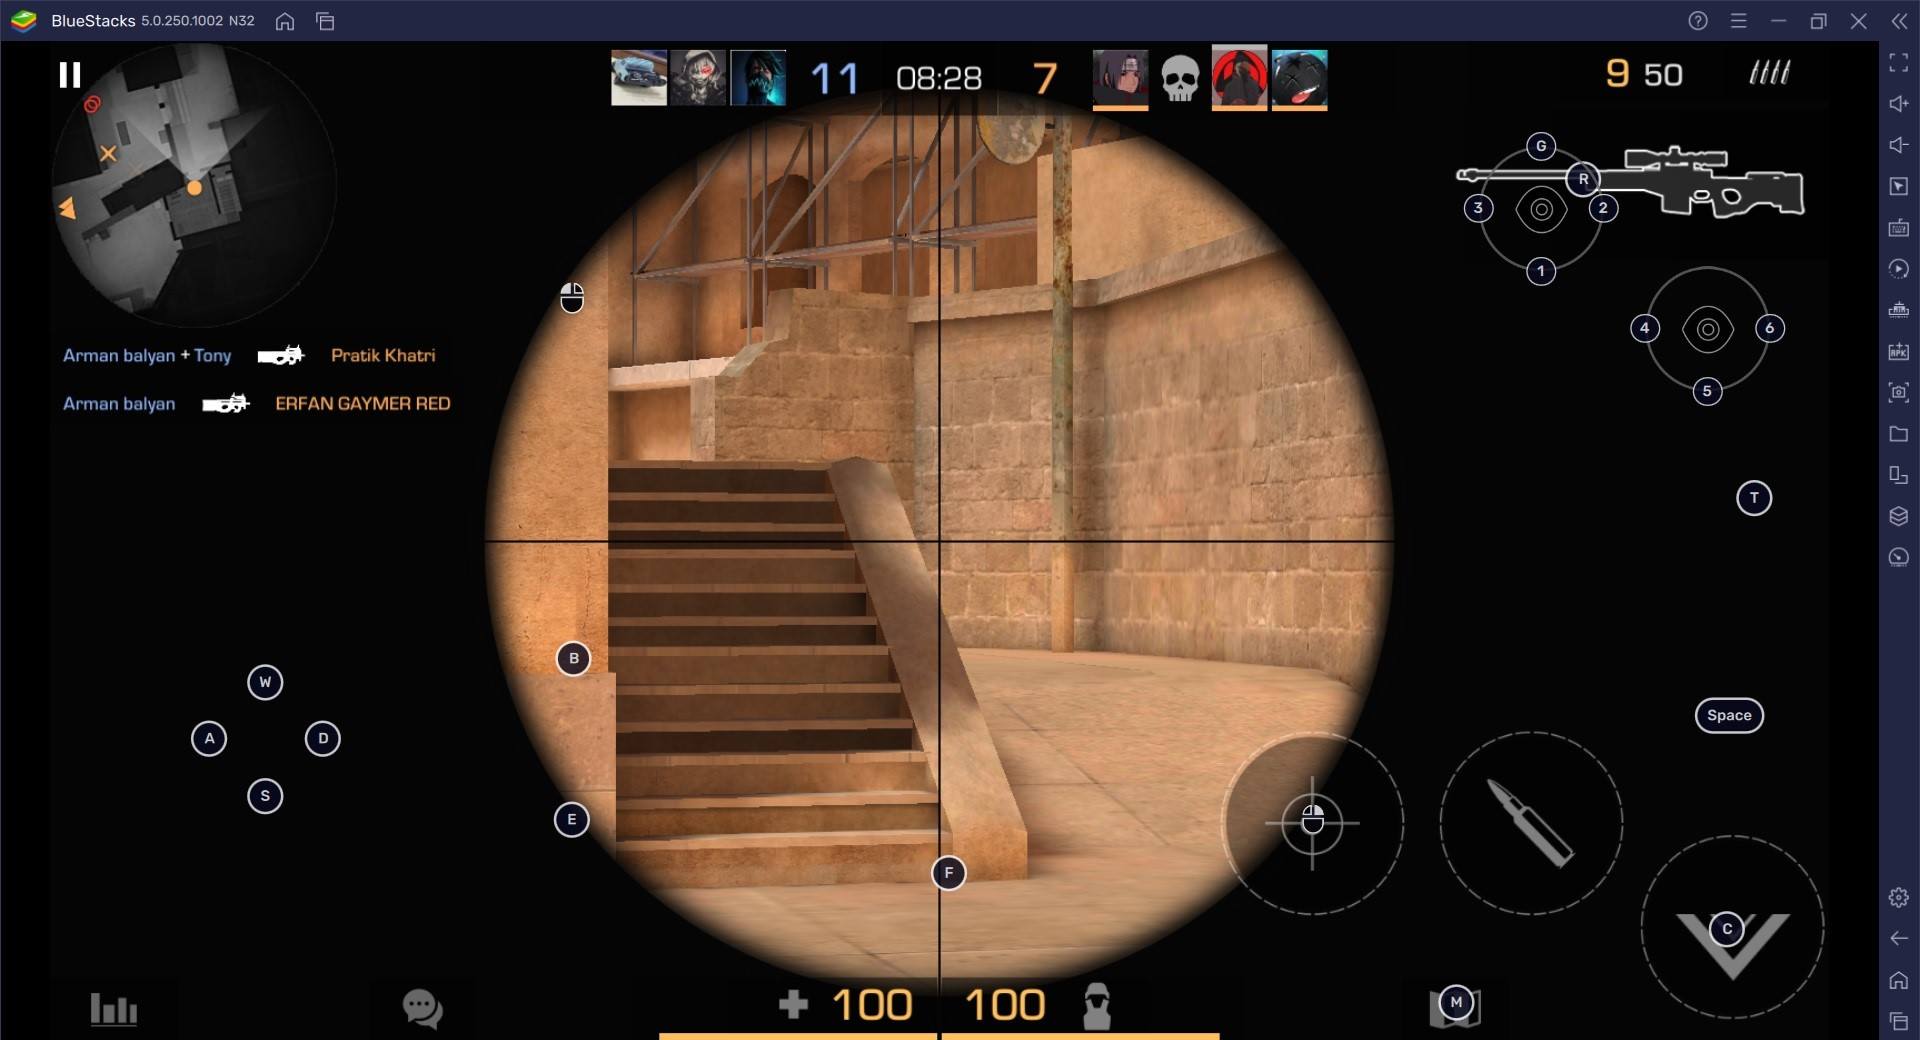
Now let’s discuss how you can force the AWM player to retake, or take a site. This is something that almost no one is doing currently. The other team has an AWM and everyone just gets scared and is afraid of pushing a Bomb site, so they start playing way too slow. Instead, you should focus solely on getting on a bomb site and getting a plant down at all costs. Unfortunately now most times players who play Standoff 2 are pretty much playing team deathmatch for most of the rounds. If you can’t play that way against an AWM, it’s time to play objectives, and only push when you NEED to. Whenever you take a bomb site, stop pushing and start playing for post plant crossfires where the AWM have no chance.
Just remember that whenever you get cocky and push your site to look for kills, that’s when the AWM starts getting opening picks. Instead, think about how slow the AWM is when moving, and how slow the fire rate is for the AWM. That makes retaking with the weapon one of the worst things in the game. The AWM has to slow peek at nearly every angle, and can’t multi-frag if you’re ready to trade. So where the AWM is strong at holding down an area and playing slow. This is where you and your team comes in. Force the AWM to have to retake an area and play fast. Both of which are very inconsistent things for an AWM to do, and are going to plummet the enemies win percentage. Finally, let’s discuss choosing the right fights. It’s not all about the tactics that you employ to take down the AWM.
Sometimes if you just pick to fight them at the wrong angle or wrong area, you just have very little chance of winning the round. Now, angle choice is the most important. Here is what you should do when the enemy has an AWM and you don’t know where they’re going to be playing. What you need to do is choose an area to push with the thought that they could have an AWM in mind. Basically, always assume they’re there with the sniper. You should be choosing fights that limit the number of times the AWM player can take shots off and continuously fall back. Ultimately, teamwork and playing proactively are going to be the most important things for being successful against an AWM. Everything in Standoff 2 is about trial and error. So learn from the mistakes you make today, and improve them for tomorrow.