Monster Never Cry Reroll Guide - Get Top Tier Characters from the Start
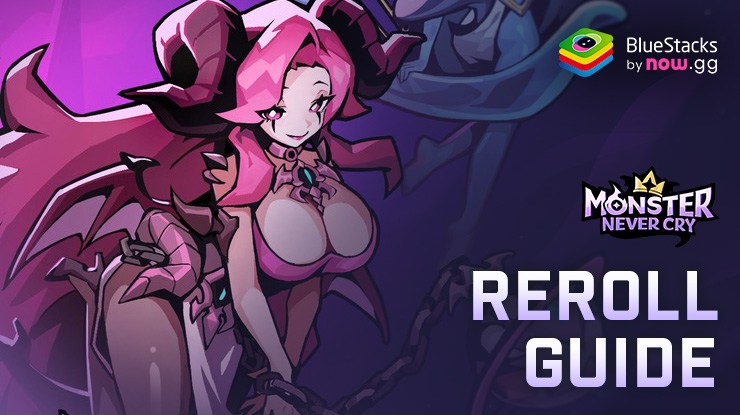
In Monster Never Cry, players step into the role of a Demon Lord, rallying a legion of diverse and powerful monsters to reclaim the Exiled City’s lost glory. The RPG game intricately weaves strategies with a captivating collection mechanic, where securing potent monsters early on is crucial for dominating battles and accelerating your progress. In other words, achieving a strong start by unlocking top-tier characters can set the tone for your entire gameplay, making early victories easier and more rewarding.
Rerolling emerges as a pivotal strategy for players aiming to optimize their starting lineup, offering a chance to redraw for better characters without investing further into the game. When played on PC with BlueStacks, this process becomes significantly more efficient. BlueStacks enhances the rerolling experience by allowing for faster, smoother operations and the ability to manage multiple instances simultaneously, drastically increasing your chances of securing those elusive top-tier monsters from the onset.
With that said, this guide is dedicated to sharing the optimal rerolling strategy in Monster Never Cry, specifically tailored for players on BlueStacks. We’ll walk you through each step to ensure you can harness the power of rerolling to its fullest, setting you on a path of conquest and success right from the start.
How to Reroll in Monster Never Cry
Like with most gacha games, rerolling in Monster Never Cry is a simple yet time-consuming process. Here’s a step-by-step breakdown on how to proceed:
- Start a new game by logging in a guest.
- Complete the tutorial, past the point where you get a free 10x summoning.
- Once you have free control of the game, claim your free rewards and redeem codes for this game, in order collect more currency for more rolls.
- Spend all your currency and rolls in the gacha and check your results.
- If you’re not satisfied, you can reset your progress by exiting the game, deleting its local data through the Android apps menu.
- Repeat steps 1 through 5 until you obtain the characters that you want.
Remember that, once you unlock your desired characters, you should bind your account with Google Play to ensure that you don’t lose them whenever you uninstall the game or change devices.
Expediting Rerolling with BlueStacks
BlueStacks significantly streamlines the rerolling process in Monster Never Cry through its Instance Manager feature, a tool designed to multiply your chances of unlocking the game’s most powerful characters from the very beginning. By allowing you to run multiple instances of the game simultaneously, you can perform several rerolls at once, thereby saving time and increasing efficiency. This approach not only speeds up the quest for top-tier monsters but also enhances your overall gaming experience by leveraging the power of your PC.
For detailed insights into maximizing the Instance Manager and other features that can aid in your rerolling endeavors, refer to our BlueStacks Features Guide. Additionally, to ensure you’re set up for success from the start, check out our Monster Never Cry PC Setup Guide for a quick explanation on how to install the game on your computer. These resources provide invaluable tips and tricks for utilizing BlueStacks to its full potential, making your journey in Monster Never Cry as rewarding as possible.
As we wrap up this guide, remember that the initial characters you unlock can significantly impact your gameplay, setting the stage for your future conquests and achievements. With BlueStacks, you’re equipped to reroll efficiently, paving the way for a powerful start in Monster Never Cry.
Happy gaming and may fortune favor your draws!
