Custom Resolution Presets Support Now Available on BlueStacks Version 5.8
Good news for content creators and all other users interested in tinkering with BlueStacks! The latest version of our Android app player is officially bringing the support for custom resolution presets. What this means is that, unlike in the past where you had to manually input your custom resolutions every time you wanted to swap, BlueStacks version 5.8 not only increases this resolution support to up to 4K, but also lets users create many different custom resolution presets and alternate between them with a few clicks.
This new feature is especially useful for streamers or content creators who, in order to optimize their graphical settings when capturing their gameplay with any third-party software, might need to frequently adjust the size of their BlueStacks window. This is in order to accommodate an on-screen overlay such as when streaming through OBS, or to add any other visual elements. In this sense, the addition of custom resolution presets lets you fine-tune your BlueStacks client so that all the elements of your emulator look crisp and clear, regardless of the size of your window.
These custom resolutions were originally implemented to give our emulator even more flexibility and versatility for a wider variety of users. Furthermore, the addition of the custom resolution presets was so that these settings were very easy to access and swap around, in case you have multiple resolution requirements for your setup.
How to Create and Use Custom Resolution Presets
To use the new custom resolution preset settings, please follow these easy steps:
- Go to our official website and download the latest version of the BlueStacks app player.
- Once installed, launch the app player and open the settings menu by clicking on the hamburger icon on the top right.
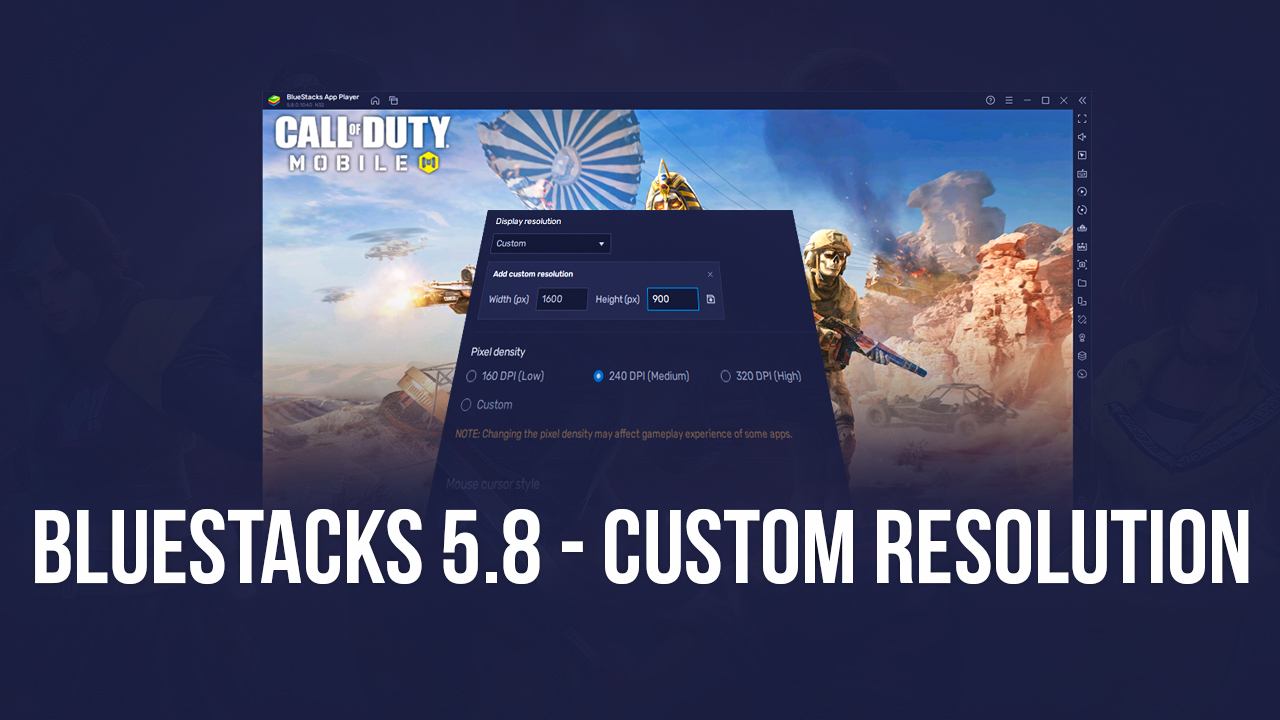
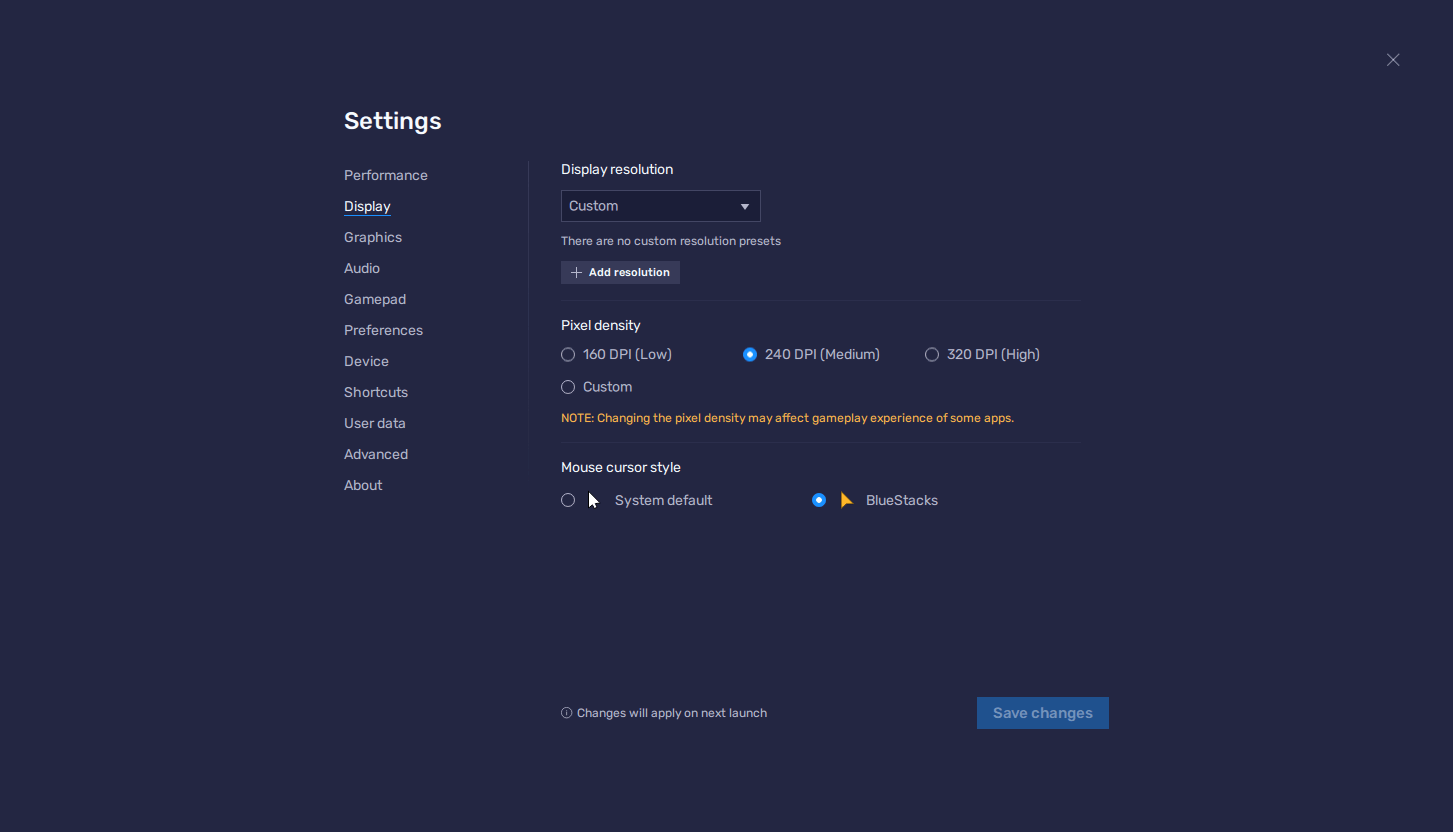
- In the “Display” section, you can find the “Custom” option in the dropdown menu right beneath where it says “Display resolution”.
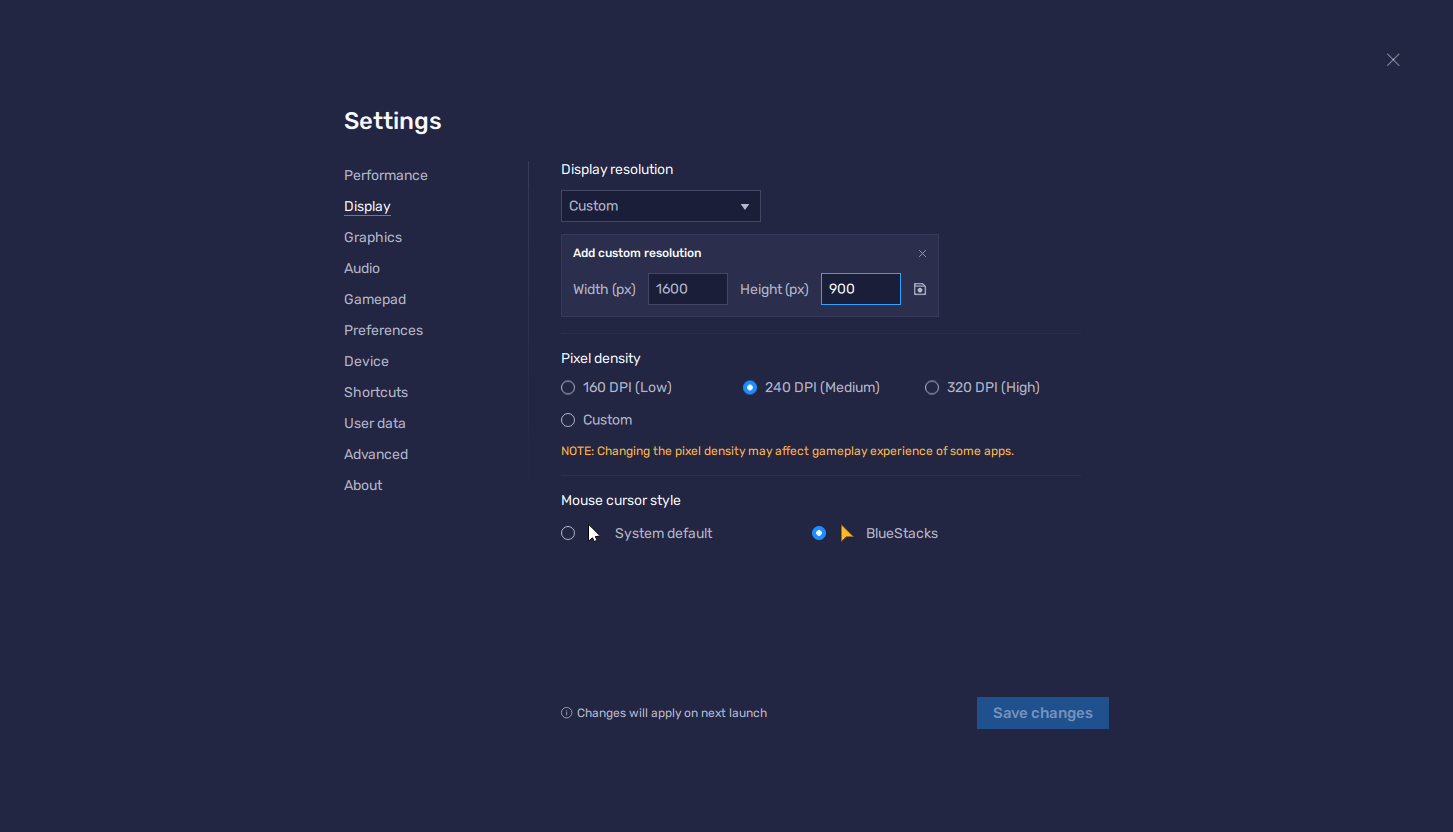
- After selecting “Custom”, please click on the new “Add resolution” button that will appear underneath the dropdown menu, followed by introducing the Width(px) and Height(px) values for the resolution you want to create. Click on the save icon to the right to save this resolution preset.
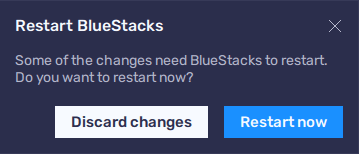
- Once created, simply click on the new preset, and then on “Save changes” on the lower right to activate it. You’ll be prompted to restart your BlueStacks client every time you switch resolutions, after which the app player will launch with the selected settings.
Keep in mind that only the act of switching resolutions requires restarting; creating new presets does not. You can create multiple presets with this feature, letting you easily swap between multiple resolution settings with just a few clicks. Furthermore, to delete your custom resolutions, you can simply click on the trashcan icon that appears beside your presets when you hover your mouse over them.
Here at BlueStacks, we believe in giving our users the most freedom when it comes to enjoying their favorite mobile games on PC. In this sense, not only do you get the absolute best performance and graphics by playing on our emulator, but you also get access to increasingly more features and versatility with every single update.
What do you think of the new custom resolution presets feature for BlueStacks 5.8? We’d love to read your thoughts in the comments below!