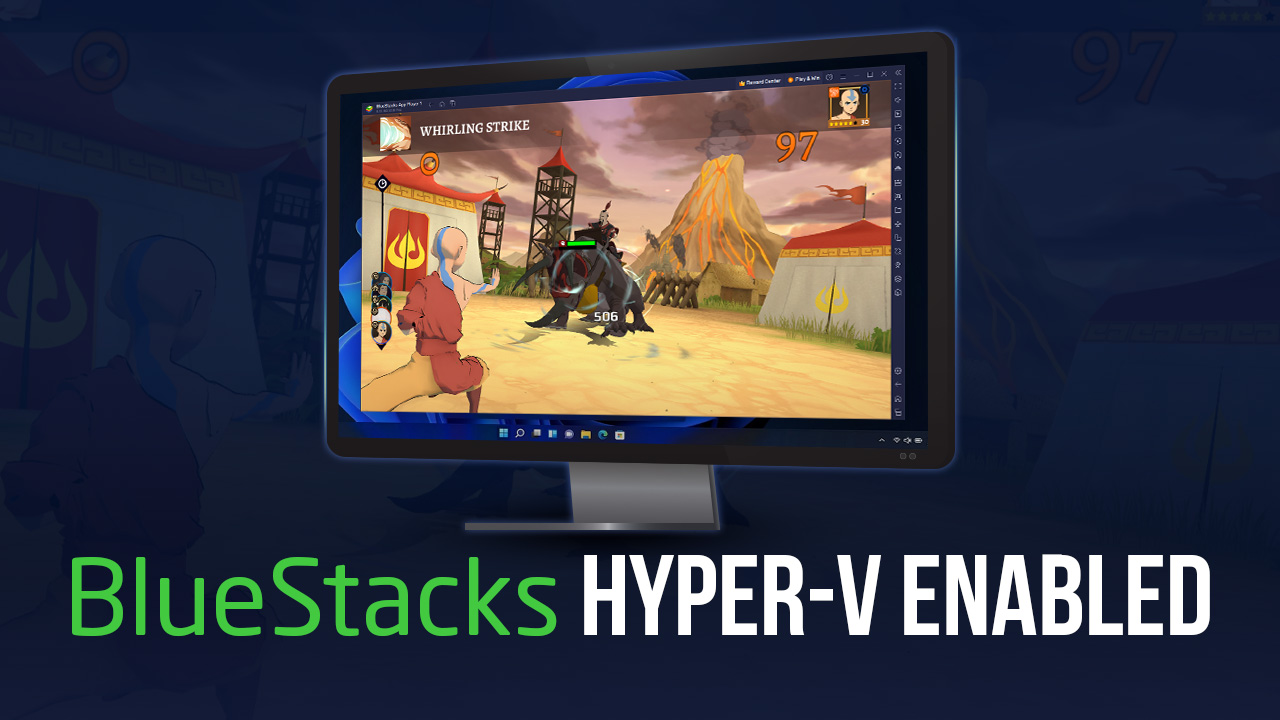
Latest BlueStacks Update Allows Playing with Hyper-V Enabled Using Android Pie Instances
BlueStacks is the fastest, lightest, and overall best Android app player in the market, a feat that we have achieved thanks to our unique optimizations and through the wizardry and witchcraft of our top engineers. On top of these optimizations, BlueStacks also offers a variety of tools and features that can help to further enhance the user’s gameplay experience with most titles. As such, your games will not only run with the best graphics and performance on BlueStacks, but you’ll also find tools to increase your automation, enhance your controls, and even to play on multiple accounts simultaneously and streamline multitasking.
While BlueStacks comes ready to use right out of the box, most users will have to fulfill a few requirements in order for the app player to function correctly. The first of these requirements is that the Virtualization technology must be enabled, which can be performed from the computer’s BIOS screen. The second and more relevant aspect for today is that Hyper-V technology could NOT be enabled, otherwise it would interfere with the aforementioned Virtualization and reduce the app player’s performance or even render it entirely inoperable.
Luckily, we bring good news to the users who rely on Hyper-V to do their jobs or perform any other tasks on their computers: With the latest BlueStacks update, it’s now possible to play on BlueStacks with Hyper-V enabled when using Android Pie instances.
How to Play on BlueStacks with Hyper-V Enabled
As mentioned just now, if when you first started using BlueStacks you ran into issues launching the emulator, or had very poor performance in-game, odds are this was due to two distinct possibilities: Either your system has the Virtualization technology disabled in the BIOS, which is a crucial component required by BlueStacks to work correctly, or you had Hyper-V enabled on your system, which is something common for folks who work with or use virtual machines. As such, getting BlueStacks to work was a matter of simply enabling Virtualization and disabling Hyper-V, and everything would start working correctly.
Of course, this solution meant that those who use their computers for working on virtual machines needed to either constantly toggle Hyper-V on or off depending on what they wanted to do (which requires a system restart every single time), or simply stop using BlueStacks or virtual machines on that computer altogether. Luckily, with the latest BlueStacks version, this is no longer the case, as it’s possible to use our app player with Hyper-V enabled and without any issues, by gaming on instances using Android Pie.
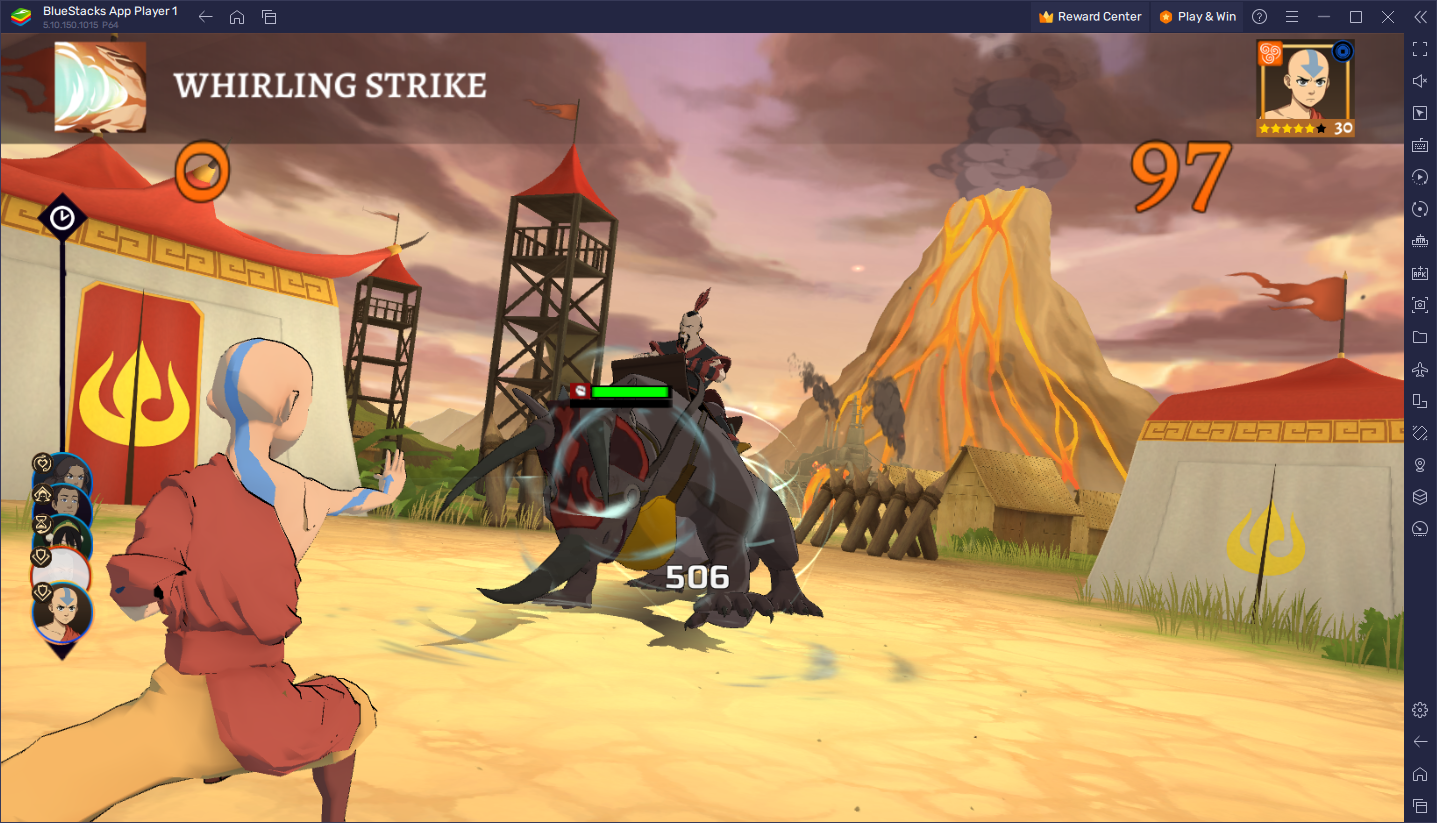
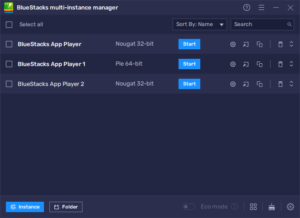
If you’ve ever used BlueStacks, you’ll already know that our Android app player gives the players access to the Instance Manager, which lets them create different instances of the emulator using different Android OS versions. In this sense, here’s a step-by-step breakdown of how to create an Android Pie instance:
- Launch BlueStacks and press Ctrl + Shift + 8 to bring up the Instance Manager.
- On the instance panel, click on the “+ Instance” button on the lower left.
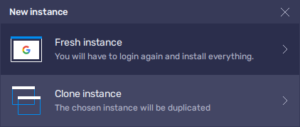
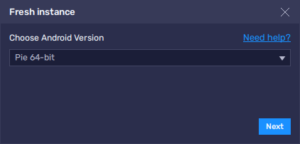
- Click on “Fresh Instance”, and then select “Pie 64-bit” on the dropdown menu.
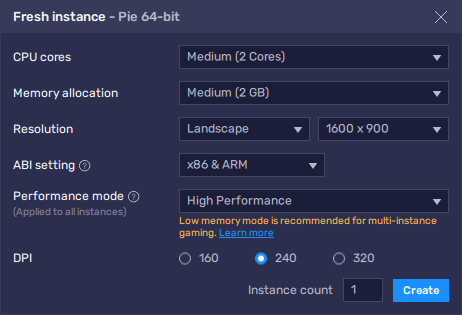
- Complete the CPU and RAM configuration part using the dropdown menus, and then click on “Create” to finish the process.
- Wait until BlueStacks downloads and installs the required files, upon which you should see your new instance listed in the panel.
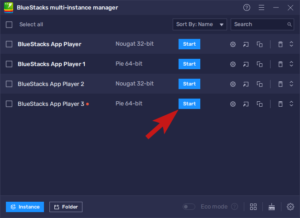
- Click on the “Start” button beside your new instance to launch and start using it.
After this process is completed, it’s only a matter of linking your Google account to it before you can start downloading and playing your favorite games on it. Even with Hyper-V enabled, you shouldn’t get any error messages or performance issues when gaming on Android Pie instances. Keep in mind that this feature is available only to these types of instances, and that you might run into issues when playing on any other types of instances while Hyper-V is enabled on your PC.
What is Hyper-V And How Does it Work?
Though its technical implications are far vaster than what we’re exploring in this article, Hyper-V is, in short, a technology used by the operating system in order to allocate physical resources to any other guest operating systems that might be running on the machine. In other words, Hyper-V is a technology required by the operating system in order to run virtual machines on the computer.
Each virtual machine that you create and run within an operating system effectively acts as its own isolated machine, and as such they are used for multiple purposes such as for users who need different versions of any given OS to do their jobs, or for tech-minded folks that simply enjoy tinkering around with other operating systems during their free time, to name a couple of cases.
Benefits of Playing with Hyper-V
While Hyper-V doesn’t bring any benefits or improvements to the overall gaming experience when playing on BlueStacks, this latest update will be very useful for gamers who often need to use virtual machines on their systems, and had to toggle it on or off when trying to play on BlueStacks on the same computer.
In this sense, if you only had a single computer that you use for both working with VMs as well as for gaming, you can now easily play on BlueStacks without having to struggle with toggling Hyper-V on or off.
How to Enable Hyper-V on Your System
If you already work with virtual machines, odds are that you’re already familiarized with how to use Hyper-V. However, for those users who aren’t aware of this technology, and want to give it a try to see how it runs alongside BlueStacks, enabling Hyper-V is pretty easy and can be done in a few steps.
The simplest method is the following:
- After making sure that Virtualization is enabled in the BIOS, download this custom tool.
- Once it finishes downloading, right click on the tool and click on “Run as administrator”.
- After clicking on the prompts and waiting for a few moments, you should get a pop-up saying that the process has completed successfully and that your computer will need to be restarted to finish enabling Hyper-V.
- Once you restart, you should have Hyper-V enabled while still being able to play on BlueStacks using Android Pie instances.
As mentioned, this is just one simple method for enabling Hyper-V on your system. If for any reason this process fails, then feel free to read our Hyper-V support article to find other methods through which you can enable this technology on your system.a