BlueStacks 5.9 Update Adds Support for Xbox Series X and PS5 DualSense Controllers
With another BlueStacks update comes additional features and elements. And while this time the number of new things is relatively small, this doesn’t make them any less significant, particularly since, with the latest BlueStacks update version 5.9, we’ve expanded the types of gamepads compatible with our Android App player to include the Xbox Series X controller, as well as Sony’s PS5 DualSense controller. After updating to the latest BlueStacks version, your emulator will be able to use these two outstanding gamepads to provide even more options when it comes to enjoying your favorite mobile games on PC.
This added compatibility comes hand-in-hand with the brand-new vibration feature, which uses your Xbox Series X controller’s onboard motors to provide increased immersion when playing any of your favorite mobile games on PC.
With this new update, whether you’re rocking a DualShock 4, an Xbox Series X controller, a DualSense, or any other of the compatible gamepads, you can now enjoy the best and most intuitive gameplay with a simple plug-and-play configuration. And in the case of your Xbox gamepad, you can easily toggle the rumble feature directly through the settings menu in BlueStacks.
How to Connect a DualSense or Xbox Series X Gamepad With BlueStacks
For those who are already familiar with how to use a gamepad on BlueStacks, the process for connecting these newly compatible controllers is very much the same. However, for those who are new to this process, all it takes is a few simple steps:
- Connect your controller to your computer via USB or Bluetooth, and run BlueStacks.
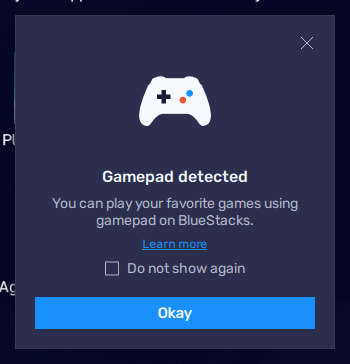
- Upon launching to the home screen, BlueStacks should immediately give you a prompt notifying you that it has detected a gamepad.
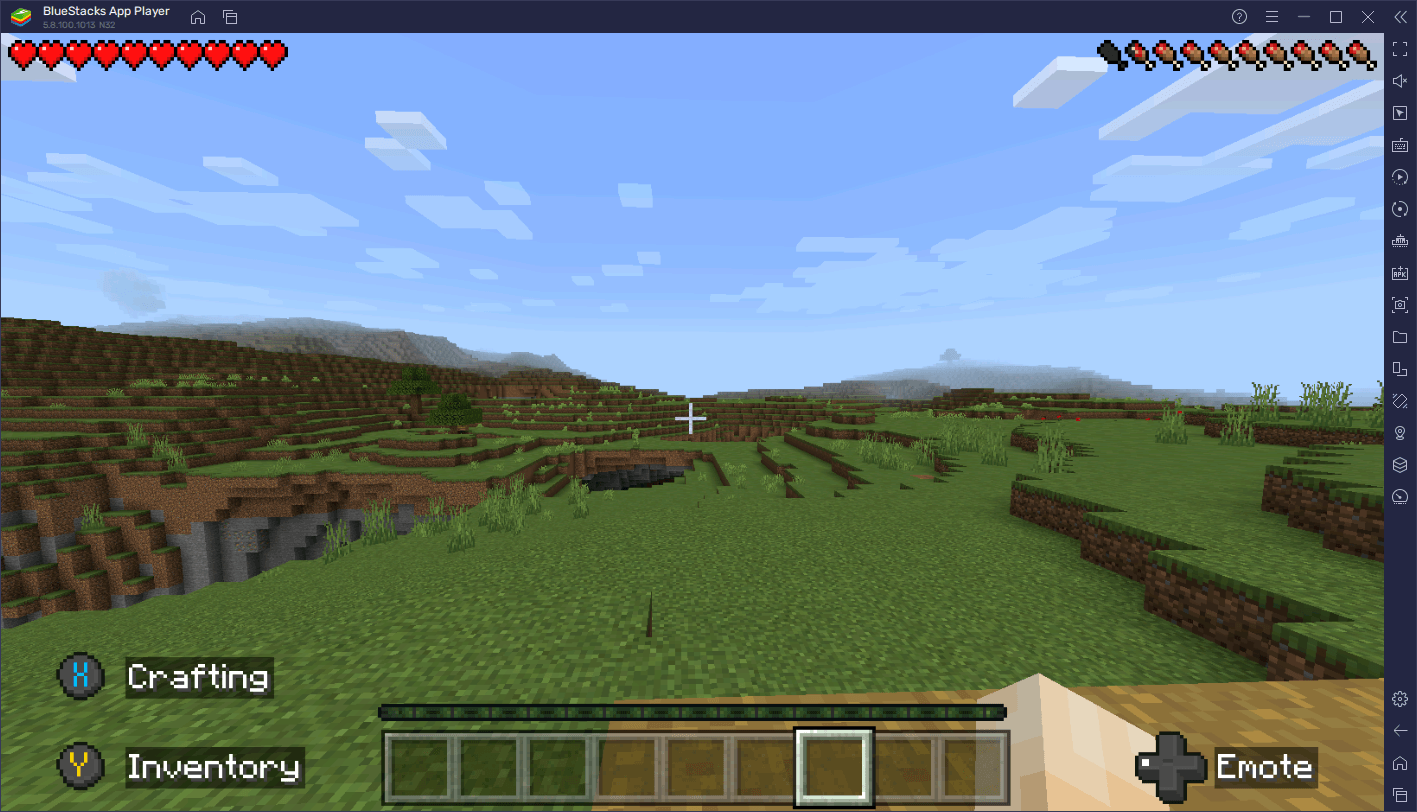
- Launch any gamepad-compatible game and start playing with the comfort of your controller.
Keep in mind that the compatibility and use of your controller will vary from game to game. However, regardless of the game, you’ll still need to click through certain menus in order to actually get into the gameplay sections, which would normally require you to drop your controller and use your mouse momentarily. However, BlueStacks gives you full controller support as, by pressing “Start”, you can unlock the mouse cursor and move it with the left stick, and also press A/X to simulate a click on the cursor’s position. And once you’re done, you can press Start again to lock the cursor and go back to regular gamepad controls.
How to Activate the New Gamepad Vibration Feature on BlueStacks
Just like with connecting your gamepad, activating the vibration feature is as easy as it gets. All you need to do is:
- Open the BlueStacks settings menu by clicking on the hamburger icon on the top right of the screen, and go to the “Gamepad” section.
- Activate the setting that says “Enable Gamepad Vibration”.
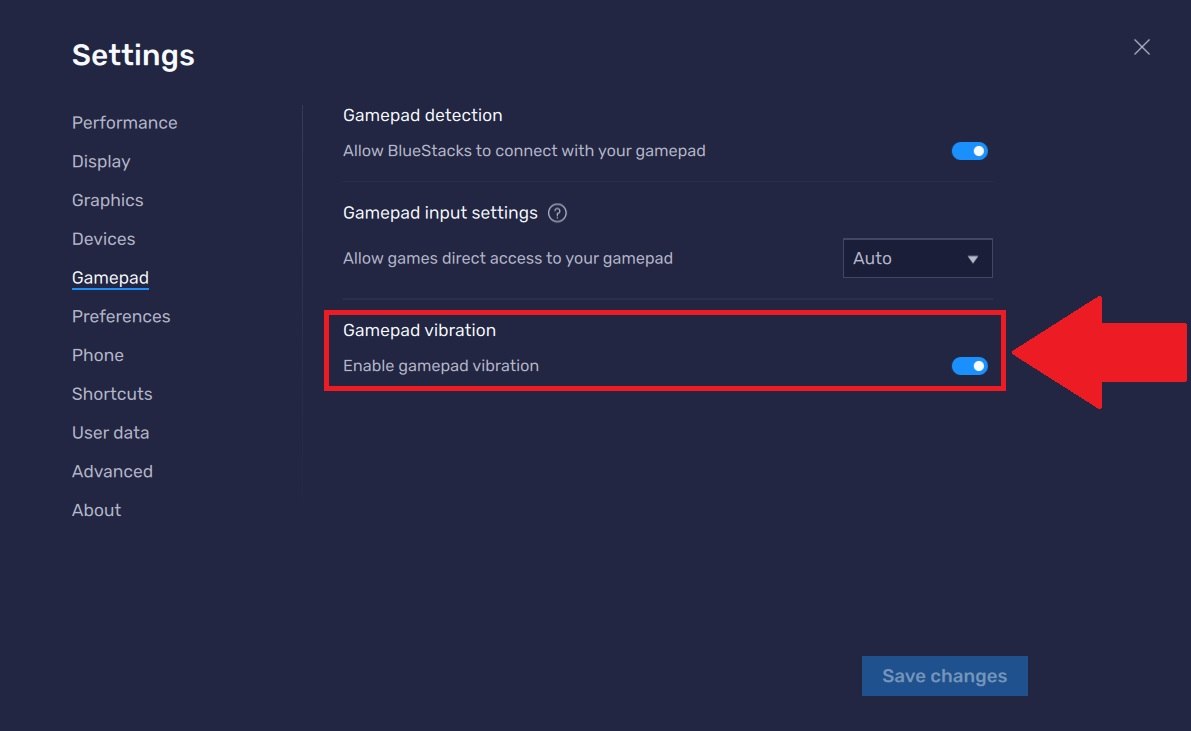
It’s important to point out that, for the time being, the vibration feature is limited to only Xbox controllers. Moreover, if you just updated to BlueStacks 5.9, this setting should already be activated by default, but you can follow the steps above to enable/disable the feature.
What do you think of the new gamepad compatibility and vibration features in BlueStacks 5.9? Leave us your thoughts in the comments below!