How To Survive Through the First Day In ARK: Survival Evolved (Part II)
DISCLAIMER: ARK: Survival Evolved is not available on BlueStacks just yet. This article is to get you excited for when it becomes available, real soon! Hope you enjoy reading this.
In our previous guide about ARK Survival Evolved, we talked about the very first things you should do in order to ensure your survival on the ruthless island of ARK: Survival Evolved. We mentioned how to make your first stone pick and stone hatchet, as well as how to gather materials, and how to sate your appetite and quench your thirst. However, there is still much to learn if you want to survive through your first night.

As you may have noticed by now, there is much more to ARK than simply gathering food and resources, and living from day to day. A quick view of the Engram page will show you that there are many, many blueprints to learn, all of which can be used for specific purposes. However, while there are many options to choose from, some of these blueprints are more important than others in the general scheme of things.
That being said, in this guide, we’ll go over some additional elements to keep in mind if you’re looking to survive in the game.
Building Your First Shelter
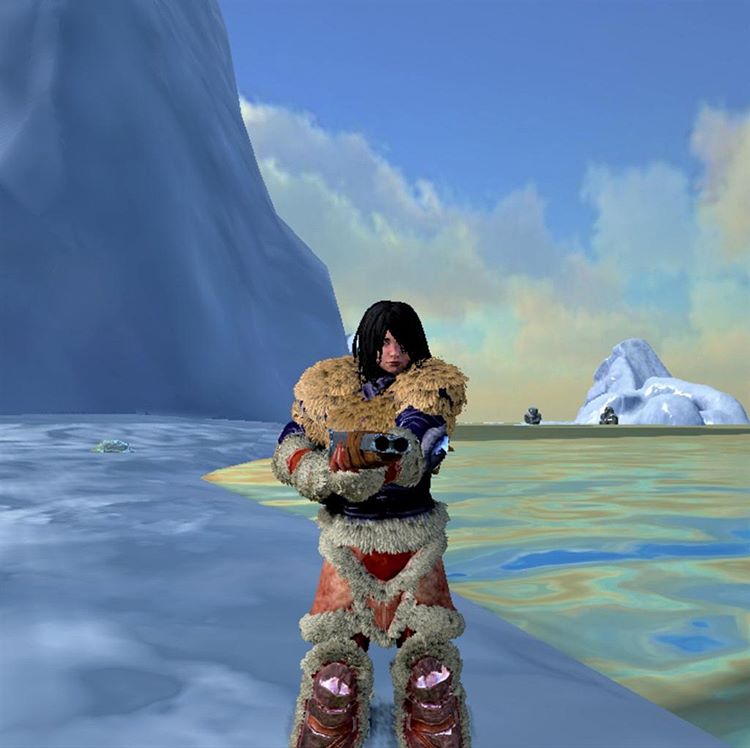
As you may have noticed, you’re considerably colder during the nights when the temperature drops. To protect yourself from the elements, you might need to learn how to craft a set of clothes, which can be made mostly out of the fiber you get when foraging for berries. However, when clothes are not enough to safeguard you from the elements, you must build your first shelter.
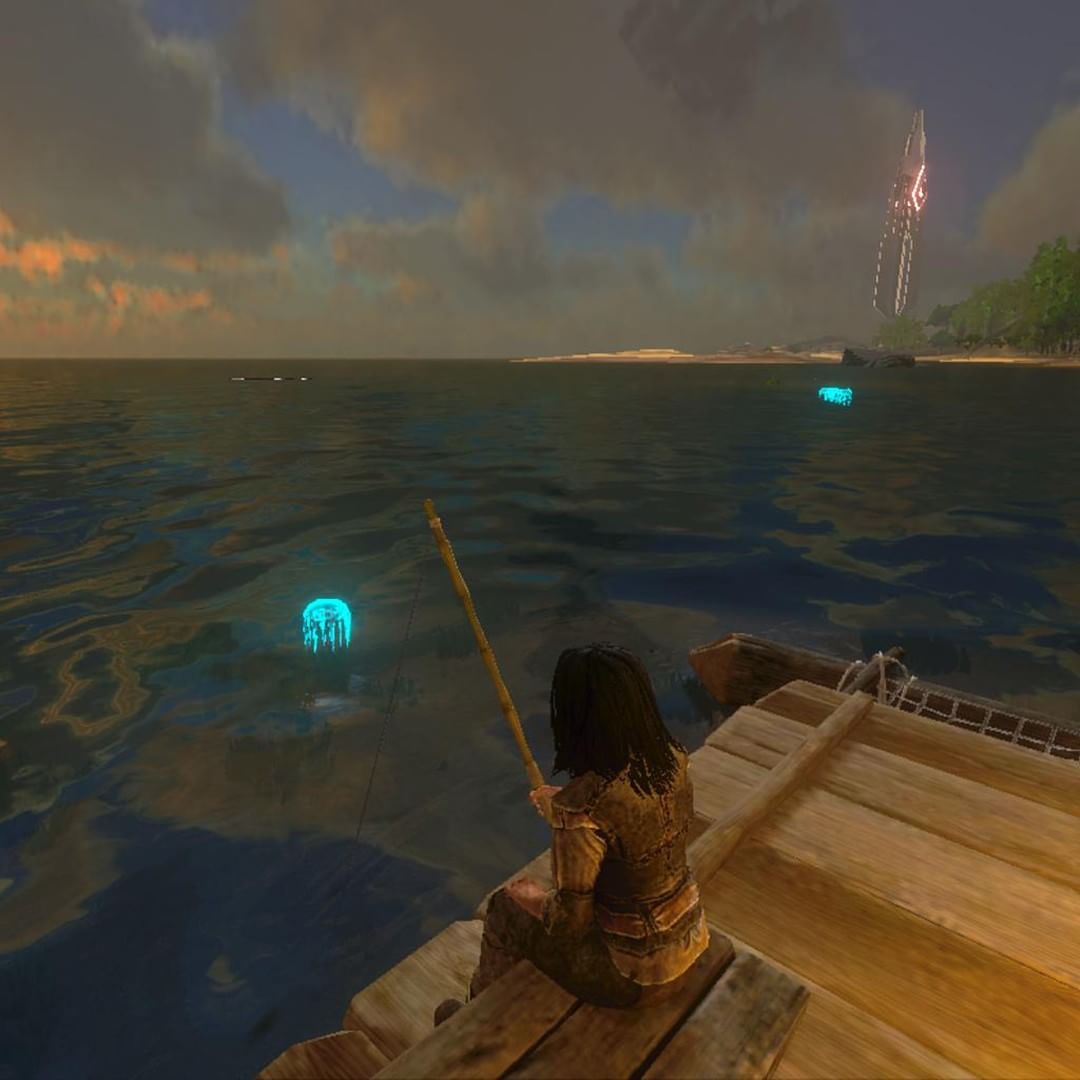
Your first house will likely be built out of thatch, which is frail, but ideal for those who are starting off and simply need a base to operate out of. Before you proceed, you will need to learn several Engrams, including the thatch foundation, walls, door frame, door, and roof. With these recipes, you can begin constructing your first hut. A good ideal location for this first structure is on the beach, near the water, but not close enough as to avoid messing with the aquatic wildlife. Also, the beach is an appropriate location since it will allow you to avoid roaming Dilos or Compys, which usually walk by a little bit further inland.
Once you have decided on your location and gathered plenty of thatch, it’s time to set the foundations. Don’t worry too much about looks, a thatch hut is really nothing to write home about. Nevertheless, we recommend setting a 3×3 foundation for your first hut, which will give you enough space to set a few chests and a bed. Be careful not to snap any structures incorrectly, as you will have to demolish and replace it if you get it wrong. In order to complete the hut, you must build walls on the outer sides of the foundations, and then top it all off with some roofs sections. since this is your first hut, height doesn’t matter. However, as you progress and advance towards wood structures, you may want to construct your houses with the height of two walls instead of one, as it will give you more vertical space to maneuver in your new home.
Now that your walls and roof are set, you will only need a door frame to finish the job. A frame occupies the same space as a wall and is equally as simple to install. You’ll need to also construct a door for it, though, so that you can keep your valuables safe, and keep predators from wandering inside your home.
Now that your home is complete, you can use it as your base of operations. Make sure to create a few boxes to store your excess materials, and to always log out within the confines of your home when you’re done for the day. Remember that, when you close the game, your character doesn’t disappear like in other games; he just simply lies on the floor, vulnerable to attack by anyone. Similarly, feel free to also store your small animals inside your house when you’re disconnected so that they’re sheltered from the elements and wandering predators.
Taming Your First Dinos
Taming is an essential aspect of ARK, through which players can domesticate any of the wild fauna they encounter in the game. Nearly every species of dinosaur or creature can be tamed. However, depending on the level and species of the subject, the time it takes to tame can vary; some of them can even take hours to tame, so keep this in mind when you’re looking to domesticate some of the larger dinosaurs.

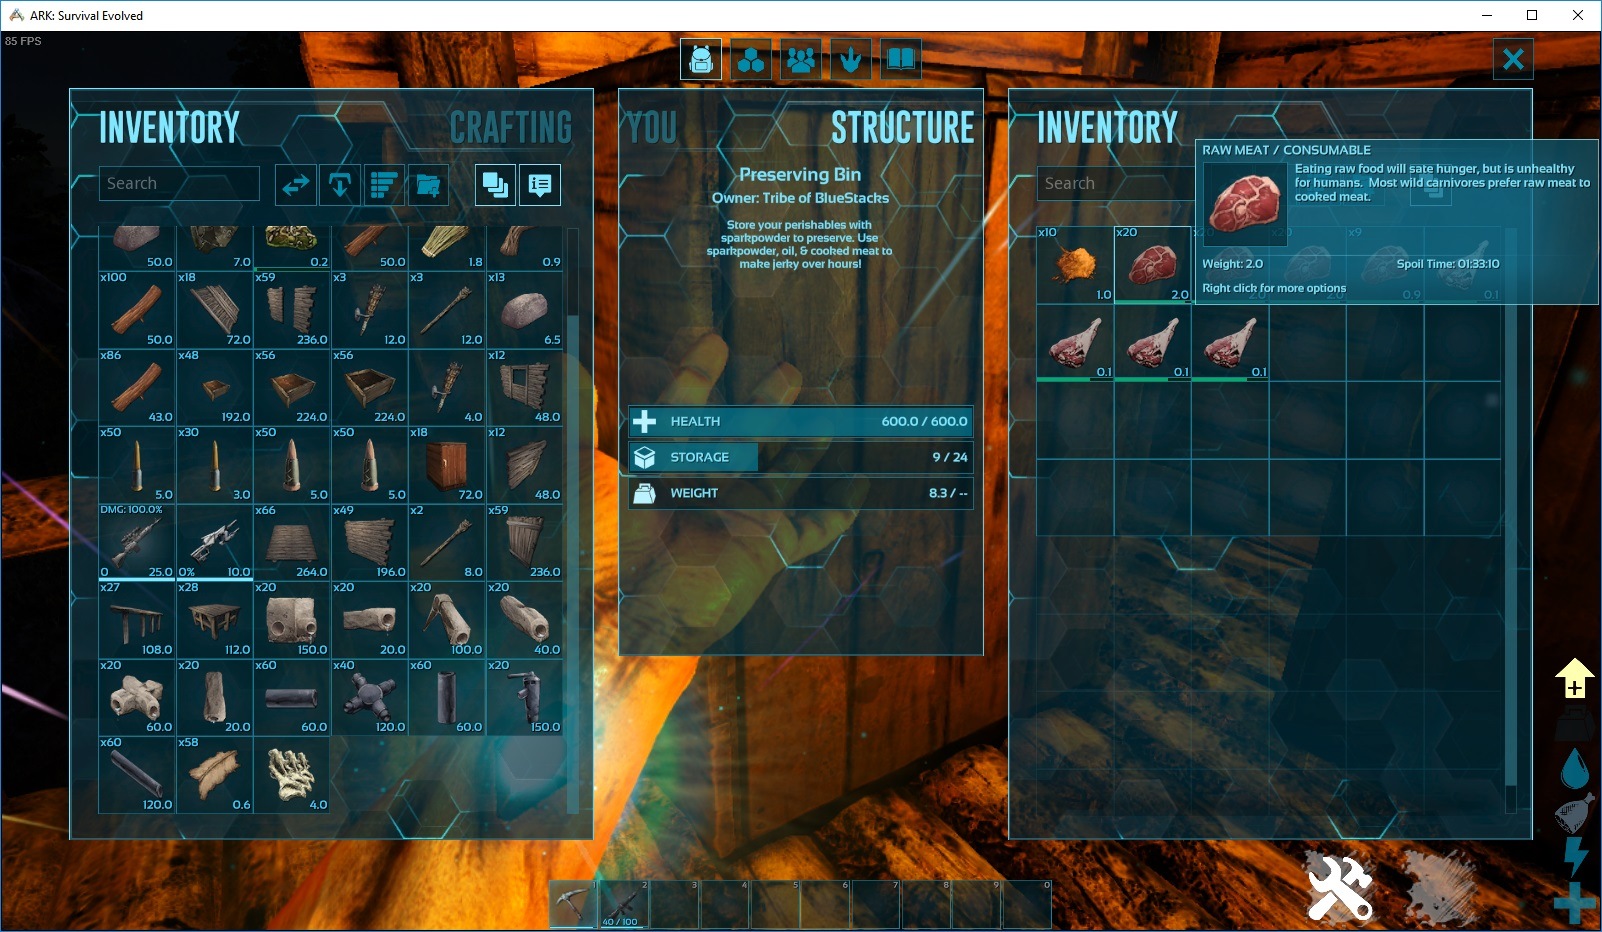
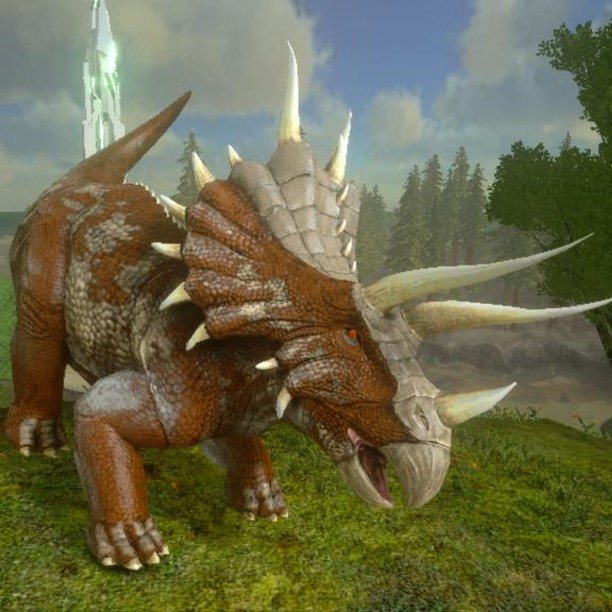
In order to tame any creature, you must first knock it unconscious. You can do this by using your fists, if it’s one of the harmless creatures, or by hitting it with a wooden club (which you can craft by learning the appropriate Engram). For the bigger dinosaurs such as a Trike, you may want to craft a Slingshot, and slowly chip away at it from a distance, since a tackle or two from these large beasts are usually enough to take you down. Once the animal is unconscious, you can begin the taming process by adding some berries or raw meat in their inventories, depending on whether they’re herbivores or carnivores. While the dino is knocked down, their hunger will increase and, by eating the food you gave them, they will grow fond of you, increasing the taming bar by a bit with every bite. However, be mindful of their unconsciousness bar, as they will wake up if left alone for some time.
In order to keep a dino sedated, you can either hit them with a club a few times (being careful not to kill it in the process), or by adding some narcoberries or tranquilizers to their inventory and clicking on “remote use” to force-feed them to the creature. Using the first method is more straightforward and easier, but it reduces the taming effectiveness, decreasing the level they will be after the process is complete. This method is ideal if you’re taming livestock dinos such as Dodos or Trikes, which serve little purpose if they’re high level. However, if you are taming a creature that you want to level up, you may want to use only narcoberries and tranquilizers to keep them sedated, as this won’t alter the taming effectiveness.
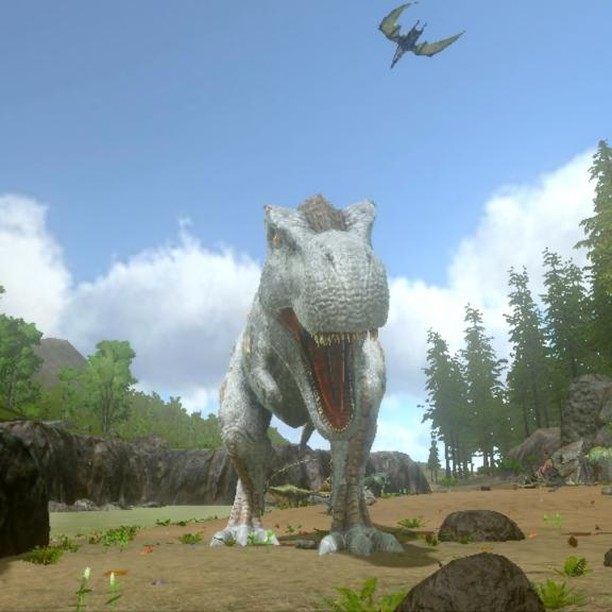
Somewhere down the line, you’ll have access to Kibble, which is a special type of food that can be used on specific dinosaurs, and which accelerates the taming process considerably while also ensuring maximum taming effectiveness. You’ll be using the kibble taming method in the future when you’re looking to tame some high-level dinos such as a Quetzal, an Argentavis, or even a T-Rex.
After the taming bar is filled, you’ll be prompted to name your dino, after which the creature will be under your control. In order to ride the larger dinos, you’ll first need to craft an appropriate chair, which you can do after learning the respective Engram from the list.
Base building and taming are two of ARK’s biggest aspects. Whenever you’re not taming a dino, you’ll likely be gathering resources to expand your base. You might even find yourself doing both at the same time on occasions! However, there is still much more to this game, which we will hopefully go over in future articles.
Stick around for more guides on this amazing game that is coming soon on BlueStacks!