MusePad
MusePad

MusePad

Music & Audio

| VirtualCode.es

Play on PC with BlueStacks or from our cloud

  • Overview
  • How to Download

Page Modified On: September 19, 2025

Run MusePad on PC or Mac

Let BlueStacks turn your PC, Mac, or laptop into the perfect home for MusePad, a fun Music & Audio app from VirtualCode.es.

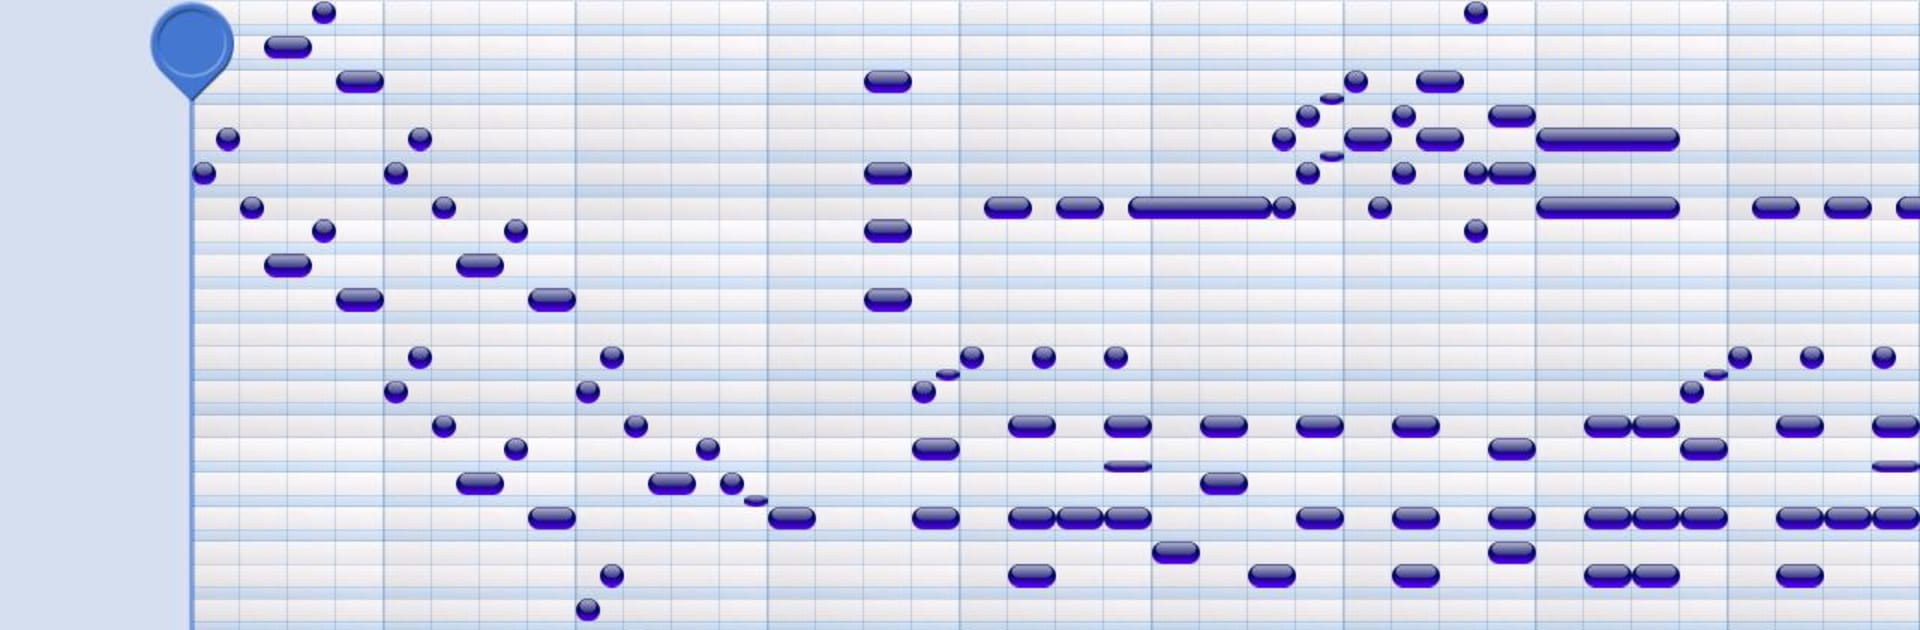
MusePad feels like a clean little sketchbook for music ideas. It opens to a piano roll grid with a piano keyboard, and notes pop onto the grid as soon as the user taps the keys. It is just as easy to place notes straight on the grid, then delete or nudge things around. Playback is smooth and the notes light up on both the grid and the keyboard, so it is very clear what is happening as the melody rolls by. It suits quick melody sketches, chord progressions, and those rhythm patterns that need testing before they get forgotten.

There are helpful guardrails if someone wants them. Diatonic or chromatic modes, a proper key signature, and transposing tools keep ideas tidy instead of turning into chaos. Unlimited undo and redo means experiments do not feel scary. Navigation is simple with pan and zoom, and copy, cut, paste lets a user build sections fast. On a PC with BlueStacks, the bigger screen makes the 8 octaves and tiny controls less cramped, and clicking notes on the grid with a mouse is surprisingly comfortable. Polyphonic input is supported on multitouch devices for those who want to play chords right on the keyboard. Projects can be saved, loaded, and exported as MIDI when the sketch turns into something real. There is even a screen size setting that can force a big layout or a compact one, which helps when switching between a laptop window and a larger monitor. The lite build exists for testing, though save and export are not included there.

Big screen. Bigger performance. Use BlueStacks on your PC or Mac to run your favorite apps.

How to Download and Run MusePad on PC or Mac

  • Download and install BlueStacks on your PC or Mac

  • Complete Google sign-in to access the Play Store, or do it later

  • Look for MusePad in the search bar at the top right corner

  • Click to install MusePad from the search results

  • Complete Google sign-in (if you skipped step 2) to install MusePad

  • Click the MusePad icon on the home screen to start playing

video
Watch Video

Minimum System Requirements

With BlueStacks 5, you can get started on a PC that fulfills the following requirements.

  • Operating System

    Microsoft Windows 7 or above, macOS 11 (Big Sur) or above

  • Processor

    Intel, AMD or Apple Silicon Processor

  • RAM

    at least 4GB

  • HDD

    10GB Free Disk Space

Note:

* You must be an Administrator on your PC. Up to date graphics drivers from Microsoft or the chipset vendor.

MusePad - FAQs

  • How to Run MusePad on Windows PC & Mac?

    Run MusePad on your PC or Mac by following these simple steps.

    • Click on ‘Download MusePad on PC’ to download BlueStacks
    • Install it and log-in to Google Play Store
    • Launch and run the app.
  • Why is BlueStacks the fastest and safest platform to play games on PC?

    BlueStacks respects your privacy and is always safe and secure to use. It does not carry any malware, spyware, or any sort of additional software that could harm your PC.

    It is engineered to optimize speed and performance for a seamless gaming experience.

  • What are MusePad PC requirements?

    Minimum requirement to run MusePad on your PC

    • OS: Microsoft Windows 7 and above:
    • Processor: Intel or AMD Processor:
    • RAM: Your PC must have at least 2GB of RAM. (Note that having 2GB or more disk space is not a substitute for RAM):
    • HDD: 5GB Free Disk Space.
    • You must be an Administrator on your PC.