Glimpse Notifications

Glimpse Notifications

Productivity

| Nullgrad Apps

Play on PC with BlueStacks or from our cloud

  • Overview
  • How to Download

Page Modified On: November 20, 2025

Run Glimpse Notifications on PC or Mac

What’s better than using Glimpse Notifications by Nullgrad Apps? Well, try it on a big screen, on your PC or Mac, with BlueStacks to see the difference.

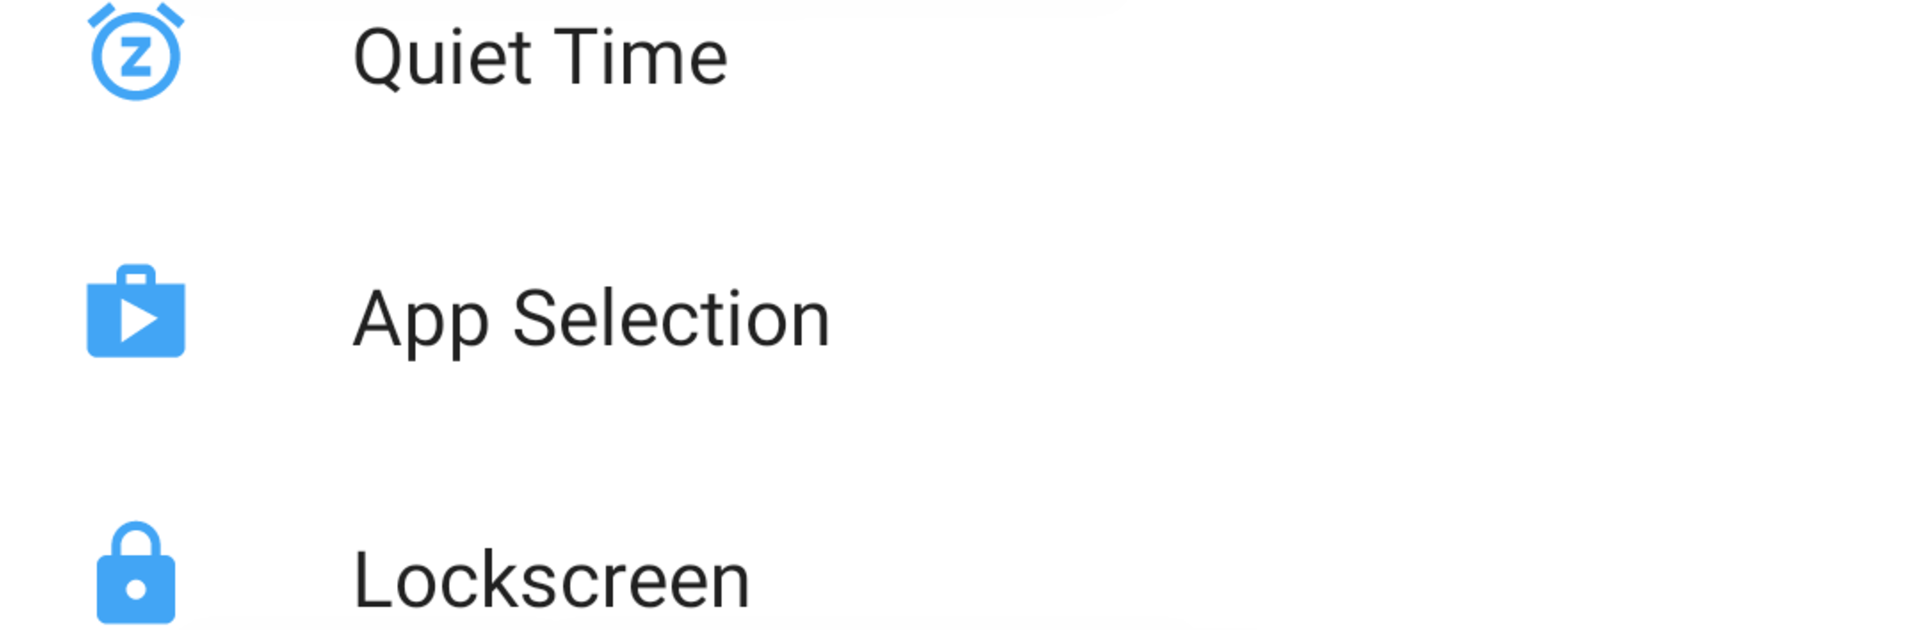
Glimpse Notifications is one of those tiny utilities that fixes a daily annoyance. Instead of pressing the power button every time a ping comes in, the screen wakes for a moment and shows the lock screen, so a quick glance is enough. It does not replace the system lock screen or draw its own theme, it just nudges the display on. The nice part is control. Pick which apps are allowed to wake the screen, set how long it stays on, add quiet hours, and let it respect Do Not Disturb so nothing lights up at 3 a.m. There is a pocket mode that uses sensors to avoid accidental wakeups in a bag, and recurring reminders for notifications that sit unread. Motion detection can notice when the phone is picked up, saving a bit of power. It aims to be battery friendly and not nosy about data.

On PC with BlueStacks, it works like a small helper while running Android apps on a side window. Notifications arrive, the emulated lock screen pops briefly, and everything is easy to tweak with a mouse. Some phone-specific bits like double tap to lock on older Android or vibration patterns may not matter on a desktop, but the core idea still lands. People on certain brands sometimes need to allow their messaging app to show on the lock screen, otherwise nothing appears. If Samsung Edge lighting is enabled, turning that off for this app helps avoid overlap. It is simple, private, and feels like a set once and forget tool that makes checking stuff faster without turning the phone into a disco.

Big screen. Bigger performance. Use BlueStacks on your PC or Mac to run your favorite apps.

How to Download and Run Glimpse Notifications on PC or Mac

  • Download and install BlueStacks on your PC or Mac

  • Complete Google sign-in to access the Play Store, or do it later

  • Look for Glimpse Notifications in the search bar at the top right corner

  • Click to install Glimpse Notifications from the search results

  • Complete Google sign-in (if you skipped step 2) to install Glimpse Notifications

  • Click the Glimpse Notifications icon on the home screen to start playing

video
Watch Video

Minimum System Requirements

With BlueStacks 5, you can get started on a PC that fulfills the following requirements.

  • Operating System

    Microsoft Windows 7 or above, macOS 11 (Big Sur) or above

  • Processor

    Intel, AMD or Apple Silicon Processor

  • RAM

    at least 4GB

  • HDD

    10GB Free Disk Space

Note:

* You must be an Administrator on your PC. Up to date graphics drivers from Microsoft or the chipset vendor.

Glimpse Notifications - FAQs

  • How to Run Glimpse Notifications on Windows PC & Mac?

    Run Glimpse Notifications on your PC or Mac by following these simple steps.

    • Click on ‘Download Glimpse Notifications on PC’ to download BlueStacks
    • Install it and log-in to Google Play Store
    • Launch and run the app.
  • Why is BlueStacks the fastest and safest platform to play games on PC?

    BlueStacks respects your privacy and is always safe and secure to use. It does not carry any malware, spyware, or any sort of additional software that could harm your PC.

    It is engineered to optimize speed and performance for a seamless gaming experience.

  • What are Glimpse Notifications PC requirements?

    Minimum requirement to run Glimpse Notifications on your PC

    • OS: Microsoft Windows 7 and above:
    • Processor: Intel or AMD Processor:
    • RAM: Your PC must have at least 2GB of RAM. (Note that having 2GB or more disk space is not a substitute for RAM):
    • HDD: 5GB Free Disk Space.
    • You must be an Administrator on your PC.