Multitask effortlessly on your PC or Mac as you try out CapCut – Video Editor, a Video Players & Editors app by Bytedance Pte. Ltd. on BlueStacks.
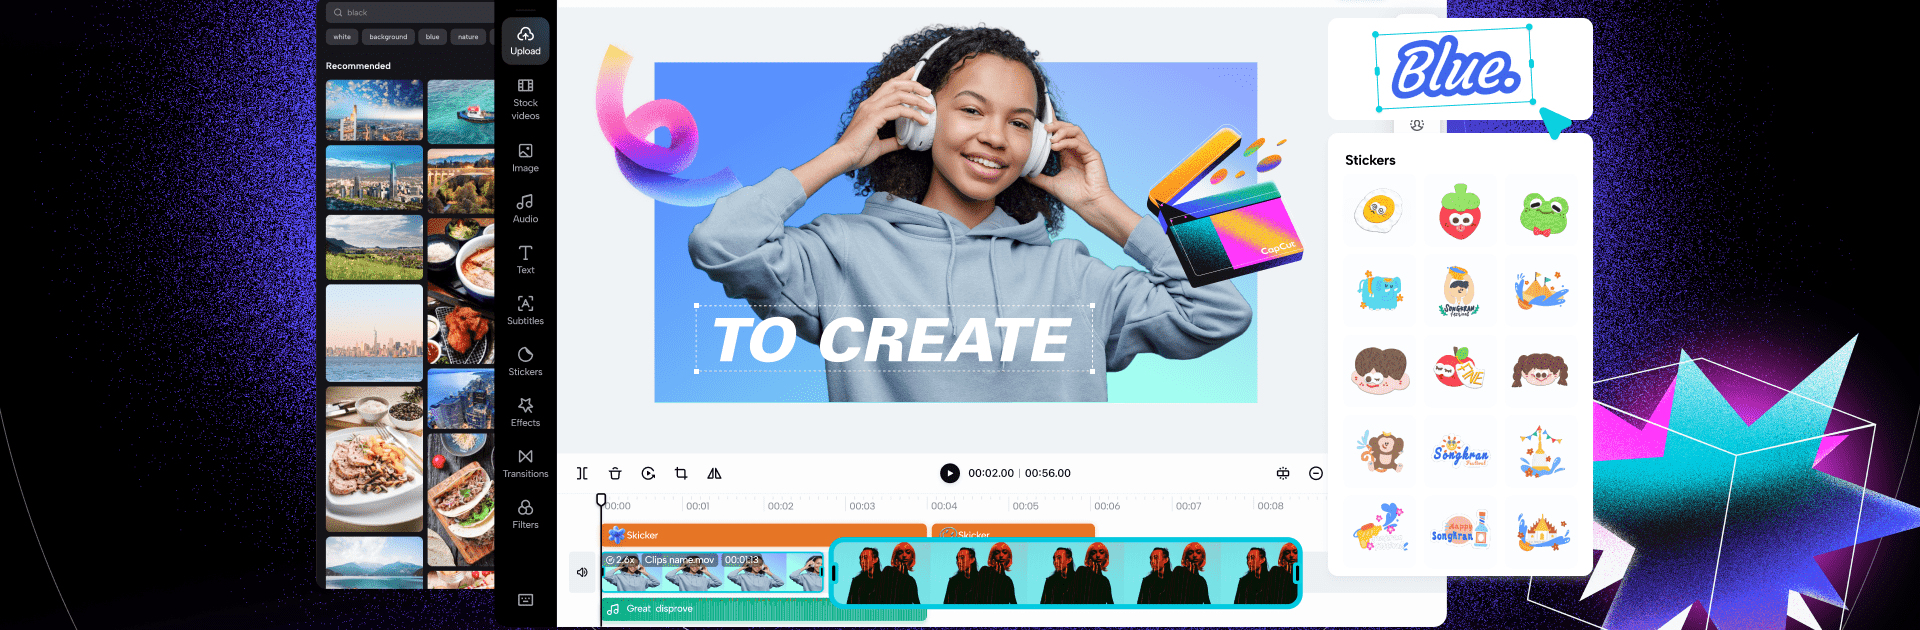
CapCut feels like a friendly editor that still gives real control. On a PC through BlueStacks, the timeline is easier to wrangle with a mouse, and seeing everything on a big screen helps a lot when clips start stacking. The basics are quick to learn: trim, split, merge, freeze a moment, drop a transition, or push speed anywhere from super slow 0.1x to very fast 100x. Speed curves make ramps look natural, and there are zoom in and out animations that add a nice punch. It has proper keyframes on almost every setting, so panning, opacity, filters, and effects can be animated without hacks. Chroma key does the green screen thing well enough, stabilization saves shaky shots, and the multi track timeline keeps edits organized without feeling heavy.
What stands out is how many smart helpers are baked in. Auto captions handle speech pretty accurately, text to speech has multiple voices and languages, and background removal is one click when a quick cutout is needed. Motion tracking can pin text or stickers to moving stuff, which is great for short videos and quick memes. There are loads of fonts and text templates, with the option to import a custom font, plus subtitles sit right on the timeline so they are easy to line up. Effects and filters range from glitch and blur to 3D looks, and there are simple color controls for brightness and contrast when a scene needs a little fix. The audio tools are handy too, with a big library of music and sound effects and an option to extract audio from a video clip. Exporting is flexible with custom resolutions, up to 4K at 60 fps and smart HDR, so it is ready for TikTok, YouTube, or wherever. Beginners can get something clean out fast, and more advanced users will not feel stuck. The only thing to watch is there are a lot of options on small screens, so the PC setup gives it room to breathe.
Big screen. Bigger performance. Use BlueStacks on your PC or Mac to run your favorite apps.
What’s New?
CapCut now offers an improved trimming experience to enhance video editing capabilities, providing users with seamless tools for creating beautiful moments.