How to Play Angry Birds Journey on PC with BlueStacks


The Angry Birds franchise, at this point, has basically become ubiquitous in pop culture, featuring crossovers with a wide variety of franchises, as well as offering their own unique games crossing over into numerous genres and settings—there’s basically no place or time that our favorite irate avians haven’t visited. Nevertheless, with the newest installment in the franchise, which was released only a few days ago, it’s time to venture to new lands on a journey to discover a world of fun with the help of the birds and pigs we’ve all grown to know and love.
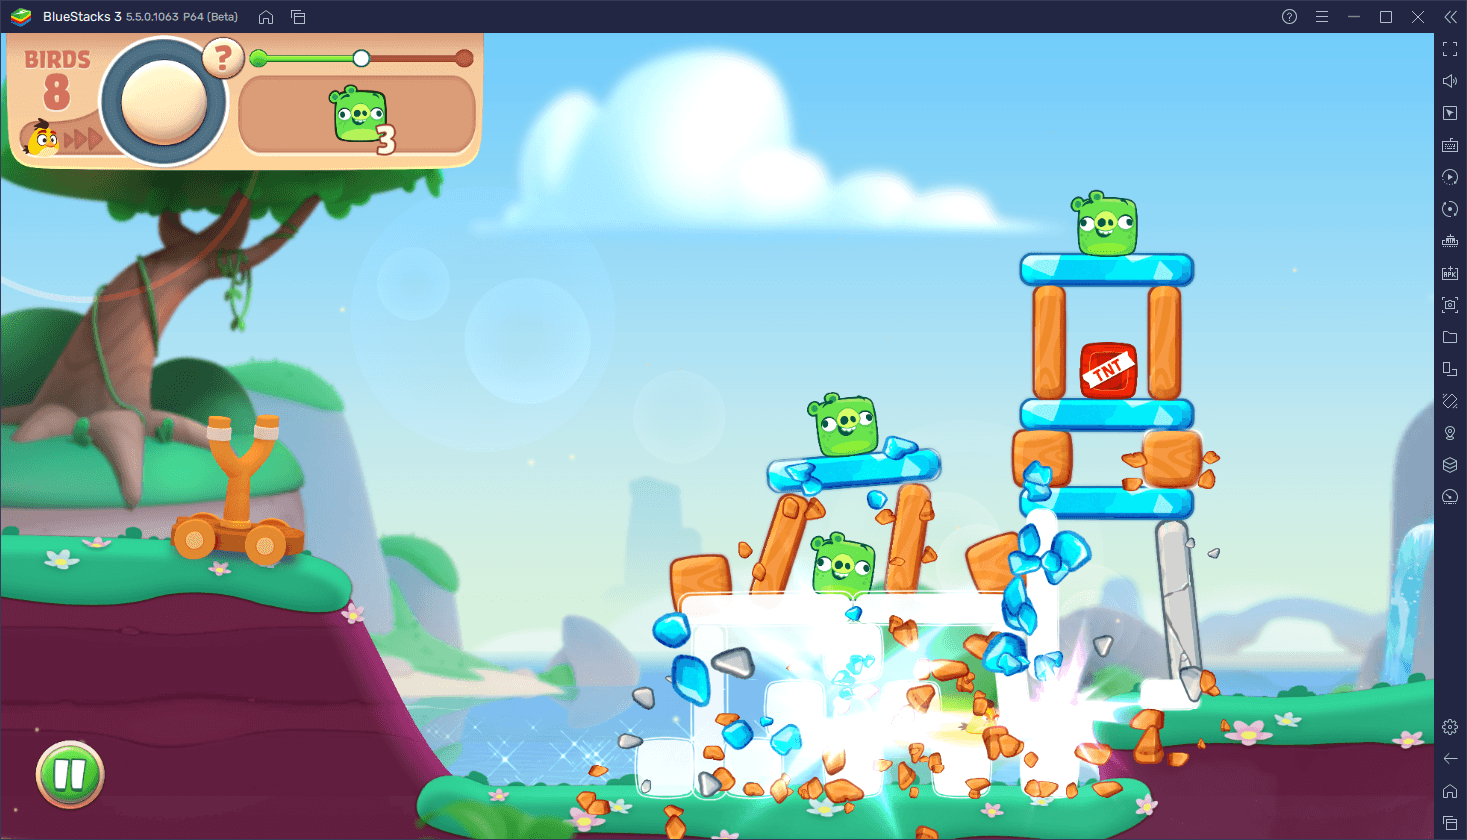
The aptly-named Angry Birds Journey is the latest entry in the Angry Birds franchise, featuring the same characters from the movies, or at least their likenesses while bringing the franchise once again back to its roots. The game itself, like most others in the series, consists of numerous levels where the player has to launch their birds from a huge slingshot and aim towards the pig’s defenses in order to topple them and defeat their porcine adversaries.
As usual, there are several different birds that you can launch from your slingshot, each with its own properties, which makes them suited for different uses. For instance, the yellow triangular bird, Chuck, can smash everything in a straight line from the point where he first lands on the enemy defenses. And just like Chuck, you’ll discover lots of different characters that have their own styles and uses.
Angry Birds Journey, despite being quite similar to the other games in the franchise, in that they are designed to be played and enjoyed on mobile devices, can also be played on PC. In fact, by playing Angry Birds Journey on PC with BlueStacks, you can get a much better experience by playing on your large computer monitor and with mouse support which, in turn, will let you view the stages much better, as well as aim your shots with better accuracy. And the best part is that setting up the game on your computer is quite easy.
Downloading and Installing Angry Birds Journey on PC
To get started, please follow these steps:
- Download and Install BlueStacks on your PC.
- Launch the emulator and, once loaded, open the Instance Manager by pressing Ctrl + Shift + 8.
- Click on “+ Instance” on the bottom left, and select Fresh Instance > Pie 64-bit.
- Assign enough resources to the new instance for it to run adequately. If your PC fulfills the recommended requirements to run BlueStacks, just assign it 4GB of RAM and 4 CPU cores.
- Once done, launch the new 64-bit instance by clicking on the “Start” button beside it in the Instance Manager.
- On the new instance complete Google Sign-in to access the Play Store, or do it later.
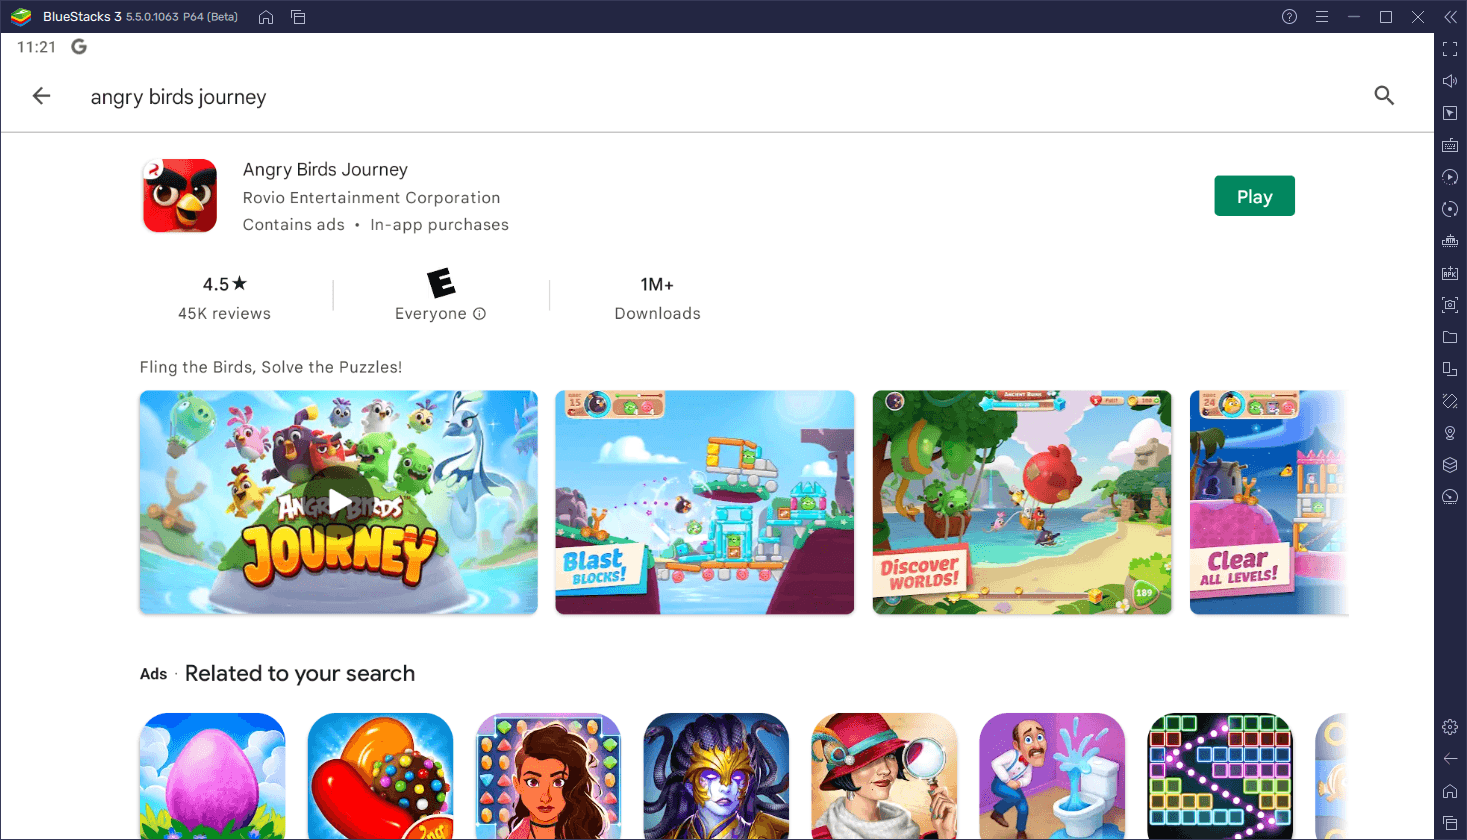
- Look for Angry Birds Journey using the search bar on the top-right corner.
- Click to install Angry Birds Journey from the search results.
- Complete Google Sign-in (if you skipped step 6) to install Angry Birds Journey.
- Click the Angry Birds Journey icon on the home screen to start playing.
Though it shouldn’t take you more than a few minutes to get everything set up, please feel free to leave us a comment below if you have any questions or concerns about the installation process.