Ark: Survival Evolved – How to Upgrade Your Base
While the game is available on Play Store, it does not work on BlueStacks at this time. Please check this space for updates.
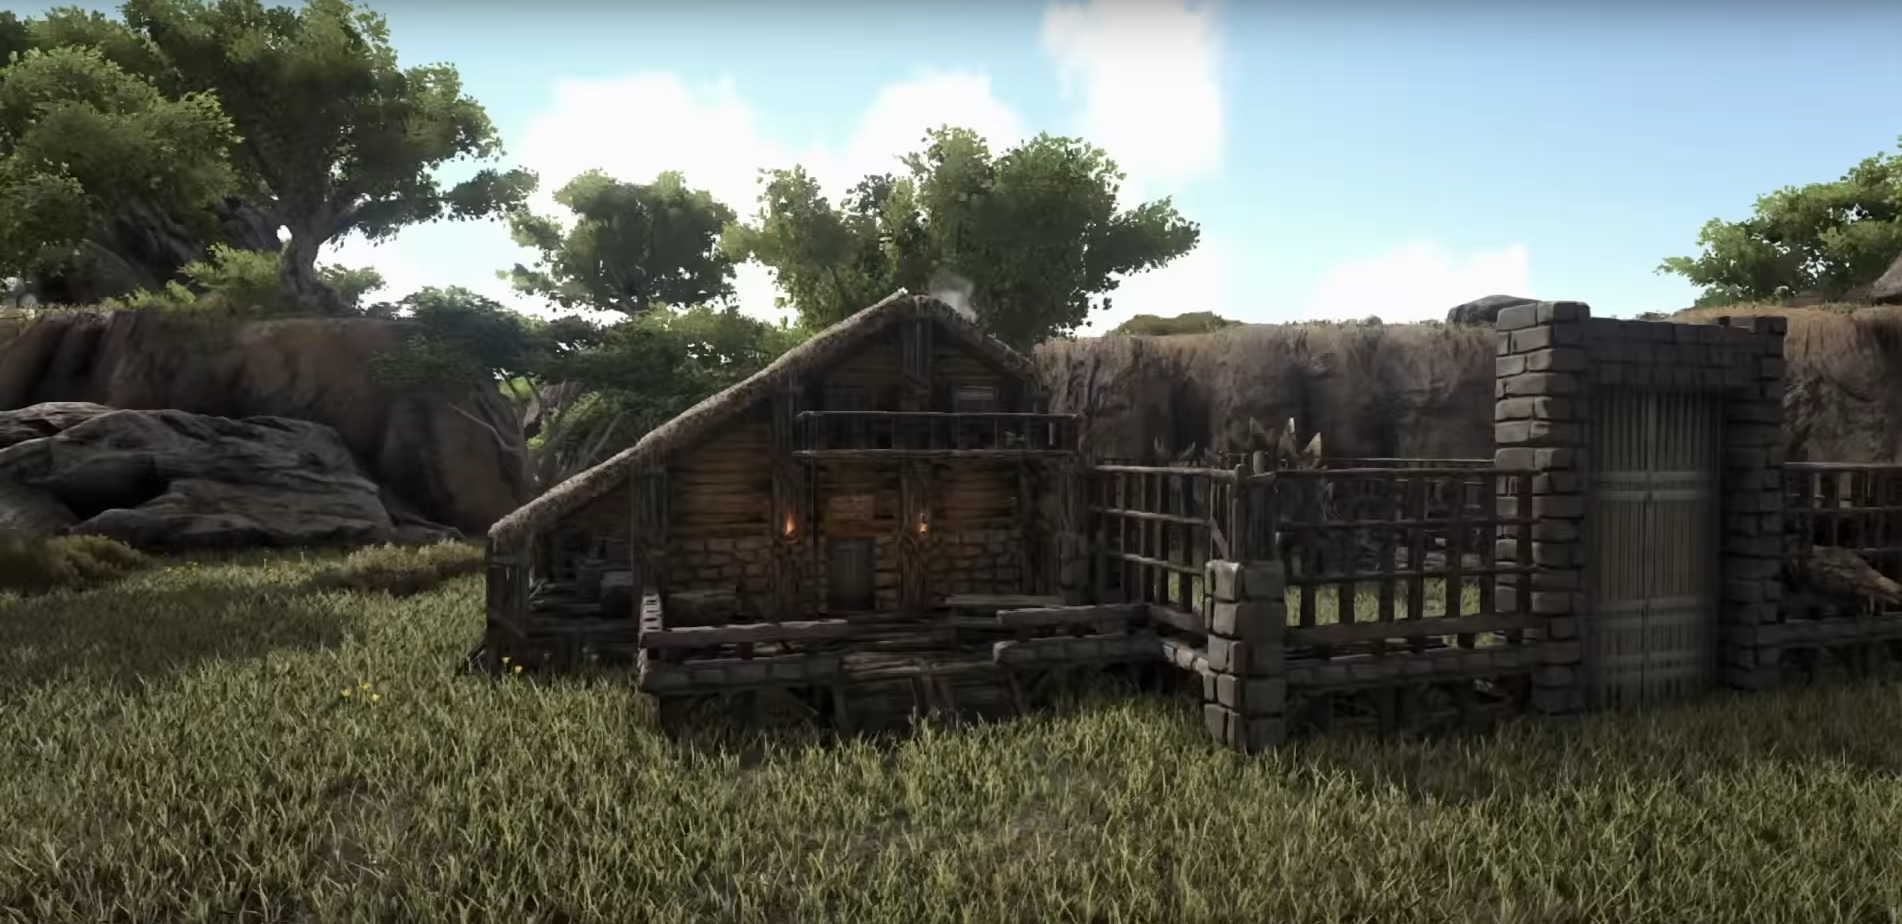
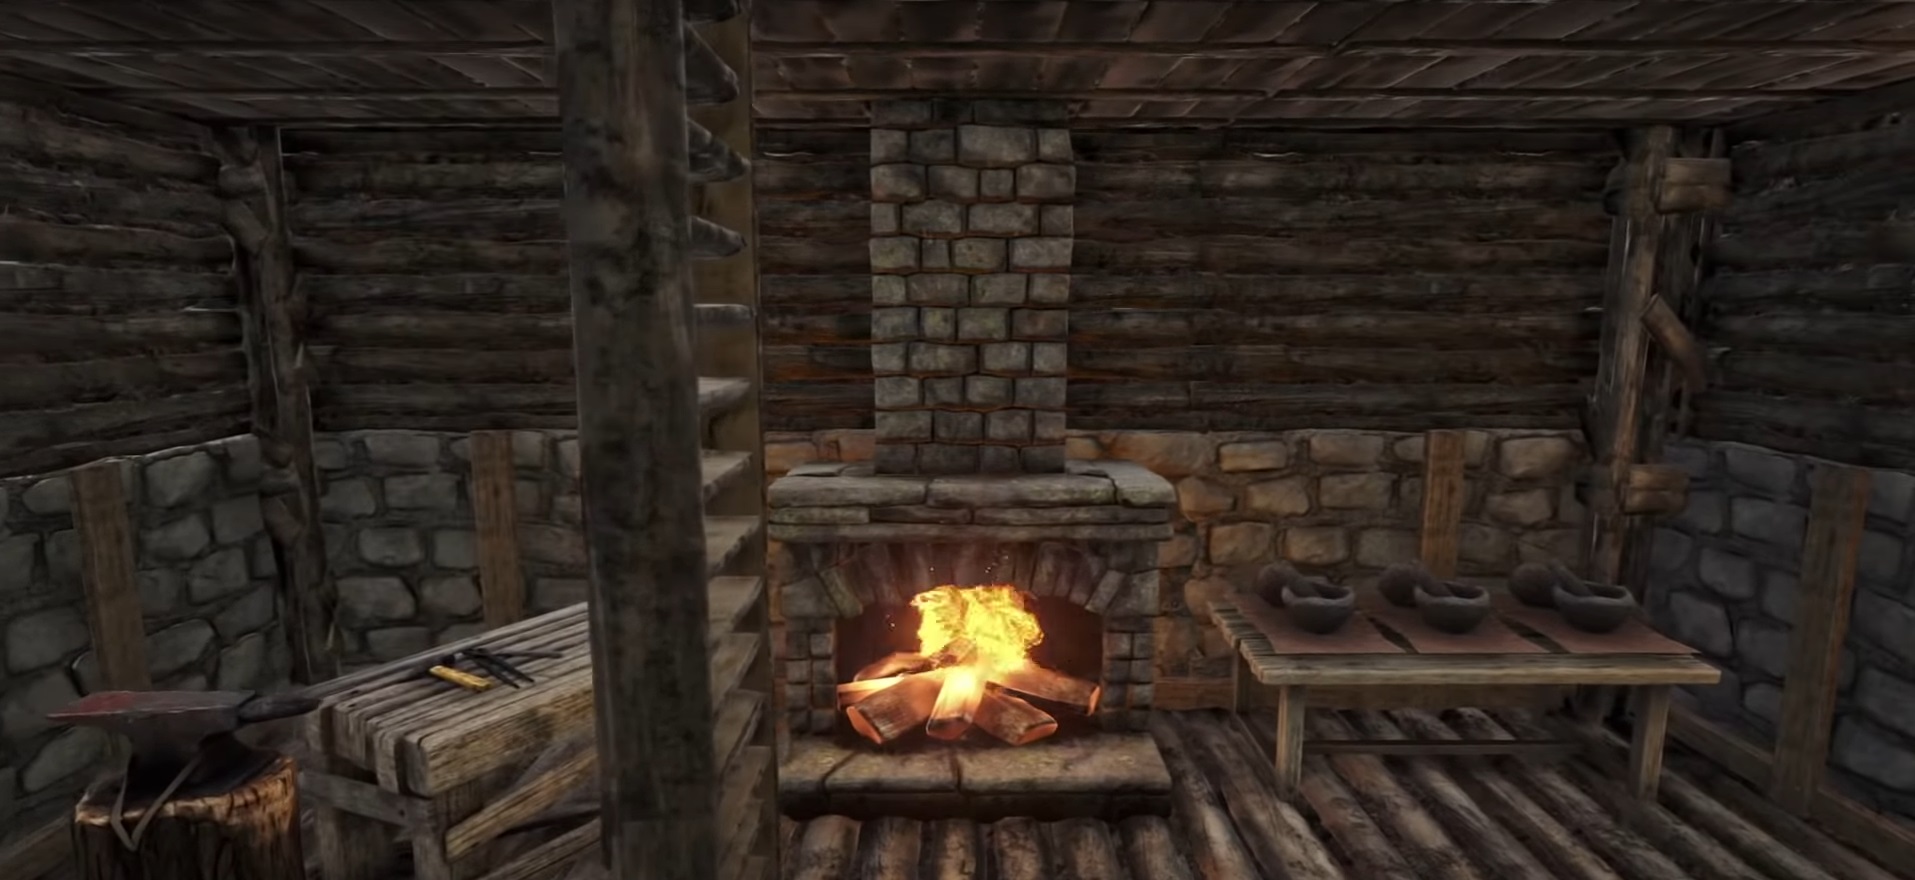
You’ll be the happiest prehistoric human on the island when you manage to put together your first home. Who would have thought that four thatch walls and a tiny room can be this satisfying? And what about that improvised roof? Maximum utility and a rustic look to boot! But, alas, the moment doesn’t last forever and before you know it, you want to build a bigger, better house.
Unfortunately, this project can take longer than you think. Not only do you have to bring the materials together, you also have to refine some of them through crafting and even when everything is ready, you still have to make the upgrades themselves. How hard can that be, you might think? Just replace one piece of wall with the other.
Well, it’s easy enough until you accidentally demolish something important or your finger slips and you place a structure in the wrong place. To help you avoid this and other setbacks, we’ve put together the guide below.
1. First Things First: The Foundation and Walls
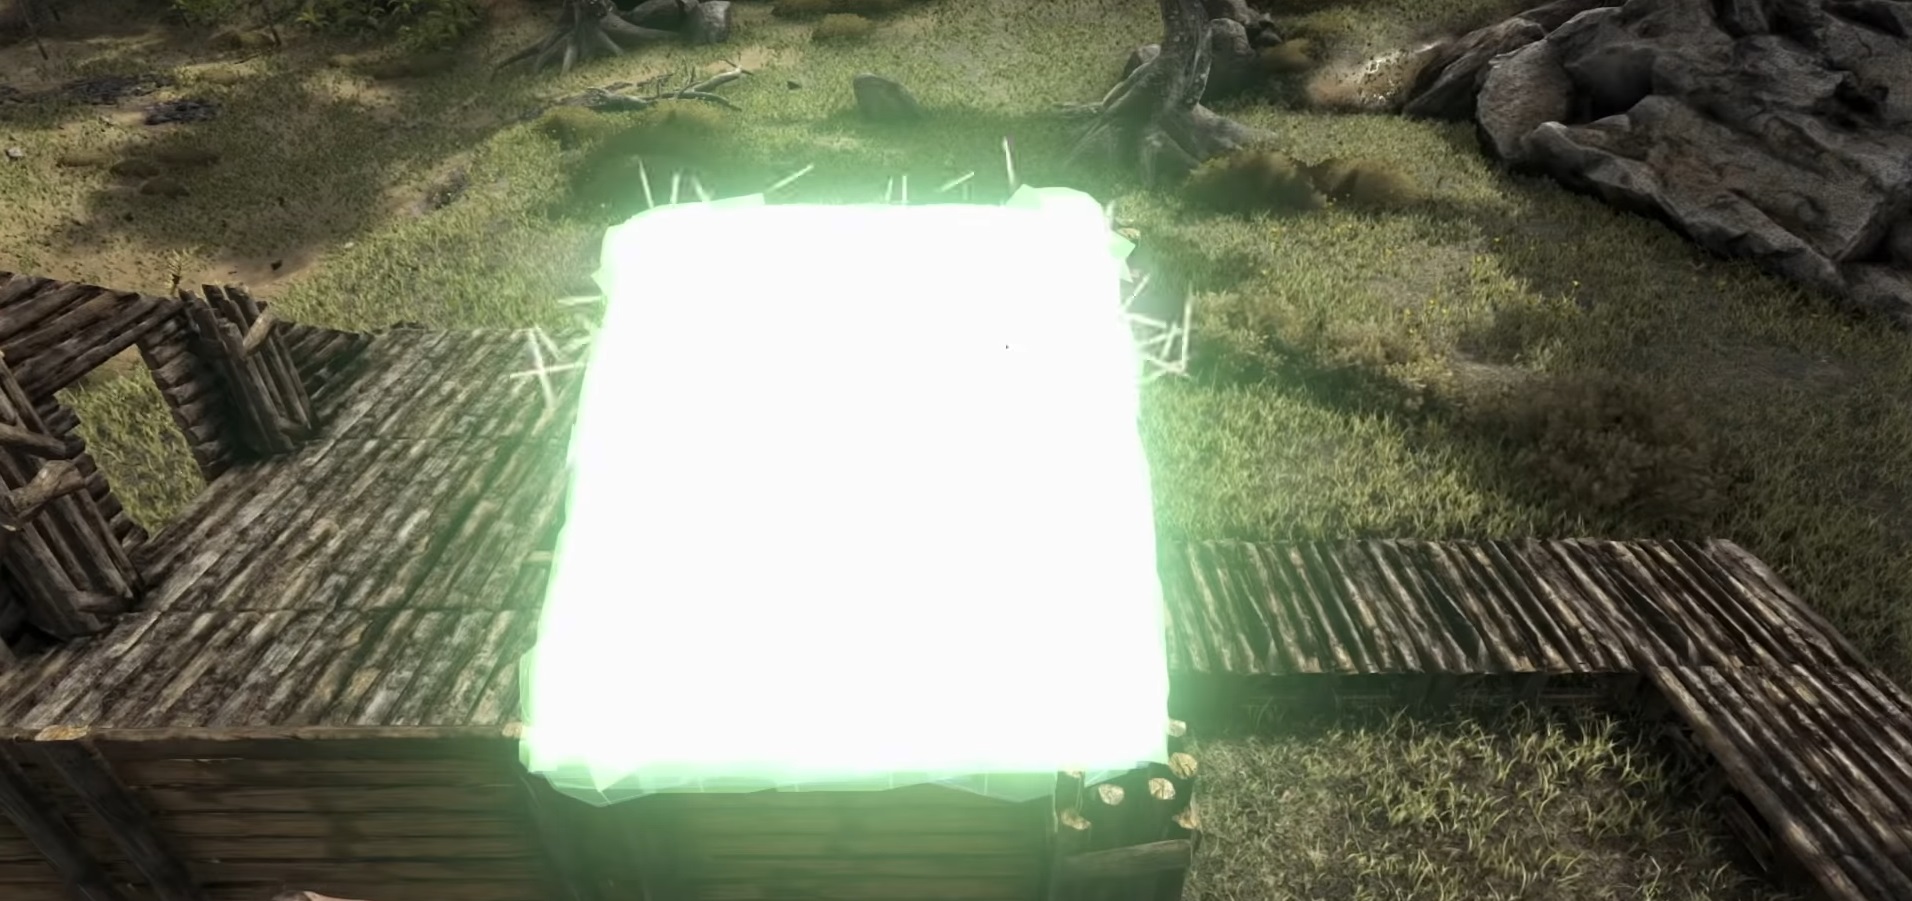
The easiest way to start upgrading your base is to work your way up from the foundation and floors. Fortunately, you don’t have to delete any objects that are on your current floor in the process. Unfortunately, there are glitches. If you encounter a glitch, there’s not much you can do about it, but as a general rule, you shouldn’t have any issues.
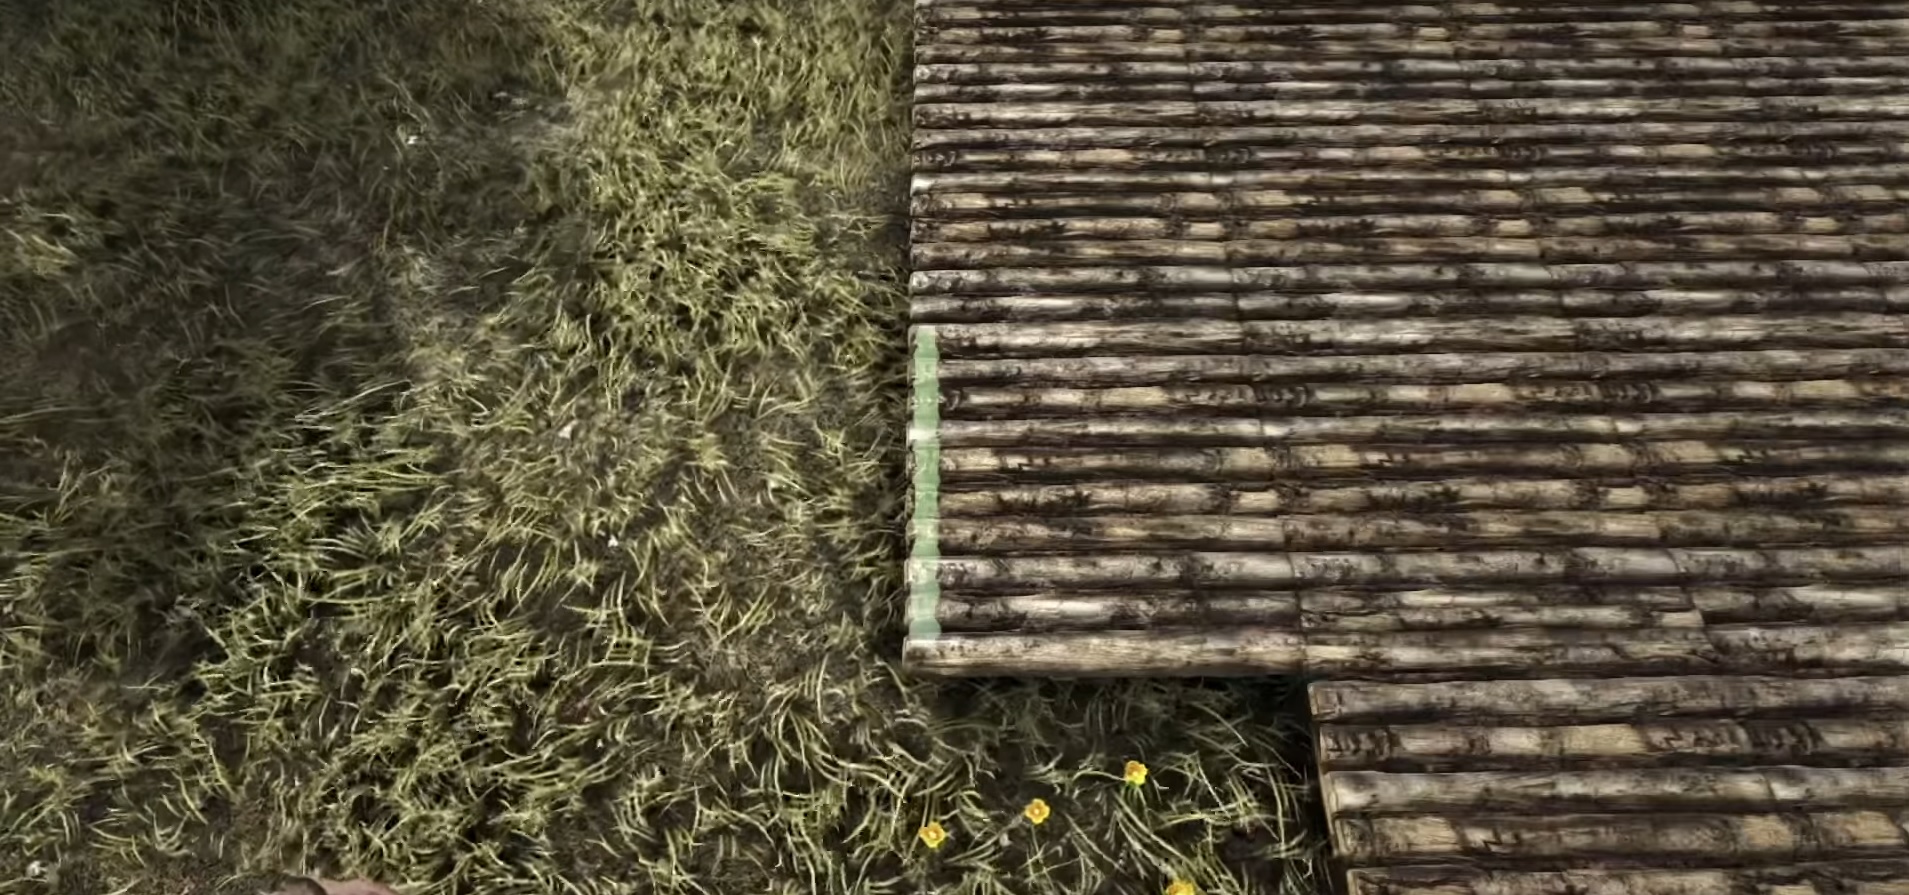
It’s usually easier to upgrade a foundation from the outside, although this can depend on the way your base in built. When you upgrade from wood, for example, you might find it easier to do so from the inside.
Pro tip- The tile you’re replacing won’t light up as green unless you’re not standing on it.
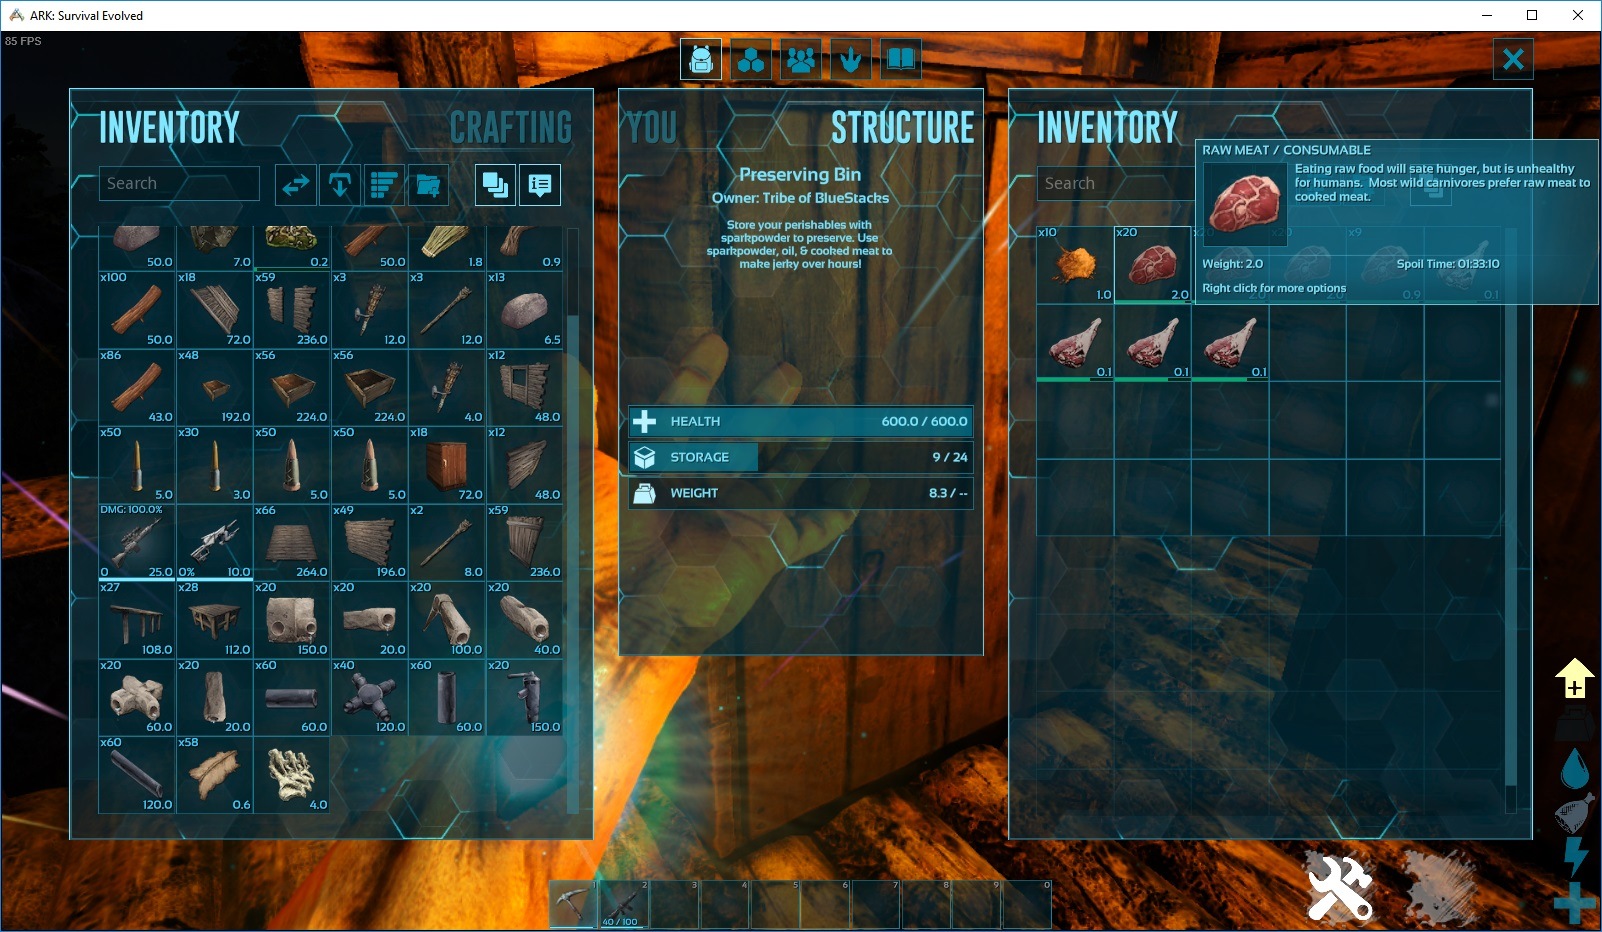
Pro tip- If an object does get demolished during the upgrade, bear in mind that the refunded materials will drop to the floor and you will have a very limited amount of time to recover them before they despawn. Keep some sort of storage nearby or make sure you have enough free inventory space.
Like the foundation, the walls are easier to replace from the outside. Just make sure that you wait a few seconds before you click the new structure into place. Sometimes, the wall will jump around on snap points and this might ruin your placement if you’re not careful.
2. Doors, Windows, and Railings
With doors, you should first replace the door frame so that the door easily pops into place. The same goes with windows. Both of these should be very easy to position and, in the case of windows, you can even place them on top of walls as an upgrade. More light for you and a better view of the sun-kissed shores!
Pro tip- As you already know, you can lock both doors and windows using either a lock or a pin code. When you upgrade one of these structures, your lock settings should stay the same, but it’s a good idea to double-check just in case. You wouldn’t want some dino to accidentally walk in through the front door, right?
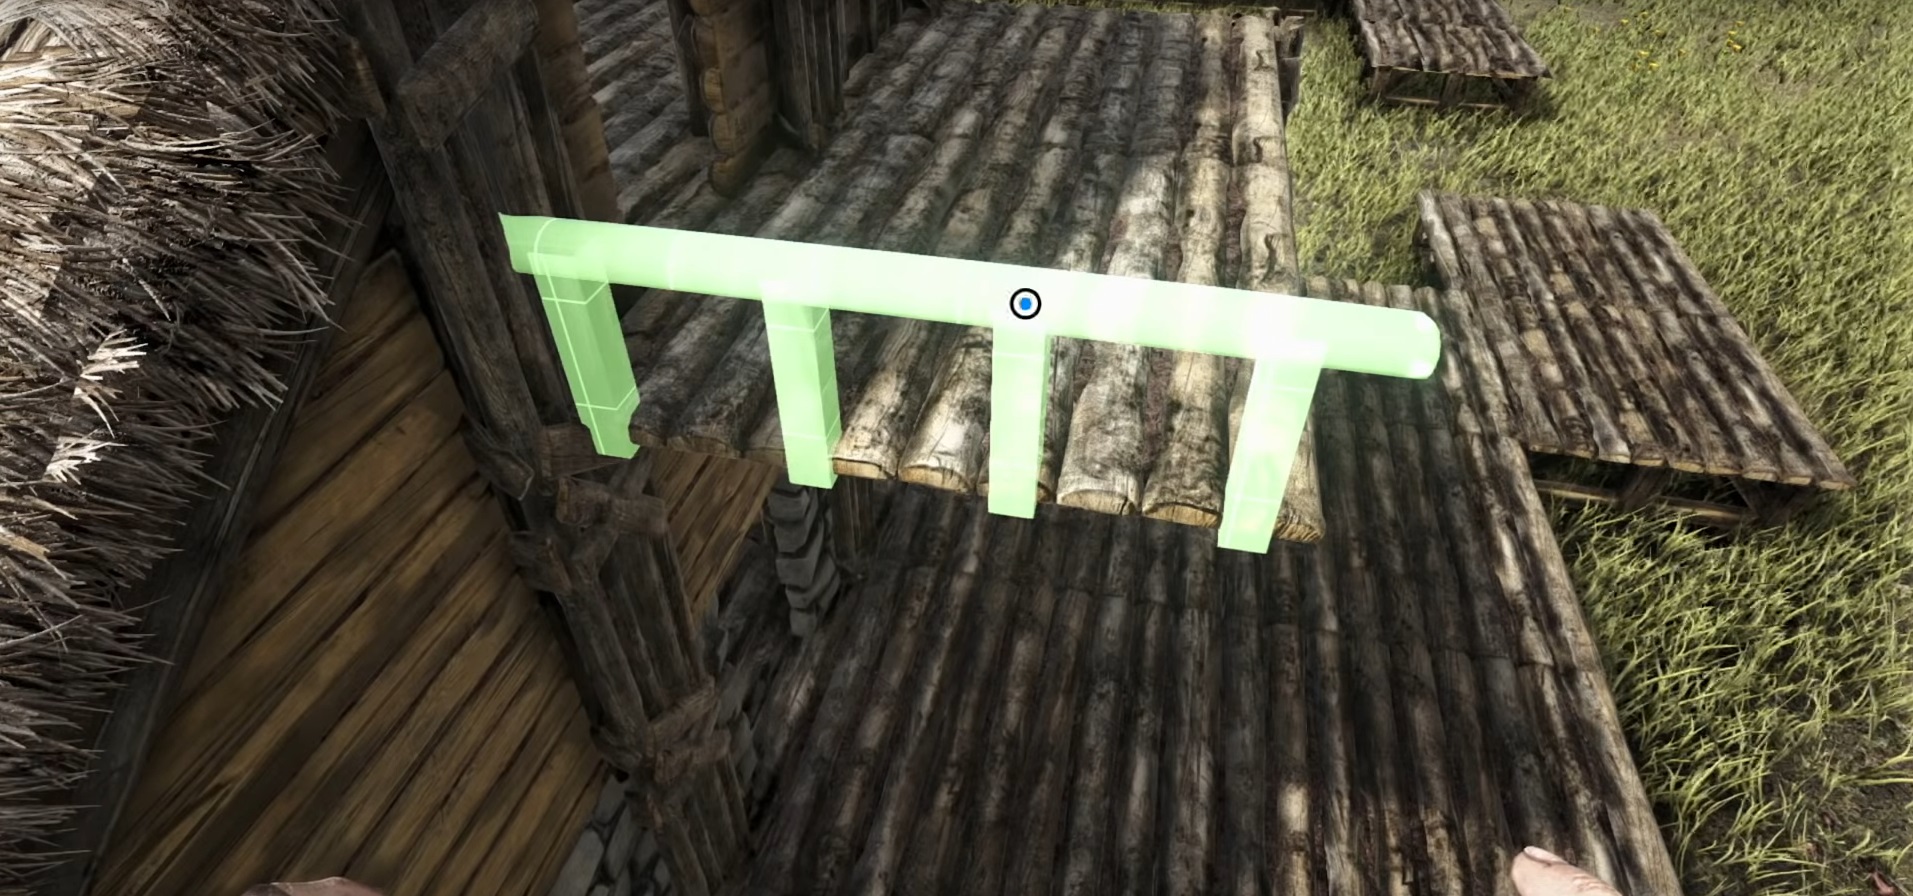
Railings are just like walls, both when placed and when upgraded. If you want to add a balcony or terrace to your home – either to spy for food or to enjoy the sunset – you can do so with railing. You can also use these structures to make your gardens look extra cute.
3. The Roof
Upgrading the roof will probably be the most difficult part of rehauling your base. It’s not that the roof is particularly expensive, but if you don’t pay close attention to what you are doing for just one moment, you can screw up the entire structure. This is especially the case when some roof segments overhang outside of the building.
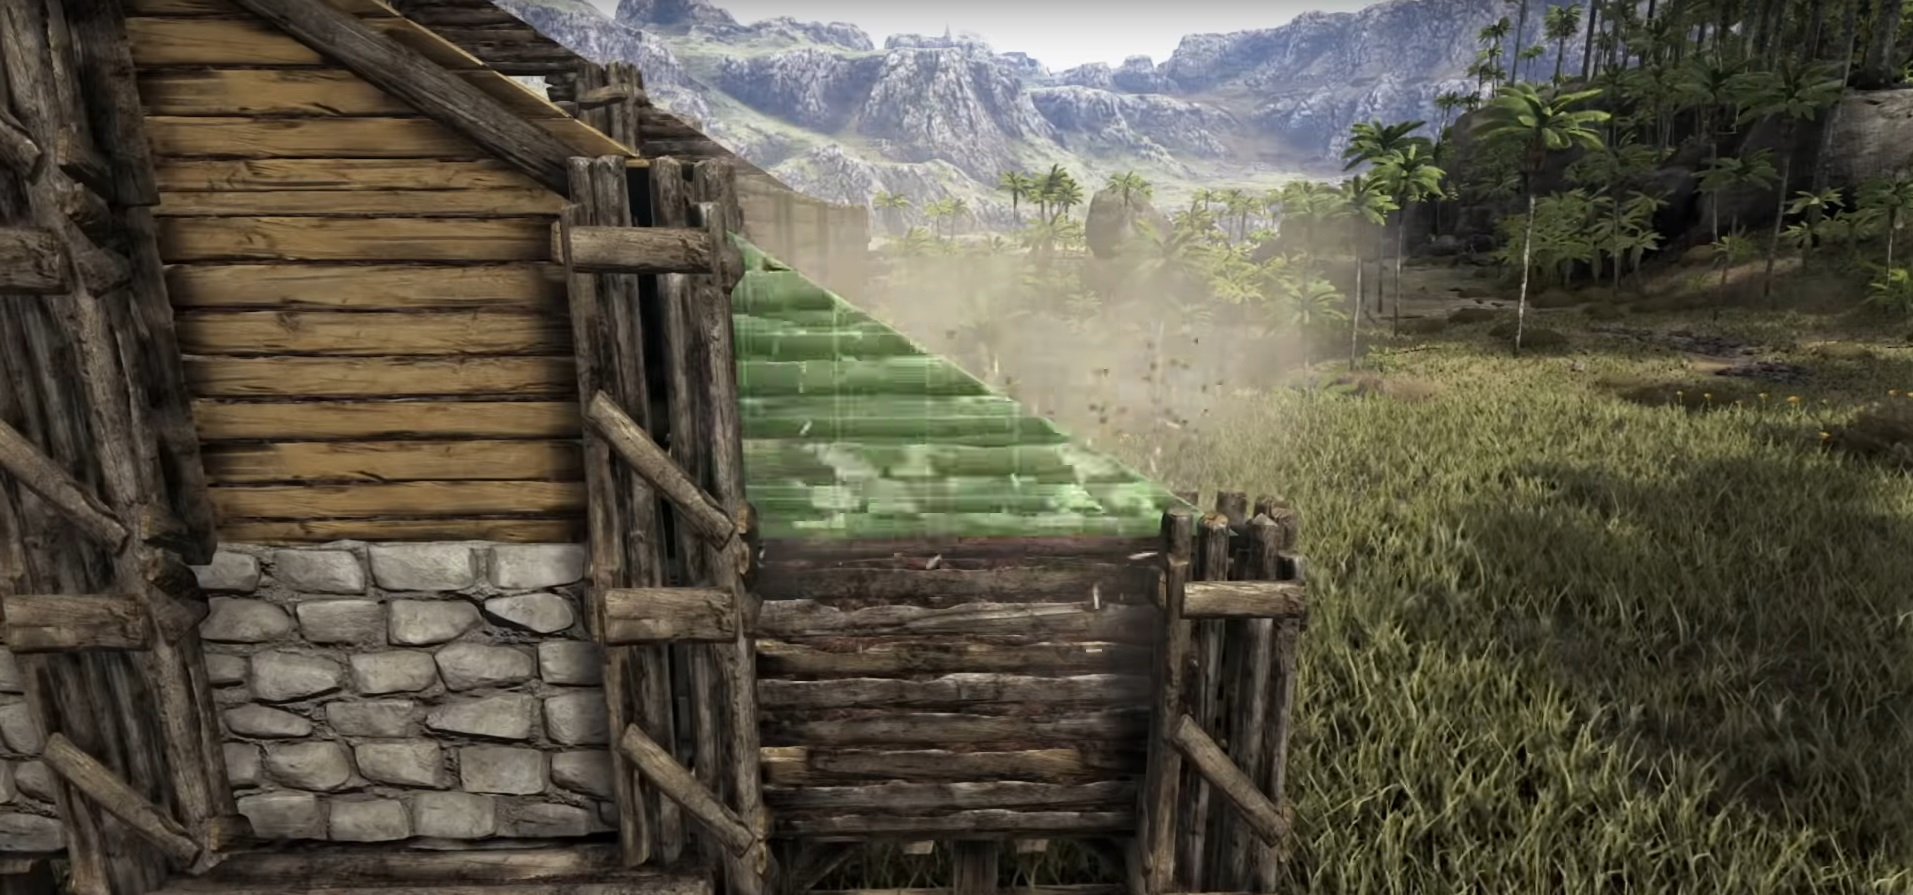
Pro tip- Never rush while you’re upgrading a roof segment. Take your time to position it carefully and, like with walls, give it a few seconds before you click so that you avoid it sliding out of place.
Pro tip- If your current roof is placed at a greater distance from the floor, you’ll have to get on top of it in order to upgrade it.
Pro tip- Try hard as you might, replacing a sloped roof segment just doesn’t work. You have to demolish the previous roof first and place the upgraded segment afterwards. Since you get the same amount of resources from demolishing as you do from upgrading a structure, you won’t be wasting anything in the process. The whole thing will take longer, though, and you’ll have to make sure that you can store any materials that are refunded to you while you work.
4. Trap Doors and Ladders
To add a nice attic or sky parlor to your home, you’ll have to use a hatch, a trap door, and a ladder. Placing all three of these is an easy job, but getting them to work together is an entirely different story. Be warned: if you place the ladder incorrectly and make your character climb it without giving them a place to land, the character will fall down.
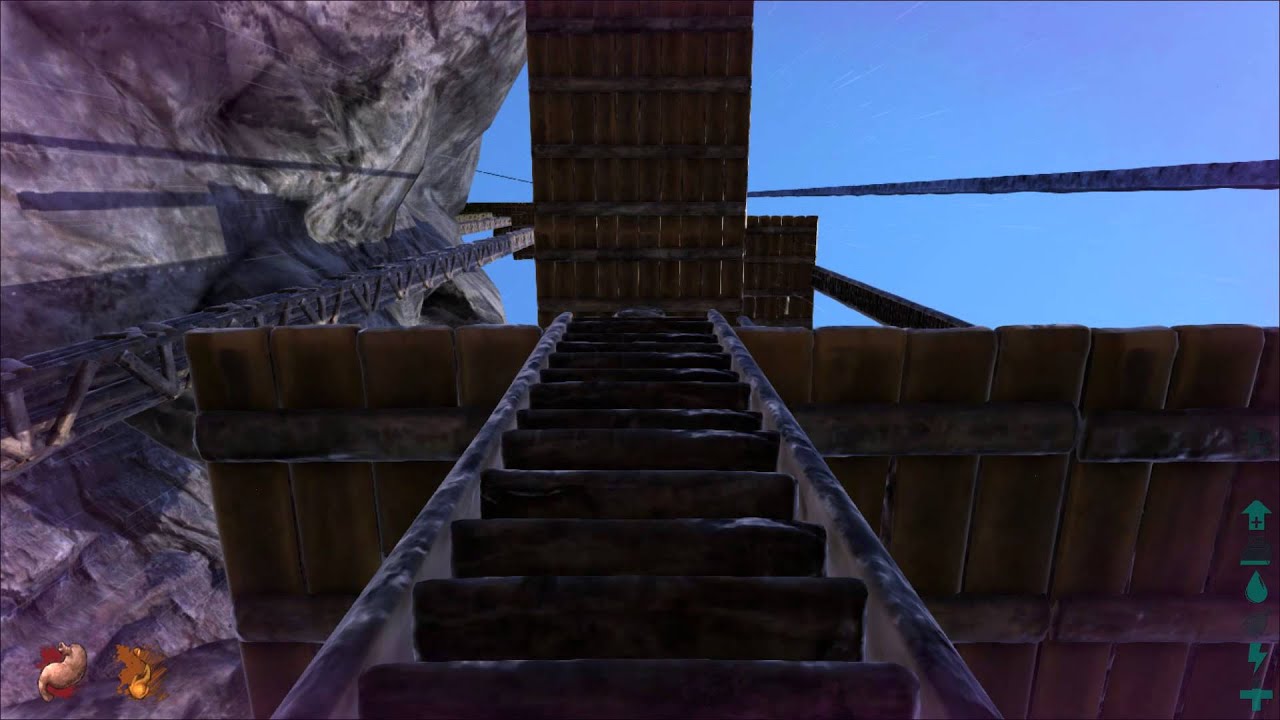
Pro tip- To avoid a deathtrap ladder, you have to leave at least one free square in front of the ladder so that your character can climb it safely.
The other thing you might be worried about is the positioning of the trap door in relation to the ladder. If the door opens from the back to the front (as seen from the ladder), then your character will get stuck while climbing and won’t be able to enter the attic.
Pro tip- Place the hatch and the ladder first, then climb up to the attic before you place the trap door. This way, you have a better view of how the trap door is positioned and you can get it to open either from right to left or from left to right (as seen from the ladder).
With these tips and tricks in mind, you’re ready to turn your shabby first home into a prehistoric mansion. Just don’t get too carried away because you never know when a jealous neighbor might decide to set your base on fire out of spite. Or, if you like to taunt others, make sure to build your defenses right.
Download BlueStacks Now