How to Install and Play Left to Survive: Zombie Games on PC with BlueStacks
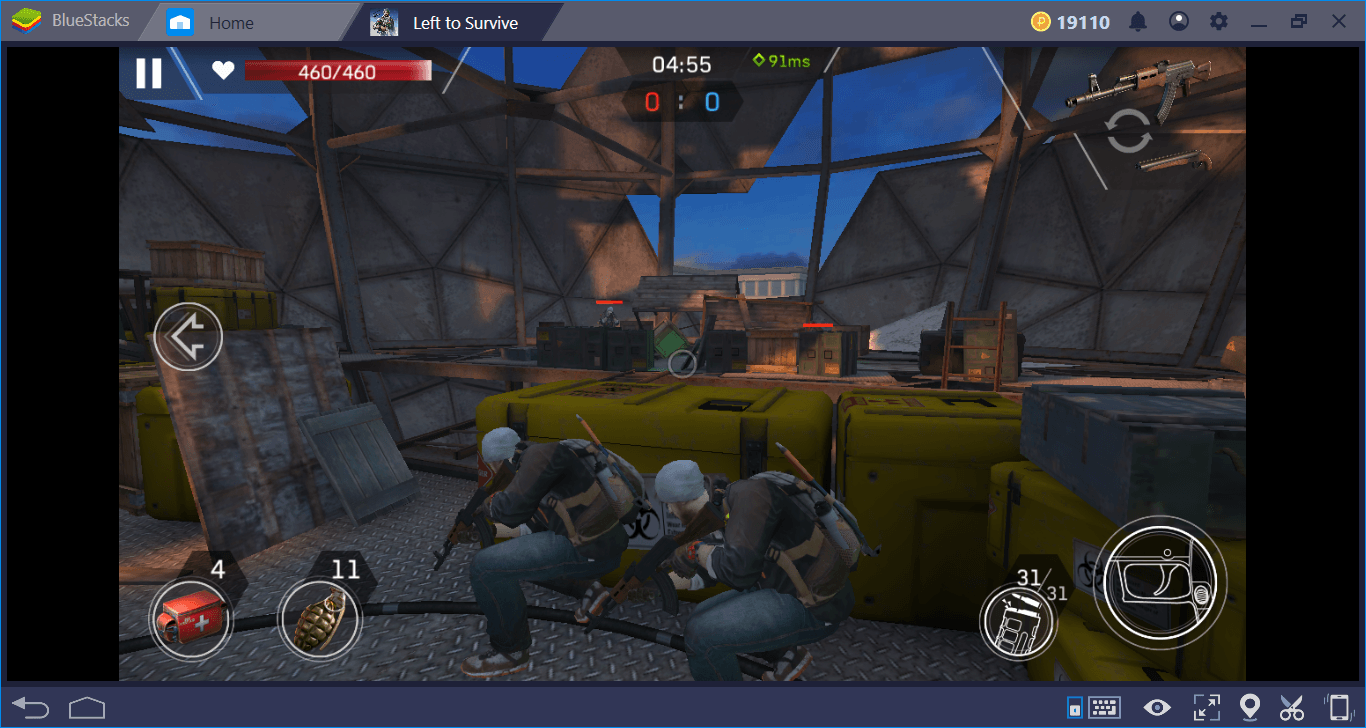
If you’re ready for an action-packed adventure in a world overrun by zombies, Left to Survive is the perfect game for you. Combining third-person shooter (TPS) and on-rails shooter mechanics, this game delivers intense battles and exciting gameplay. To take your experience to the next level, playing on BlueStacks offers significant advantages. It allows you to improve reaction times, automate missions with the Combo Key feature, and make gameplay smoother and more enjoyable. Whether you’re a seasoned player or new to the battlefield, BlueStacks ensures you have everything you need to dominate your enemies effortlessly.
How to Install Left To Survive: Zombie Games on PC
- Go to the game’s page, and click on the “Play Left To Survive: Zombie Games on PC” button.
- Install and launch BlueStacks
- Sign in to the Google Play Store and install the game.
- Start playing!
For Those Who Already Have BlueStacks Installed
- Launch BlueStacks on your PC
- Search for Left To Survive: Zombie Games on the home screen search bar.
- Click on the relevant result
- Install the game and start playing!
Minimum System Requirements
BlueStacks offers the best performance and graphics for games like left To Survive: Zombie Games, boasting highly accessible PC requirements:
- OS: Microsoft Windows 7 and above
- Processor: Intel or AMD Processor
- RAM: Your PC must have at least 4GB of RAM. (Note: Having 4GB or more disk space is not a substitute for RAM.)
- Storage: 5GB Free Disk Space
- You must be an Administrator on your PC.
- Up-to-date graphics drivers from Microsoft or the chipset vendor.
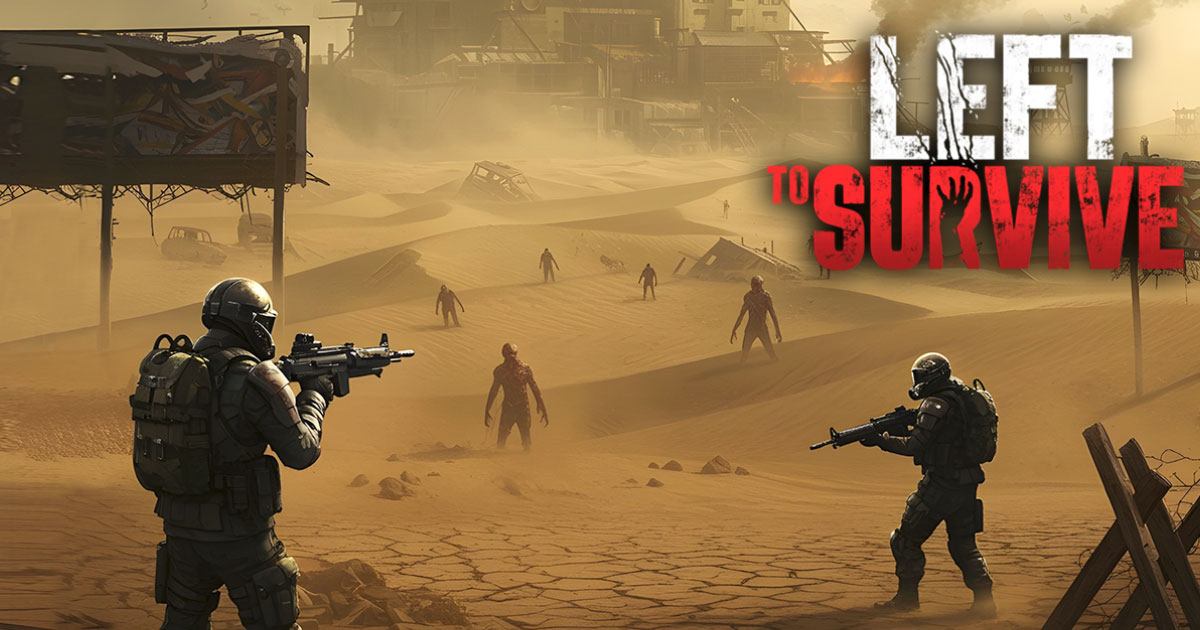
Step into the post-apocalyptic world of Left to Survive: Zombie Games and take on the challenge of saving humanity from the undead. Assemble a team of legendary heroes, choose powerful weapons, and engage in thrilling PvP battles. With BlueStacks, enjoy enhanced controls, stunning graphics, and a seamless gaming experience on your PC. Whether you’re navigating through intense story missions or battling players worldwide, survival depends on your skills. Good luck, stay sharp, and may you emerge victorious in the fight against the zombie hordes! Enjoy playing Left to Survive: Zombie Games on PC or laptop with BlueStacks!