LifeAfter on PC: How to Get Started
While the game is available on Play Store, it does not work on BlueStacks at this time. Please check this space for updates.
As a complex survival MMO, LifeAfter has many surprises in store for new players. From companions to character improvement, base building, quests, and exploration, there are plenty of things to do on a daily basis if you’re looking to commit to the game. When you create your first character, though, the world might a bit feel overwhelming.
Some player quit at this point, especially if they have a hard time during the first few missions. That’s a pity, if you ask us, since LifeAfter is actually one of the best survival experiences in terms of mobile games. To help you push through the first few days and establish a solid foundation, we’ve put together this guide for beginners. Below, you’ll find the first steps you should take as a new player and a few tips to overcome the most difficult initial challenges.
1. Completing the Tutorial
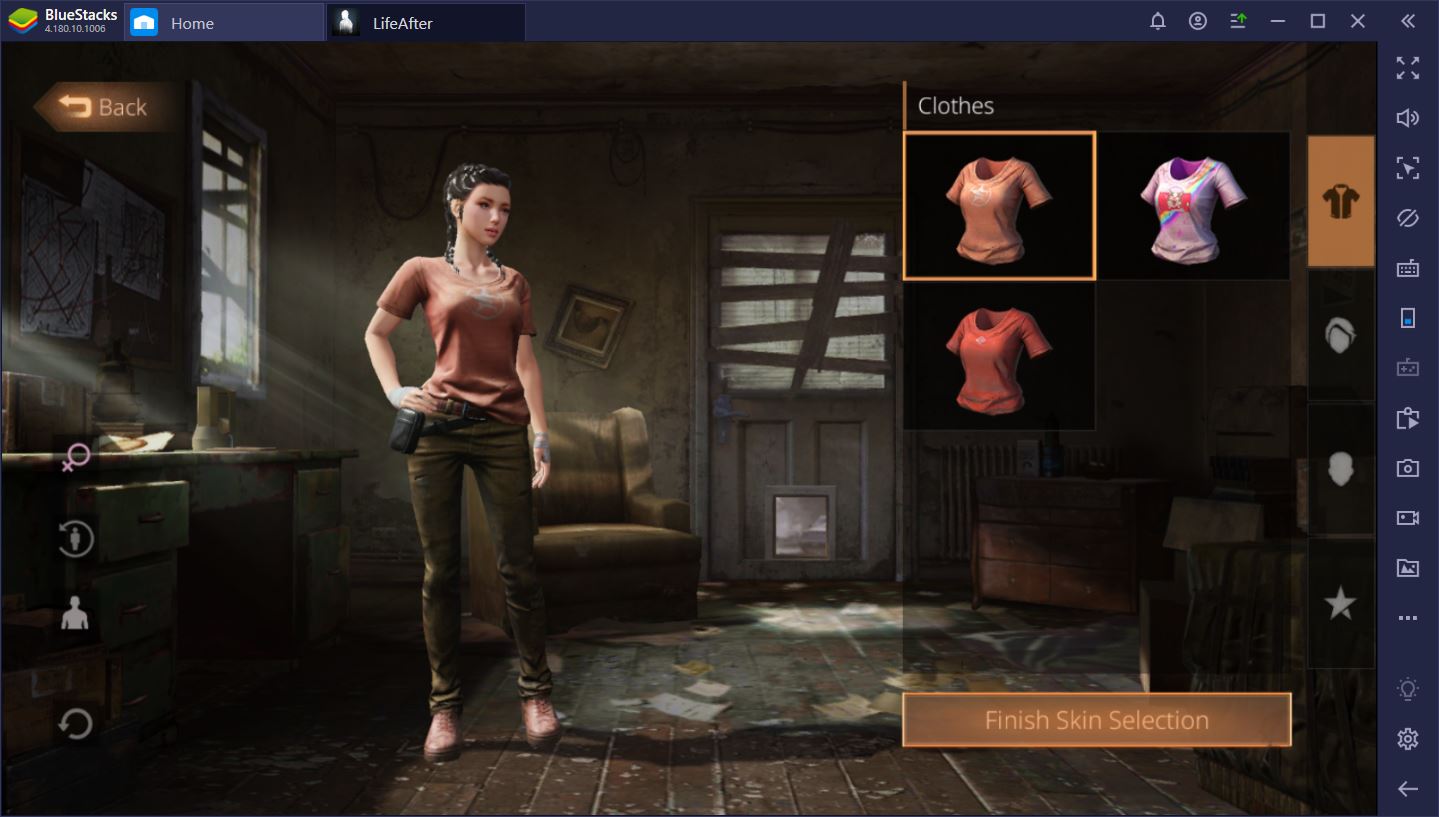
Once you’ve customized your character’s appearance, you’ll be asked whether you want to take the tutorial or skip straight to the game. If you haven’t played LifeAfter before, our advice is to go through with the tutorial missions. They’re fun, rather than boring, and they help you learn the ropes when it comes to combat and base building fundamentals.
If shooting zombies is your guilty pleasure, you don’t have to worry about the tutorial delaying your fun. In fact, you start the game by doing just that: killing every zombie that you can spot. Then, you’re reunited with your best doggo companion as you set out to find transportation away from a giant swarm of zombies and one “special” monster.
The quests are pretty straightforward overall, but there are a few tips you should keep in mind to complete the tutorial quickly:
- You can gather all the resources you need to repair the shack when you’re asked to do so, but an easier way to complete this mission is to dig up the chest to the right of the structure. Aleksey, your NPC friend, should stand right next to it.
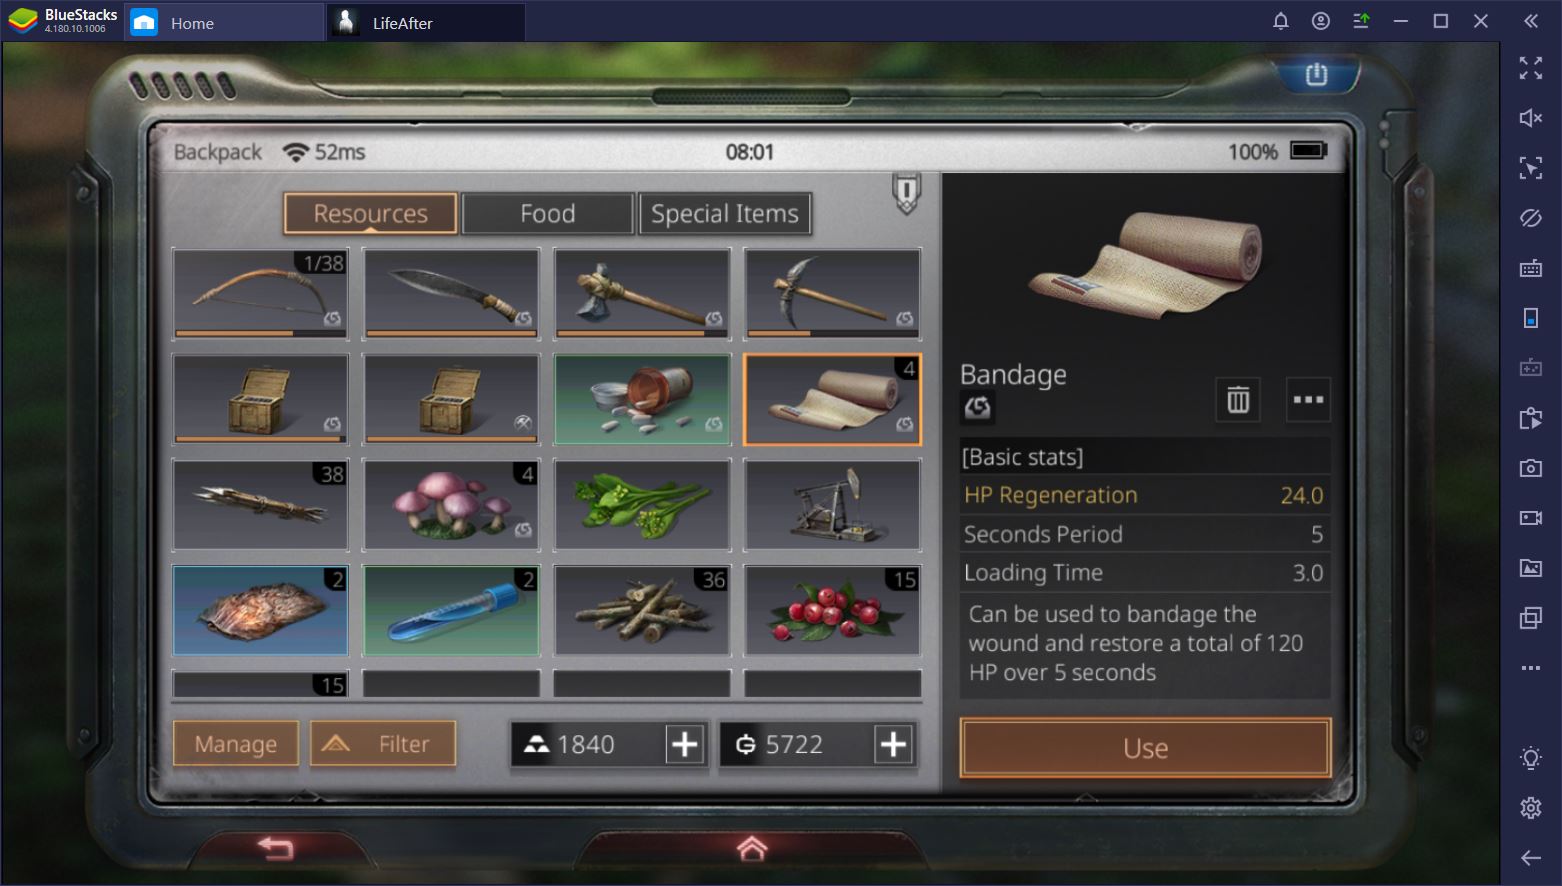
- When you reach the secret science base, you can smash cabinet windows with either your weapon or the axe in order to reach the loot behind them. You’ll actually be asked to do this to recover a key, but if you search additional cabinets, you’ll find a few useful bandages for the upcoming fight.
- Before you can be rescued, you have to kill a giant, gross-looking, “special” zombie, but don’t try to do this with your existing weapons. A helicopter will signal a location on your map and drop some goodies, including armor and an excellent weapon. Pick them up and equip them while the monster is still on its way.
- You might be used to Aleksey’s shotgun by the time you have to fight the giant zombie, but the gun you get from the helicopter is automatic. This means that you can keep the shoot button pressed to make quick work of the enemy.
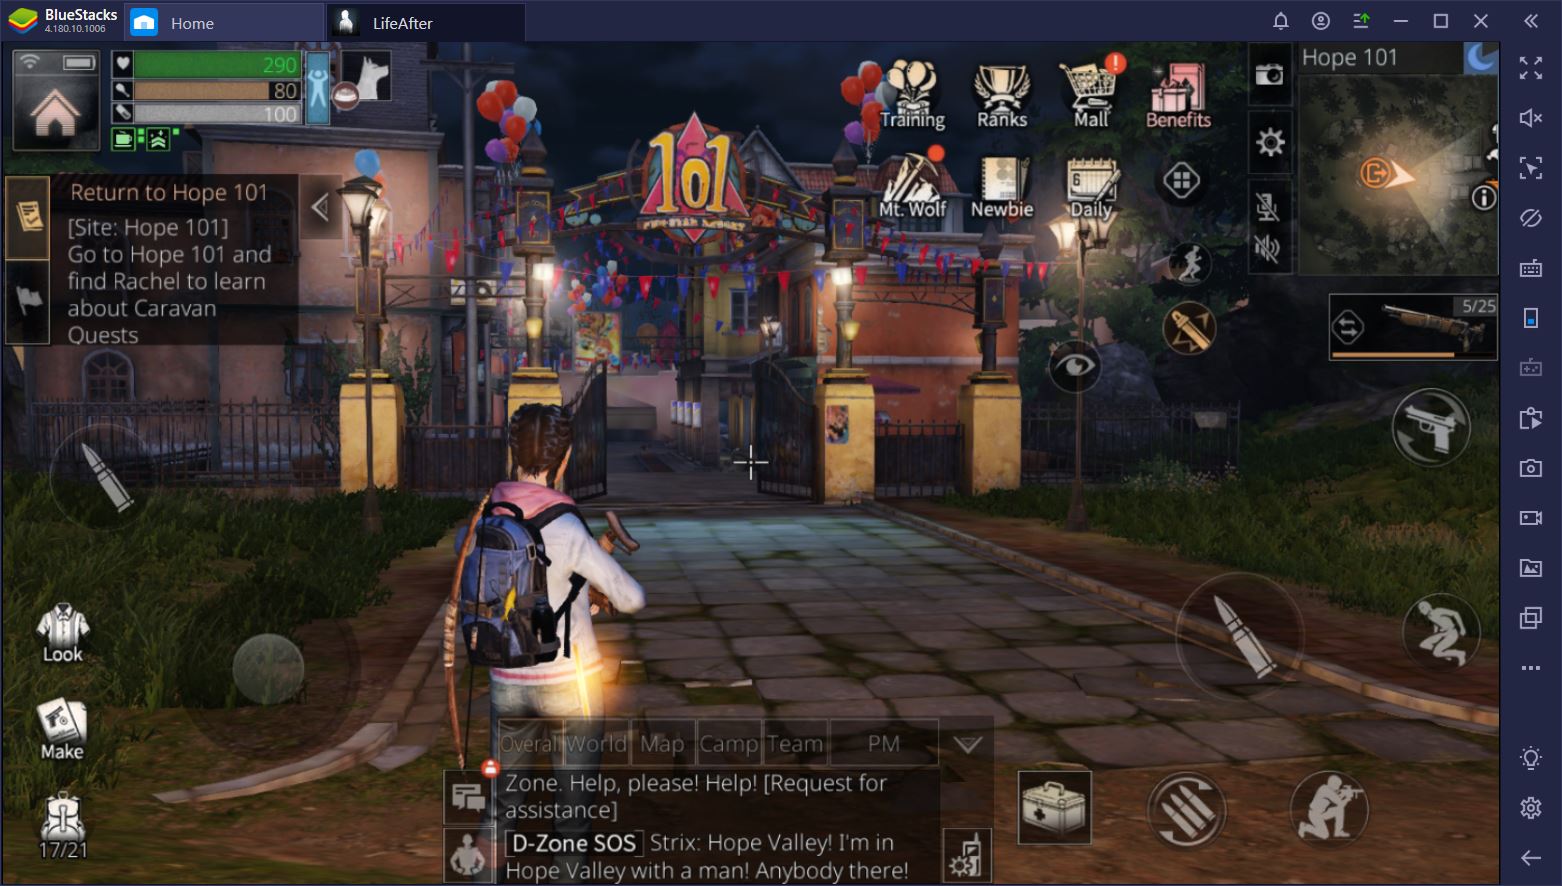
2. Exploring Hope 101 and Getting to the Development Area
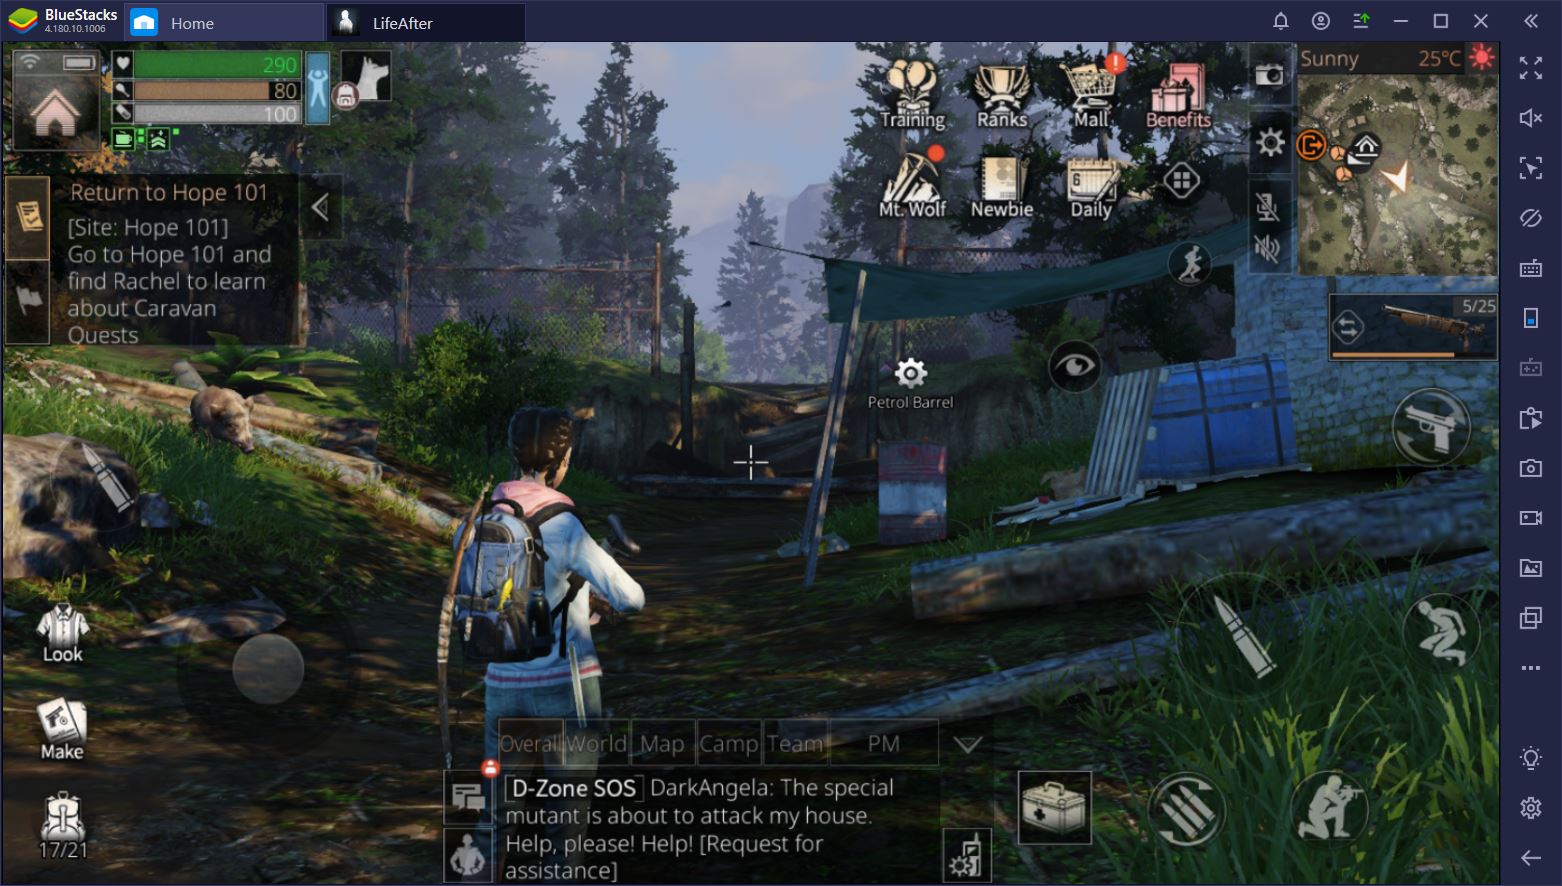
Once the tutorial is over, you will be taken to Hope 101, a town with a lot of vendors and useful NPCs that you will come back to later on. While you’re here, you have to drop off all the items that you’ve obtained during the tutorial missions. It’s sad, we know, but at least you get some gold for it.
With this out of the way, you’ll be asked to see the mayor who wants to give you a leadership position and help you save the world… of course. Your first mission will be to head to the Development Area, which you can do by talking to Rachel. You can take your time to explore the town, but you won’t be able to do or buy much at this point in the game, so why bother? Have Rachel send you to what will become your new base, but watch out: your first challenge is on its way.
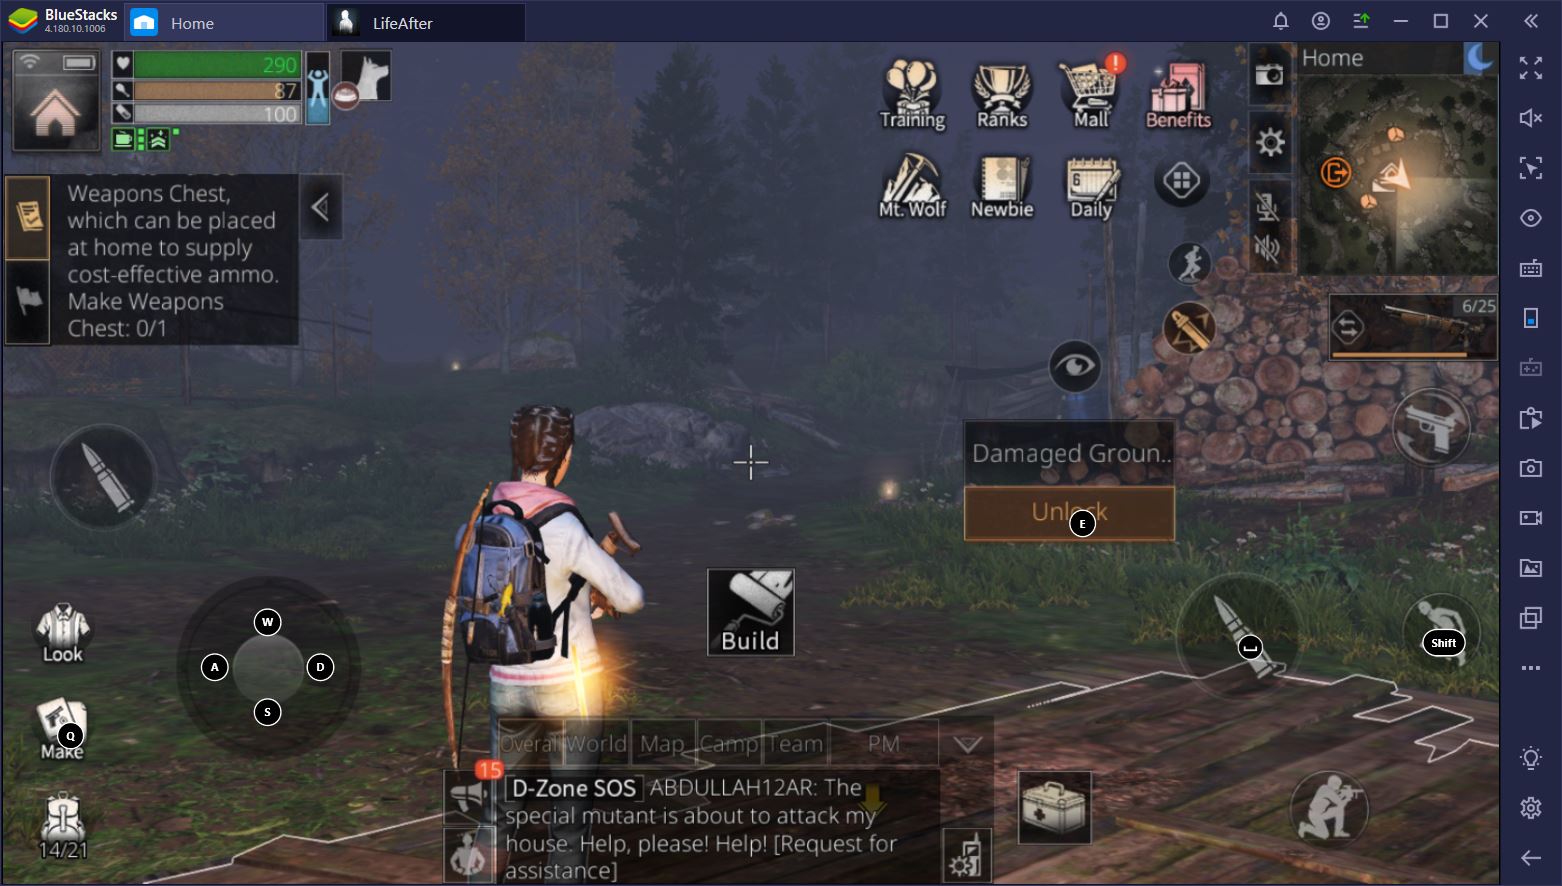
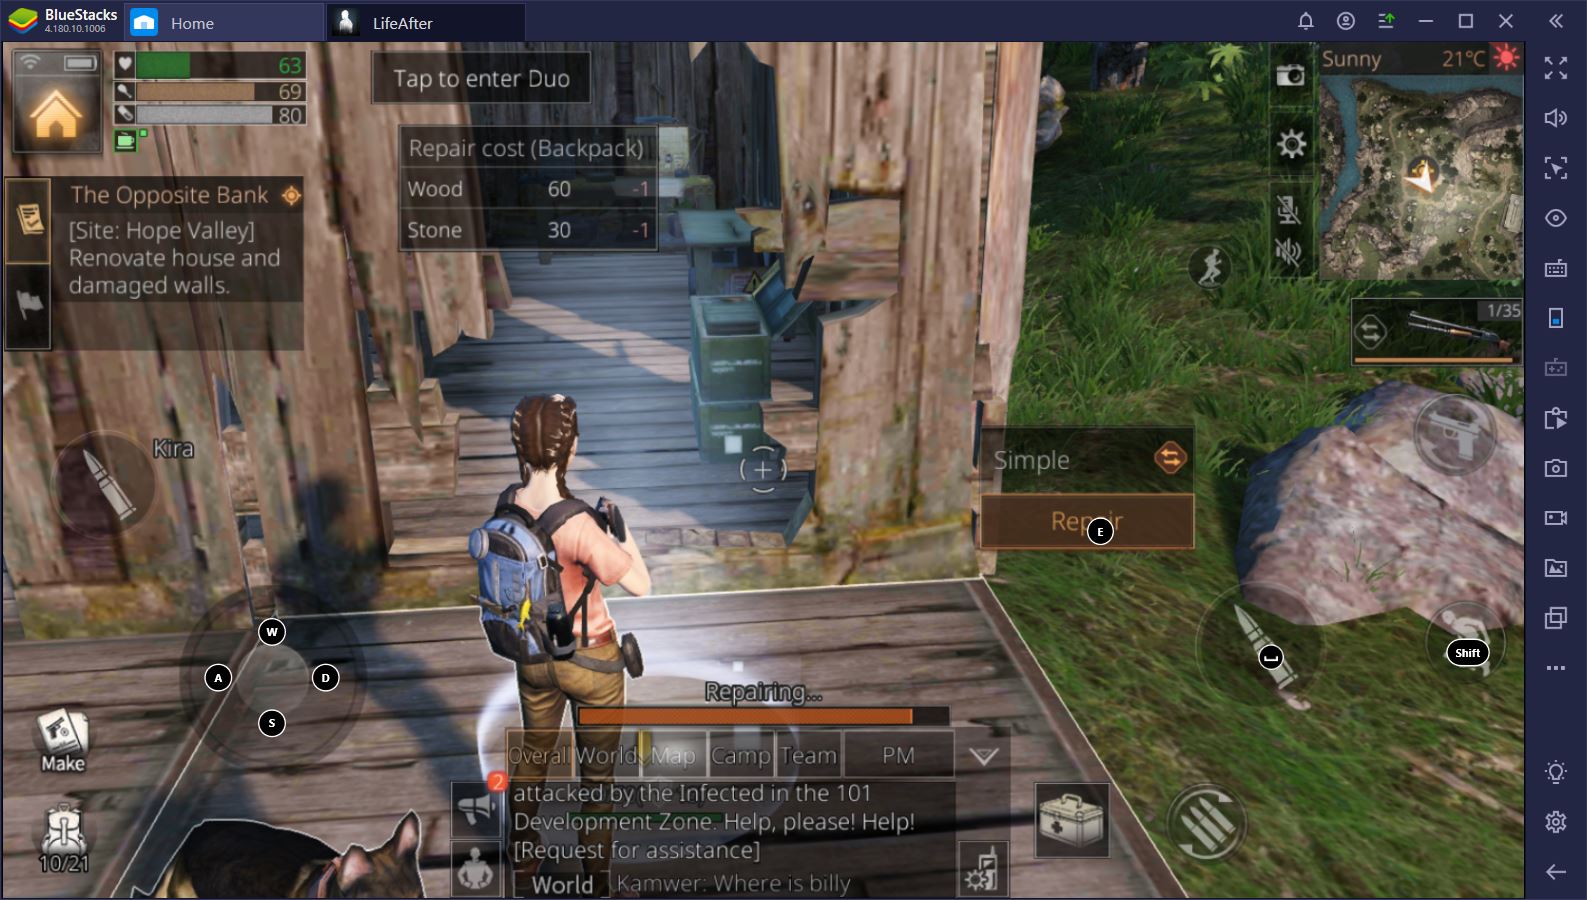
3. Taking Control of Your Base
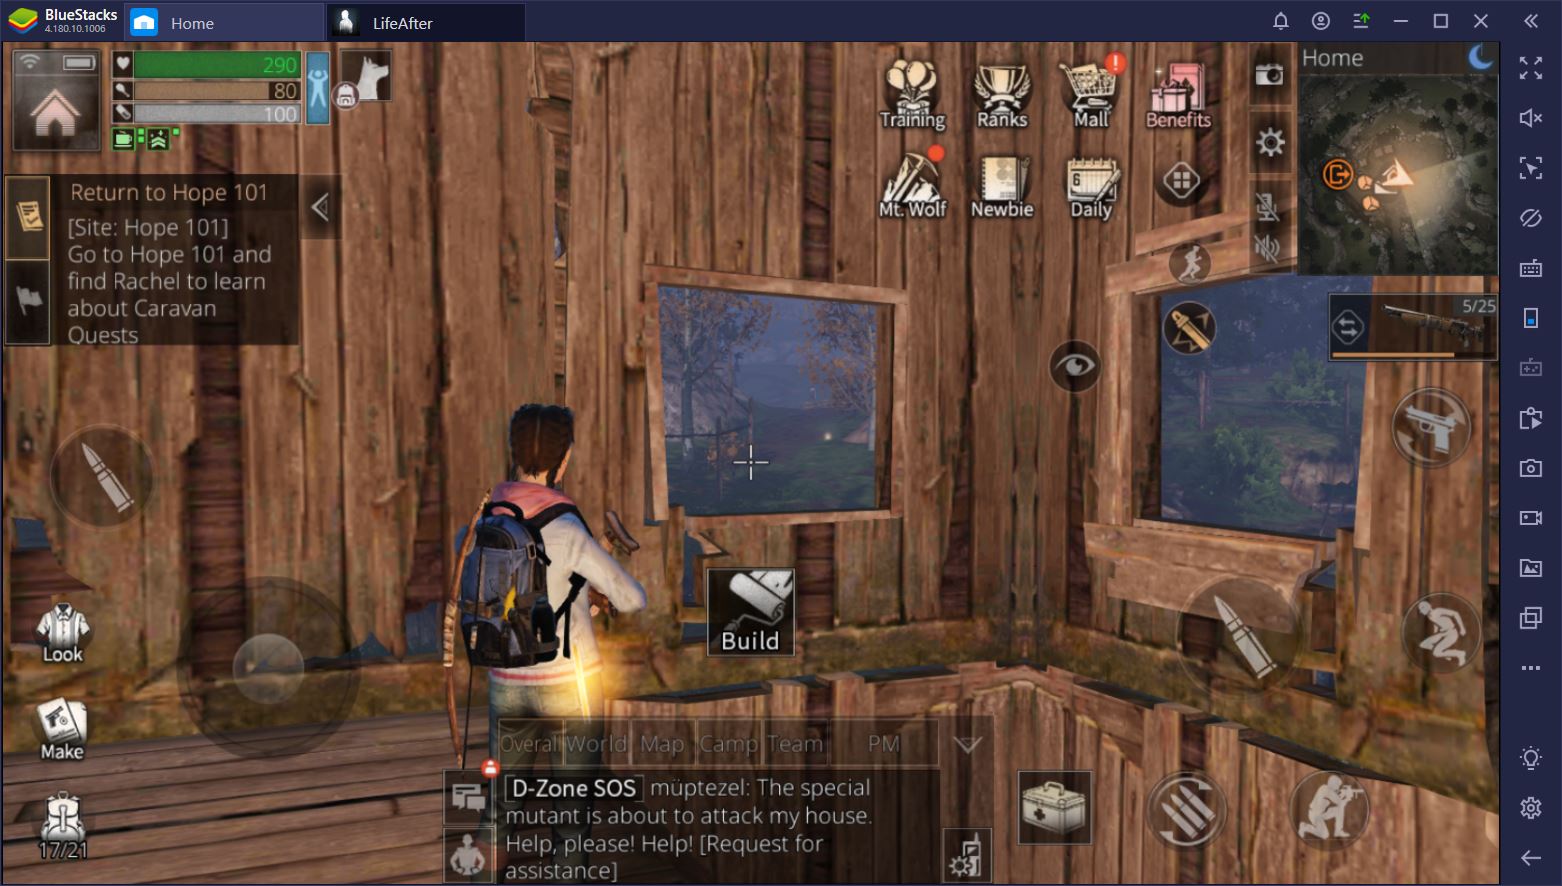
You arrive at the Development Area completely bare-handed and during nighttime. There are two problems with this. First, a ton of zombies spawn during nighttime and will attack you on sight. Second, you have nothing but your bare fists to fight off enemies, which, we assure you, is not a good idea. To avoid dying, wait out the night where you spawn and start heading to the base once the sun is out.
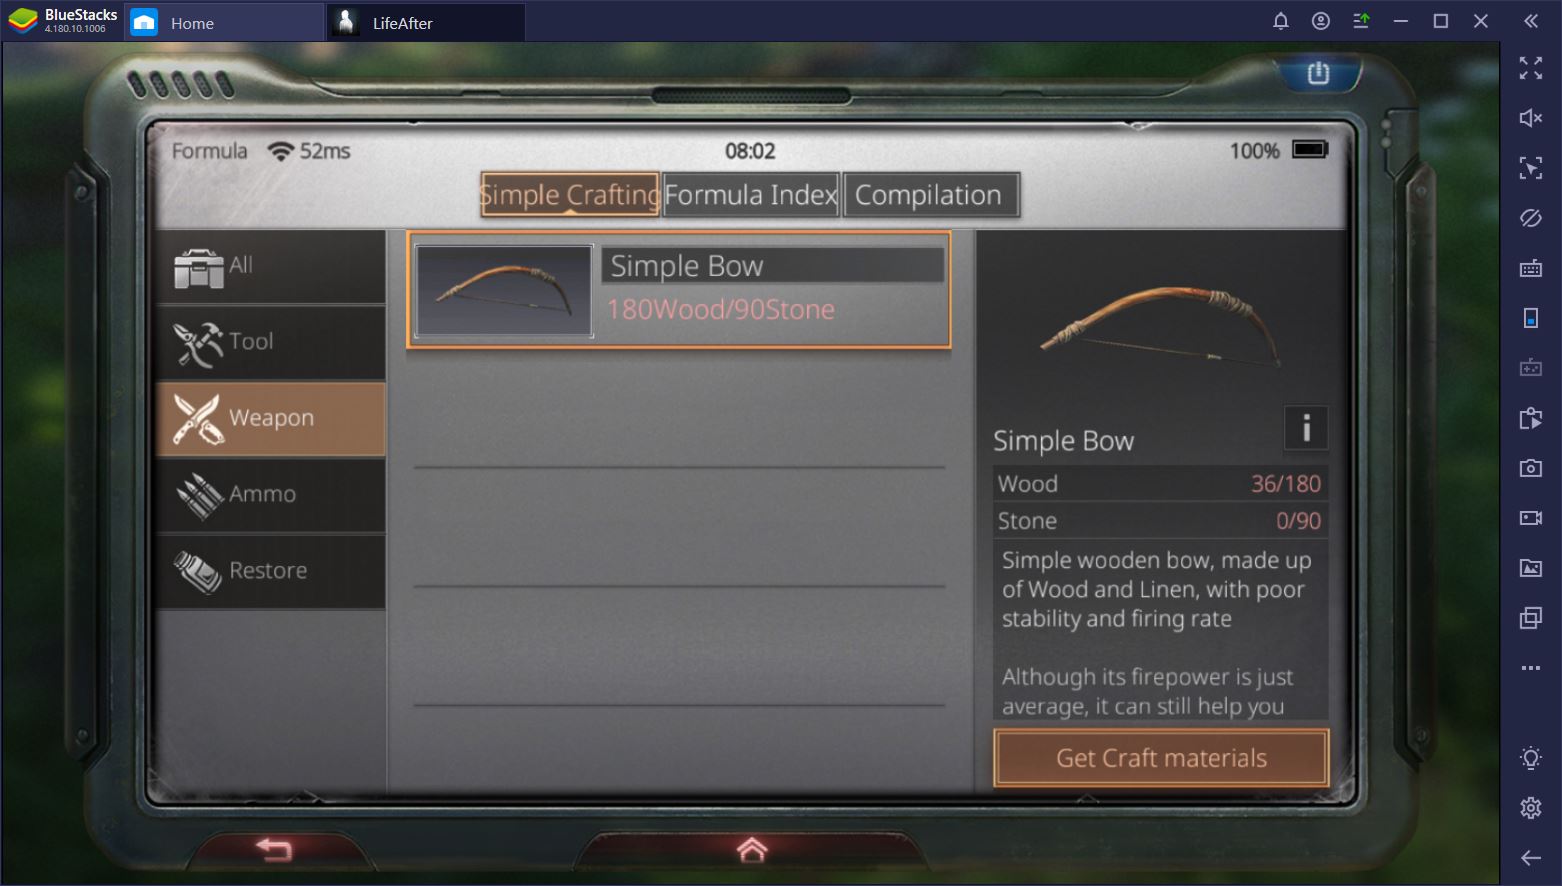
If you do this, you’ll only have to deal with one noteworthy foe before the base becomes yours. You’ll be asked to create a bow and arrows, which you can do from the quick craft menu. You’ll need materials to do this, but the quest tracker will direct you to a container with the right resources. It’s much easier to get stuff from the container than try to farm it yourself, with your bare hands.
Once the bow and arrows are ready, it’s time to take out the pestering zombie inside the base. You should be able to do this before nighttime in order to avoid additional zombies. Unfortunately, the most challenging part is just ahead of you.
4. Fighting Off the First Invasion
Just a few minutes after you take control of the base, a bunch of zombies will decide to invade your new home. Just to be clear: this battle will be significantly harder than anything you’ve done so far and dying will simply reset the event, which means you have to stay alive until every last zombie is dead.
Now, there are two important things you should do to make it happen:
- First, you should call out for help. This will emit an SOS signal on global chat and other players will be able to come to your aid during this first battle.
- Secondly, you need to use your two minutes to place the foundation for your base and build a few walls. Ideally, you’d want to pick up the stairs on the left side of the area and place it on your foundation, surrounded by walls (and a door, of course). Then, you just need one floor structure at the top of the stairs to give yourself an advantageous location for the upcoming battle. Since zombies won’t be able to go through the door, they won’t be able to climb the stairs or get to you at all. This will make sniping them with your bow much easier.
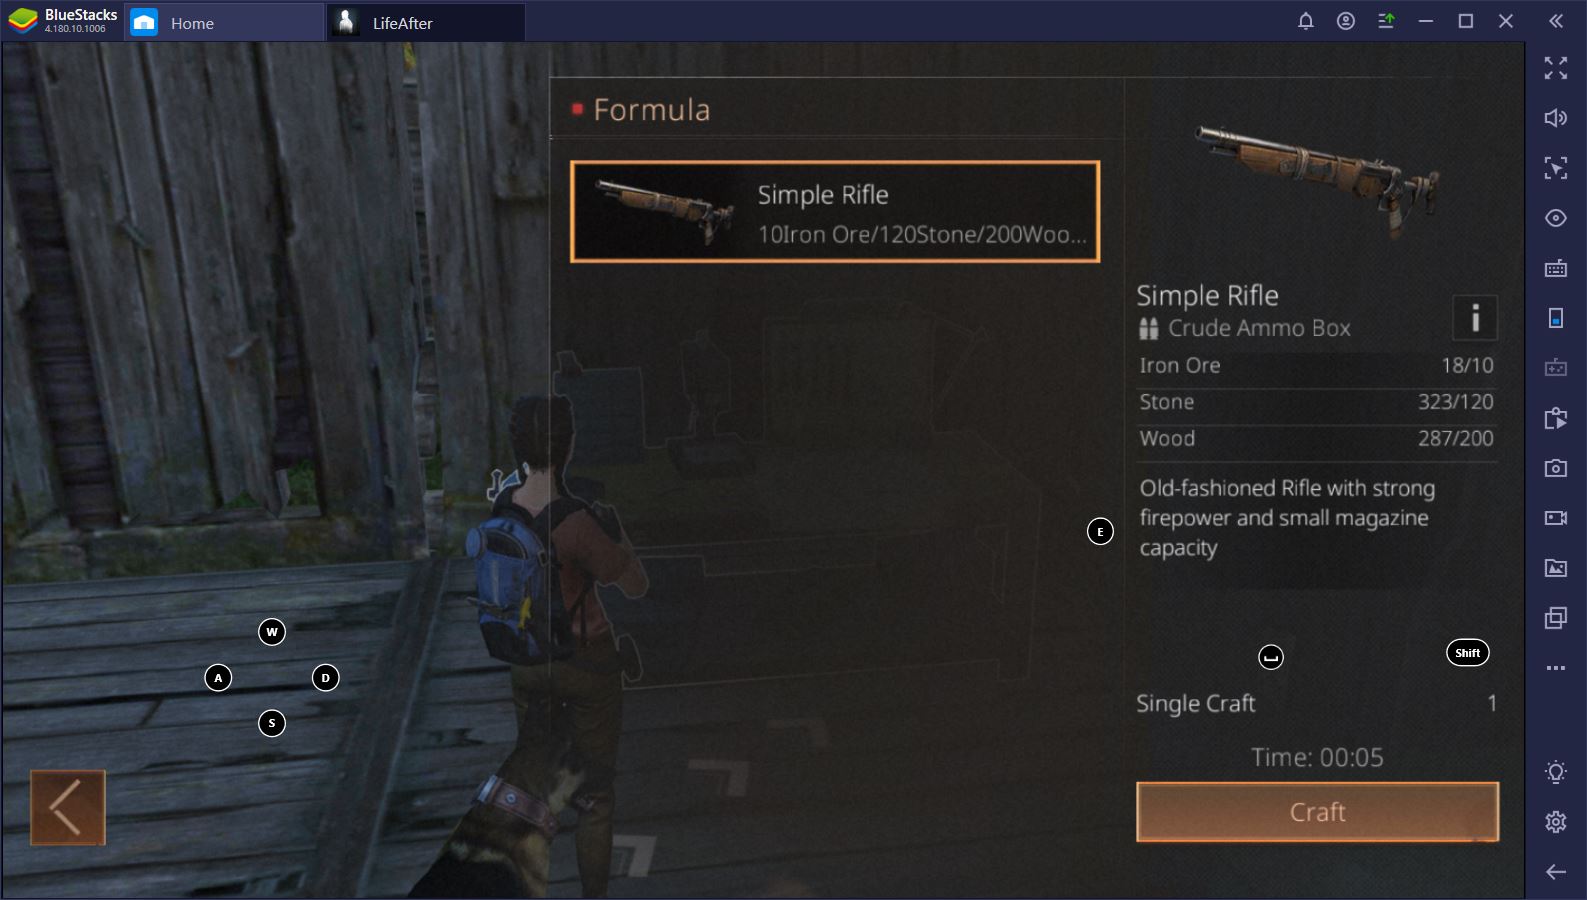
When you finally kill the “boss” zombie that so rudely attempts to destroy your structures, the base is finally passed under your control and several crafting stations are unlocked. From here on out, it’s time to go on your first expedition and eventually craft your first gun.
Download BlueStacks Now