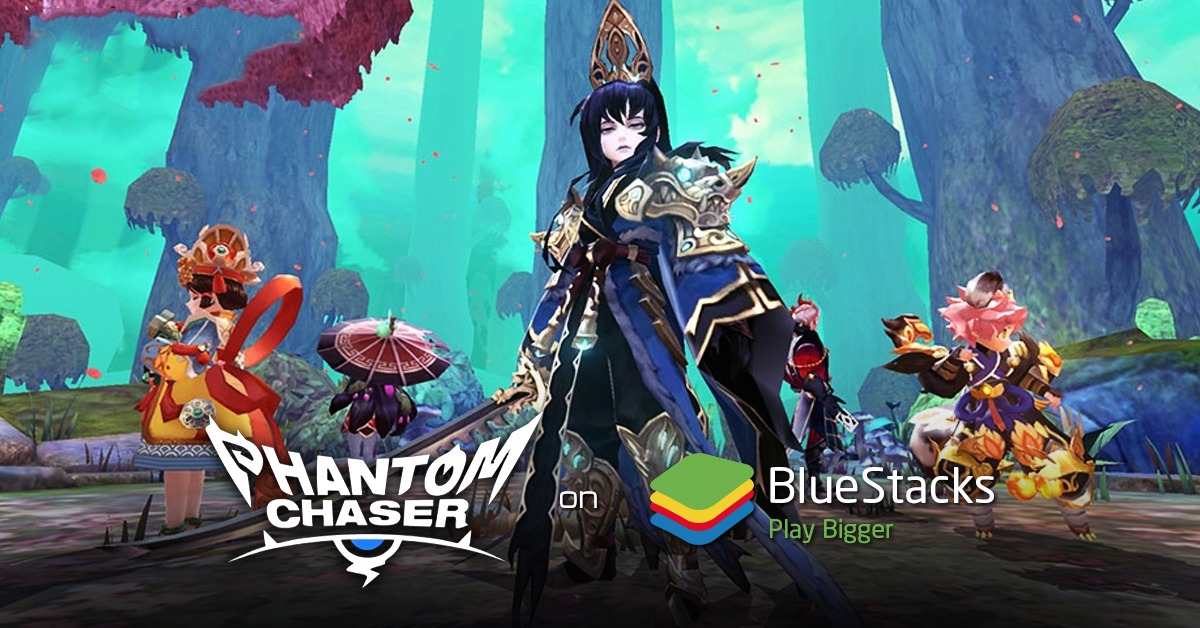
The Ultimate Phantom Chaser Beginner Guide


Phantom Chaser is the action RPG (ARPG) offering of Floppygames Inc. Even though the game has a pretty large collection of 130+ phantoms (the characters), you should take the time to figure out exactly what each one does. This way you can put together the best collection of phantoms to use for each situation.
Yes, there are plenty of situations for you to find yourself in!! And yes, a team that works well in one situation of the game might not work so well in another. In this guide, we’ll give you the details to help give you a great start with the game. We’ll also include some tips and tricks later in this guide.
The Game Mechanics
The game has a tutorial for each section. You can skip it if you like but if you’re lost on something because you skipped the tutorial, you can find many details about each game section here. You can unlock all sections by the time you reach level 24.
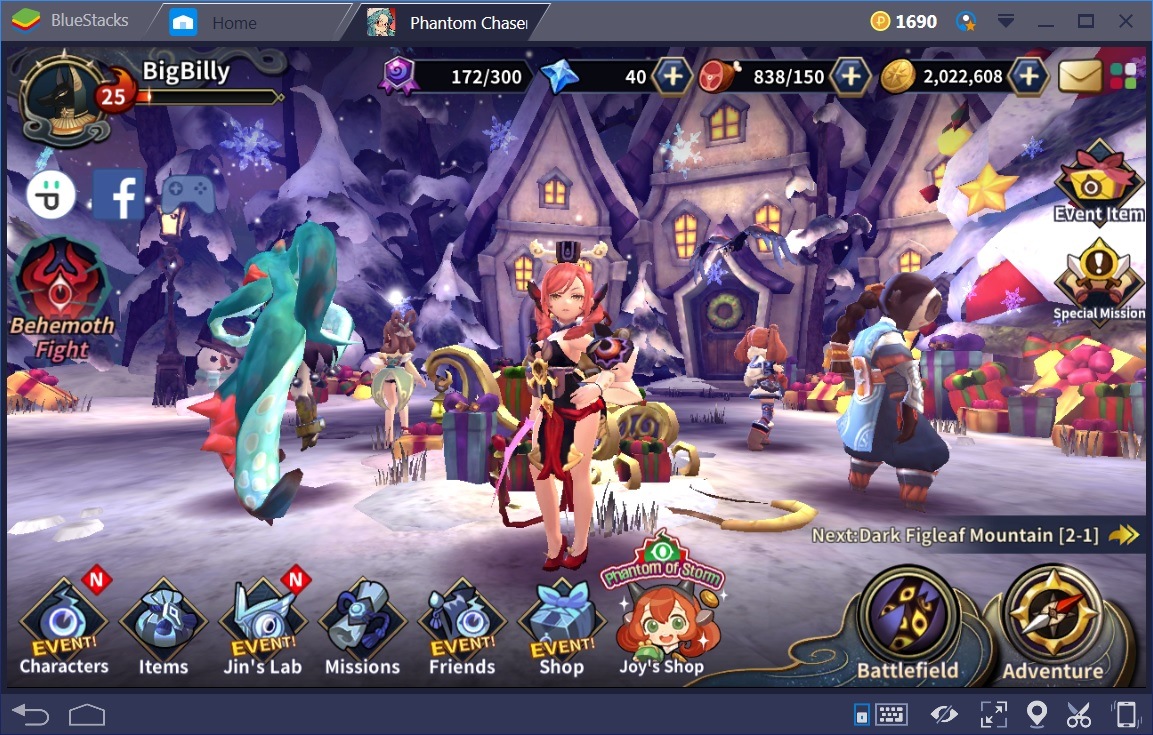
We’ll start in the upper left corner and go across. In the upper left corner is your basic info. You can already see your level and in-game name. Click the portrait next to your name to change the picture. More pictures are added when more phantoms become available. In the top middle to top right are the Honor Points, Star Stones, Stamina, and your Gold (the game currencies). Next to it in the top right corner is the Mailbox and the Main Menu. Most of the things you gain while playing will be delivered to the Mailbox.
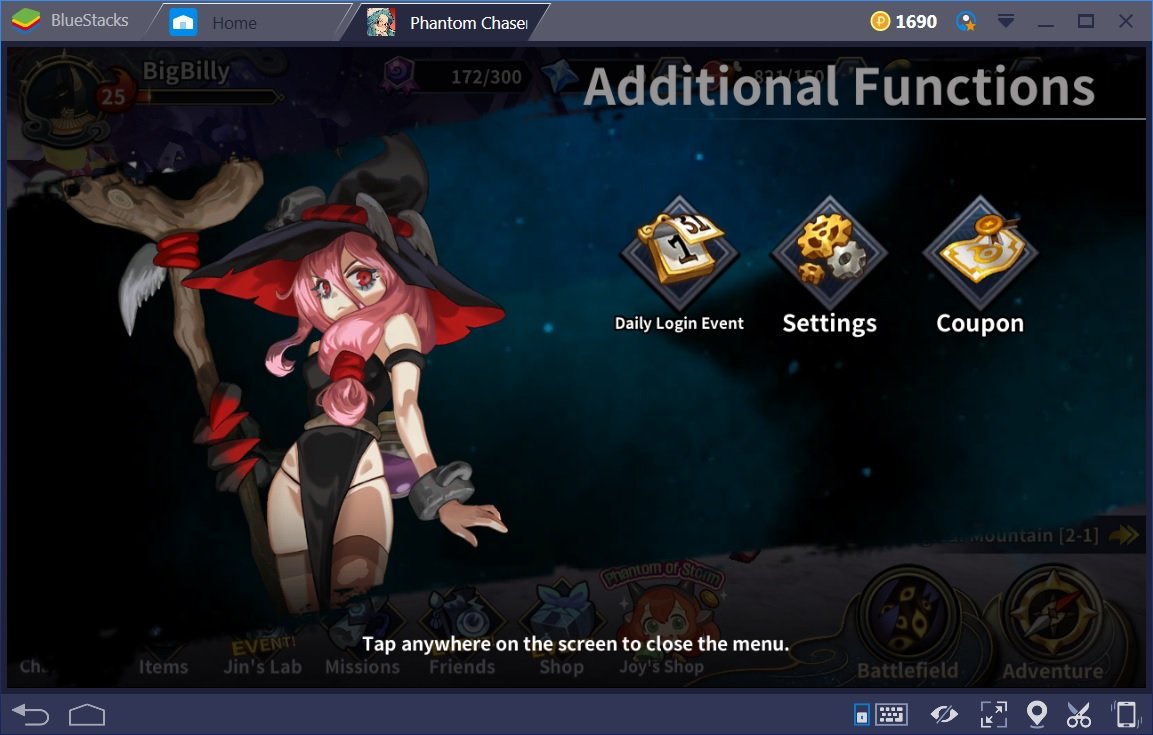
The Main Menu is where you can collect the Daily Login rewards, change various game settings, and redeem a coupon if you happen to have one.
On the left side of the main screen showing above, you have the Social Hub. You can check various things from those 3 icons. Just below that is the Behemoth Fight.
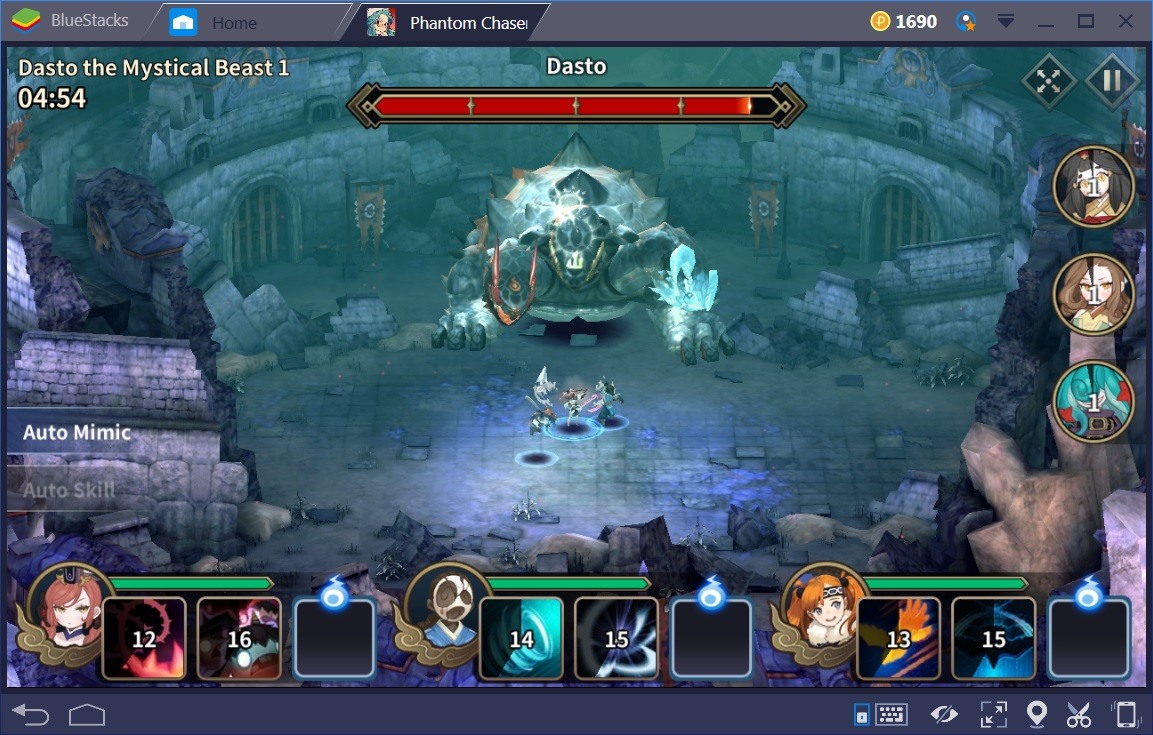
In the above screen shot, you can see a Behemoth Fight in progress. The Behemoths have a certain attack pattern which can be avoided. Just look for it because it’s not that hard to spot!! Click the map to move your entire team to another place which isn’t being attacked. Behemoths can easily wipe you out with a single attack. Whenever you see a Behemoth Fight available, join it as soon as possible. The rewards are quite good.
Next on the main screen showing above is in the middle of the right side of the game screen. That’s the Event Item and Special Missions. The Event Item Section is for those who choose to spend real money on the game. Yes, it’s ALWAYS a choice to spend real money on a game and Phantom Chaser does a decent job of making sure of that.
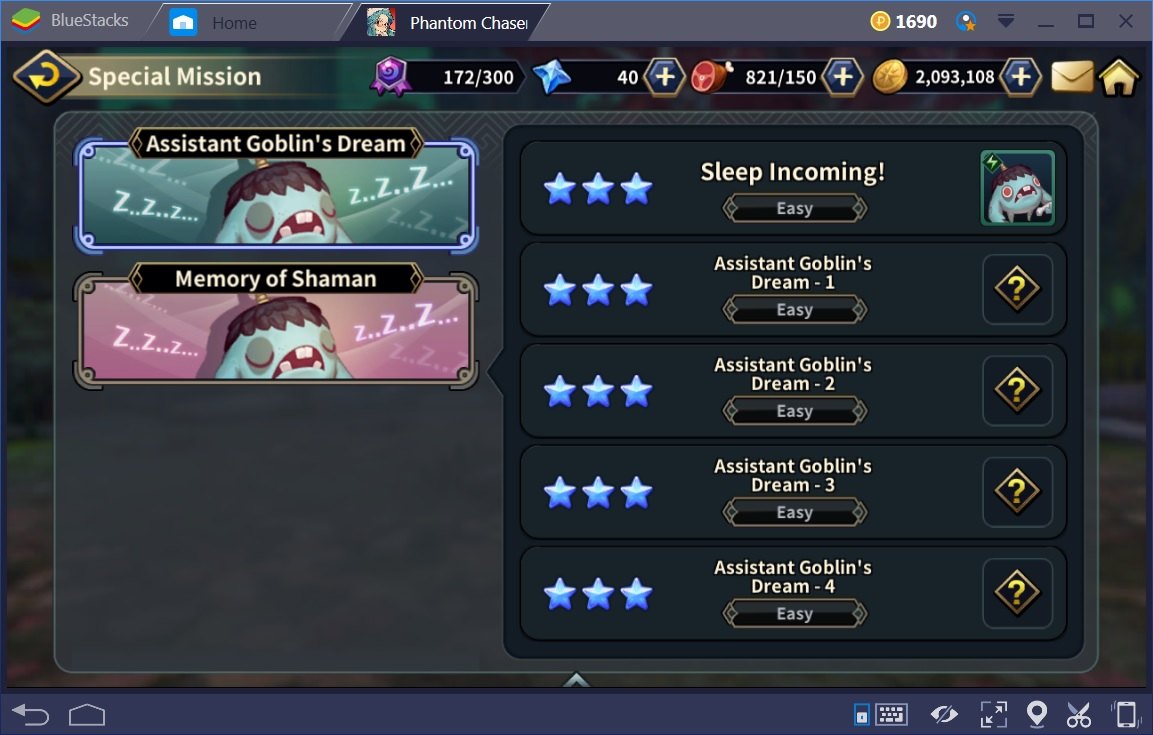
The Special Missions are a set of missions intended to give you specific prizes. In the case of the above screen shot, this happens to be the setup following the Christmas 2017 Special Missions. They play just like the Adventure mode maps but have specific requirements for entry. Be sure to check the rewards before fully investing your time and stamina into these things!!
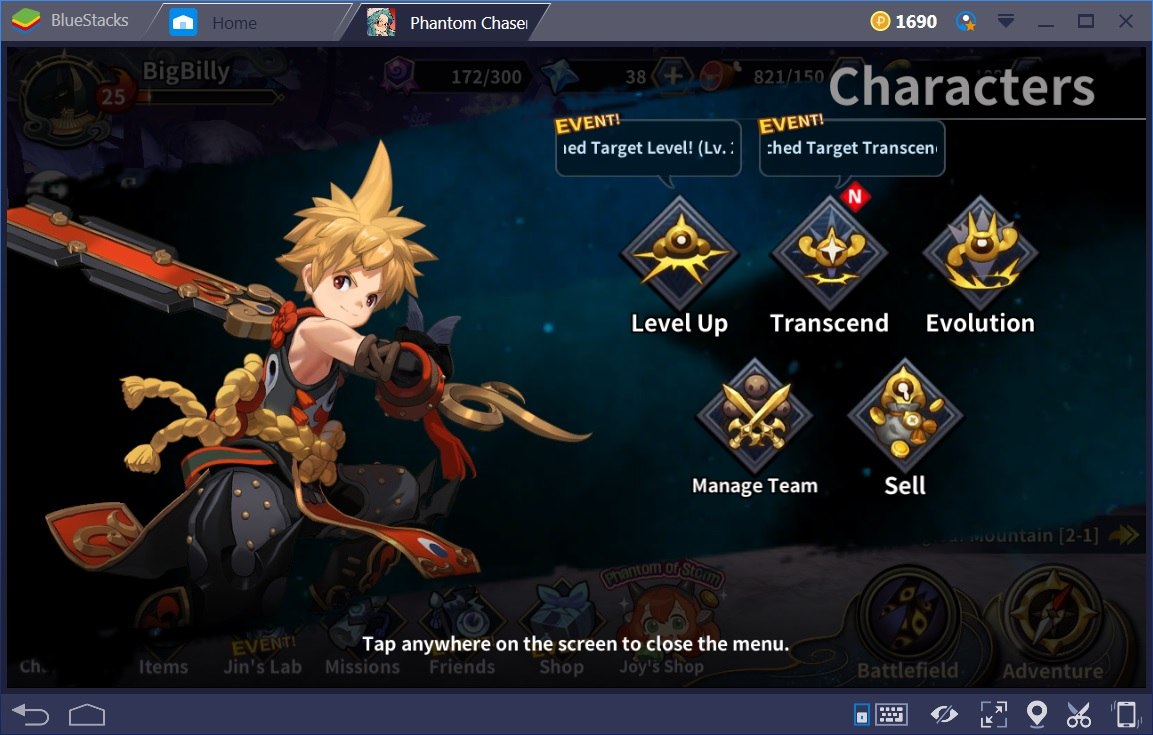
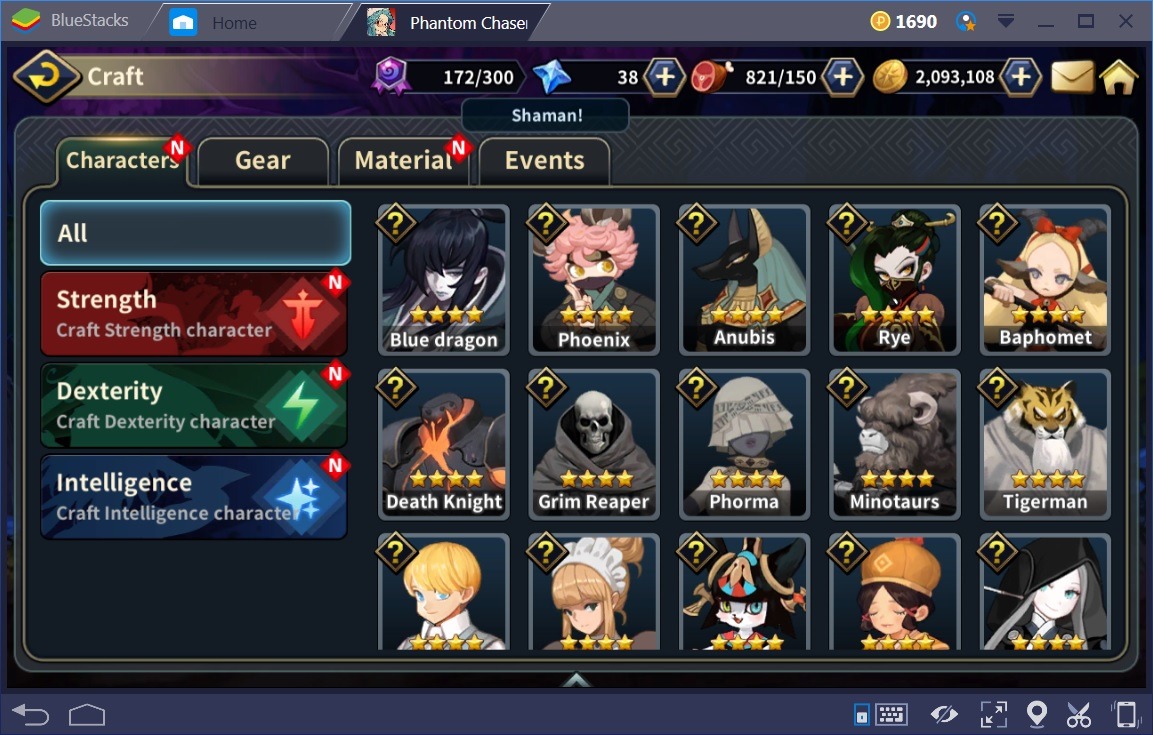
Next is on the bottom left corner of the main screen. That’s the sections for Characters, Items, Jin’s Lab, Missions, Friends, The Shop, and Joy’s Shop. All of your decision making concerning your teams will be done in here.
The Characters section allows you to Level up, Transcend, Evolve, and/or Sell your phantoms. Then there’s the Team Manager to setup your teams.
You use other phantoms to level up your phantoms (A.K.A food). Otherwise you can level them in the Adventure mode of the game. Depending on the number of stars your particular phantom is (up to 5 stars) the leveling is a little different. For all phantoms, the initial level cap is level 100. That’s regardless of the phantom’s star count. Once the level cap is reached, you must transcend that phantom to gain higher levels. You can transcend a phantom using the same phantom with the same star count as material. This brings the level cap higher and increases the + level by 1. The trick to it is that the phantom you use to transcend the maxed level phantom can be level 1. Take the example of the phantom Xi showing in the main screen above. Let’s say you gained a 4 star Xi. Now it’s at level 100. You need a level 1, 4star Xi to transcend her. The other way to do it is using a 3 star OR 4 star Shaman of Transcendence. Then the 4star Xi is now a 4star Xi at +1. This goes on until you reach +5 or +10 (the max).
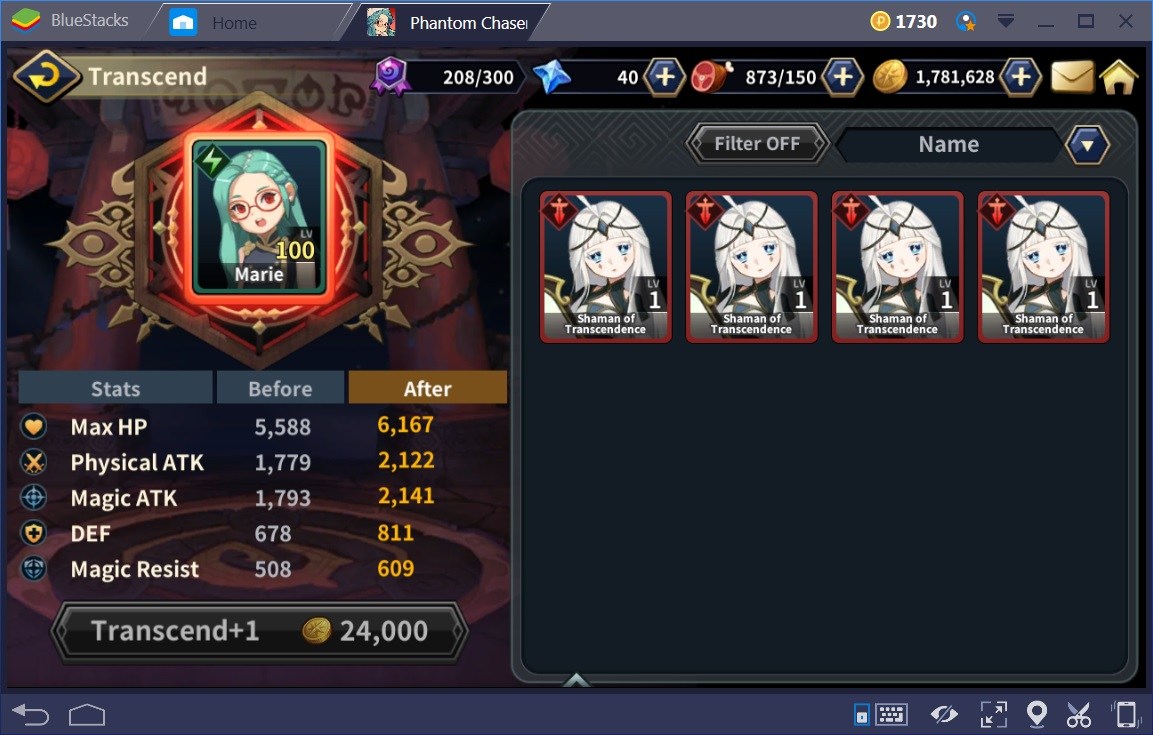
The above screen shot shows an example of a 4 star Marie at level 100. In this case, a Shaman of Transcendence is going to be used as the material.
NOTE: You can’t use a 4star Shaman of Transcendence to transcend a 5 star phantom.
Once you reach +5 or +10 with a phantom and reach its maximum level, you can evolve it which is the next section under Characters. You’ll see the requirements to evolve the phantom in question. Craft whichever items you need and hope the phantom works out as you hoped.
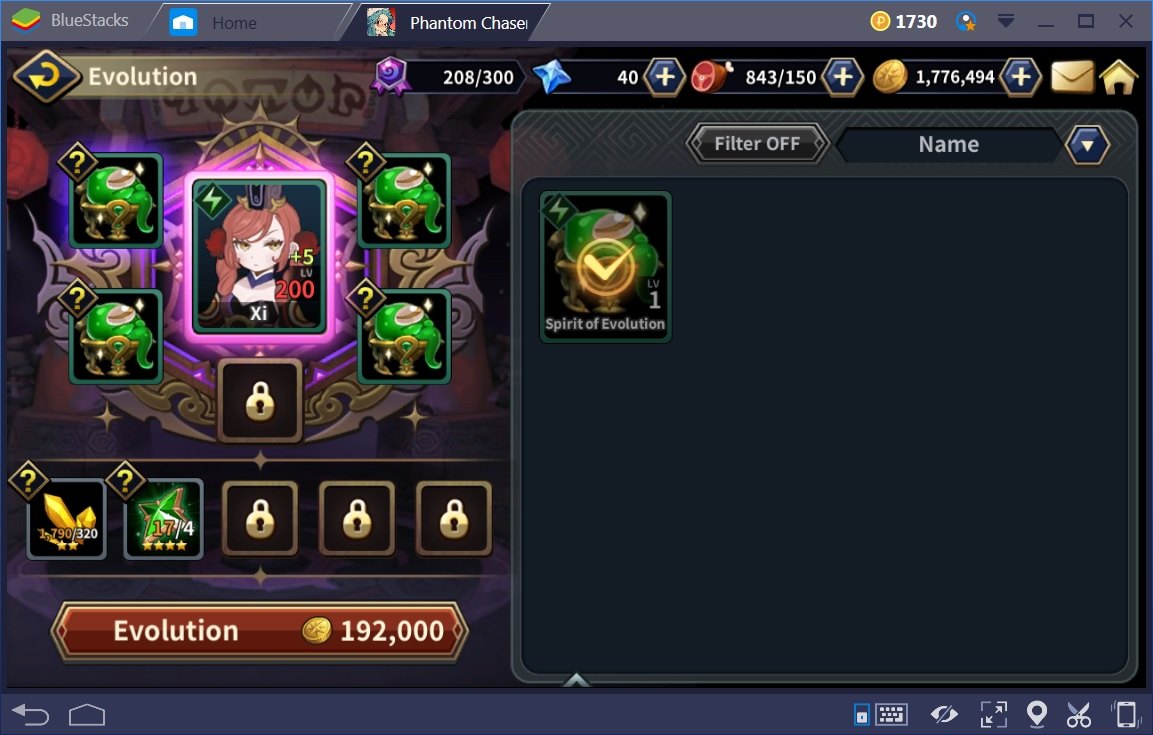
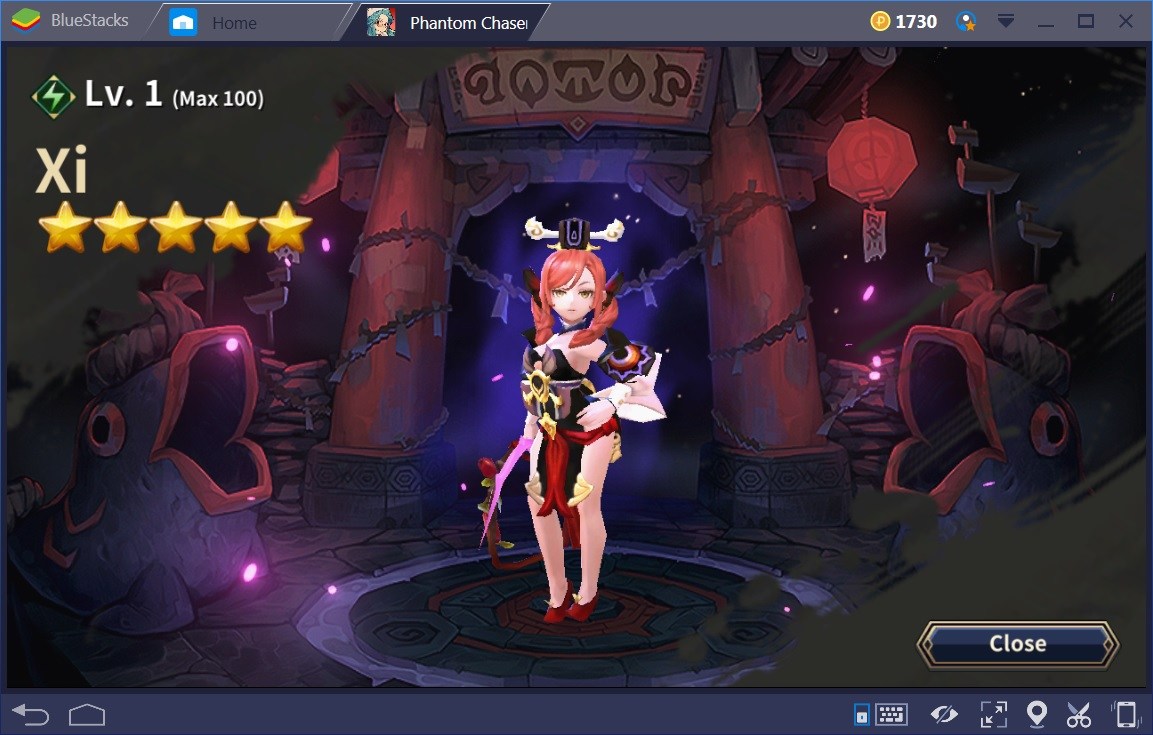
The above 2 screen shots show an example of a 4 star Xi at max level and max transcendence being evolved into a 5 star Xi.
The Manage Team section inside the Characters section is where you’ll put together your teams. There’s a selector for each team to be setup as a default. For example, you have teams labeled as 1 to X. Then there’s an arena team. Once that’s set, each time you enter the arena, that team is what will be used no matter the team you selected from the Manage Team section. When you get the chance, upgrade the phantom inventory space using star stones. You will need to do this.
The only section left inside the Characters section is the Sell section. This should be pretty self-explanatory!!
Next is the Items section. This allows you to manage and sell all your items. You can equip items you gain while playing to the various phantoms you have.
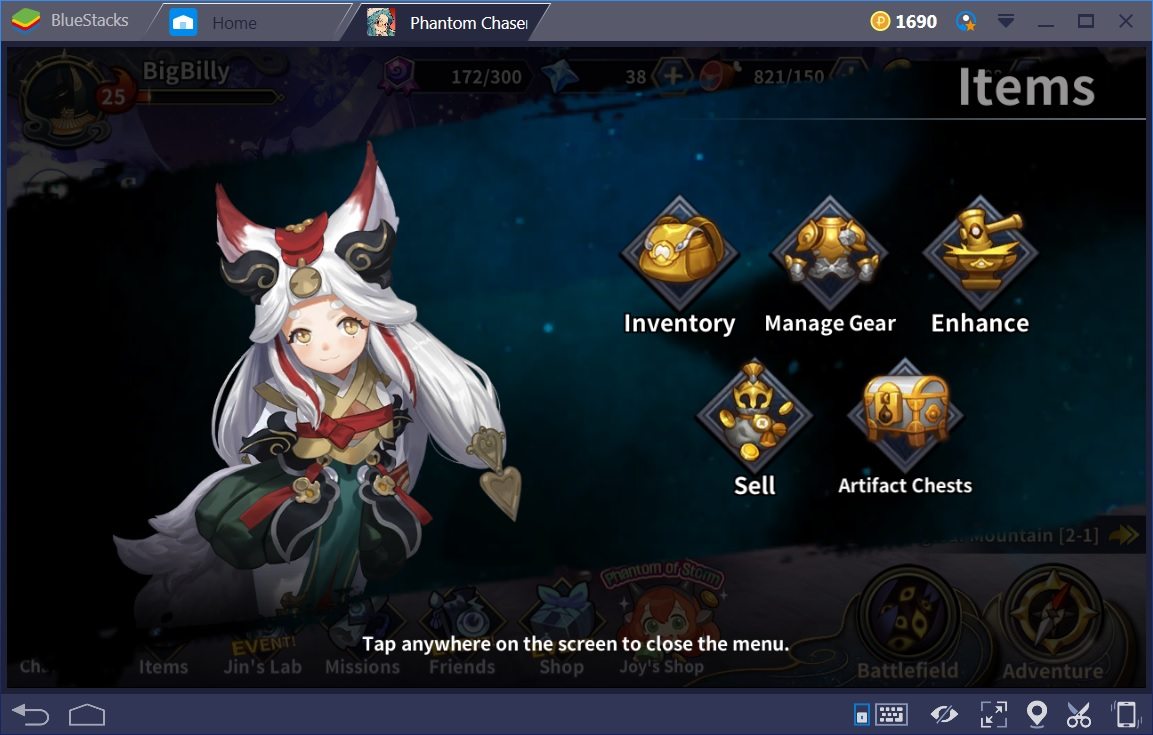
The Inventory stores all your items. Upgrade its capacity when you can. Use the Manage Gear section to equip your items to specific phantoms. Use the Enhance section to +upgrade your items. The Artifact Chests section is used to open Artifact Chests that you gain as rewards. It takes 1 minute to open the Artifact Chests. The recommendation is to let it use the 1 minute and don’t spend your star stones to open immediately. Lastly, once again with the Sell section!!
The next 2 sections of the main screen are the Missions and Friends. The Missions section is where you collect your rewards from completing the available missions/quests. It’s a really good sized list of missions!! The Friends section is where you request and add friends. You’ll have a couple of sources to gain friends from. Once per day, you can send Honor Points to each of your friends. In return, you gain Honor Points and stamina. Collect these from the Mailbox.
Next is Jin’s Lab.
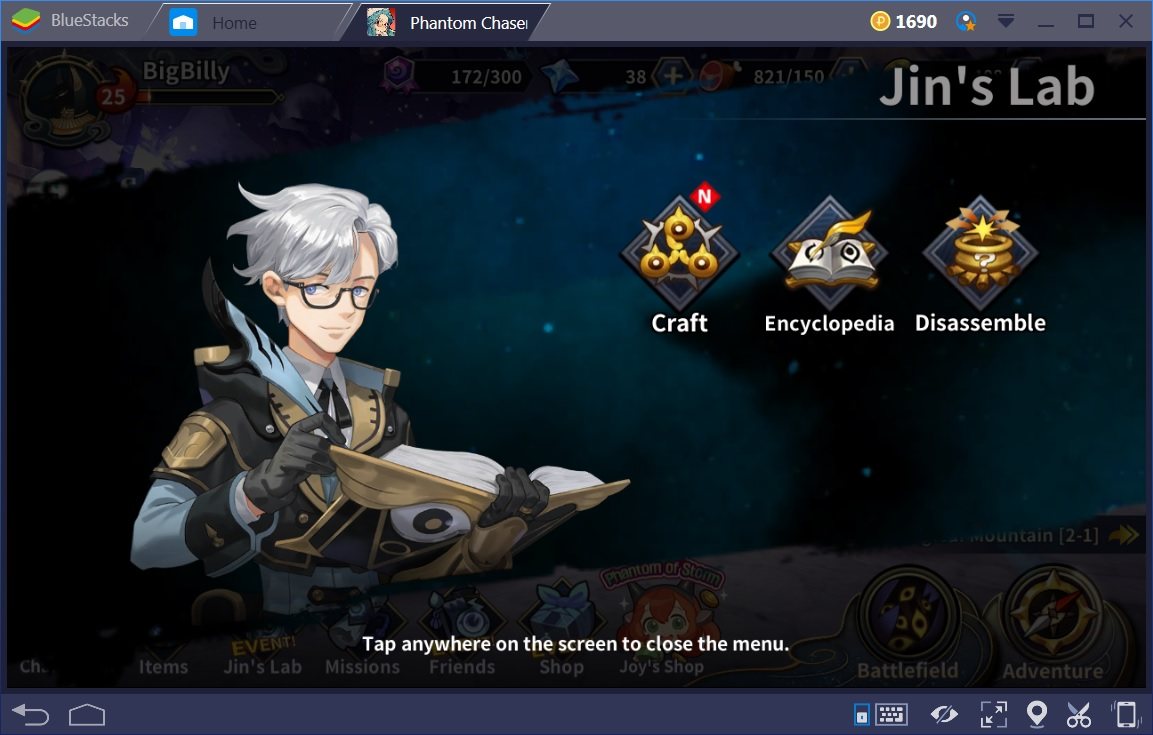
Here you can craft phantoms, items, and evolution materials.
You can also check out a variety of information using the Encyclopedia. If you’re running short on Battle Points, you can us the Disassemble section to “trade” phantoms and items to gain Battle Points.
The next 2 showing in the main screen are the Shop and Joy’s Shop.
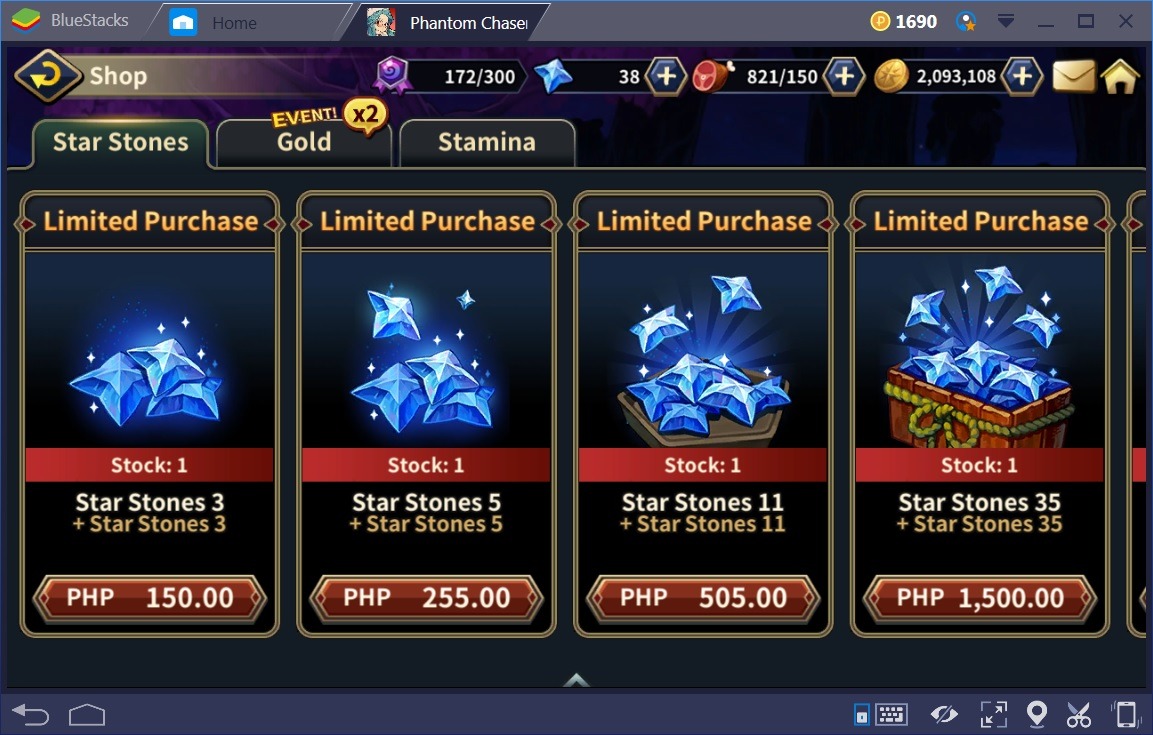
The Shop is where you use real money to buy star stones and/or gold. You can also buy stamina using Honor Points.
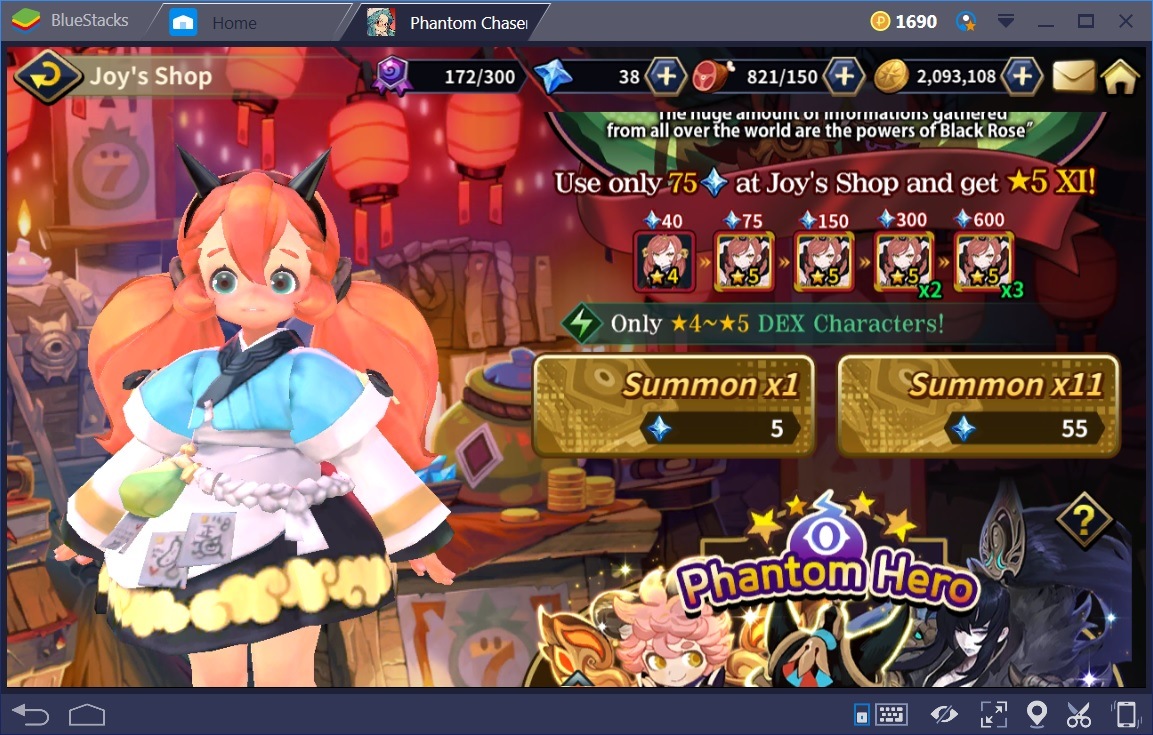
You can buy phantoms from Joy’s Shop using star stones. Scroll down to see 3 to 4 star phantoms for sale using star stones. There will be a free draw every few days.
Next on the main screen is the Battlefield. There’s plenty of action and gains in the Battlefield. You also gain Battle Points to spend in the Battle Shop.
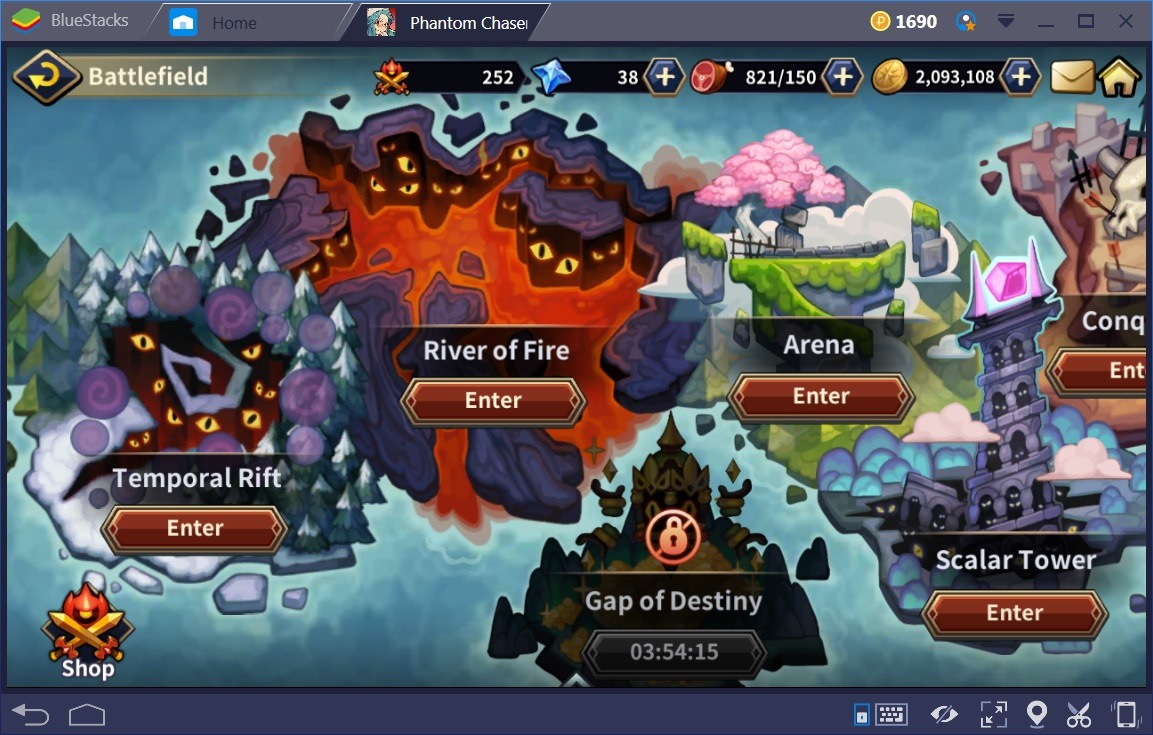
The Temporal Rift is for gaining leveling phantoms and evolution materials.
The River of Fire is a “survival mode” game. The play is similar to the Adventure mode but your phantoms don’t regenerate HP for the next round. The fun part is that it’s been so easy it’s like gaining free items!! This still DOES depend on the actual strength of your team!!
The Arena is where you’ll have all your PvP battles.
Conquest is where you’ll be fighting the Behemoths. Again, whenever you see a Behemoth Fight appear, get to it as soon as you can. If you die here, you can return to attempt to either kill the Behemoth or do more damage for more rewards.
The Weeping Caves (to the far right of the above screen shot) is where you can gain items for crafting evolution materials.
The Gap of Destiny is where you can gain a lot of gold depending on how strong your team is.
The Scalar Tower offers a variety of loot. The loot changes to gold after you defeat a floor and if you try to repeat that floor.
All sections of the Battlefield have a certain number of entries except for the Conquest and the Weeping Caves sections.
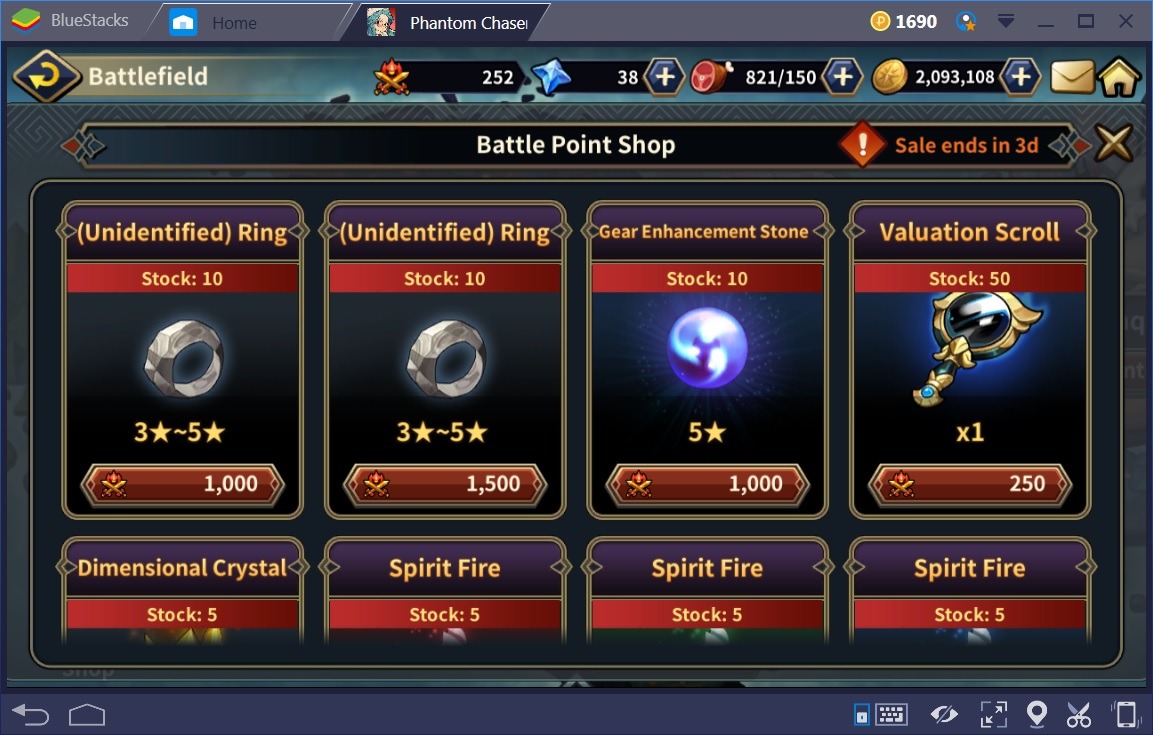
Once you’ve gained enough Battle Points, you can spend them in the Battle Point Shop.
Lastly from the main screen is the Adventure mode in the bottom right corner. You simply play through the maps and don’t forget to collect the star stone rewards. Much of the Adventure mode can be played by simply running it. It’s not overly difficult if you have a strong team. For first time players, you can gain a strong team from Joy’s Shop. It gives you 1 free 11 phantoms draw!!
Now for Some Tips and Tricks!!
Here’s a variety of info to help out the true blue new players!! Good luck to you!!
You’ll gain a lot of gold from the rewards alone. Hunting with the auto repeat turned on and the Gap of Destiny are the best 2 methods for gaining gold. But when it comes to hunting in general, don’t attempt it without auto repeat and don’t attempt it without unlocking ALL Adventure mode stages. You’d want as many options as possible before you use up lots of stamina.
The Arena will provide what seems to be a wide variety of crazy matches. Even though you can’t disable the auto skill feature while playing in the Arena, you do have some control over things. So strategy does come into play.
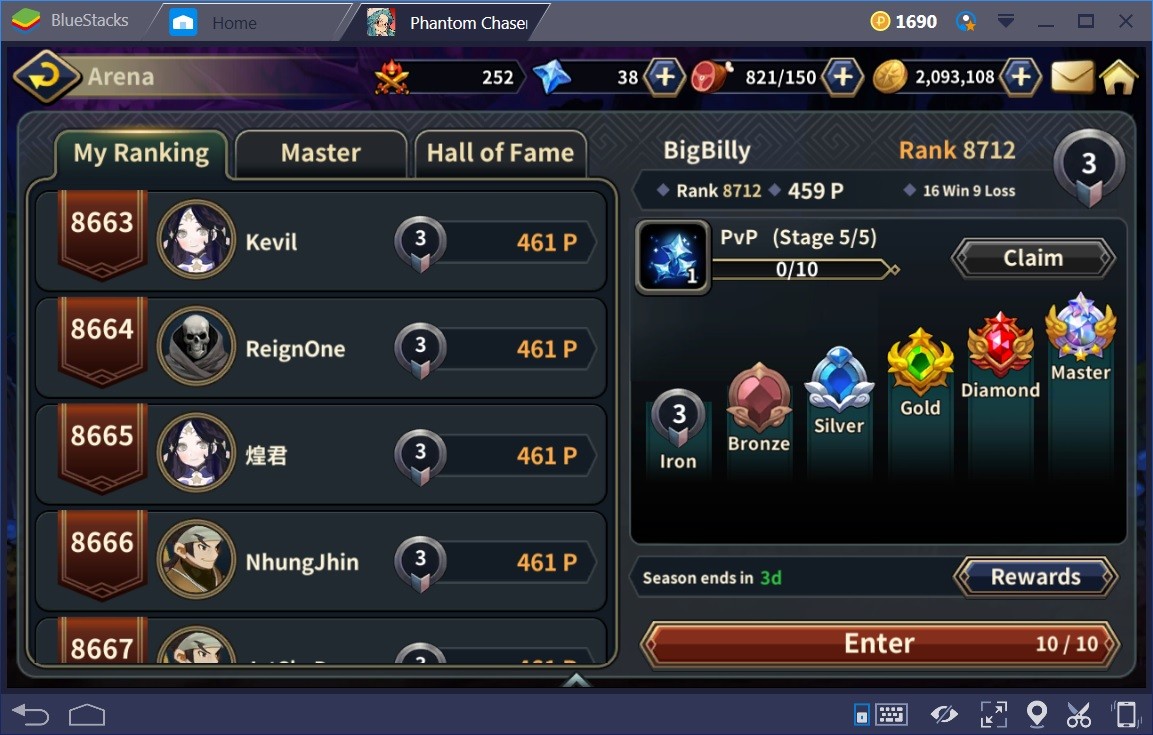
It’s all in how you organize your second and third phantoms in the list. Your first phantom in the list (from left to right) is pretty much your tank. Don’t rely too much on healers in the Arena because some of them can be a bit slow to heal. Instead, attempt to use a controlling/disabling team for better results. Just be sure to remember that you can find yourself in a match against a MUCH stronger opponent. Phantom Chaser matches you with random opponents based on your current rank. No, rituals/prayers meant for the RN Gods (Random Number) won’t help but there’s no real harm in trying!!
You can try PvP matches for free versus your friends and/or versus players listed to the left. You won’t gain anything for rewards but you won’t lose anything as well!! You do stand to gain good info as to how to build up your Arena team.
It’s very beneficial to have a full list of friends. Do keep an eye on that list at least once per day. Determine which “friends” are not playing so much and delete them from your list. Try your best to keep active players in your list UNLESS the player in question has a very strong phantom you can borrow. Your best bet is to make sure you check your friends list before using the Send to All button. You’d want to send 1 time per day. You’ll gain Honor Points and stamina for sending.
When playing in the Battlefield for various materials to craft with, make sure you select the map as best you can in accordance with what you need. If you needed 3 star materials, there’s no point in going for 4 star or higher materials at the time!!
For those wondering how to use the unidentified items gained from the Behemoth Fights, they’re for crafting. Check out the screen shot below. See that Valuation Scroll?
Now look at the 2 unidentified rings. Do they look familiar to anyone that has played in the Behemoth Fights?!! That magnifying glass is NOT for identifying the items!! It’s a crafting requirement. When in the Craft section (Jin’s Lab), you’ll see a letter “N” on the Gear tab. That’s how you know you can use unidentified items and the Valuation Scroll to craft something. Check the item to be crafted by clicking the “?” icon. You’ll see a lot of the same item showing up. Those are the possible outcomes. Some are total junk and should be used to enhance items that you have to a higher +upgrade. Some items can come out with very high stats too!!
Joy’s Shop can be a real test of your luck. Don’t say we didn’t warn you!! But the problem is that some phantoms are only gained via buying from Joy’s Shop or via reward from the Special Missions. By looking at the main screen far above here, Xi is obviously the prime example. You should always check the Location of phantoms before attempting to transcend and/or evolve them. You CAN’T use a Shaman of Transcendence to transcend a 5 star phantom. So find out where you can get a particular phantom first. If there’s no info given by the Location button for a particular phantom, your chances were just reduced to Joy’s Shop or a Special Mission.
As mentioned above, you should really check the Special Missions before investing too much time and stamina into them. If you determine that the current Special Missions are too costly, just wait till the next one shows up!!
Some missions can’t be completed. At least not until you get a high enough level to unlock the section it’s in. Don’t worry about that much at all. You’ll unlock all sections by level 24. About the best bet to get to level 24 the quickest is to play through as many Adventure mode maps as you can each day.
We’ve been playing this on Bluestacks this whole time if you haven’t already guessed!! You might be wondering why. As it turns out, there isn’t a default key map for Phantom Chaser when you start playing it. That’s okay; you can always make one easily enough!!

You can see the key map in the screen shot above which was made mostly for fun but it’s also nice for mouse + keyboard playing!! The spacebar is placed in the upper right corner for the Skip button. The “C” key can also be used for the Next and Start buttons. The bottom set of keys were setup as a 9key set of triggers corresponding to the rows on the keyboard. Since the key map feature of Bluestacks is fully customizable, you can use whichever setup YOU see fit!!
The mimic team is a set of 3extra phantoms used either manually or automatically during battles. The manual and automatic modes determine where the mimic goes and when. So when using auto mimic, the order they are used AND placed corresponds to the order of your phantoms.
Be SURE to organize your mimic phantoms by their range as well when using auto mimic. Placing a close range (melee) mimic on a long or mid ranged phantom might not work so well!! But with a close range phantom, it won’t matter too much if the mimic is long, mid, or short ranged. Its skills and passives will help you determine if you should place it as a mimic on a short ranged phantom.
When you use a phantom mimic the target phantom gains all the abilities and stats of the mimic phantom except for its basic attack. So don’t forget to equip the mimics with good items too!! The mimics will attack when activated but usually only 1 time. Again, mind the range of these things. You can use the mimic phantom’s displayed skill 1 time too (it’s the third skill of the phantoms in play). You can use the mimics over and over depending on how long the battle in question lasted.
Always test to see what you’re teams can handle without auto skill being activated. If your team can get through a part of the game without auto skill activated, you’ll know for certain your team can auto repeat that part of the game without any worries. Using the auto skill feature is nice but sometimes the skills can be triggered too early or miss completely (dead targets timing, triggered in the wrong direction, etc.). The results could be a wasted attempt or hunt. You can leave the auto mimic turned on since it never seems to hurt much of anything!!
When battling in the Arena, attempt to use an RGB team instead of a mono color team. The RGB refers to using a team with 1 of each type of phantom in it. They’re listed as: red for strength, green for dexterity, and blue for intelligence. When you’re using a mono color team, if you get matched (it’s ALL random) against the stronger color, you more than likely just lost!! There’re still other deciding factors but using a RGB team helps avoid this.
Do note that the game is setup in a style much like the game Paper, Rock, Scissors. The red beats the green, the green beats the blue, and the blue beats the red.
Hope you found this guide useful, here’s wishing you good luck with the game!
Play Phantom Chaser on Bluestacks Now!