A Complete Gacha Guide to Stella Sora How Recruitment Works and What to Prioritize

The gacha system in Stella Sora is central to progression. Recruiting new Trekkers and acquiring powerful Discs determines how well you can perform in Ascension runs and trials. This guide breaks down every banner type, the currencies involved, and practical advice for managing your resources to maximize long-term growth.
If you are new to the game, check out our Beginner’s Guide to Stella Sora for a comprehensive introduction to the game!
Understanding the Recruitment System
Stella Sora’s recruitment system revolves around two major gacha types: Trekkers (characters) and Discs (equipment). Each banner uses its own currency and has distinct rules, durations, and mechanics. New players can immediately access several banners, but certain event-limited ones rotate periodically. The system rewards smart resource management over random spending.
Trekkers obtained through banners form your team’s combat core, while Discs provide passive stat boosts and special effects. Both categories contribute directly to your Record system, improving performance in future runs.
All Banner Types Explained
There are five confirmed banner categories in Stella Sora, each with unique functions and time limits:
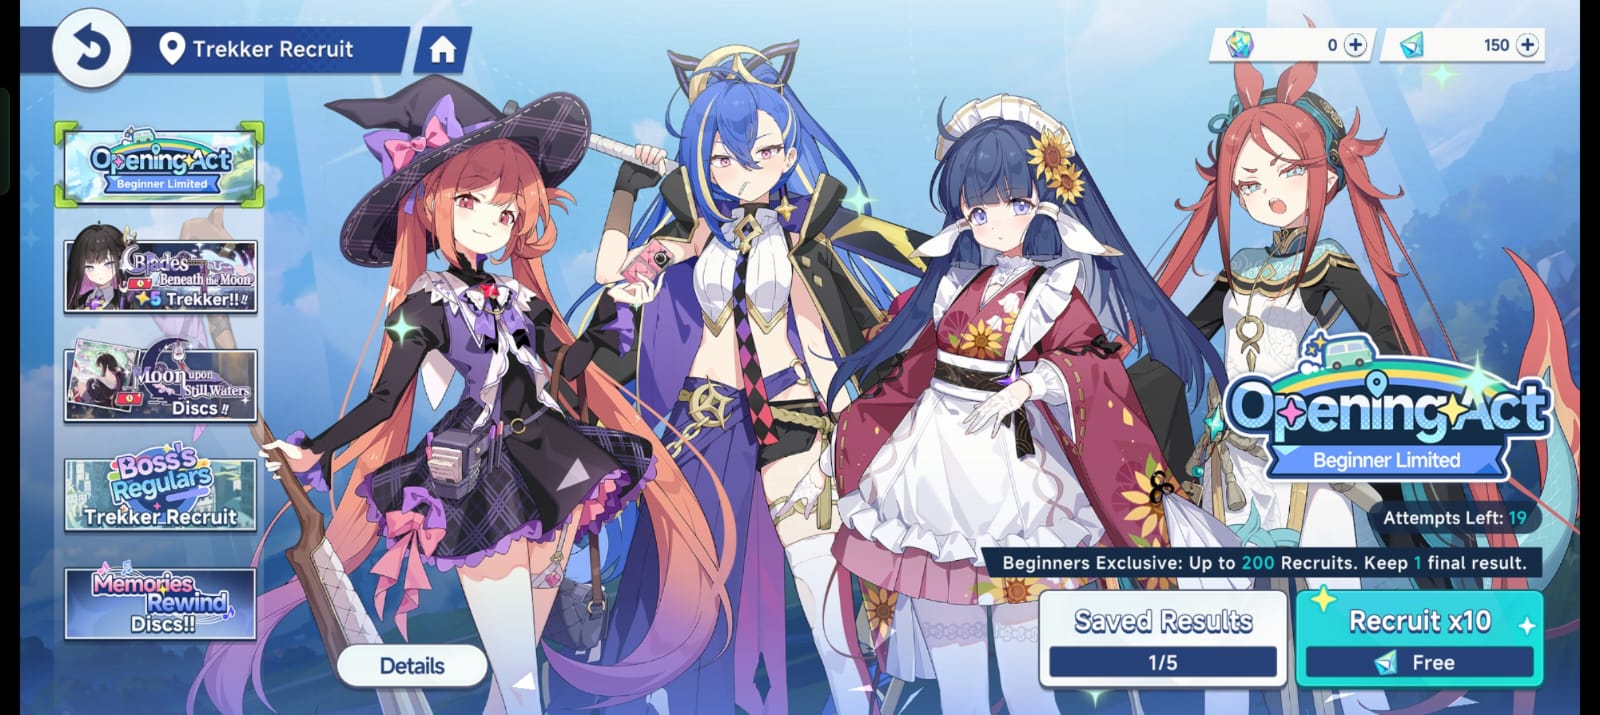
- Opening Act (Beginner Limited): This 200-pull starter banner lets new players perform multiple recruits and keep one final result. It is the most beginner-friendly system, designed for rerolling until you secure a strong combination of Trekkers.
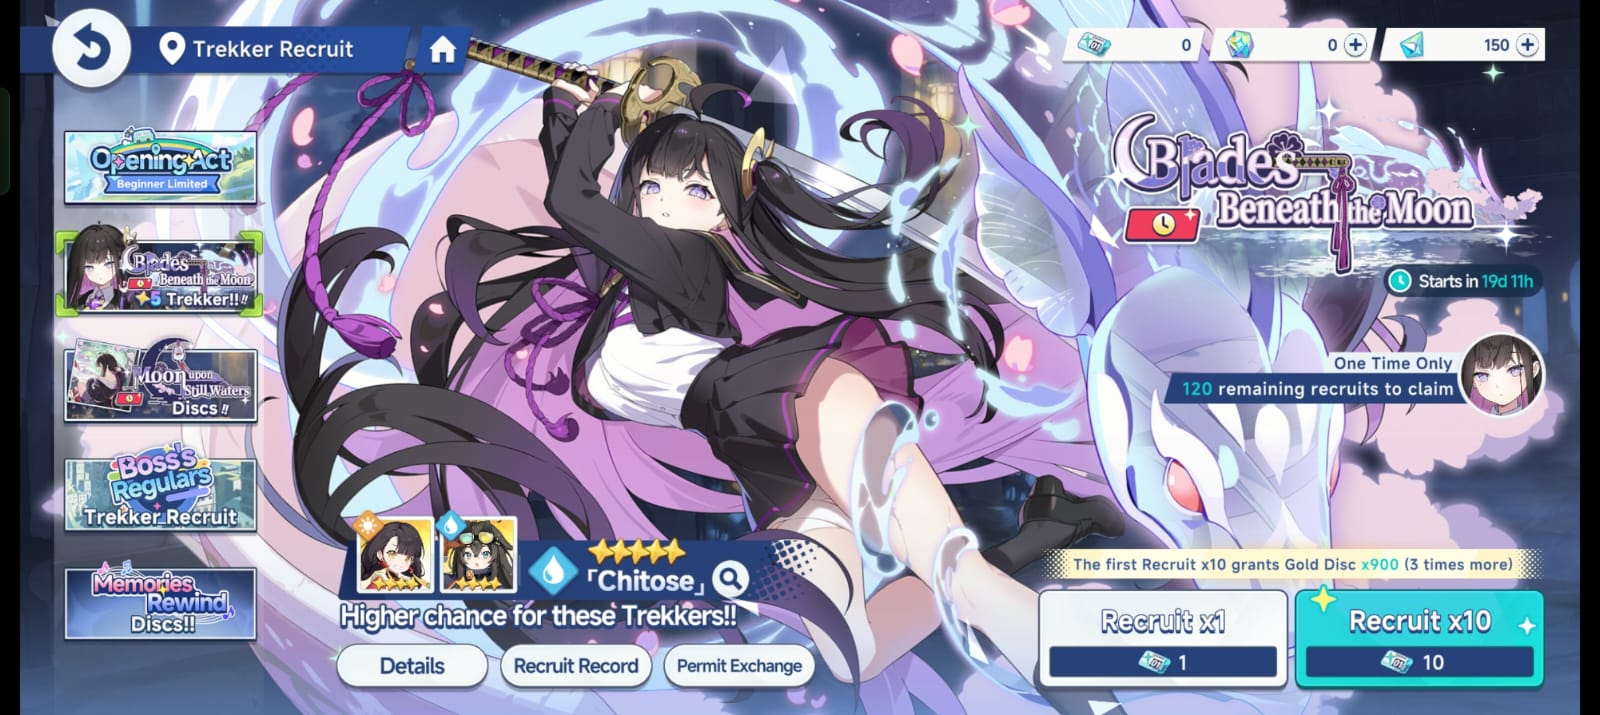
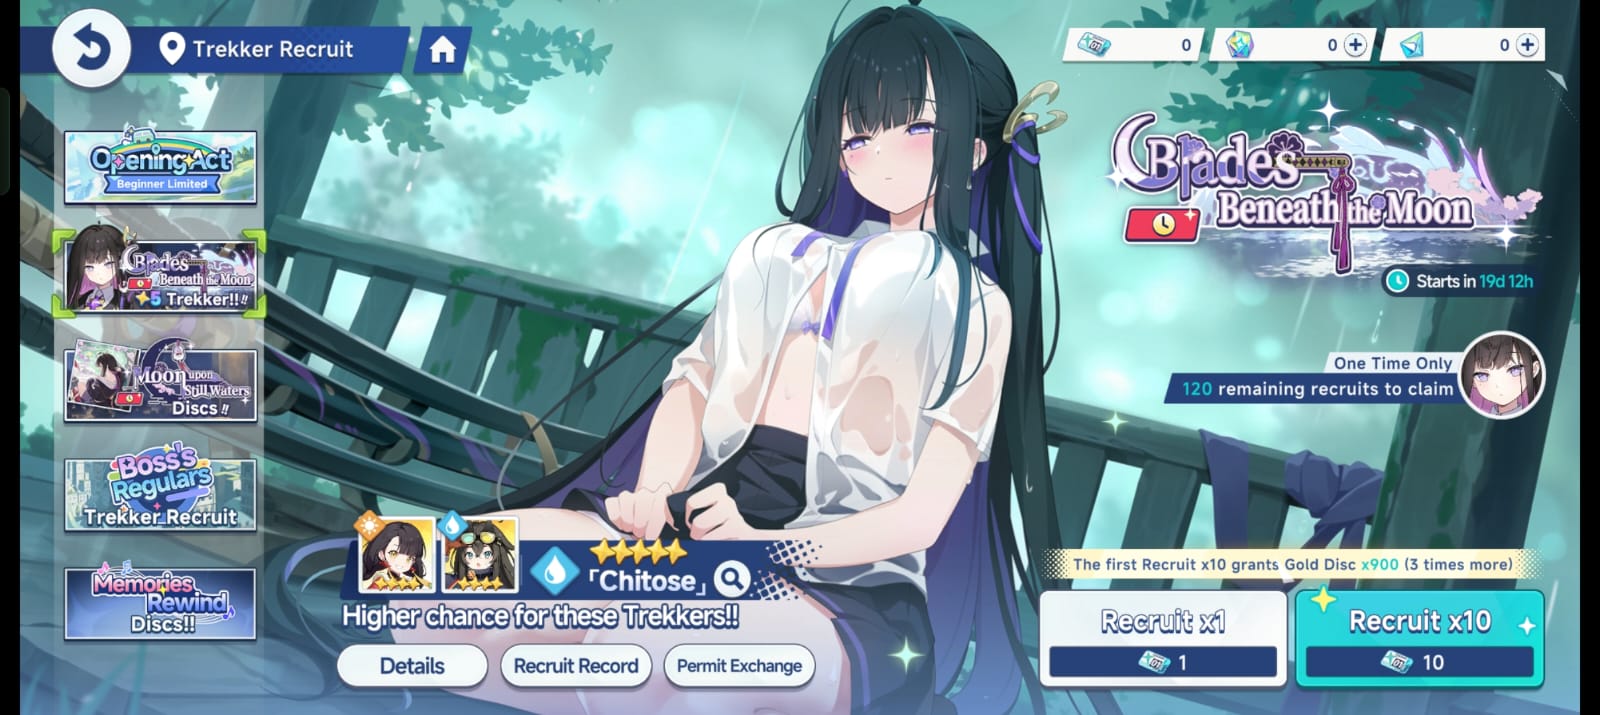
- Blades Beneath the Moon: A limited-time Trekker banner featuring exclusive 5 Star characters such as Chitose. Typically available for 19 days and includes boosted drop rates for specific Trekkers.
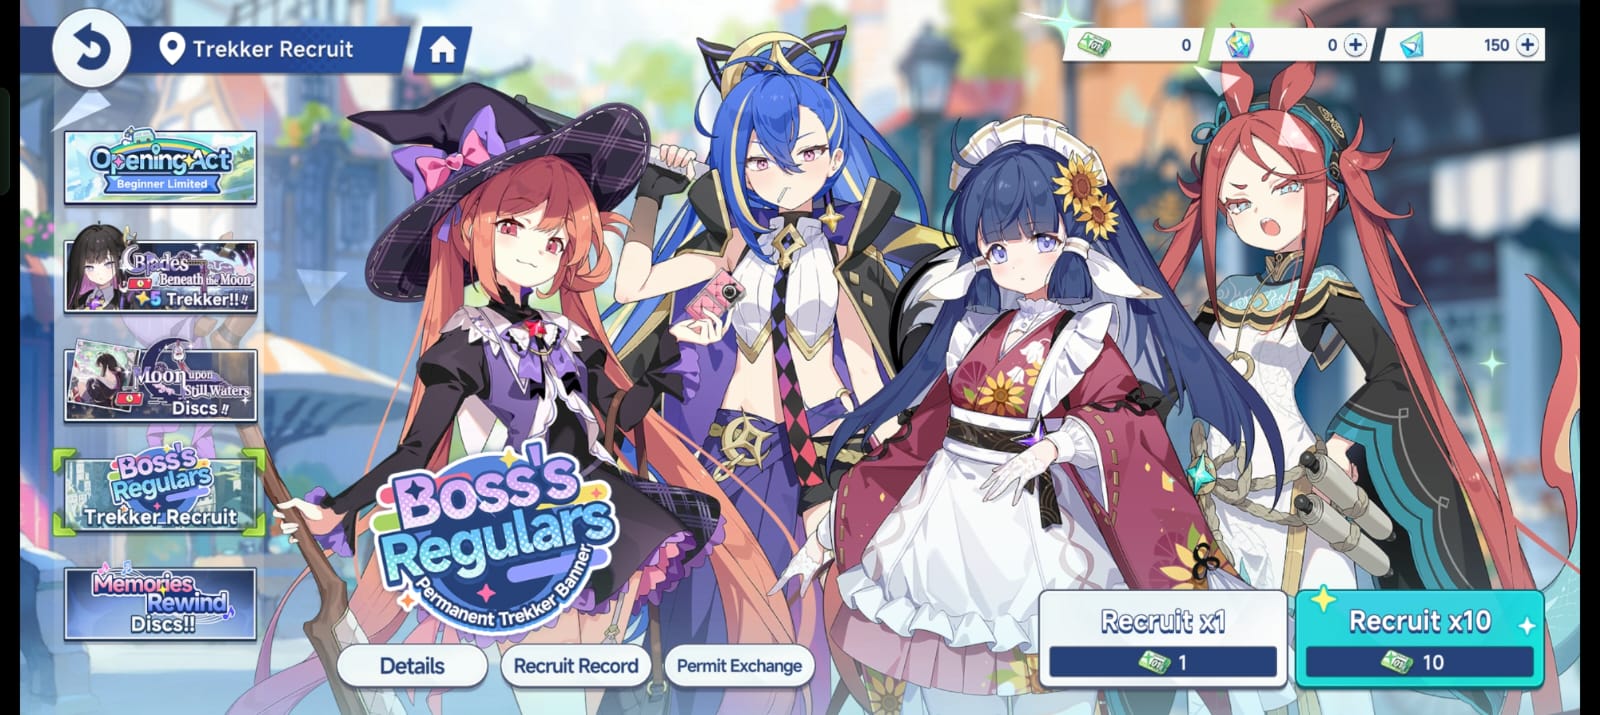
- Boss’s Regulars: The standard permanent Trekker banner that stays available indefinitely. Pulls from this pool yield a balanced mix of common and rare Trekkers.
- Moon upon Still Waters: A limited-time Disc banner featuring high-tier equipment. This banner is essential for obtaining rare Discs that enhance damage or survival.
- Memories Rewind: The permanent Disc banner for general equipment recruitment, focusing on 3-4 Star Discs.
These banners can be accessed through the Recruit tab in the main interface. Players should always check the timer beneath each banner to plan ahead and avoid missing limited units.
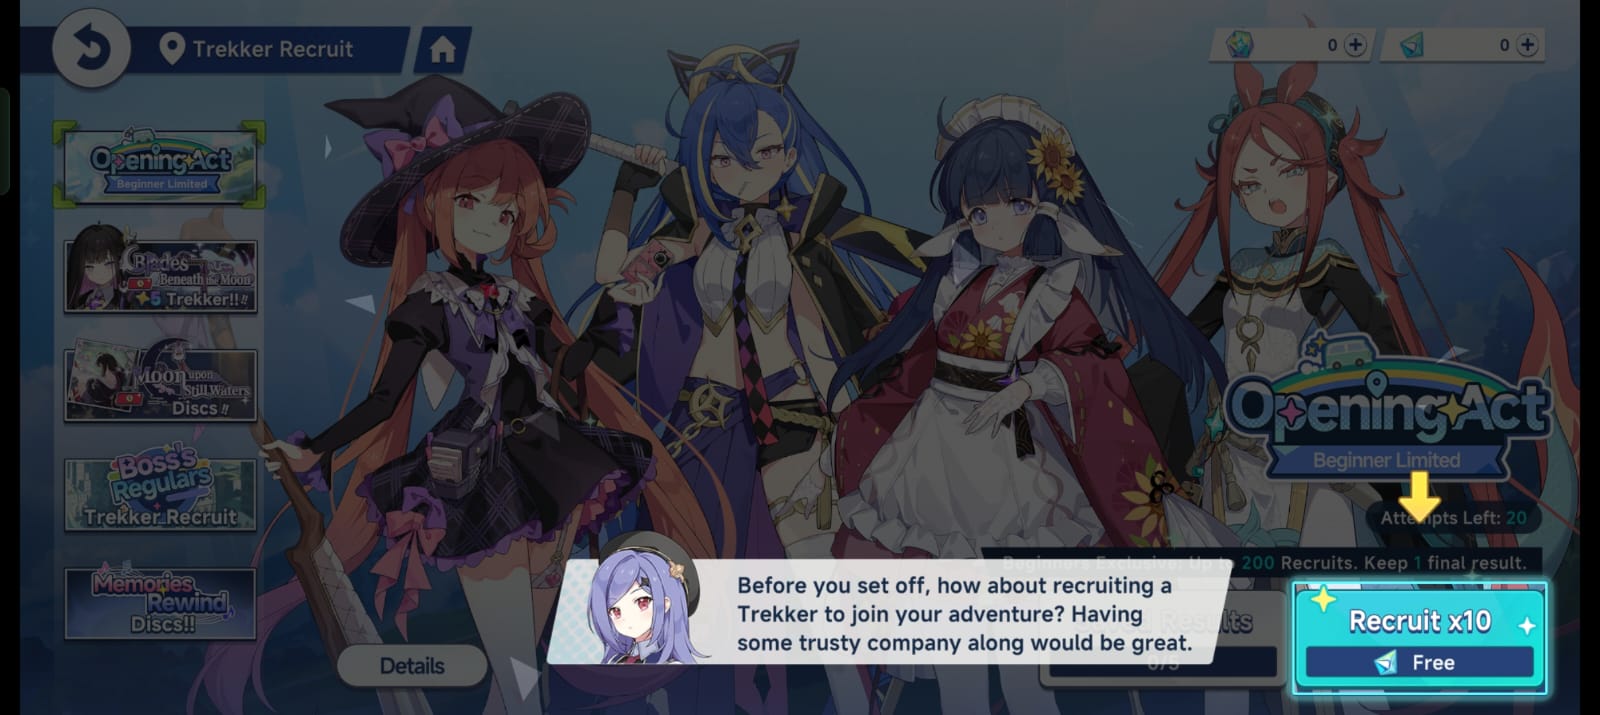
Beginner Banner – The Opening Act (200-Pull Reroll System)
The Opening Act banner is Stella Sora’s unique beginner feature. It provides up to 200 total recruits and allows you to keep one final result from your pulls. This ensures every new player starts with a powerful, balanced team.
Each 10-pull guarantees at least one high-rarity Trekker, significantly improving your odds compared to standard banners. Once you find a combination of Trekkers you like, you can lock that set permanently and proceed.
It’s best to aim for at least one 5 Star Trekker (like Chitose or Amber) and one strong support character to build your early roster. Avoid rushing your decision—use all available pulls before finalizing your choice.

Trekker Banners vs Disc Banners
Trekkers and Discs are obtained through separate banners, each using different currencies. Understanding the distinction helps you plan your pulls efficiently:
- Trekker Banners: Grant new playable characters. These should be prioritized early, as new Trekkers open up new combat strategies and team compositions.
- Disc Banners: Offer passive equipment that enhances your Records. Discs are critical in the mid and late game once you’ve built a stable roster of Trekkers.
Trekkers directly affect your ability to progress through Ascension Mode, while Discs indirectly improve damage and survivability. As a beginner, it’s better to focus on Trekker banners until you unlock Tier 1 trials.
Gacha Currencies Explained
The recruitment system uses several different currencies. Each has a unique source and purpose:
- Cerulean Tickets / Sprout Tickets: Used for Trekker recruitment. Earned from Permit Exchange or events.
- Gold and Silver Discs: Used for Disc recruitment. Available through Permit Exchange and trial rewards.
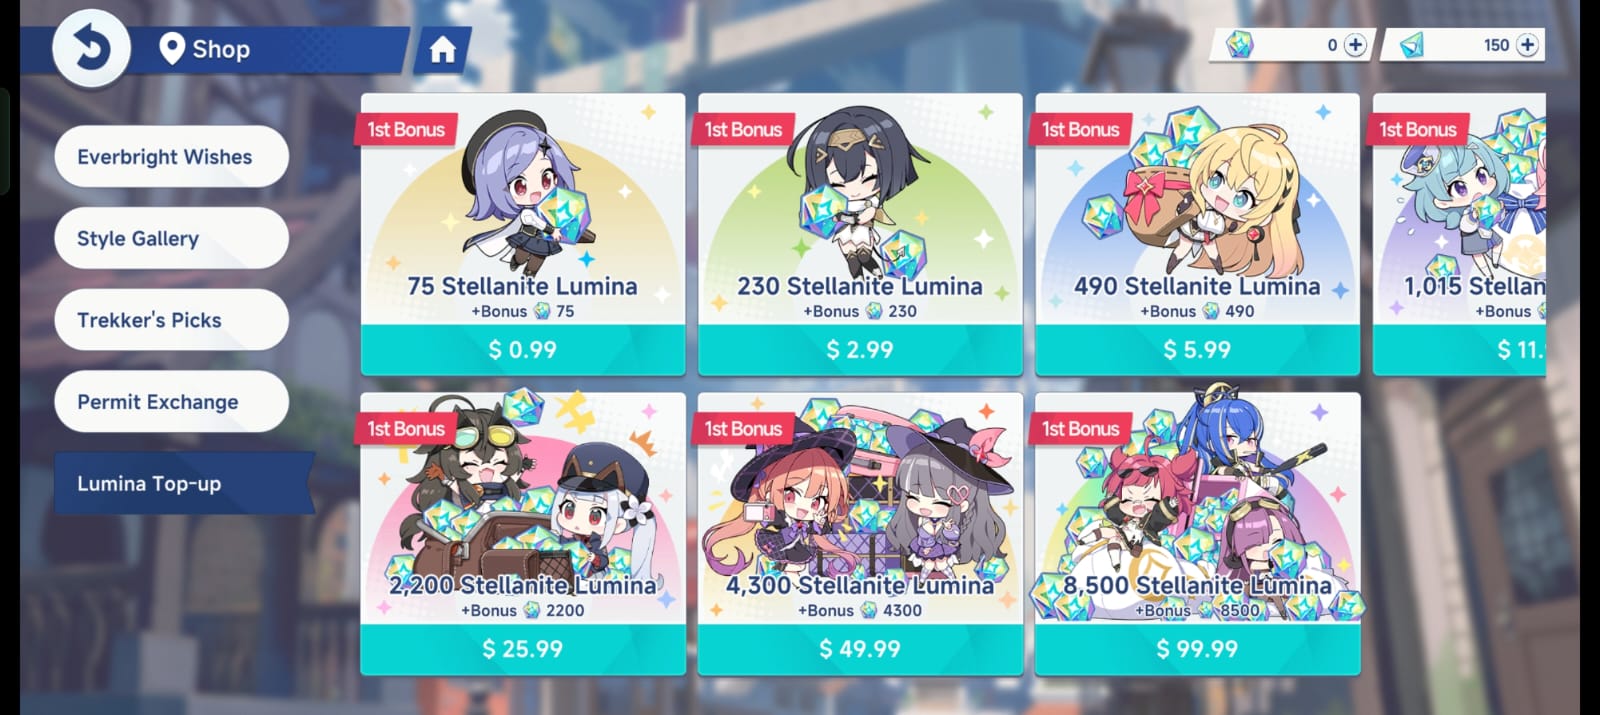
- Stellanite Lumina: The premium gem currency used across banners. Gained from missions, login rewards, or purchased through top-ups.
- Stellanite Dust: A secondary premium currency obtained from the Everbright Wishes pass, used in the Dust Shop.
These currencies are non-interchangeable, so always verify the correct one before attempting a pull. Tickets should be saved for banners with exclusive Trekkers or high-tier Discs.
How the Recruit Animation Works
When you perform a 10x recruit, the game initiates a short animation showing glowing lines or portals. The color intensity of the light indicates the rarity of the pull. Gold or orange light signifies a 5 Star Trekker, while blue or silver represents lower-tier pulls. New Trekkers trigger an introduction animation with their portrait and name, such as Ridge (Four Star), confirming the recruit.
This visual system helps you identify rare pulls at a glance without waiting for the summary screen.

Pity and Bonus Mechanics
While explicit pity numbers are not displayed on the main UI, banners include visible bonus incentives. For example, the Opening Act banner grants “Gold Disc ×900” as a reward for multiple 10-pulls.
Limited banners may also include step-up systems or guaranteed rewards after a certain number of pulls. Checking banner descriptions before spending ensures you take advantage of all available bonuses.
Always monitor banner timers and their reward conditions. Waiting for an event banner with confirmed pity mechanics is often better than pulling on a standard one.
Best Value Purchases for Recruiters
Players looking to maximize value without excessive spending should focus on the following:
- Everbright Wishes Pass ($4.99): Grants 600 Lumina instantly and 90 daily Lumina for 30 days, totaling over 2700 Stellanite Dust.
- Permit Exchange: Offers discounted recruitment tickets with limited stock.
- First Top-Up Bonus: The Lumina Top-Up shop provides double rewards on first purchases, giving more pulls for the same price.
Avoid smaller single-purchase packs, as they provide lower value per Lumina. The monthly pass and Permit Exchange are consistent, affordable ways to build resources over time.
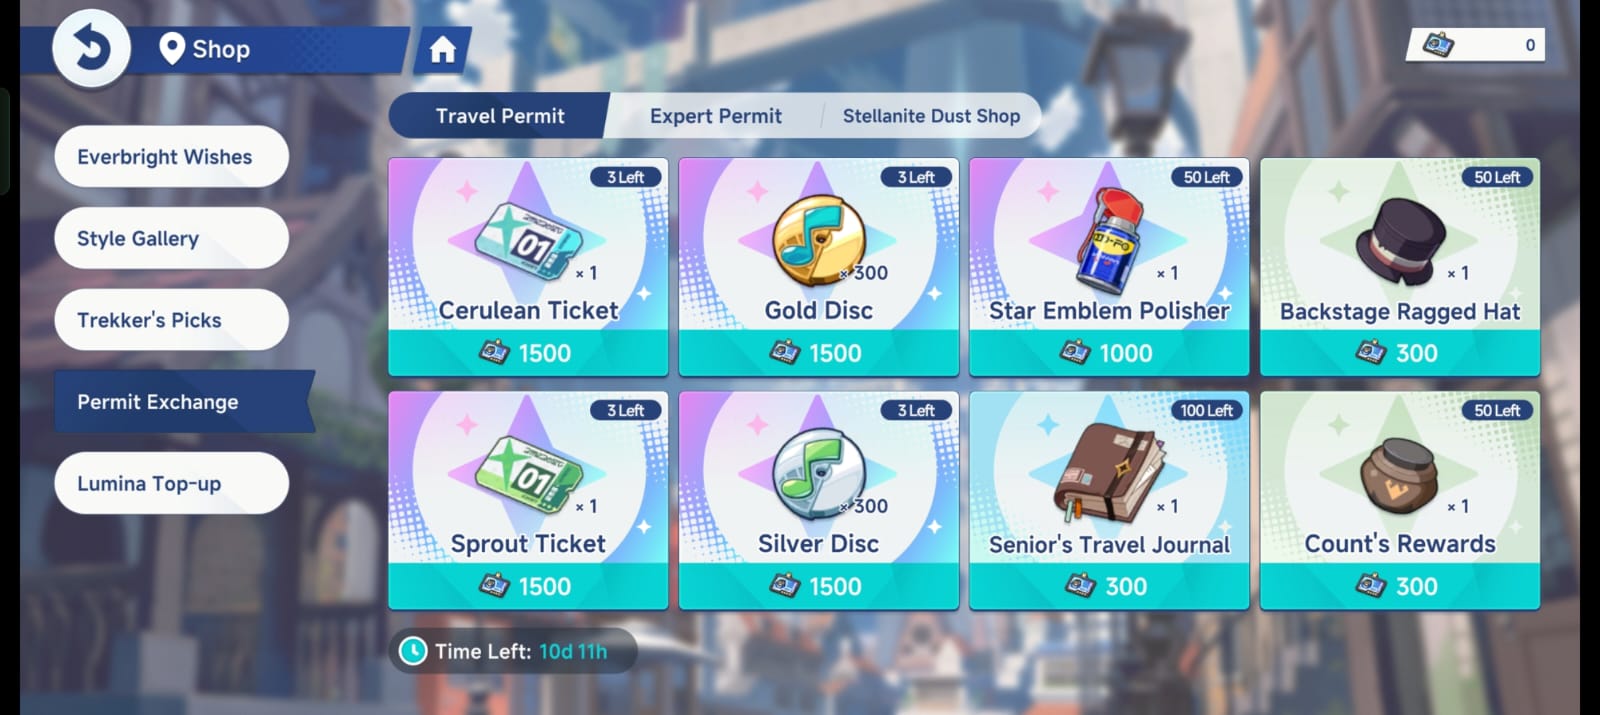
How to Use the Permit Exchange for Recruitment Materials
The Permit Exchange offers critical resources like Cerulean Tickets, Gold Discs, and Travel Journals. It operates on a timed rotation with limited quantities per refresh cycle.
Always buy recruitment tickets first—they are the most valuable items for long-term gacha progression. Secondary priorities include Star Emblem Polishers for equipment upgrades.
Keep an eye on the expiration timers. Some items, like tickets, may refresh every 10 days, making it worthwhile to revisit the shop regularly.
When to Spend and When to Save
The best time to spend is during limited banners or crossover events that feature exclusive Trekkers. These banners often have increased drop rates and guaranteed rewards.
Between events, save your Lumina and tickets instead of pulling from the permanent banners. This ensures that when a must-have Trekker appears, you already have the resources ready.
As a rule, spend tickets on permanent banners and save premium Lumina for event-exclusive banners. This approach balances collection and efficiency.
The gacha system in Stella Sora rewards planning and patience. Understanding the distinction between Trekker and Disc banners, managing currencies effectively, and saving resources for limited banners ensures consistent progress without wasted pulls.Building a diverse team early and saving Lumina for event banners will prepare you for the game’s toughest challenges.
For better control, performance, and smoother rerolling, play Stella Sora on PC with BlueStacks!