Storyscape on BlueStacks: Experience all the Paths in One Playthrough Using our BlueStacks Tools

One thing we love about visual novels with sprawling, complex narratives like Storyscape is the fact that we can shape the said stories through our actions and decisions. After all, a visual novel without decision-making would be the same as watching a movie or reading a book. In this sense, while player interaction in these games is limited to choosing options from a list and watching the consequences unfold, and maybe even interacting in other forms at times, the way these narratives enrapture the players has become genre-defining and earned games like Storyscape a niche with a very dedicated fan base.
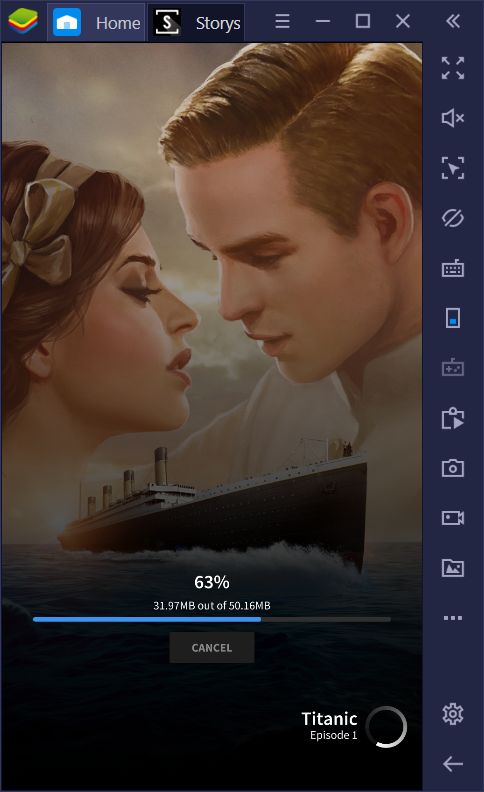
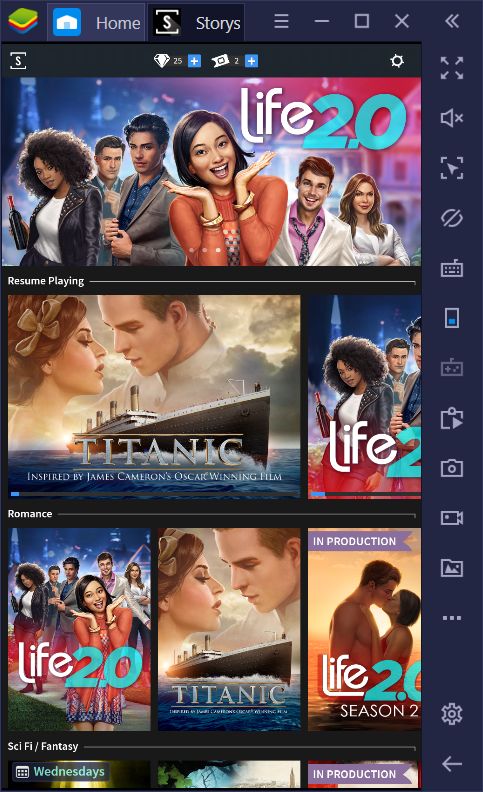
As we mentioned in our review, Storyscape is a collection of visual novels for your phone that offers several different stories for the player to experiment. From romantic dramas like Life 2.0 and dark fantasy stories like Eternal City, to paranormal adventures in X-Files and retellings of famous tragedies like Titanic; if you’re looking for a great story, it’s likely that you’ll find it in Storyscape.
However, if you’re anything like us, then making decisions in visual novels is a very difficult task. Anyone can click on a button. However, it’s the consequences that stem from clicking these buttons that make us think twice, thrice, or even four times before going with a decision. In our case, while we’re always interested in choosing what’s best for our protagonist, we also want to experience everything the games have to offer in terms of branching paths. Unfortunately, once you make a decision, you’re stuck with it.
But does it necessarily have to be this way?
Luckily, if you’re playing Storyscape on your PC using BlueStacks, you have access to two powerful tools that take the edge off of making tough decisions while playing your favorite stories. Imagine being presented with three tough choices, and being able to choose all three to experience all the paths, without having to miss out on anything or having to restart and replay the chapters. This freedom is precisely what BlueStacks offers.

In this article, we’re going to show you how to use our BlueStacks tools to get the most of your decisions in Storyscape on PC.
Enjoy a New Experience With Storyscape on BlueStacks
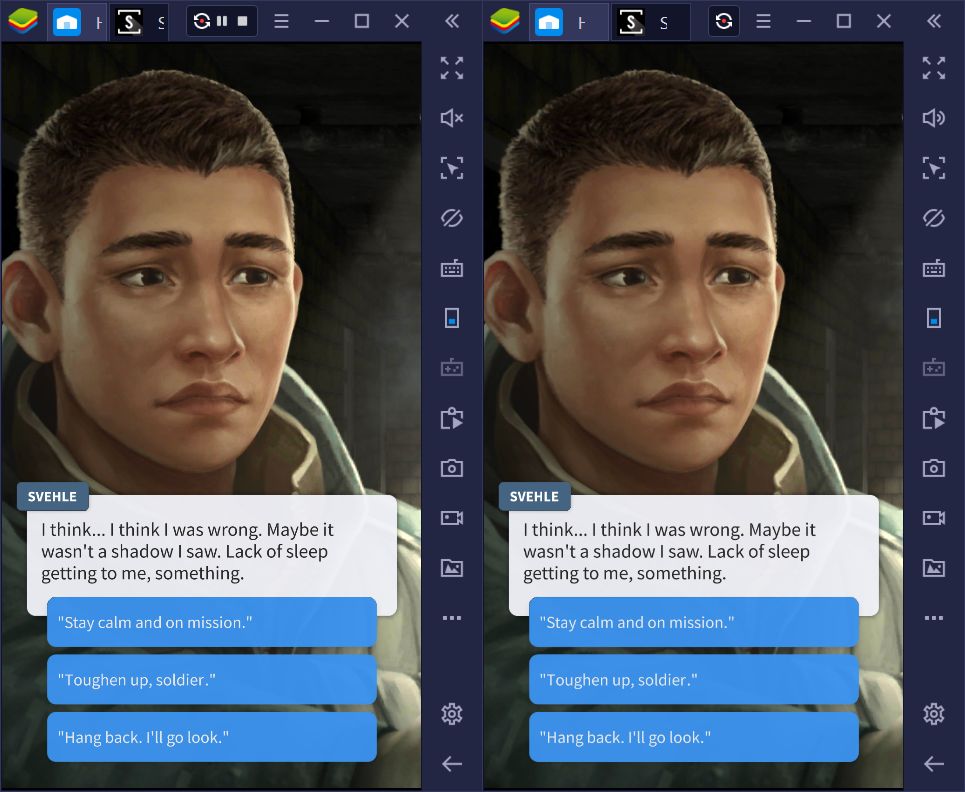
As we’ve been mentioning above, the hardest part about making decisions in any visual novel like Storyscape is having to live with the consequences. Luckily (or not so luckily, depending on how you look at it), BlueStacks allows you to choose different decisions at any crossroads, and live all the paths in any given story.
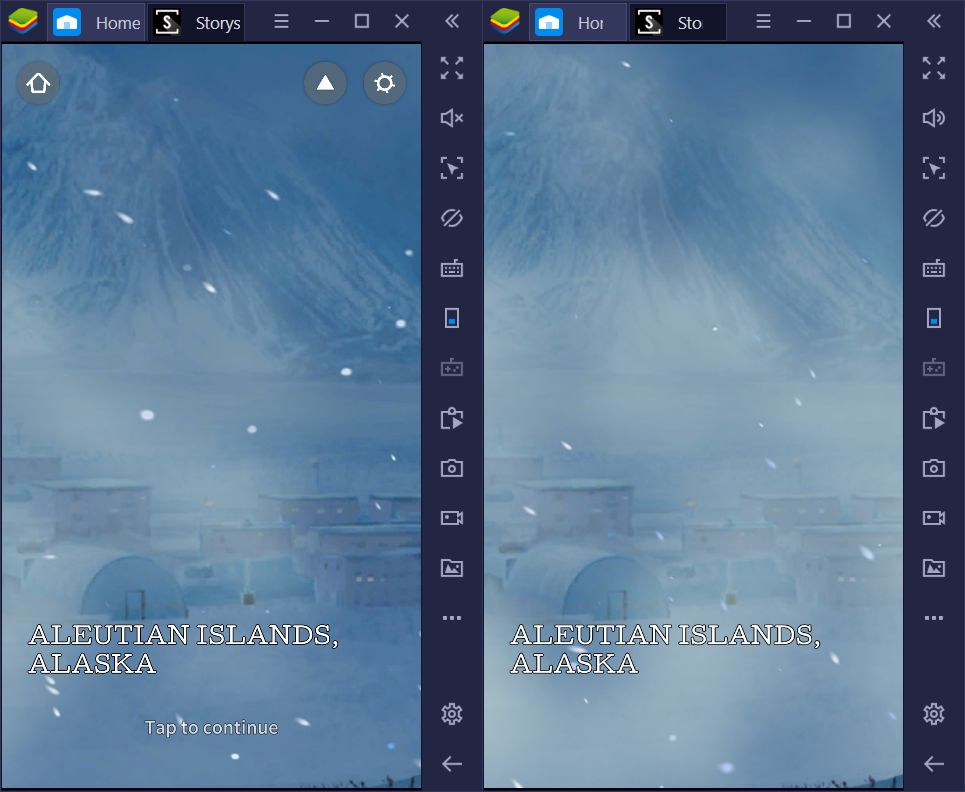
This is made possible mostly thanks to the BlueStacks Instance Manager, through which you can create multiple instances of our powerful Android emulator, and access the same game from numerous accounts simultaneously. For games like Storyscape, what this means is that you can play a single visual novel in two, three, or more separate accounts, and choose every single path available to you to experience the entirety of any visual novel.
Play Storyscape on BlueStacks
Imagine coming to a part where you need to choose between four different decisions. With the Instance Manager, you can create four instances, choose a different choice in each one, and live all the parts of any given story. You can even avoid premature endings and dead ends in this manner.
Setting Up the Instance Manager for Storyscape
Luckily, setting up the Instance Manager is quite simple. All you have to do is click on its icon in the panel to the right of your BlueStacks window, or press Ctrl + Shift + 8. This new window is the Instance Manager proper, where you can create, delete, or edit any of your existing instances.
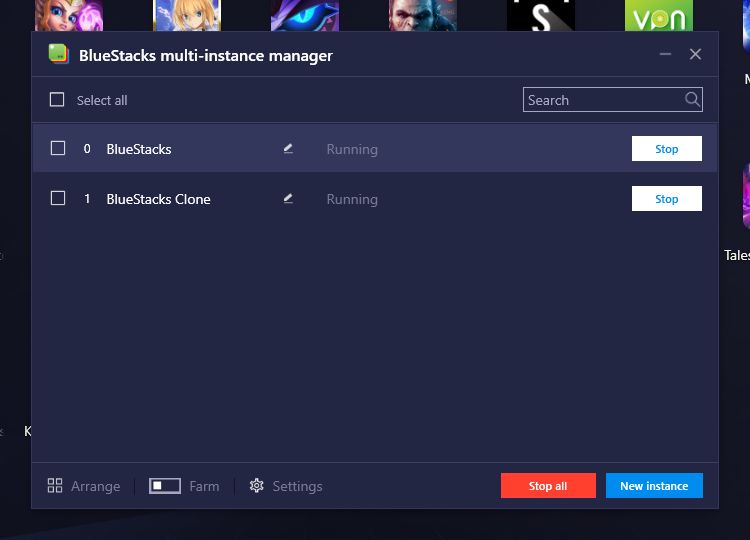
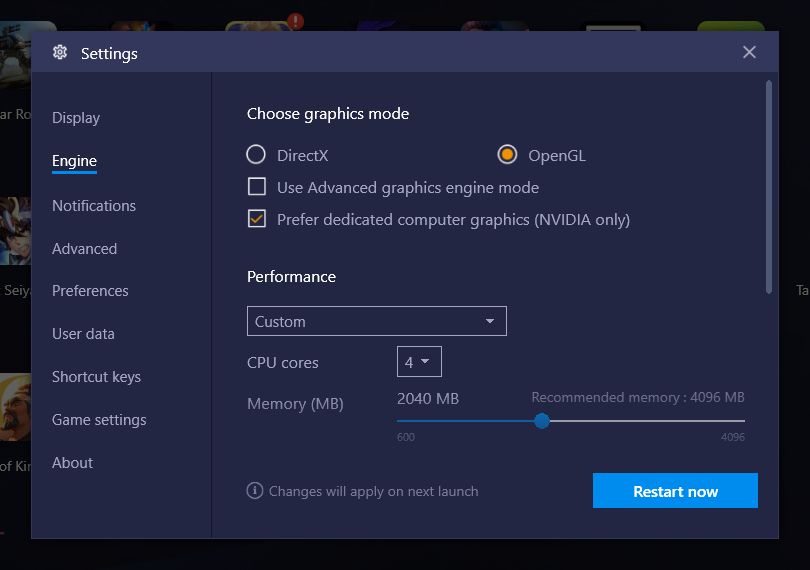
Storyscape isn’t a very demanding game resources-wise, so you can probably create four instances with 1 GB of RAM each. To do this, simply create three additional instances, and boot them up one by one. After you finish setting up each of them with individual Google accounts, navigate over to the settings menu. In the “Engine” tab, choose “custom” from the drop down menu, assign two or four cores in the CPU part (depending on your CPU), and assign 1 to 2 GB of RAM. We don’t recommend these settings for any games other than Storyscape, as more demanding titles will likely experience problems with such limited resources.
Once your settings are finalized, go ahead and download Storyscape from our App Center on every instance, and play them as you normally would.
Streamlining Progress With the Multi-Instance Sync
Once you discover the joys of playing your favorite visual novels on your PC using multiple instances, you might think that you’ve peaked in terms of comfort and practicality. However, there’s more to playing Storyscape on BlueStacks than just instancing; you can also streamline your progress in all instances with the Multi-Instance Sync tool.
Simply put, having three or four active instances at any given moment means three to four times the number of clicks that you’ll have to make to advance the stories. For obvious reasons, this process can get very taxing, especially during the slower parts of the story where you’re not too invested in the events.
Luckily, with the Multi-Instance Sync feature, BlueStacks can mirror the actions you do on one window, on all the other active instances. This means that you only need one click to advance the stories on all your instances. In this regard, if you’re playing on multiple instances, you can read the story on all your four windows, and advance the dialog with just one click on your main instance.

Setting up the Multi-Instance Sync is even easier than configuring multiple instances. All you have to do is boot up all your different instances and, with your main window selected, click on the “Sync Operations” button in the settings menu, and select which instances you want to synchronize. With this option active, all actions and clicks you perform on your main instance will be mirrored on all other windows. However, make sure to turn this option off every time you reach a crossroads, so you don’t accidentally make the same decision in all your windows and miss out on those awesome story moments.
With BlueStacks, you no longer have to struggle making decisions in any visual novel. Once you experience the perks of our Android emulator, including playing Storyscape on PC, along with access to useful tools to improve your gameplay, you’ll never want it to play it elsewhere.
Download BlueStacks Now!