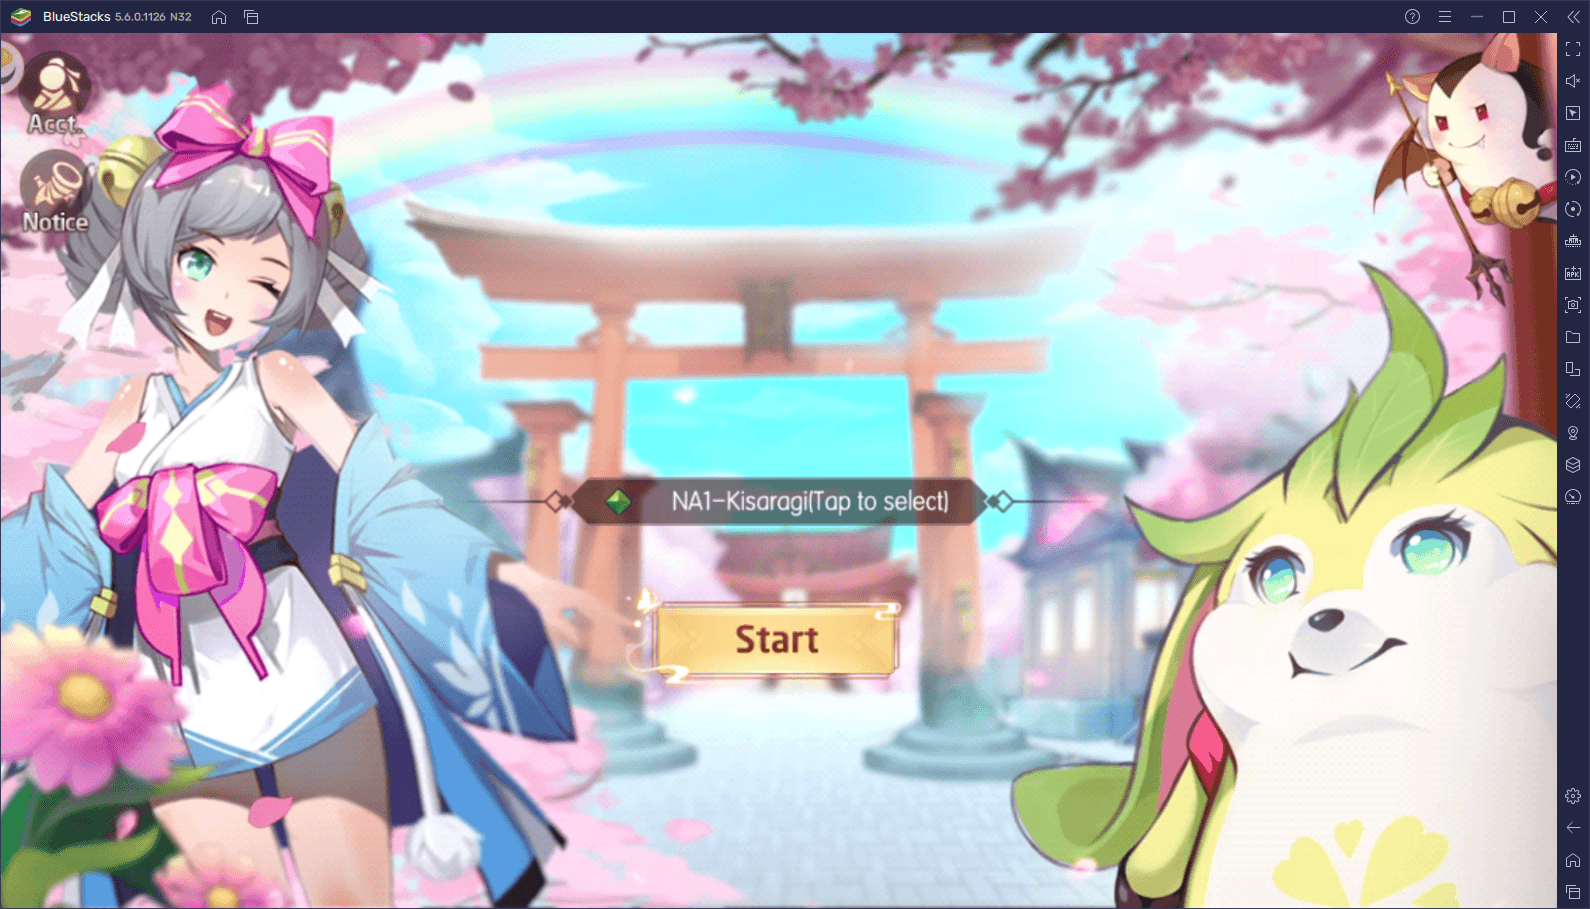
Tamashi: Rise of Yokai on PC - How to Use BlueStacks to Enhance Your Gameplay Experience


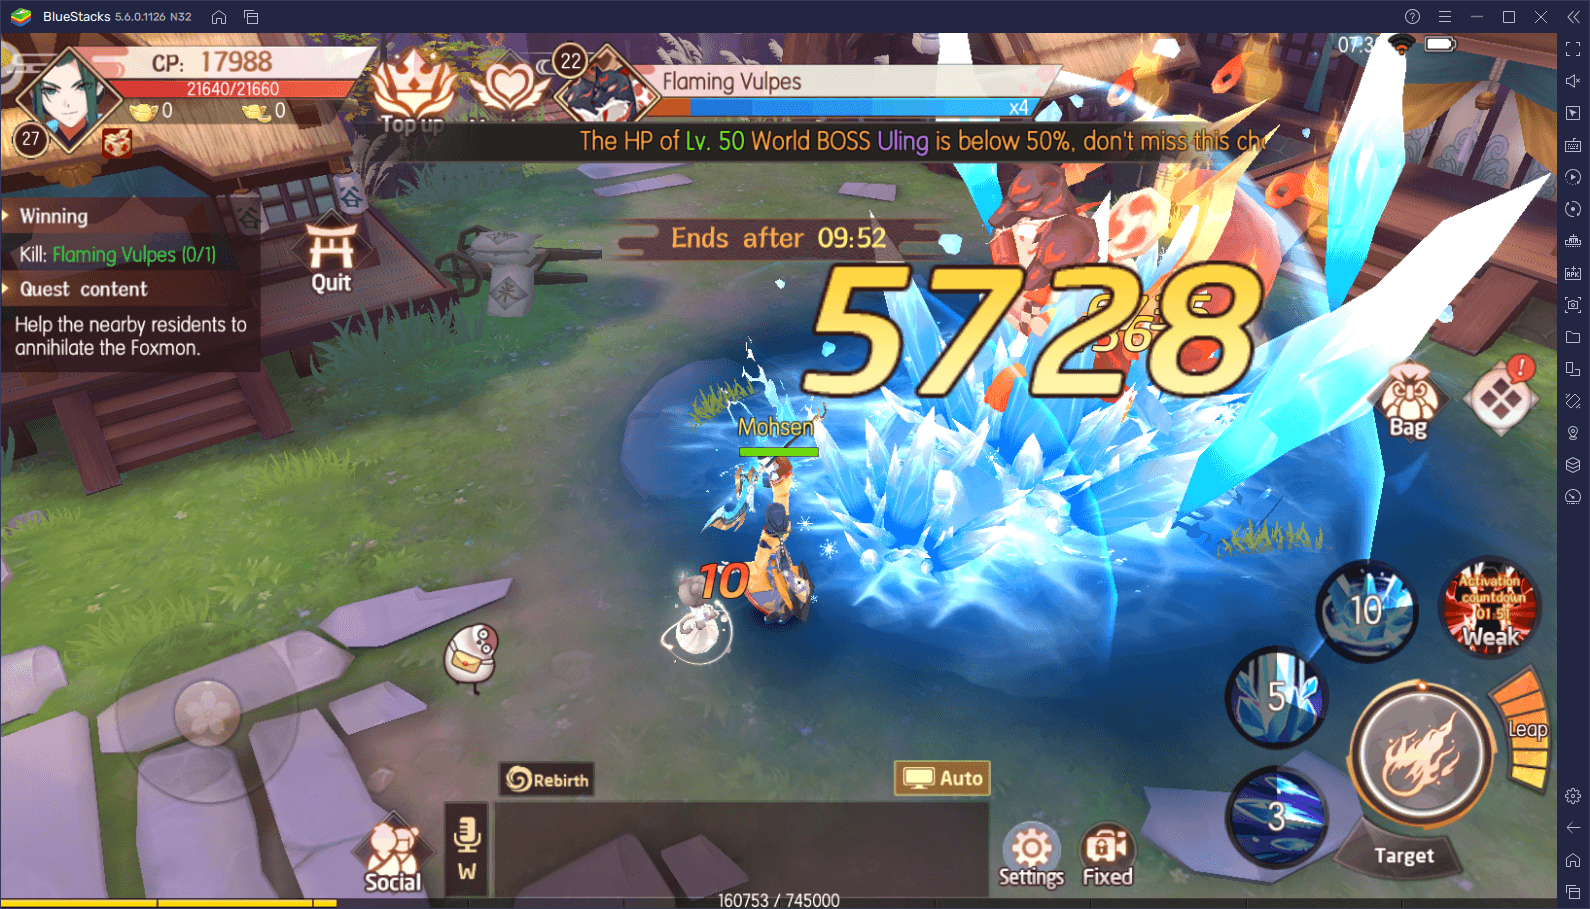
The recently released Tamashi: Rise of Yokai has just landed on the mobile game market, allowing users to download it and start their adventures through the world of Glamland as they complete missions, defeat hordes of enemies, and power up their characters and yokai in order to stand up to the evil Demon King. However, unlike most other mobile MMORPGs that feature automation to an extent, Tamashi is seemingly built around its botting, auto-combat, auto-questing, and auto-grinding features, allowing everyone to progress at a steady pace, without having to sink too much time or put too much effort into it.
While games that feature automation to this extent can seem too easy or “hands-off” to some players, the truth of the matter is that it’s not even remotely as OP as it sounds; it just helps to take the edge off of some of the more tedious aspects present in most of these games. For example, the automation can help to significantly reduce the monotony of grinding through the story, in the case that you don’t really care about the plot. Moreover, these features also let you level up and complete some of the more repetitive tasks without much effort.
However, the true way to boost your automation and gameplay experience in this mobile MMORPG is by playing Tamashi: Rise of Yokai on PC with BlueStacks, as our Android app player is loaded with a plethora of different tools and features all designed to vastly improve your game. With our emulator, you’ll not only get to enjoy the game on your large computer screen and from the comfort of your gaming chair, but you will also be able to play with keyboard and mouse controls; run with multiple different characters at the same time, and even get the best graphics and performance without having to break the bank on an expensive phone.
In this article, we will show you how to configure your BlueStacks to get the best experience with Tamashi: Rise of Yokai.
Optimizing Your Graphical Settings and Frame Rate
One of the particularities of Tamashi is that while it’s a pretty standard MMORPG, it features several adjustable settings, including graphical and frame rate configurations, which are always a welcome sight for us who enjoy gaming with the best visual quality and performance. However, if you were playing on the intended platform, you’d probably need to spend a ton of money just on getting a good enough phone that could run this game with a decent frame rate. And even if you do have a good phone, you’d still be stuck playing on a small screen and with awkward touchscreen controls.
By playing Tamashi on BlueStacks, you can crank up the graphical settings to the max without having to worry about performance issues and overheating, and enjoy your time with this game by playing it on a large monitor. However, before you achieve this level of quality, you’ll need to adjust some aspects of both your emulator as well as your game. Follow these easy steps to optimize your graphics:
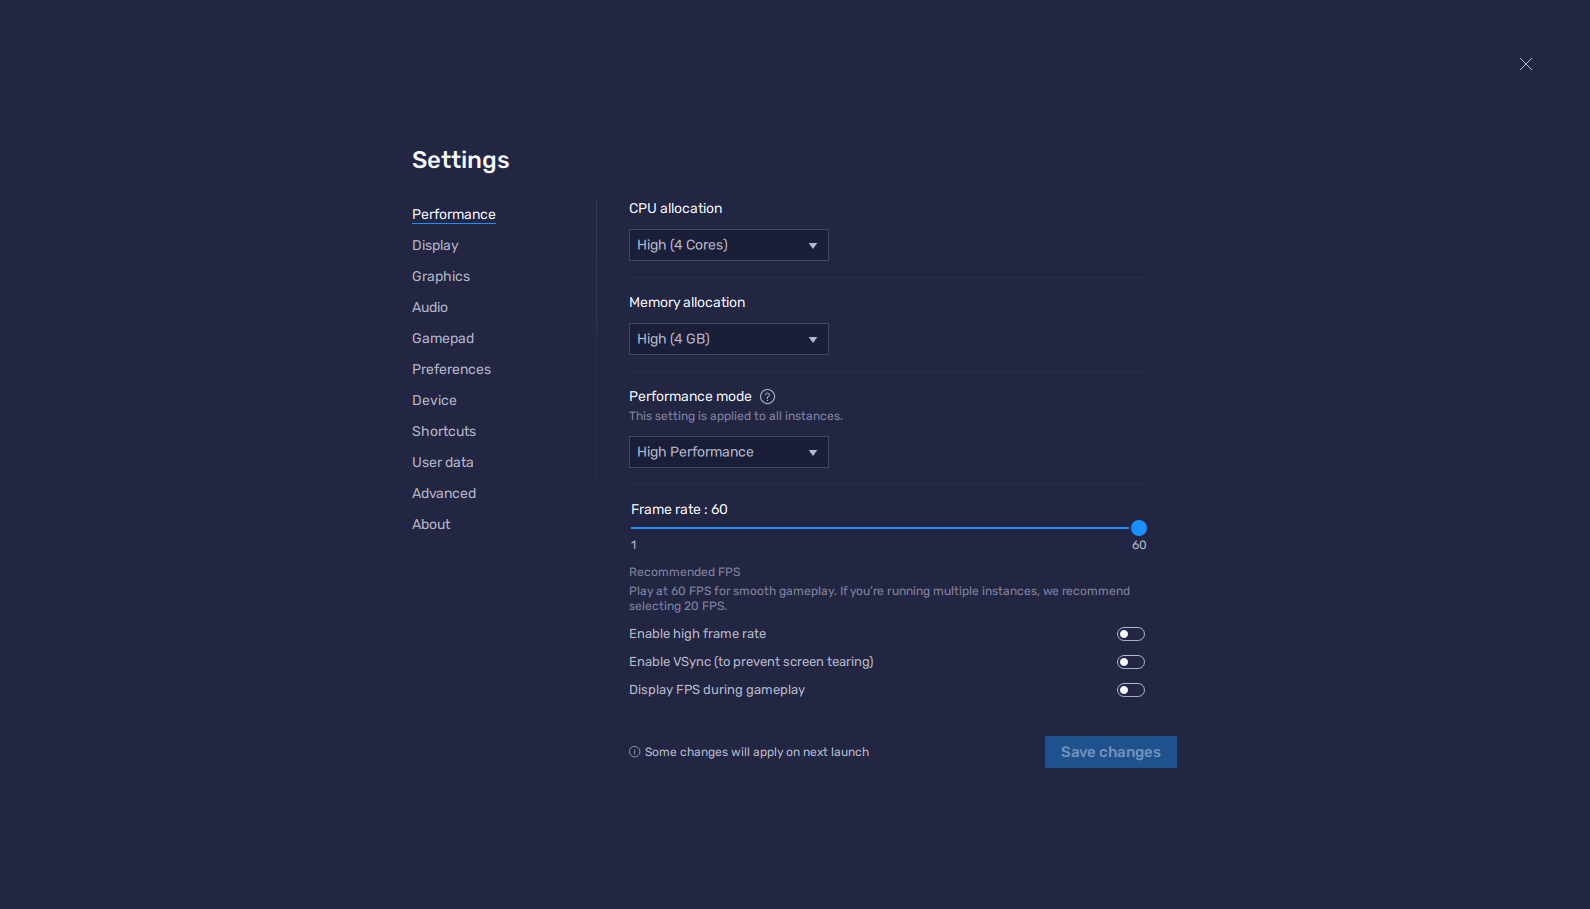
- Go to your BlueStacks settings and navigate to the Performance tab.
- Assign at least 4 GB of RAM and 4 CPU cores to your emulator; set the Performance mode to “High performance”, and set the FPS slider to 60 FPS. Click on “Save changes” once you’re done.
- Run Tamashi and go to the in-game settings.
- Under “Basic Settings” set your resolution and FPS both to “High”
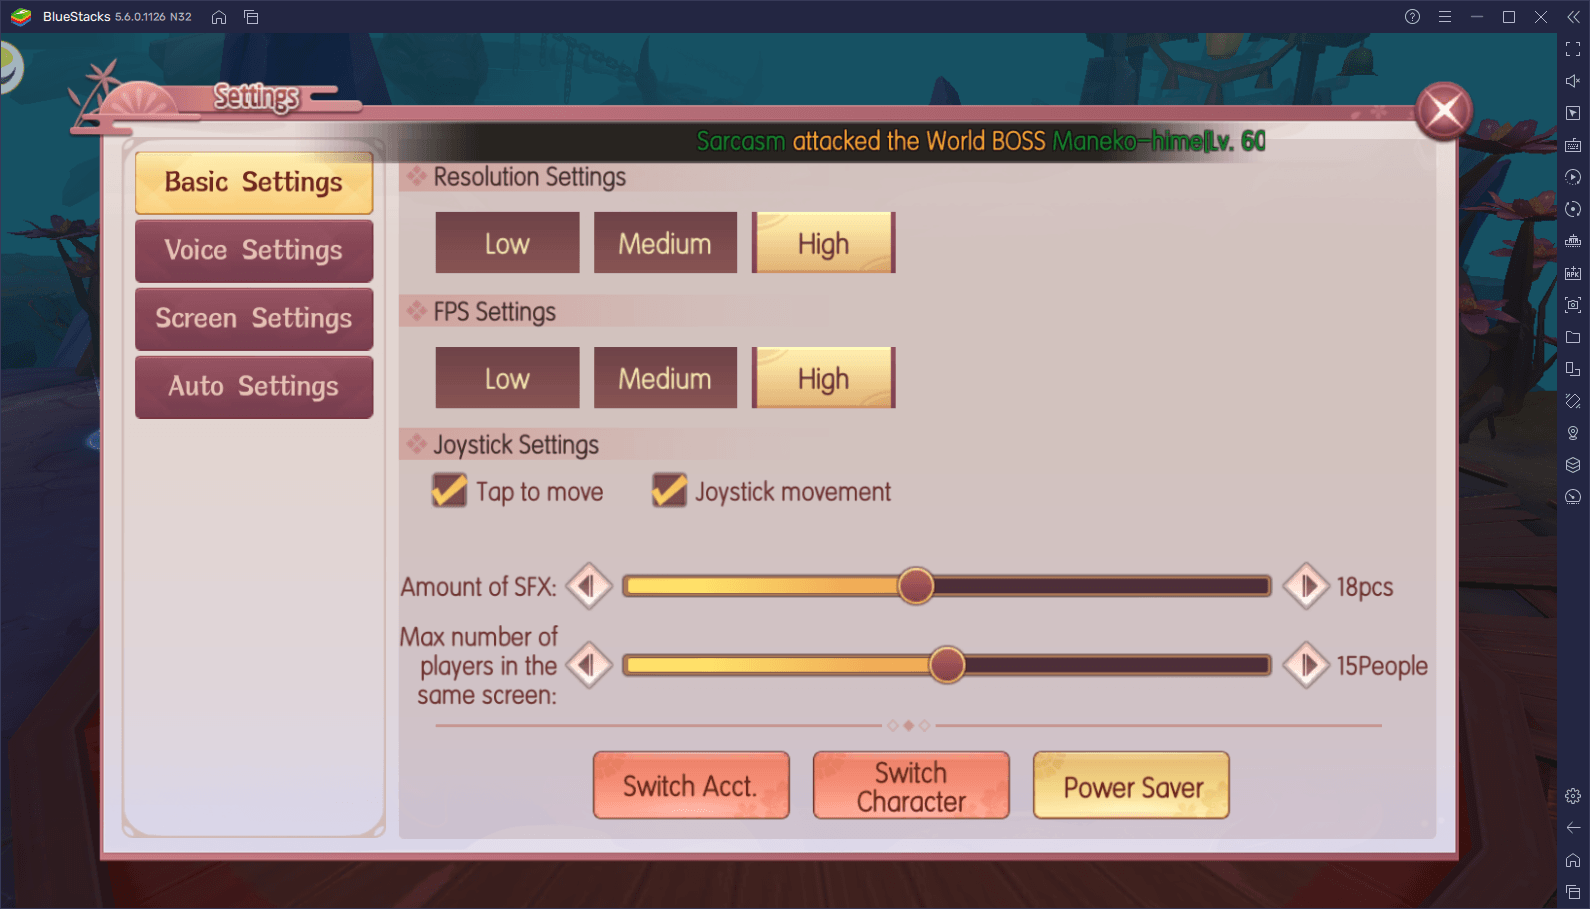
With these adjustments, your Tamashi: Rise of Yokai will look surprisingly crisp and will be running at a steady 60 FPS, giving you the best visual fidelity and performance.
Play With Keyboard and Mouse Controls
When you DO actually decide you want to play Tamashi manually, without relying on the automation features or botting, BlueStacks can also give you the best controls so you can enjoy the game with the best comfort. This aspect is facilitated by our Keymapping Tool, an aspect that lets you create fully-customizable control schemes for any mobile game using your mouse and keyboard.
To access the Keymapping Tool, simply press Ctrl + Shift + A, which will open the Advanced Editor. In this new screen, you can drag functions from the rightmost panel, drop them anywhere on the screen, and then assign them a binding. Afterward, whenever you press the specific key, the corresponding function will play out in the area. And by adding enough controls, you can completely streamline the combat and other aspects of Tamashi: Rise of Yokai.

Since Tamashi is still quite new, we haven’t uploaded a default control scheme to the game, which means that you’ll need to create one from scratch. Until we upload our own controls, you can use the screenshot above to get an idea of how to create a decent scheme for this game, which will cover most of the basic functions.
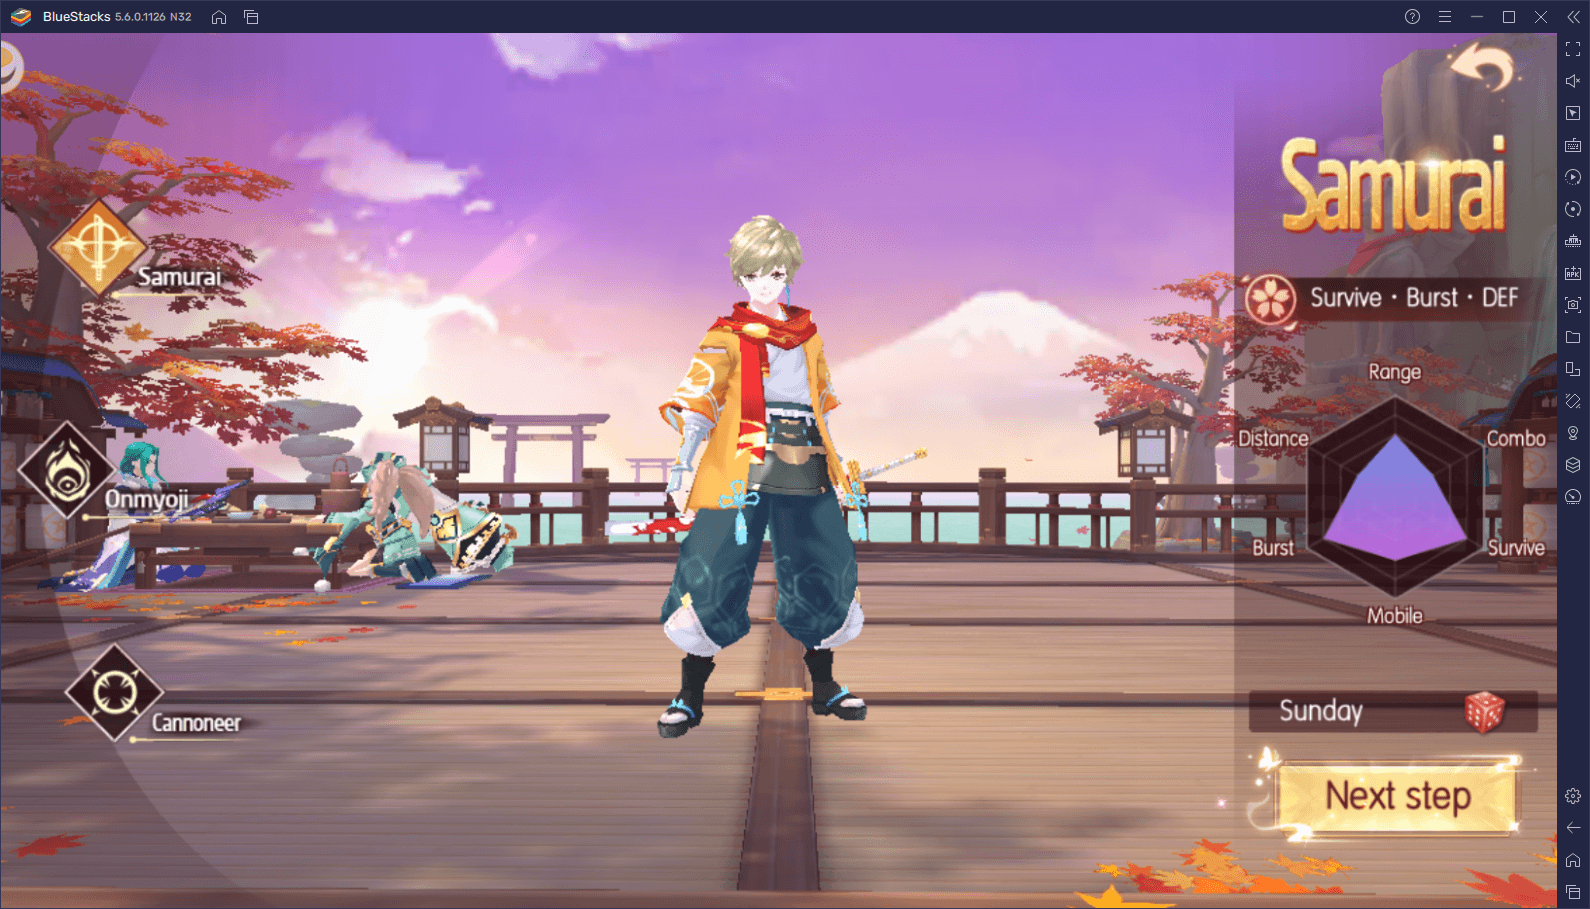
Play on All the Different Classes at the Same Time
In terms of variety, Tamashi is somewhat limited compared to other games in the genre, offering only three different classes to choose from. Nevertheless, choosing a starting class is as difficult as always, since it can affect in great measure your enjoyment of the game. Luckily, if you play on BlueStacks, you don’t have to choose—you can simply play on all three classes at the same time.
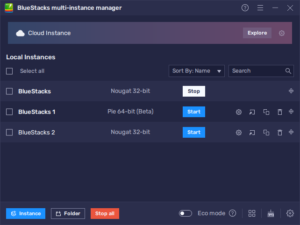
With the BlueStacks Instance Manager, you can play Tamashi on multiple accounts at the same time, letting you use a different class in each, and experience everything that this game has to offer. And since this MMORPG has top-notch automation features, you won’t even have to go through the effort of playing on each account individually, unless you choose to.
To use the Instance Manager, you simply have to press Ctrl + Shift + 8. You will be able to view, modify, or delete your current instances in this new panel, as well as create new ones by clicking on the “+ Instance” button and following the instructions that appear on the screen. Once you have all your three instances up and running, you can follow the steps on our PC setup guide for Tamashi: Rise of Yokai to install the game on each instance, and start a new game on each one using different classes. Afterward, all that’s left is to activate the botting feature on all your instances and watch as your characters blaze through the story automatically.
BlueStacks is the best way to enjoy your time with Tamashi: Rise of Yokai with the best graphics and performance, as well as many useful tools to enhance your gameplay.