How to Enhance your Viking Rise Experience: Playing on PC with BlueStacks


Viking Rise is an exciting new mobile game that offers players an immersive and engaging experience. However, playing the game on a small screen can sometimes be a hindrance to fully enjoying its features. That’s where BlueStacks comes in. By playing Viking Rise on PC with BlueStacks, you can significantly improve the overall gaming experience, allowing you to fully appreciate the game’s stunning graphics and engaging gameplay.
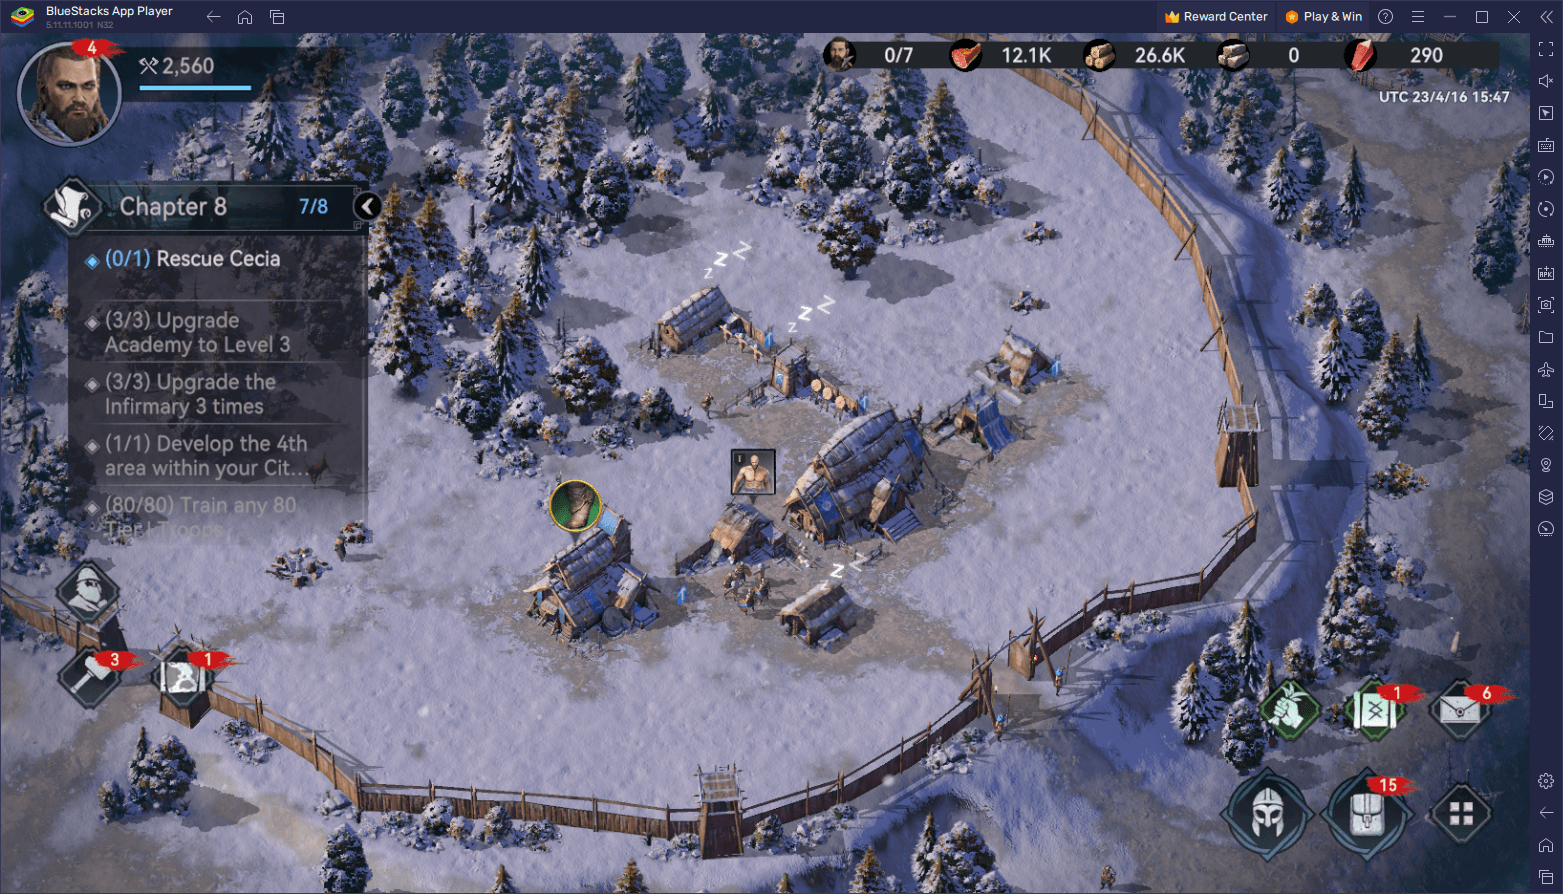
Table of Contents
- Optimize Your Graphics and Performance With a Few Tweaks
- Enjoy the Best Keyboard and Mouse Controls
- Develop Multiple Farm Accounts With Ease
In this guide, we’ll explore how to set up and configure BlueStacks to get the most out of your Viking Rise experience, as well as touch on some of the most important tools and features that our Android app player has to offer for this game.
Optimize Your Graphics and Performance With a Few Tweaks
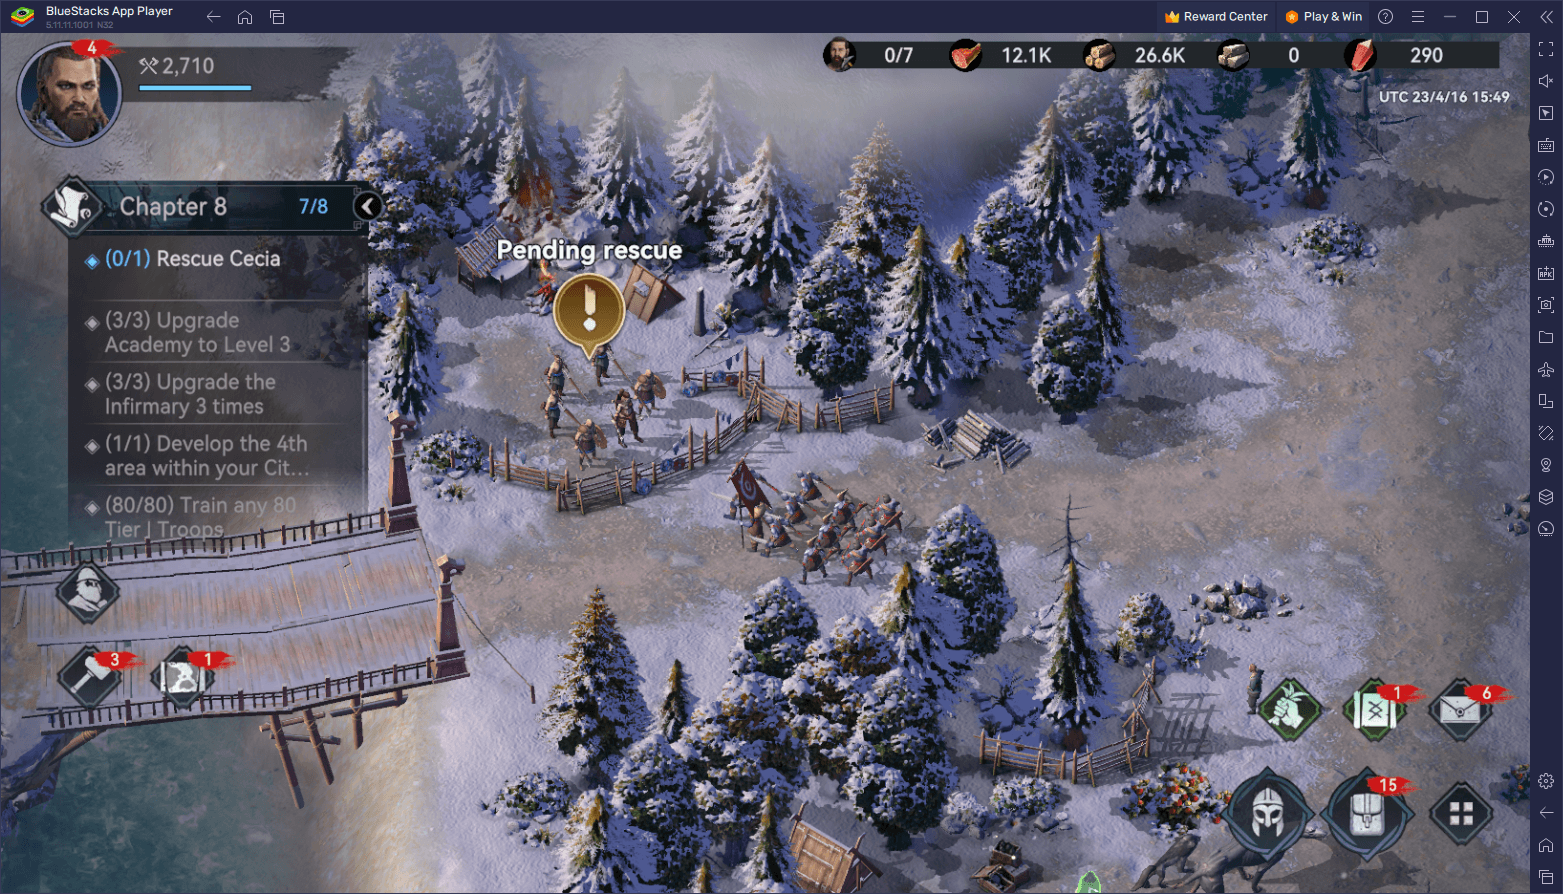
One of the key features of Viking Rise is, without a doubt, its graphics and presentation that make it instantly stand out among the other games in the genre. From the overall 3D graphics of the overworld to the 2D character art and UI elements, and even the smooth combat and city development animations, Viking Rise is simply a visual feast for the eyes.
With that being said, while Viking Rise looks and runs beautifully right out of the box, some users might need to make a few adjustments both to their BlueStacks settings as well as in-game in order to enjoy the best graphics at a silky smooth frame rate. Luckily, in this section, we’ll go over the steps you can take to optimize the game’s performance and graphics, ensuring that you have the best possible experience playing Viking Rise on PC with BlueStacks.
To optimize your graphics while maintaining a silky smooth 60 FPS at all times, simply follow these easy steps:
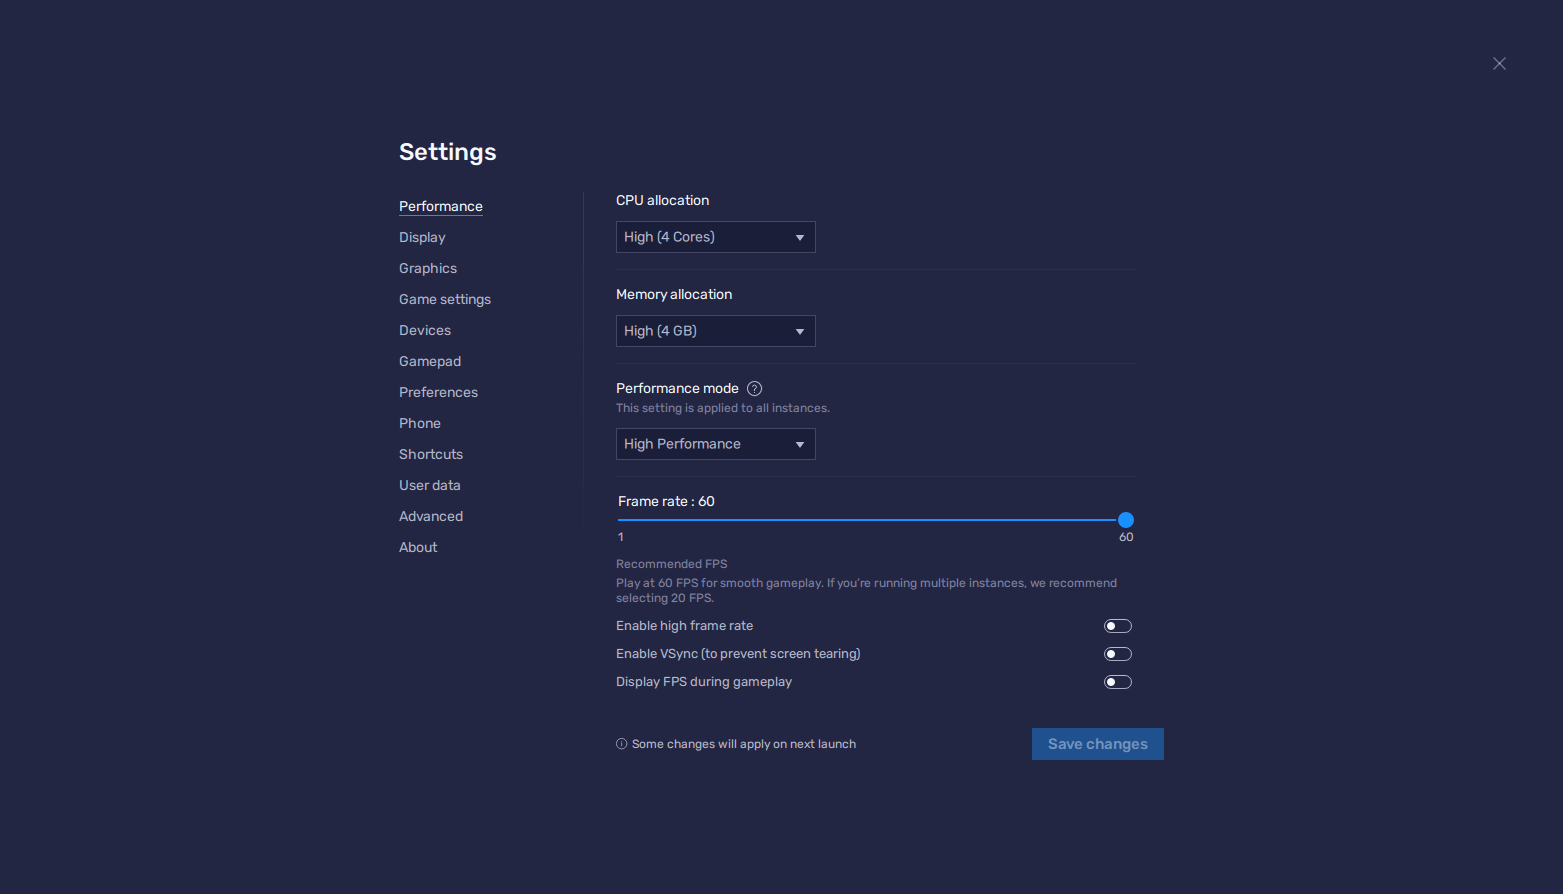
- In the BlueStacks settings, go to the “Performance” tab.
- Check that your emulator is using at least 4 GB of RAM, 4 CPU cores, and that the Performance mode is set to “High performance”.
- Set the FPS slider underneath to at least 60 FPS, and finish by clicking on “Save changes” on the bottom right.
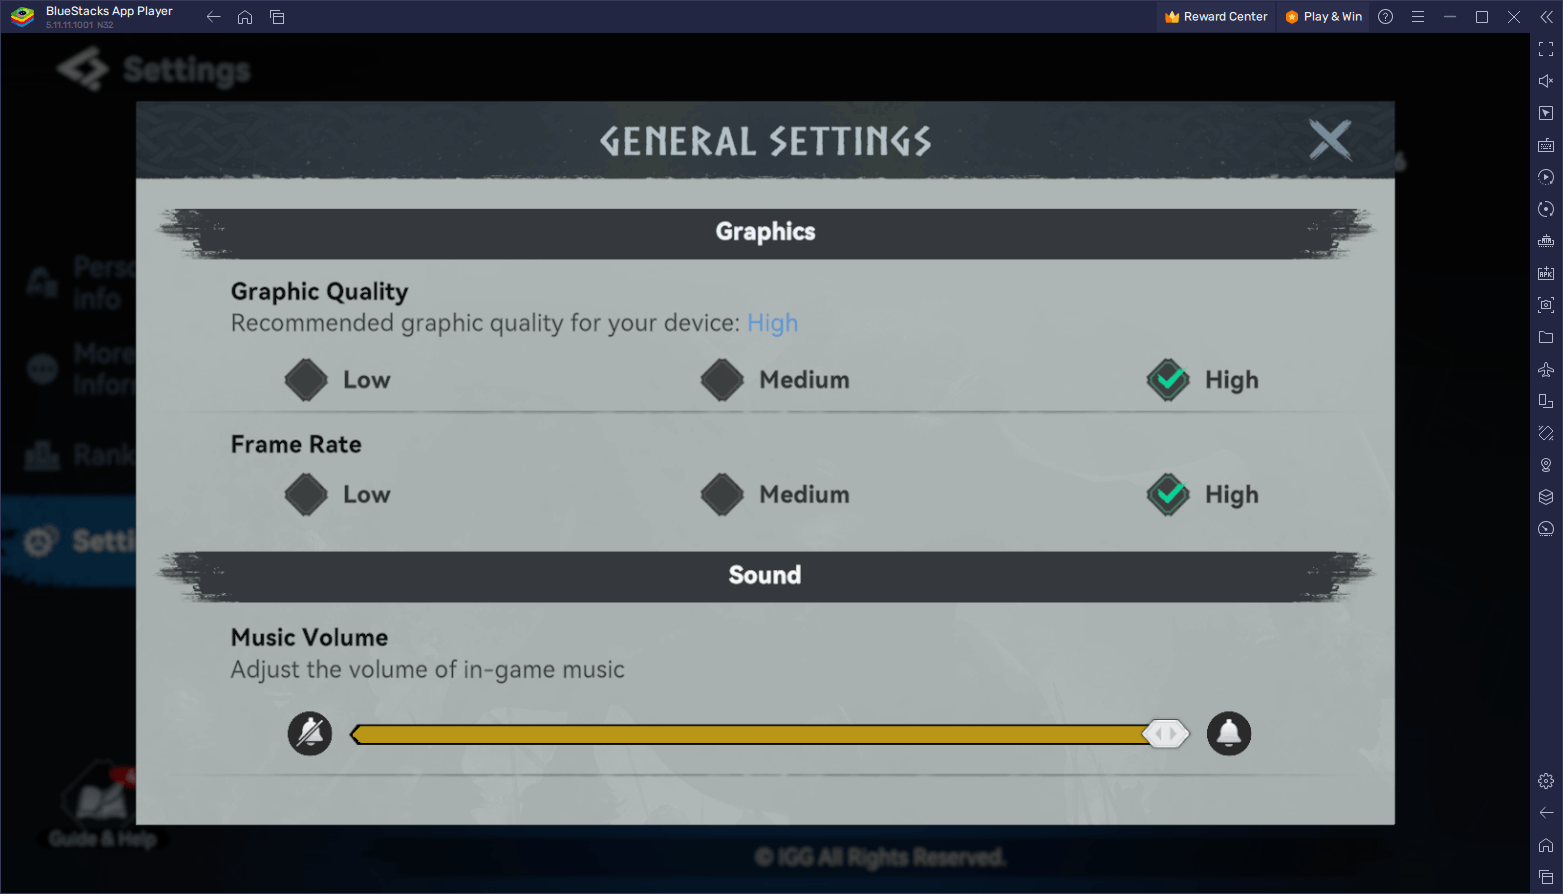
- Launch the game and head to the in-game settings.
- Set your graphical options on the highest settings.
With these easy steps, you can get the best graphics while maintaining the best possible performance in your game.
Enjoy the Best Keyboard and Mouse Controls
Touchscreen controls are not always the most intuitive way to play games, especially when it comes to strategy games like Viking Rise. Fortunately, BlueStacks offers a Keymapping Tool that lets you create your own control scheme using your keyboard and mouse. Setting up these intuitive controls is quite easy, and in this section we’ll show you how to set up and customize your controls to make playing Viking Rise on PC with BlueStacks much more enjoyable and intuitive.
To use the Keymapping Tool, you’ll need to press Ctrl + Shift + A, which will bring up the Advanced Editor screen. In this screen, you can view your current key bindings as well as modify them by clicking on them. Additionally, you can delete bindings by clicking on the “X” icon that appears when you hover your cursor over them, or even add new bindings by dragging and dropping the desired function from the rightmost panel onto wherever you need them on your screen.
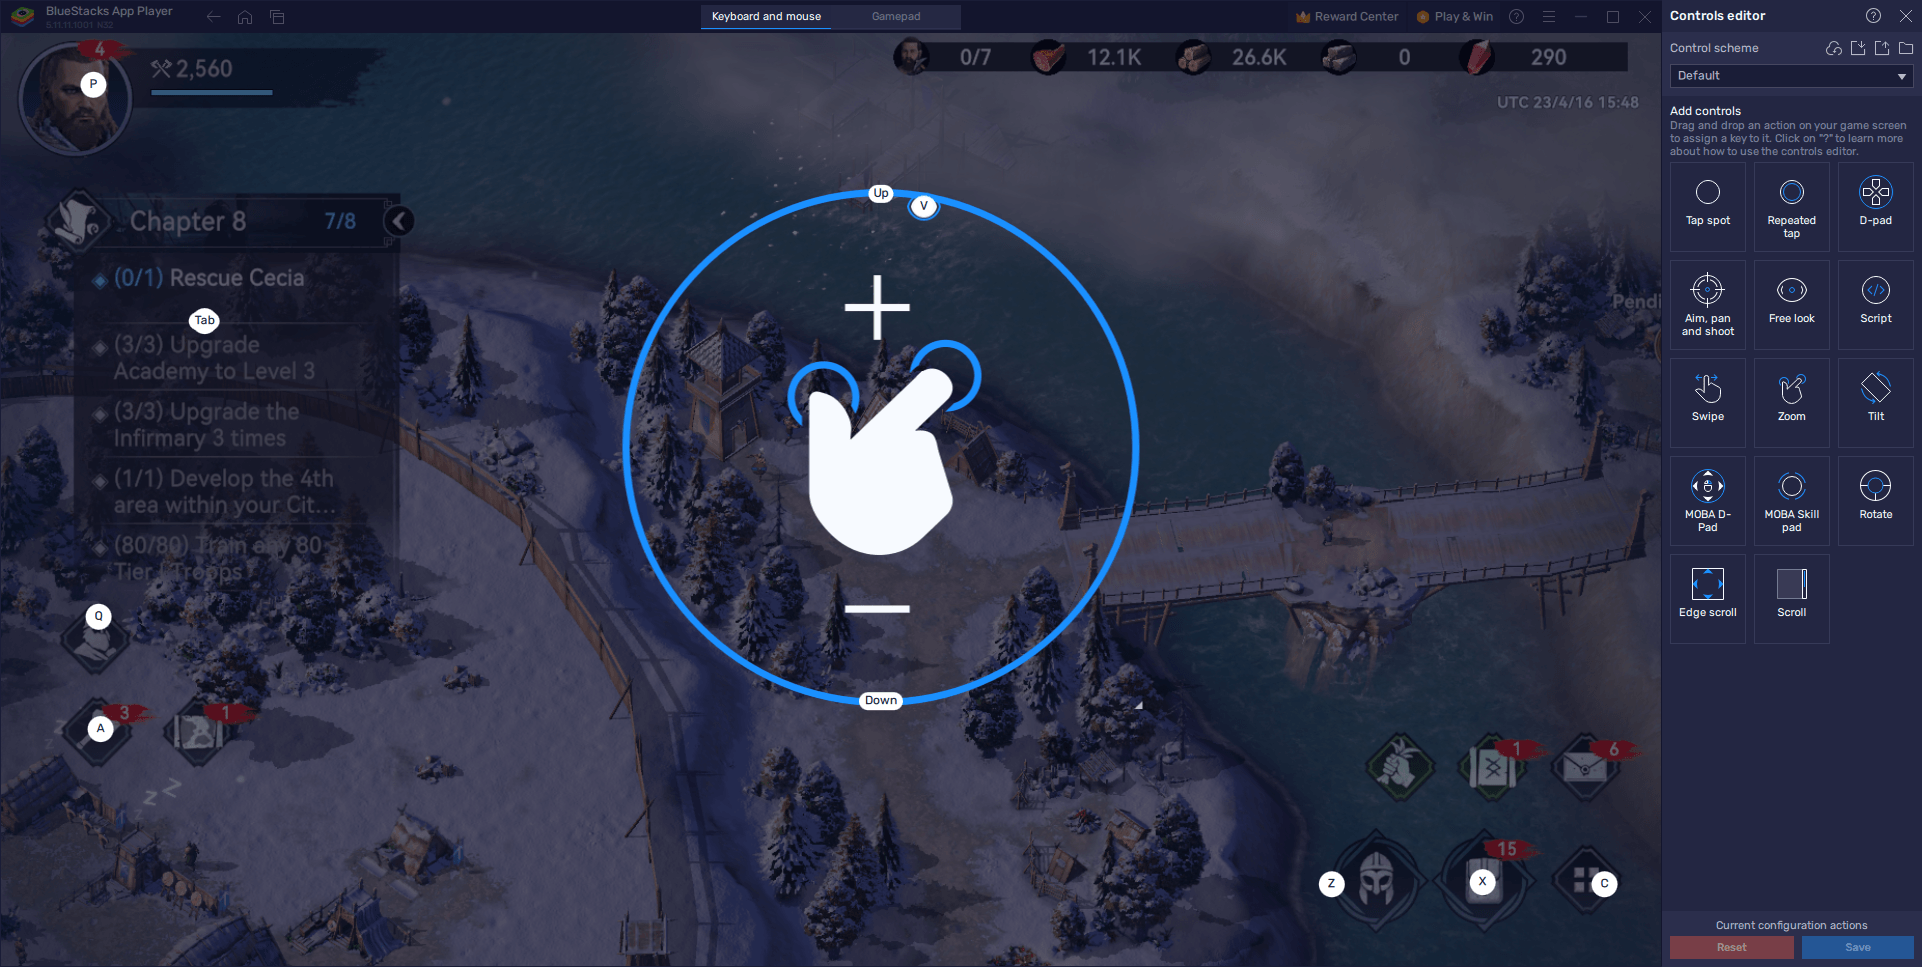
Once you’re satisfied with your current control scheme, make sure you click on the “Save” button on the lower right to safeguard and implement your changes.
Develop Multiple Farm Accounts With Ease
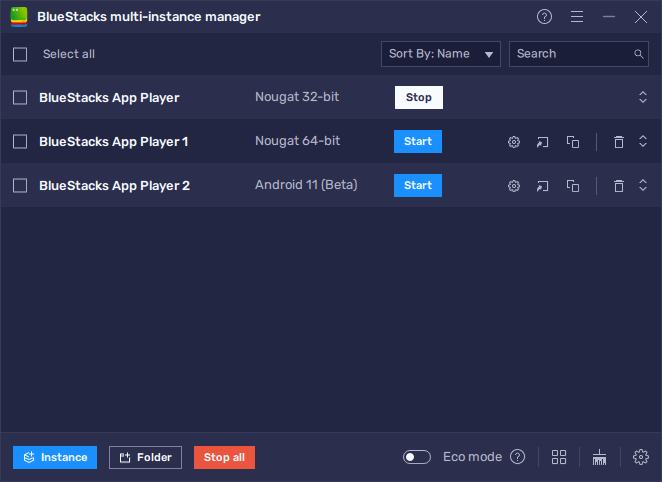
In any strategy conquest game, creating multiple accounts to funnel resources into your main account is a common tactic. In Viking Rise, BlueStacks’ Instance Manager feature makes it easy to create multiple instances of the game, so you can access multiple accounts simultaneously and streamline the farm account creation process. Just like with the other BlueStacks tools, using the Instance Manager is quite easy, and in this section we’ll walk you through the steps to set up multiple instances of Viking Rise on BlueStacks and get started with developing multiple farm accounts.
To access the Instance Manager, you simply must press Ctrl + Shift + 8, which will bring up the instance panel where you can view your current instances; launch or close them; modify their settings, or even delete them outright. Moreover, you can click on the “+ Instance” button on the lower left to create as many instances as you want, keeping in mind that you’ll need additional RAM and CPU resources the more instances you want to run simultaneously.
Once all your instances are up and running, simply download and install Viking Rise on each of them, and you’ll be able to start growing multiple cities, without the hassle of having to switch back and forth between your different accounts.
Playing Viking Rise on your PC with BlueStacks is the ultimate way to enjoy this thrilling new mobile game. With its stunning graphics and engaging gameplay, you’ll be able to fully immerse yourself in the world of Viking Rise. By following the steps outlined in this guide, you’ll be able to configure BlueStacks to maximize your gaming experience, allowing you to play the game smoothly and efficiently. Whether you’re a seasoned player or new to the game, playing Viking Rise on PC with BlueStacks is the way to go. So what are you waiting for? Get started today and enjoy the ultimate Viking Rise experience!