A Guide to World Map Creatures in War and Magic Part II


In our previous article, we explained the significance of engaging and defeating the creatures in the world map of War and Magic. Whether you’re looking to level up your heroes, reap some rewards, or simply obtain bragging rights, you’ll have something to gain by defeating these nasties.
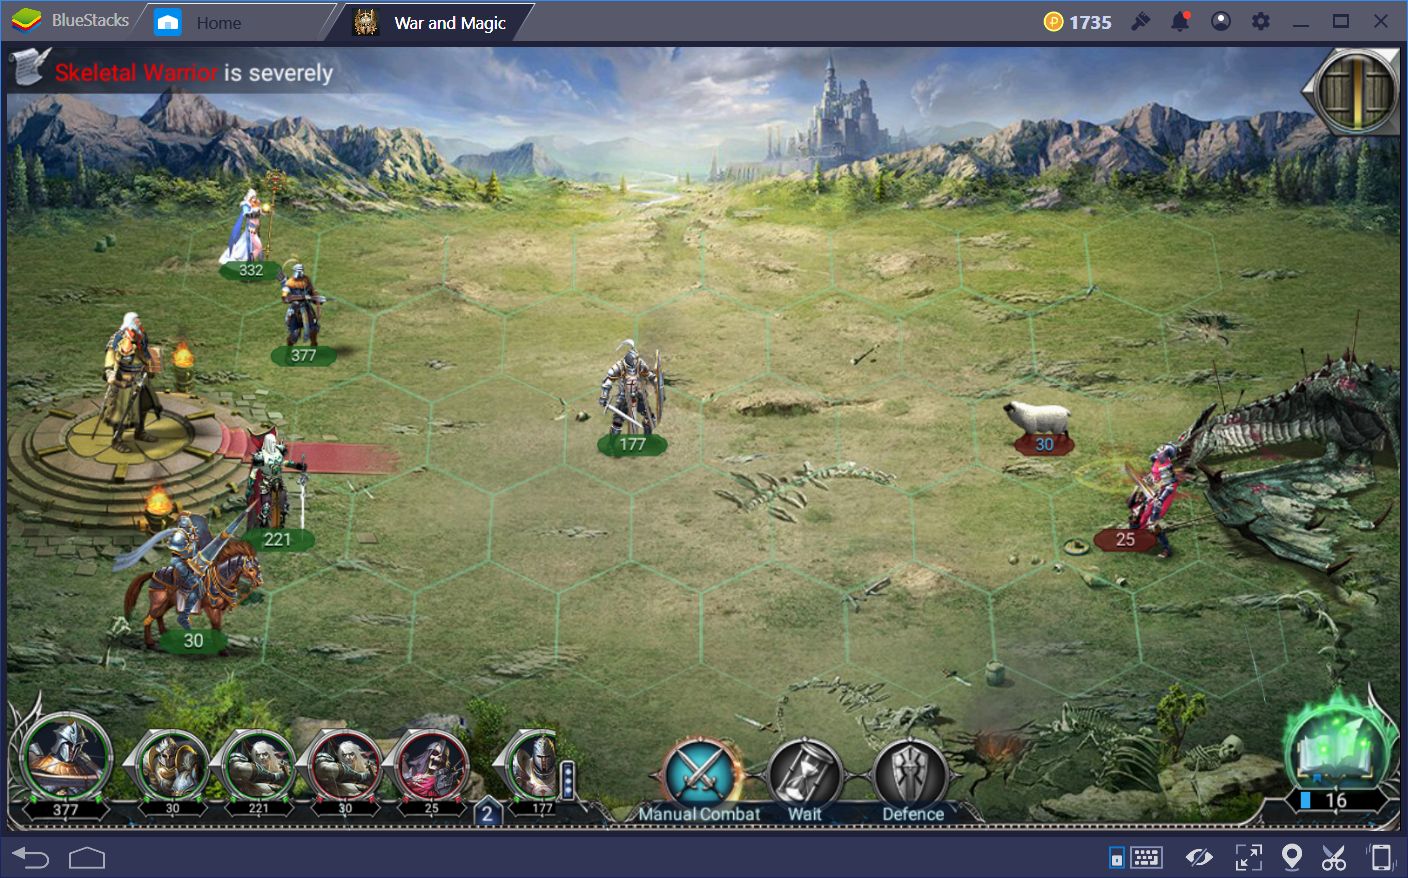
Keep in mind that, as your level increases, and you get access to better troops, you might feel the desire to challenge bigger and stronger enemies. However, you will always be limited in this aspect by your stamina, which decreases after every fight. Luckily, your stamina regeneration speed can be upgraded at the academy, which is a good way to squeeze in some extra fights every day.

In our previous article, we mentioned the first 10 levels of world map creatures. This time around, we’ll be going over the remaining 14 that are currently implemented in the game.
Creatures
Similar to our previous article, we will be listing each type of enemy, followed by the recommended power levels and unit types to take for each fight, as well as some personal recommendations in some cases.
- Raid Party: These guys are tough, and feature a difficulty hike of nearly 50% in relation to the previous level. Priestesses are recommended here since they can really bring the hurt thanks to their brute force skill, which allows their melee attacks to always deal full damage. Furthermore, vampires are also recommended for this fight due to their magical prowess. The suggested power for this fight is a whopping 143,252.
- Arcturus: These units are very tough, and can deal tons of damage in a few turns. Though the difficulty hike from the previous fight to this one isn’t as high as in other occasions, it is still a difficult engagement. Bring dwarven fighters to soak up some damage, as well as plenty of elven archers to deal optimal damage to the enemy. The suggested power for this fight is 197,080.
- Deathpact: Oh boy, as if things couldn’t get any worse, we have yet another jump in difficulty here. Nevertheless, the strategy for this fight is basically the same as the last one. Use dwarven fighters to tank the enemy, and elven archers to transform your foes into pincushions. The suggested power for this fight is 273,173.
- Archmage: As you might notice in this game, magical damage hurts — a lot. The Archmage group brings the pain with their magical prowess that can make short work of your units in no time. For this reason, be sure to bring lots of griffins. These units can zoom across the battlefield, get in their faces, and apply some pressure. The suggested power for this fight is 416,546.
- Predator: By now, you should already be used to hikes in difficulty, so the predator won’t be anything new to you. Bring as many tree shepherds as you can, as well as plenty of sorcerers to exploit the magical weakness of these enemies, and you shouldn’t have any issues. The suggested power for this fight is 416,546.
- Desert Dead God: This fight is a competition of who can deal the most damage in the least amount of time. In this sense, you’ll have to throw caution to the wind, and rush the enemy with all you got. Bring plenty of armored bears and tree shepherds to easily win this fight. The suggested power for this fight is 586,000.
- Phoenix: The mystical birds of rebirth are no match for the might of your armored bears and tree shepherds. That’s right; the same strategy that was effective on the previous level is also awesome for this one. Furthermore, since the difficulty hike is very low from the past level to this one, you should have no troubles at all. The suggested power for this fight is 615,540.
- Mouth of the Abyss: Once again, tree shepherds and armored bears will make short work of the enemies in this stage, as the increase in difficulty is even lower this time around. Even though these three fights are quite easy when using these two types of units, make sure to heal them properly in the hospital between each confrontation, so that your stacks may perform optimally on every occasion. The suggested power for this fight is 661,920.
- Vengeance: This enemy stays true to its name by providing a significant increase in difficulty for those that don’t prepare properly. Luckily, these enemies have a significant weakness to magic, which can easily be exploited by your sorcerers. Bring plenty of these spellcasters along and you shouldn’t have any troubles at all. The suggested power level for this fight is 722,259.
- Infernals: The enemies in this fight are tough but slow, and their damage easily mitigated by your tree shepherds. Make sure to also bring lots of elven archers as they can really cause some damage to these foes. The suggested power for this fight is 789,900.
- Curse of Troll: We’re nearing the end of this list, and things are hardly getting any easier. Luckily, just like the vengeance fight, the enemies here also have a significant weakness to magic damage. In this sense, several strong stacks of sorcerers are the key to prevailing in this encounter. The suggested power for this fight is 869,400.
- Falconer: By this point, you’ve surely noticed that, when it comes to enemies that deal a lot of damage, the best way to mitigate it is by bringing sturdy units like dwarven fighters. This is one of such fights. You can snag an easy victory here by bringing your trusty dwarves to tank the damage while having your elven archers pelt the enemies with arrows from a distance. The suggested power for this fight is 956,419.
- Ghost Knight: We’ve officially breached the barrier of millions in terms of power. This fight is a damage race where the one that deals the most amount of damage will win. Forget about defensive units; make sure to bring plenty of elven archers and sorcerers to bring the pain and out-damage the enemies in this fight. The suggested power for this fight is 1,046,871.
- Grizzly: The final level in this list is easily dispatched by exploiting the enemy’s weakness to magic. Several stacks of powerful sorcerers will provide you with the edge you need to defeat your foes on this occasion. The suggested power level for this fight is 1,147,714.
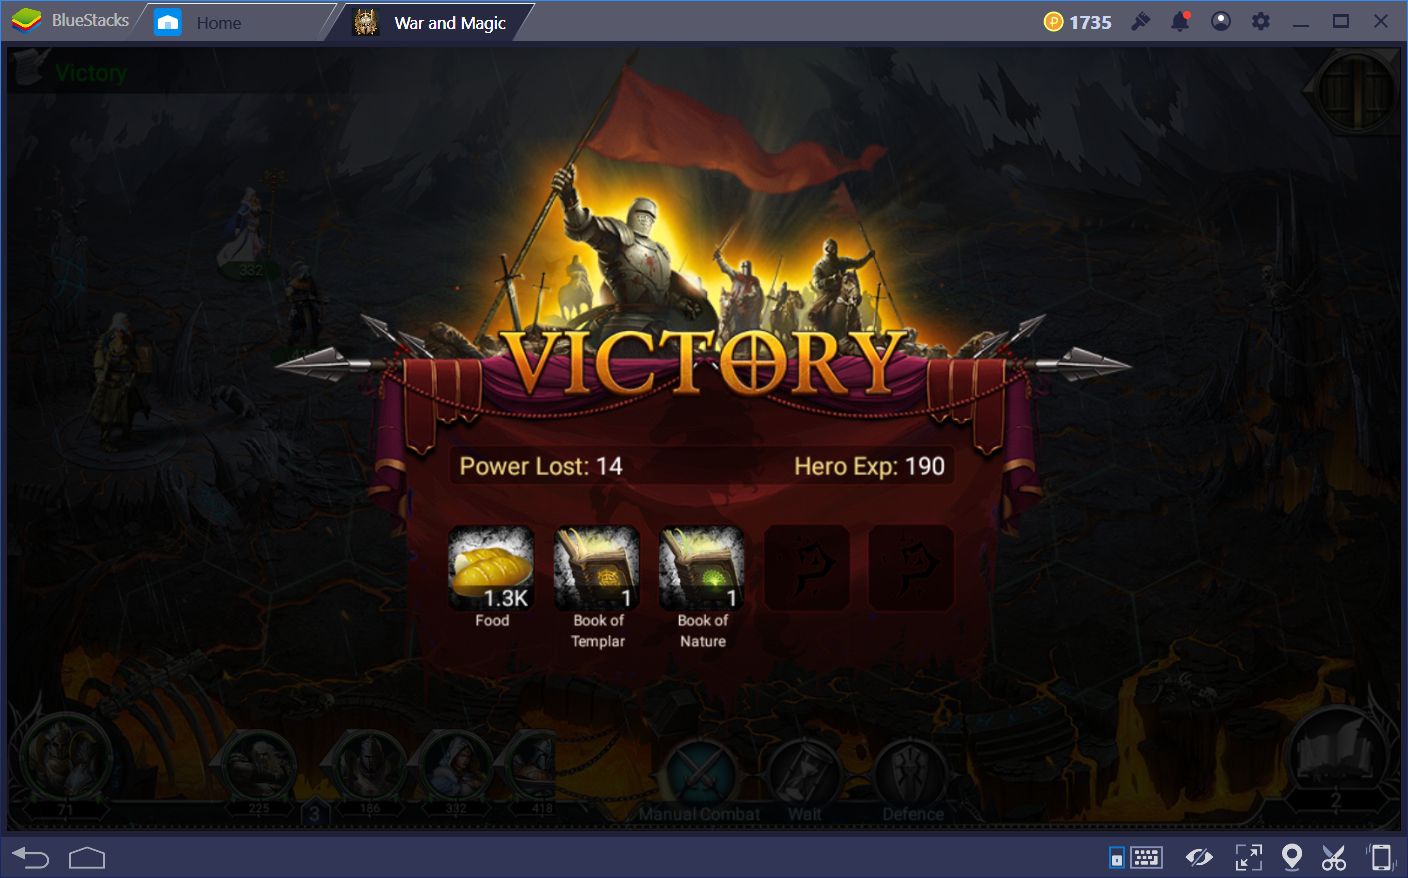
That’s it for world map enemies. Unfortunately, since we’re still starting out, we can’t actually go ahead and capture screenshots of the actual fights. However, with this list, we hope that you can get an idea of what you’re going up against, so that you may be able to prepare accordingly for the task at hand.
Download War and Magic on BlueStacks