A Guide To World Map Creatures in War and Magic Part I


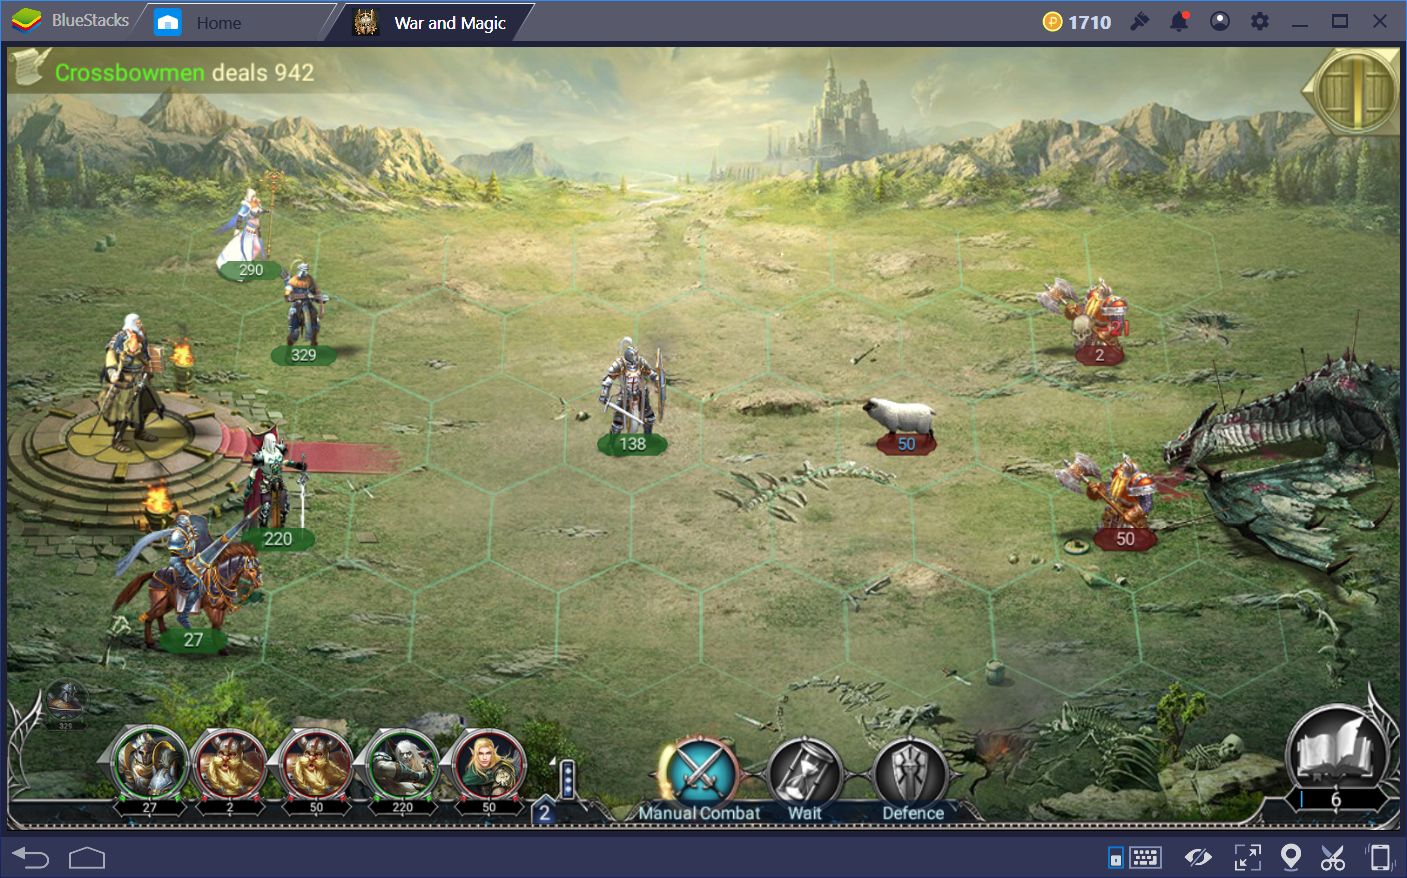
It’s not unusual for conquest games to have some sort of map screen where players can interact with many creatures and points of interest. War and Magic also has a map screen, in which you may encounter lots of enemies, buildings, and resources, all of which are ripe for the taking.
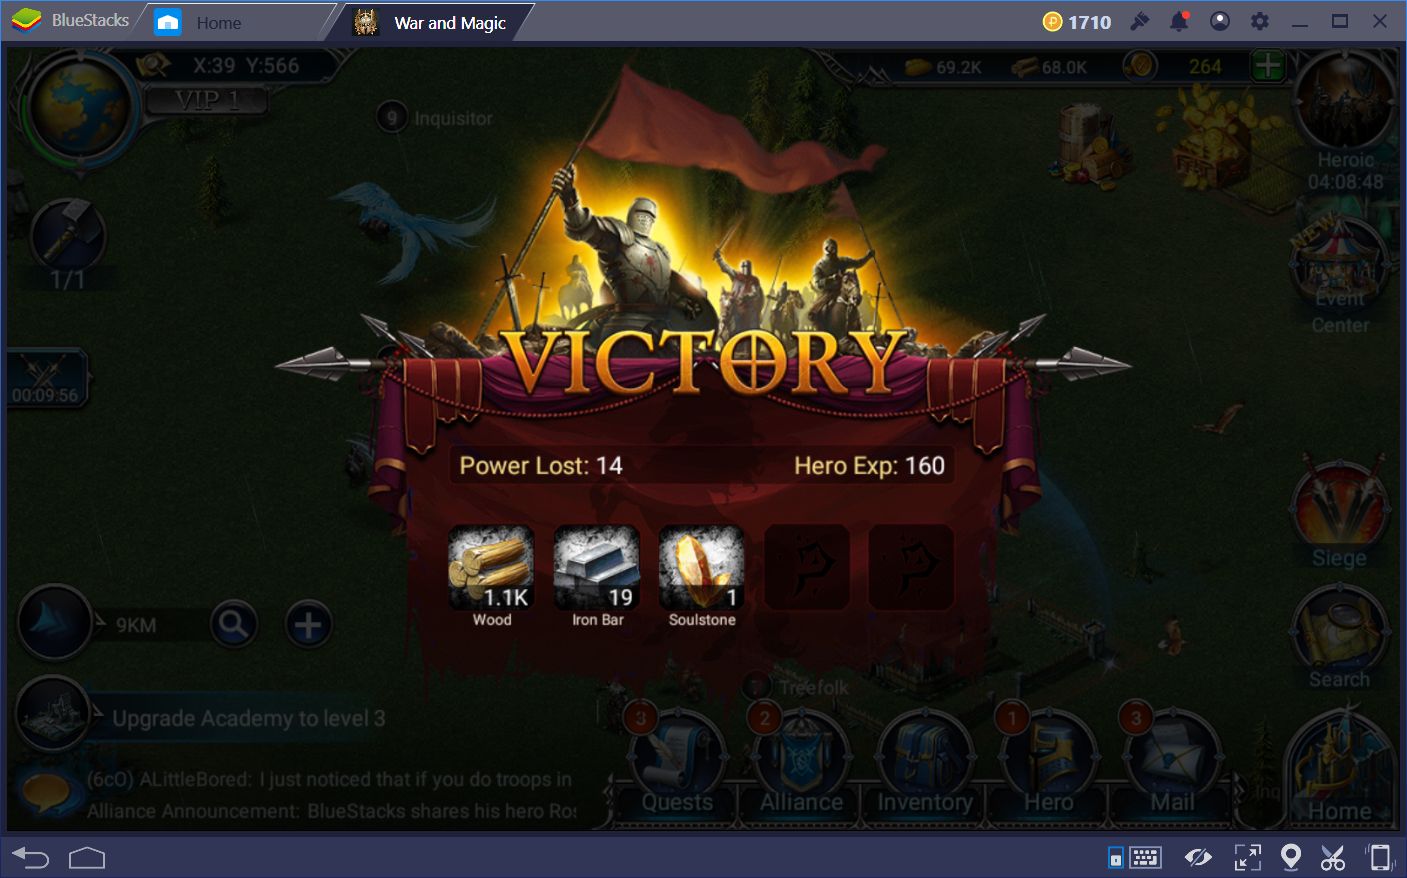
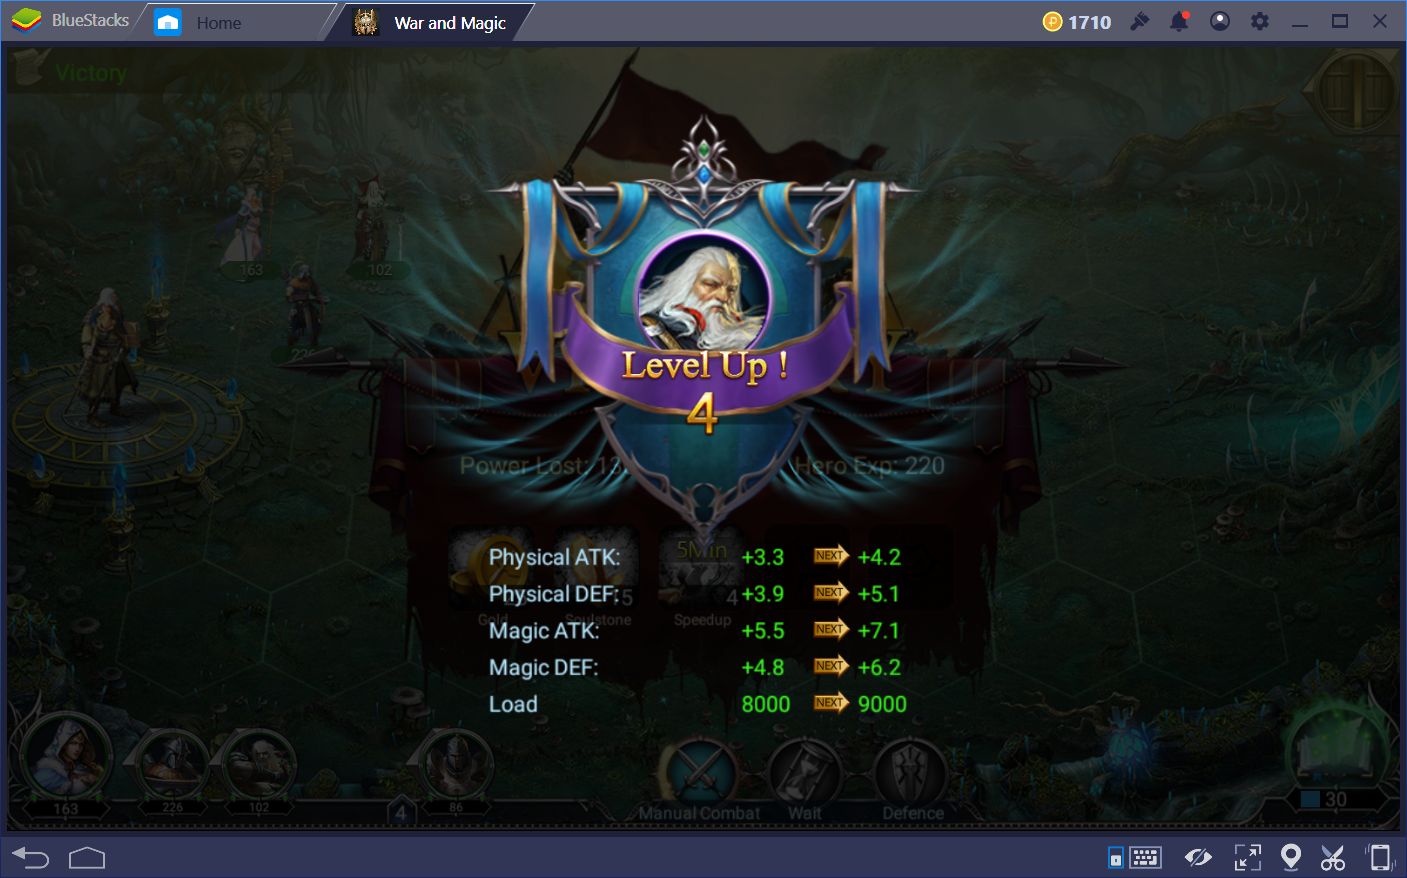
The enemies, in particular, are a great source of experience for your heroes. In battling these fiends, you will find that your heroes will level up and greatly increase their prowess in combat. However, battling enemies always poses its fair share of risks, including losing troops and losing power in the process. Similarly, if you suffer defeat, these losses will escalate to the point of costing you more than what you would’ve won if you had emerged victorious.
Fortunately, each enemy comes with a suggested power requirement, which gives you an idea of what you need in order to defeat them. In this guide, we’ll be elaborating on all the monster types, as well as expanding open the suggested power by adding our personal recommendations on which units are better suited to battling each creature.

Creatures
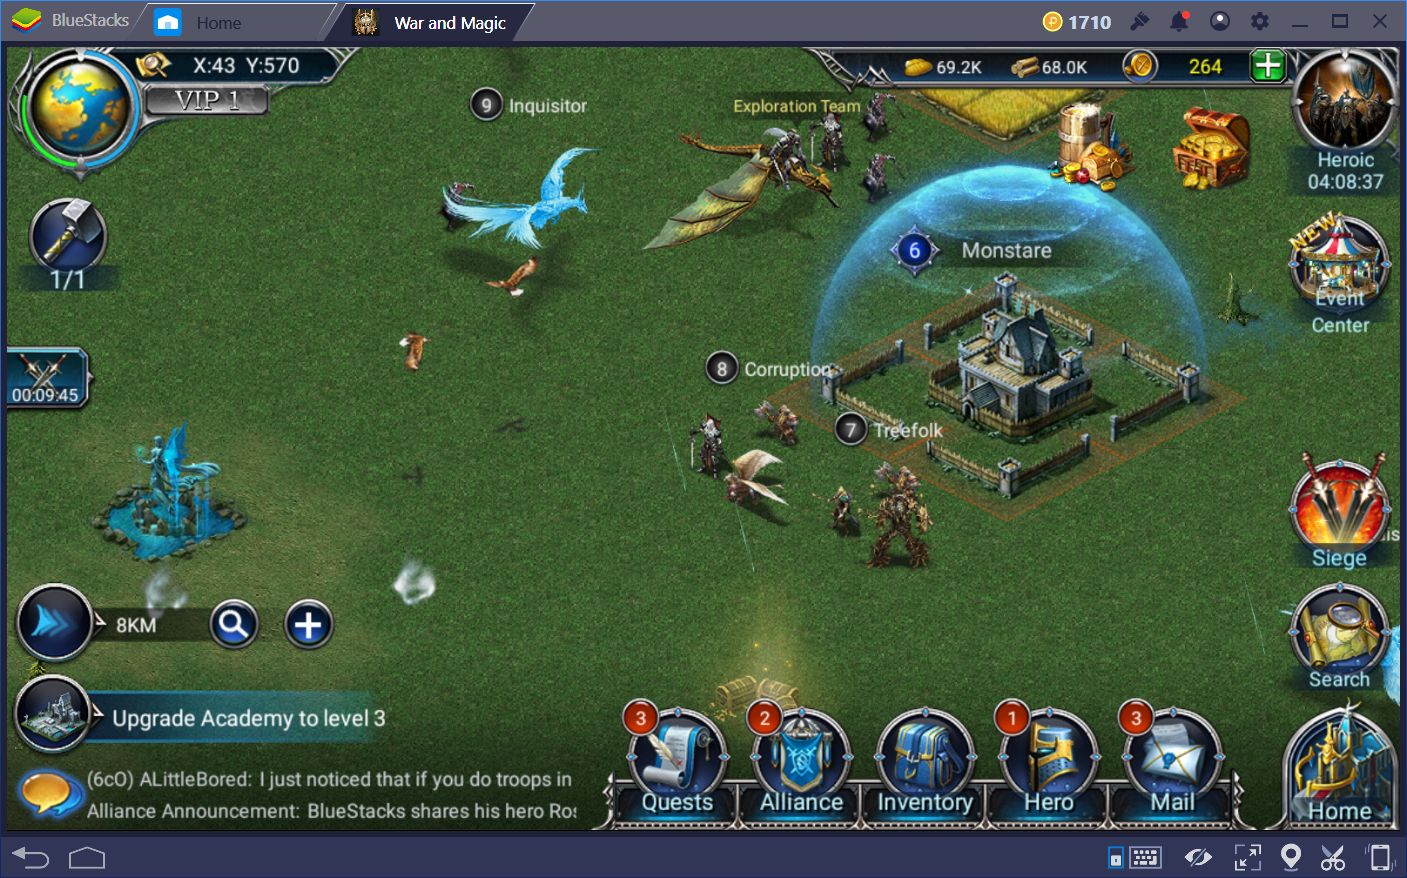
These are the baddies you’ll be going up against in the world map. Keep in mind that, in order to challenge these creatures to a fight, you’ll need 5 energy. This resource regenerates naturally over time, so you won’t have to worry too much about it. Furthermore, the first kill of each enemy rewards with awesome prizes, such as gold, unit, and speedup items.
- Undead: The very first type of creature you will go up against in the world map. These are very weak and usually, require no previous preparation to defeat them. Even a small child could take on these weaklings. The recommended power to take on these abominations is 2,184, which you’ll already likely have from the very beginning. However, if you want to go optimally for this fight, you may exploit their slow speed by bringing lots of crossbowmen, and a single guard stack to tank the hits.
- Hill Dwarf: The second beast you’ll be able to fight on the world map, after defeating the Undead. These dwarves are resilient, and can sometimes block magic attacks. However, like the Undead, these ones shouldn’t pose much of a threat. The recommended power level for taking on these baddies is 3,276; a bit higher than the previous monster, but not at all difficult to obtain. If you want to easily get rid of these creatures, make sure to take plenty of crossbowmen and several guards.
- Demihumans: The lvl. 3 world map beasts are the demihumans, which are made up of mostly elves and dwarves. The suggested power for this fight is 4,095. The same strategy applies as for the last two fights. However, you might suffer some losses since the enemy has ranged units this time around. Use your guards to rush the elven archers, and let your ranged units take care of the dwarves.
- Vampyr: The Vampyrs are fast and tough. You’ll have to focus fire on a single stack until they drop. However, you will also need strong melee units like dwarven fighters or knights to tank their hits, as they will immediately rush your crossbowmen, who are your primary source of damage at this point. The suggested power for dealing with these undesirables is 6,197.
- Black Heart: These beasts consist of elven archers coupled with skeletal warriors, they pack quite a punch so you might need to prepare with ample crossbowmen to wear them down before they get a chance to attack you. The recommended power to take on these creatures is 8,190.
- Stalkers: These level 6 creatures are made up of vampires and mutated skeletons. They also hit pretty hard. However, at this point, you should be more than ready to take them on. Make short work of these monsters by taking many crossbowmen and priestesses. The suggested power for this fight is 10,215.
- Treefolk: The tree shepherds are the first real jump in difficulty in these fights. You’ll have to prepare accordingly in order to stand up to these hulking floral beasts. Take plenty of knights for these fights, which can deal enough damage to whittle them down effectively. The suggested power for this level is 26,988.
- Corruption: Another jump in difficulty is present in this fight, especially due to the griffins that make up this group. Alongside these mystical beasts, you’ll also find dwarven fighters, and vampires, all of which make a ghastly combination to go up against. Make sure to bring plenty of crossbowmen, elven archers, and vampires of your own in order to stand up to them. The suggested power for this fight is 43,498.
- Inquisitor: The hop in difficulty isn’t so harsh from the previous stage to this one. If you cleared the Corruption with relative ease, then you’ll probably have no troubles with this one. This group consists of phoenixes, infernal knights, and skeletal warriors. Make sure to bring your own skeletal warriors to tank the damage, as well as plenty of elven archers to deal a lot of damage. The suggested power for this stage is 58,708.
- Reaper: The level 10 fight consists of plenty of nasties, including the venomous mutated skeletons, elven archers, and griffins. You’ll have to bring your own tree shepherds and elven archers in order to stand up to these creatures. The suggested power for this level 104,278.
These are the first 10 levels of the world map creatures. You might want to take a look at Part II of this guide, where we’ll go over the remaining 14 groups of creatures.
Download War and Magic on BlueStacks