Wuthering Waves – Galbrena Best Build Guide
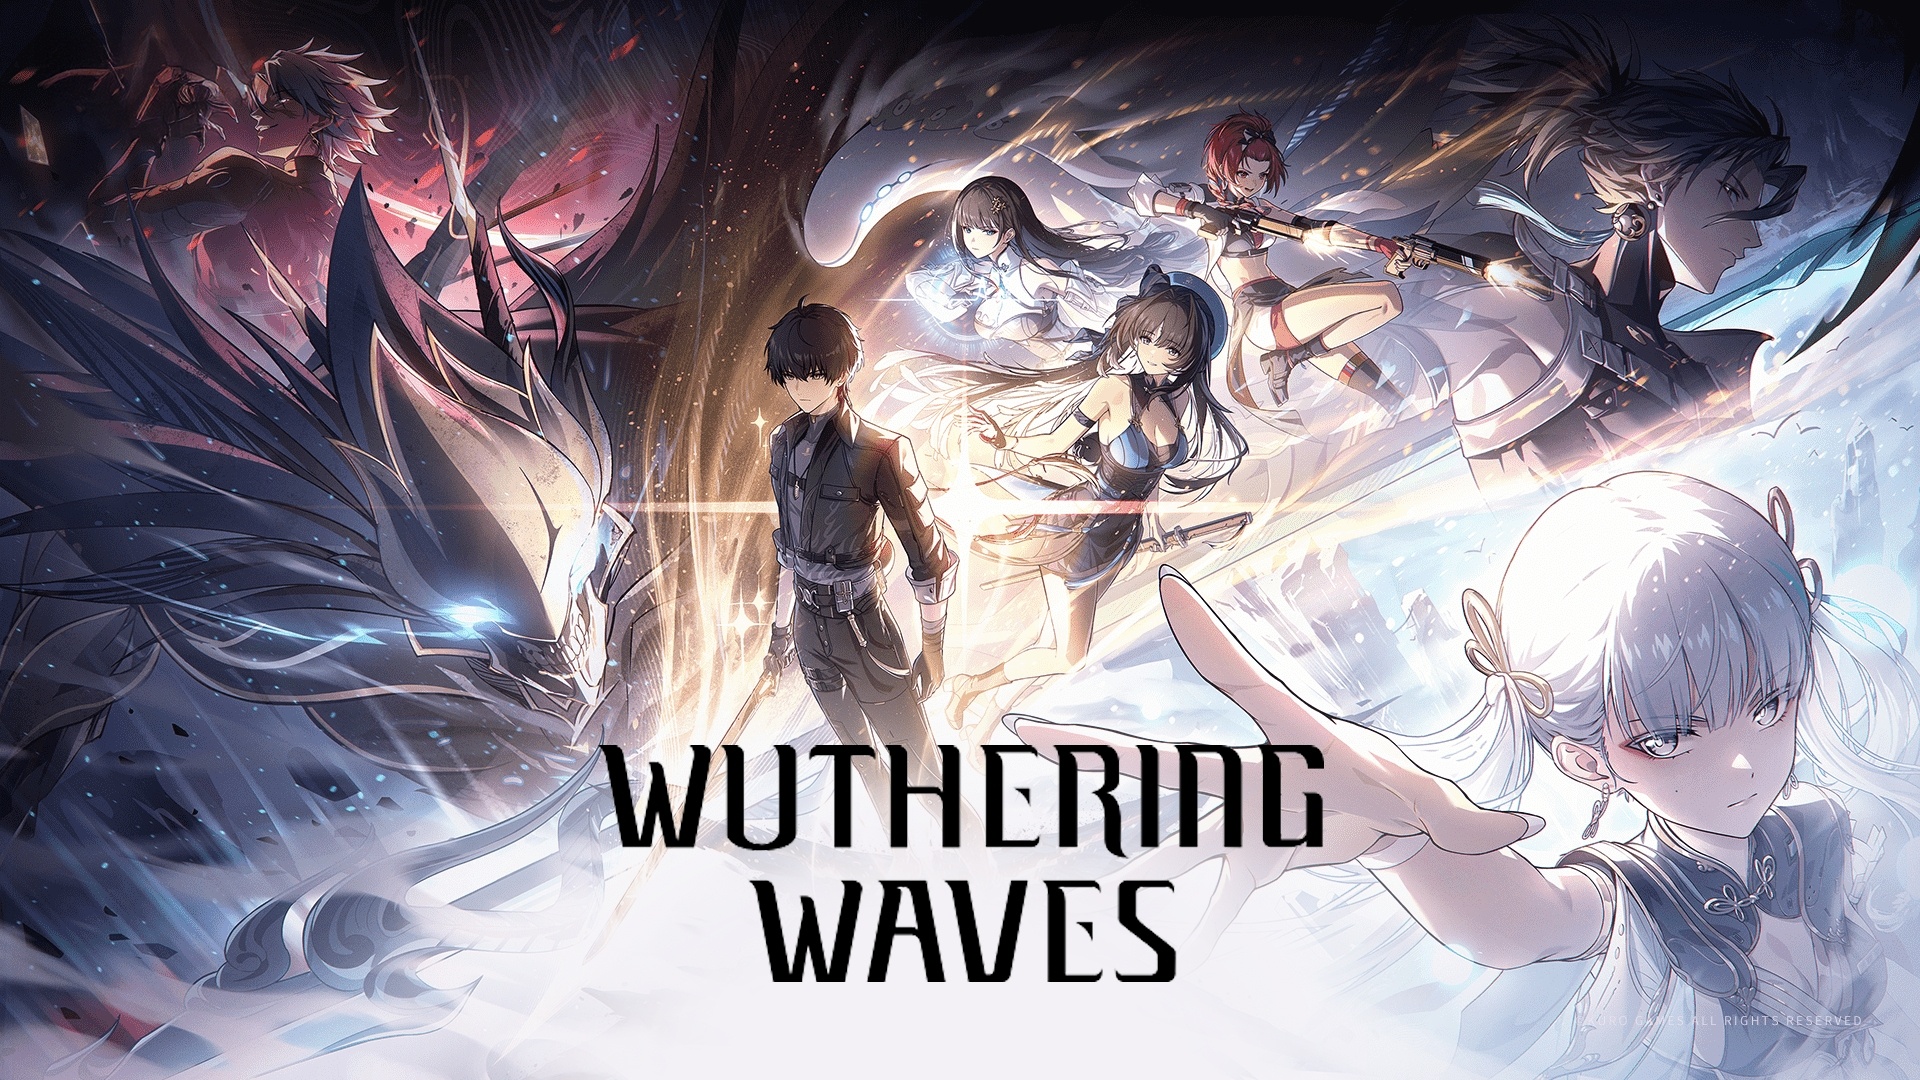
Galbrena is a late‑game 5‑star Fusion pistol Resonator in Wuthering Waves who excels as a sustained on‑field DPS, combining high personal damage with a unique resource system built around Sinflame, Afterflame, and her Demon Hypostasis form. When properly built, she delivers some of the strongest Fusion damage in Wuthering Waves, rewarding players who can manage her gauges, maintain uptime during her burst windows, and weave precise dodges into her heavy‑attack‑focused combos.
How Galbrena Works
Galbrena’s kit revolves around building Sinflame in her normal Threshold state, converting it into Purging Flame when she enters Demon Hypostasis, and then spending that resource through empowered basic and heavy attacks. At the same time she accumulates Afterflame from allies’ Echo Skills, which she then consumes for a strong Fusion damage buff during Demon Hypostasis, turning her burst window into a major DPS spike.
She also applies stacking marks beneath enemies’ HP bars, with each stack increasing the damage she deals to that specific target up to a maximum of four, which makes her especially effective in boss or elite encounters where she can maintain uptime. Because over half of her output is treated as Echo Skill damage and heavy attack damage, almost every build choice should prioritize those two components first.

Best Weapons for Galbrena
Galbrena scales very well with crit and effects that boost heavy attack and Echo Skill damage, so weapons that provide those bonuses are ideal. Her signature 5‑star weapon Lux & Umbra is clearly the best option, but there are strong alternatives at 4‑star and lower rarity for players who do not own it.
Recommended weapons
- Lux & Umbra (5‑star, pistols): Provides high base ATK, Crit DMG as a substat, and a passive that increases ATK%, heavy attack damage, and Echo Skill damage while also letting her ignore part of enemy DEF. This weapon is tailor‑made for Galbrena and maximizes her burst windows.
- Solar Flame (4‑star, pistols): Increases heavy attack damage directly and boosts ATK%, which indirectly raises her Echo Skill damage. This is one of the strongest 4‑star options because heavy attacks are central to her rotation.
- Novaburst (4‑star, pistols): Gives benefits when you dodge frequently, which works well with Galbrena’s kit because she uses many dashes and her special dodge during her combos. It is a solid transitional choice if you lack Solar Flame or a 5‑star.
- Any offensive 5‑star pistols (crit/ATK‑oriented): Generic high‑rarity pistols with crit or ATK secondary stats are still good on her, even if they are not tailored to heavy and Echo Skill damage, simply due to raw stat inflation.

Best Echo Sets and Main Echo
Because Galbrena deals only Fusion damage and relies heavily on heavy attacks and Echo Skill damage, she benefits the most from sets that enhance those parts of her kit. Flamewing’s Shadow is widely considered her best‑in‑slot set, while additional pieces from Fusion sets help round out her build.
Echo sets
- 3‑piece Flamewing’s Shadow (core choice):This set grants extra crit rate to both heavy attacks and Echo Skill damage, and when both crit buffs are active she gains an additional Fusion damage bonus. Because Galbrena continuously alternates between heavy attacks and Echo Skill damage during Demon Hypostasis, she can keep these buffs active consistently.
- 2‑piece Fusion‑damage set (Flaming Clawprint or Molten Rift):For the remaining two slots, using a 2‑piece Fusion set gives 10% extra Fusion damage, which applies to her entire kit since she only deals Fusion damage. This is a straightforward universal amplifier that stacks well with Flamewing’s Shadow.
Some players also mention full 5‑piece alternatives such as complete Molten Rift sets as a workable option if you do not yet have enough Flamewing’s Shadow pieces, but they typically sit behind the specialized combination in overall performance.
Best main Echo
- Corrosaurus (main Echo):Corrosaurus is frequently recommended as her main Echo because it provides a mix of Fusion damage and Echo Skill damage, together adding up to around a 32% personal damage increase. The skill does not consume extra field time, letting Galbrena stay in her own rotation without interruption, which is important for a main DPS who needs every second in Demon Hypostasis to deal damage.
Recommended Echo stats
For Galbrena’s Echo stat lines, you generally want to maximize crit and offensive scaling while maintaining enough energy and survivability to stay on the field.
- Main stats:
- ATK% on most slots, Fusion damage bonus on damage‑type slot where available, Crit Rate or Crit DMG on the main offensive Echo slot depending on your overall ratio.
- Substats:
- Prioritize Crit Rate, Crit DMG, ATK%, and some Resonance Energy regeneration or Energy for smoother Liberations, with a bit of HP/DEF only if survivability becomes an issue.

Team Compositions for Galbrena
Galbrena works best with teams that can feed her Afterflame efficiently and provide off‑field buffs, healing, and utility while she stays on the field during Demon Hypostasis. She particularly appreciates teammates who bring strong Echo Skills or off‑field skills because they help build Afterflame without interrupting her own uptime.
Recommended team roles
- Galbrena: Main DPS staying on field during her burst windows and responsible for most of the team’s total damage.
- Sub‑DPS / driver: A character who can apply additional damage and buffs during Galbrena’s downtime and contribute Echo Skill usage to generate Afterflame.
- Support / healer / shielder: Provides healing, shielding, or damage buffs and can also help maintain resonance energy and enemy debuffs.
Some external team suggestions pair Galbrena with characters such as Lupa or other strong damage dealers as sub‑DPS and a support like Phrolova for healing and buffs, but you can adapt the shell to whichever strong supports you already own. The main idea is that Galbrena takes priority when Demon Hypostasis is available, while the rest of the team sets up buffs and deals damage in her downtime.

Basic Rotation Tips
While Galbrena’s optimal rotation can be very detailed, most recommended sequences follow a simple pattern: build Sinflame and Afterflame, enter Demon Hypostasis, unleash empowered basics and heavies, then switch out once her resources are spent.
Simple practical rotation
- Start on supports and sub‑DPS to apply buffs, debuffs, and Echo Skills so Galbrena begins with some Afterflame stacks.
- Swap to Galbrena, perform basic attacks and skills to build Sinflame up to 100 and fill her Concerto gauge while also applying her damage‑increase marks on the main target.
- Use the transformed Resonance Skill (Ascent of Malice) to enter Demon Hypostasis once Sinflame is full, then immediately cast her Resonance Liberation for the strongest burst.
- During Demon Hypostasis, prioritize empowered basic and heavy attacks, weaving in her special dodge (Hellstride) to avoid damage without breaking your combo and consuming Purging Flame and Afterflame efficiently.
- When her Demon Hypostasis resources are depleted and Concerto is ready, swap to your next character via Outro, repeat buff and Echo Skill setup, then bring her back in for the next burst.
This loop ensures that she always enters Demon Hypostasis with marks, Afterflame, and buffs already prepared, maximizing the value of each burst.

Galbrena is one of Wuthering Waves’ most powerful Fusion main DPS options when built correctly, focusing on crit, Fusion damage, and the interplay between heavy attacks and Echo Skill damage. By pairing Lux & Umbra or a strong heavy‑attack‑oriented pistol with a Flamewing’s Shadow‑centered Echo setup and a team that feeds her Afterflame and buffs, she can maintain devastating Demon Hypostasis bursts that carry even high‑end content. With careful rotation planning and comfortable controls, Galbrena becomes a reliable centerpiece for any account that invests in her kit. For the best gaming experience, play Wuthering Waves on BlueStacks!

