Magnifier Camera (Magnifying G

Magnifier Camera (Magnifying G

Productivity

| JK.Fantasy

Play on PC with BlueStacks or from our cloud

  • Overview
  • How to Download

Page Modified On: December 05, 2025

Run Magnifier Camera (Magnifying G on PC or Mac

Multitask effortlessly on your PC or Mac as you try out Magnifier Camera (Magnifying G, a Productivity app by JK.Fantasy on BlueStacks.

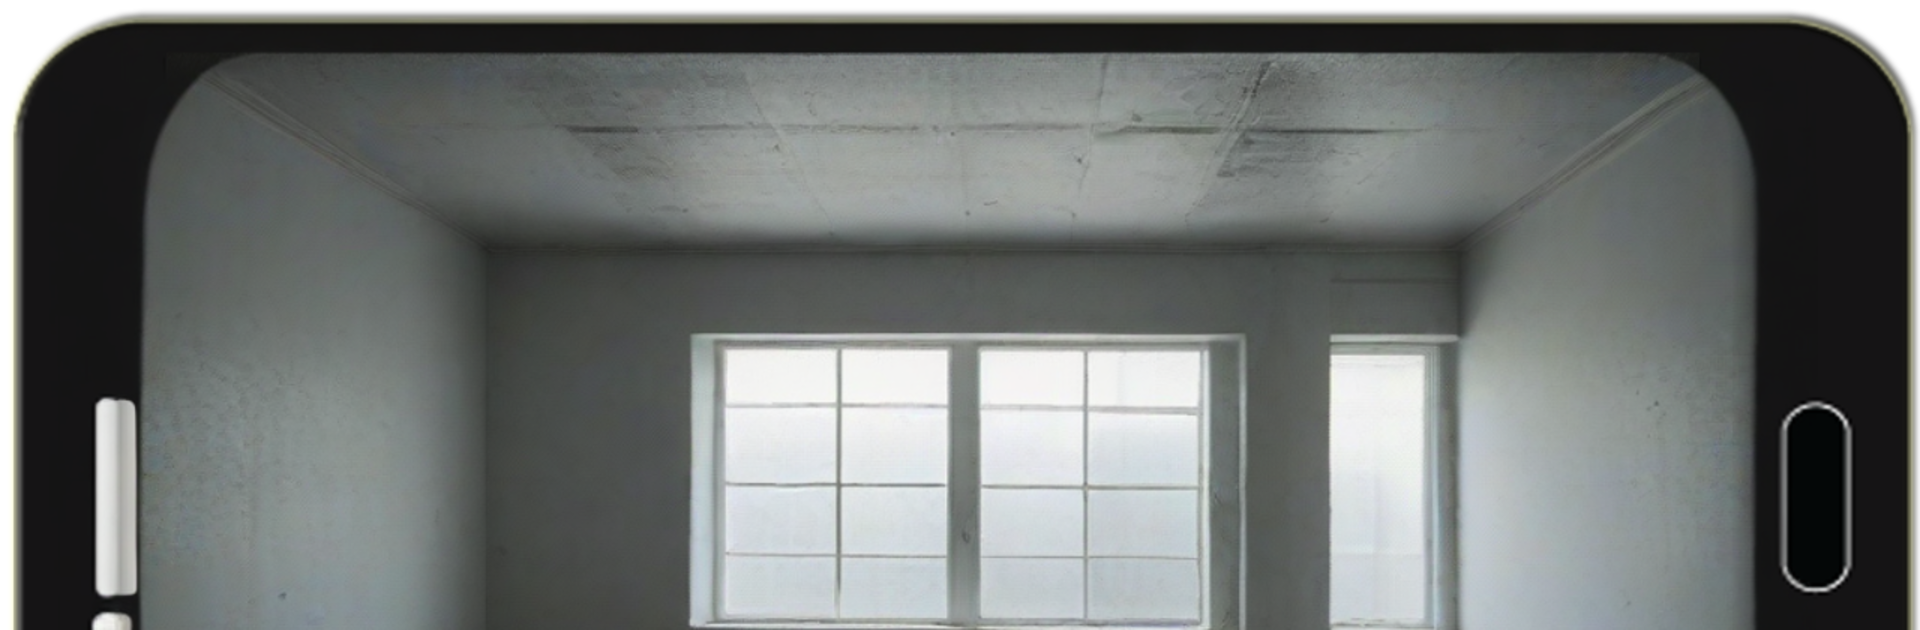
Magnifier Camera is basically a pocket magnifying glass that runs on a phone or on a PC with BlueStacks, and it feels very straightforward. Open it and there is a live camera view with a middle zoom level already set, so small text is readable right away. The zoom can be pushed higher or lower with a slider or a pinch gesture, and the app tries to switch into a close-up focus mode if the device supports it. If not, it stays in normal autofocus. A torch button is right there for extra light, which matters a lot when reading labels or serial numbers that hide in shadows.

Controls make sense without feeling fussy. Tap the preview to refocus, drag one slider for screen brightness and another for camera exposure, then freeze the image if hands shake and zoom in on the still frame for a steady look. The volume keys can pause the preview or take a shot, which on BlueStacks maps nicely to a keyboard shortcut and makes the freeze-and-capture flow feel quick. It even plays nice with external photo editors, so someone can tweak clarity after the fact. Focus is best when the tapped area has some contrast, the lens is clean, and the camera is not pressed too close because every lens has a minimum distance. There is a simple skin check use too, basically a bright close-up look, but it is just a camera tool, nothing medical.

Big screen. Bigger performance. Use BlueStacks on your PC or Mac to run your favorite apps.

How to Download and Run Magnifier Camera (Magnifying G on PC or Mac

  • Download and install BlueStacks on your PC or Mac

  • Complete Google sign-in to access the Play Store, or do it later

  • Look for Magnifier Camera (Magnifying G in the search bar at the top right corner

  • Click to install Magnifier Camera (Magnifying G from the search results

  • Complete Google sign-in (if you skipped step 2) to install Magnifier Camera (Magnifying G

  • Click the Magnifier Camera (Magnifying G icon on the home screen to start playing

video
Watch Video

Minimum System Requirements

With BlueStacks 5, you can get started on a PC that fulfills the following requirements.

  • Operating System

    Microsoft Windows 7 or above, macOS 11 (Big Sur) or above

  • Processor

    Intel, AMD or Apple Silicon Processor

  • RAM

    at least 4GB

  • HDD

    10GB Free Disk Space

Note:

* You must be an Administrator on your PC. Up to date graphics drivers from Microsoft or the chipset vendor.

Magnifier Camera (Magnifying G - FAQs

  • How to Run Magnifier Camera (Magnifying G on Windows PC & Mac?

    Run Magnifier Camera (Magnifying G on your PC or Mac by following these simple steps.

    • Click on ‘Download Magnifier Camera (Magnifying G on PC’ to download BlueStacks
    • Install it and log-in to Google Play Store
    • Launch and run the app.
  • Why is BlueStacks the fastest and safest platform to play games on PC?

    BlueStacks respects your privacy and is always safe and secure to use. It does not carry any malware, spyware, or any sort of additional software that could harm your PC.

    It is engineered to optimize speed and performance for a seamless gaming experience.

  • What are Magnifier Camera (Magnifying G PC requirements?

    Minimum requirement to run Magnifier Camera (Magnifying G on your PC

    • OS: Microsoft Windows 7 and above:
    • Processor: Intel or AMD Processor:
    • RAM: Your PC must have at least 2GB of RAM. (Note that having 2GB or more disk space is not a substitute for RAM):
    • HDD: 5GB Free Disk Space.
    • You must be an Administrator on your PC.