Data Usage Monitor
Data Usage Monitor

Data Usage Monitor

Tools

| Lufesu Inc.

Play on PC with BlueStacks or from our cloud

  • Overview
  • How to Download

Page Modified On: September 02, 2025

Run Data Usage Monitor on PC or Mac

Let BlueStacks turn your PC, Mac, or laptop into the perfect home for Data Usage Monitor, a fun Tools app from Lufesu Inc..

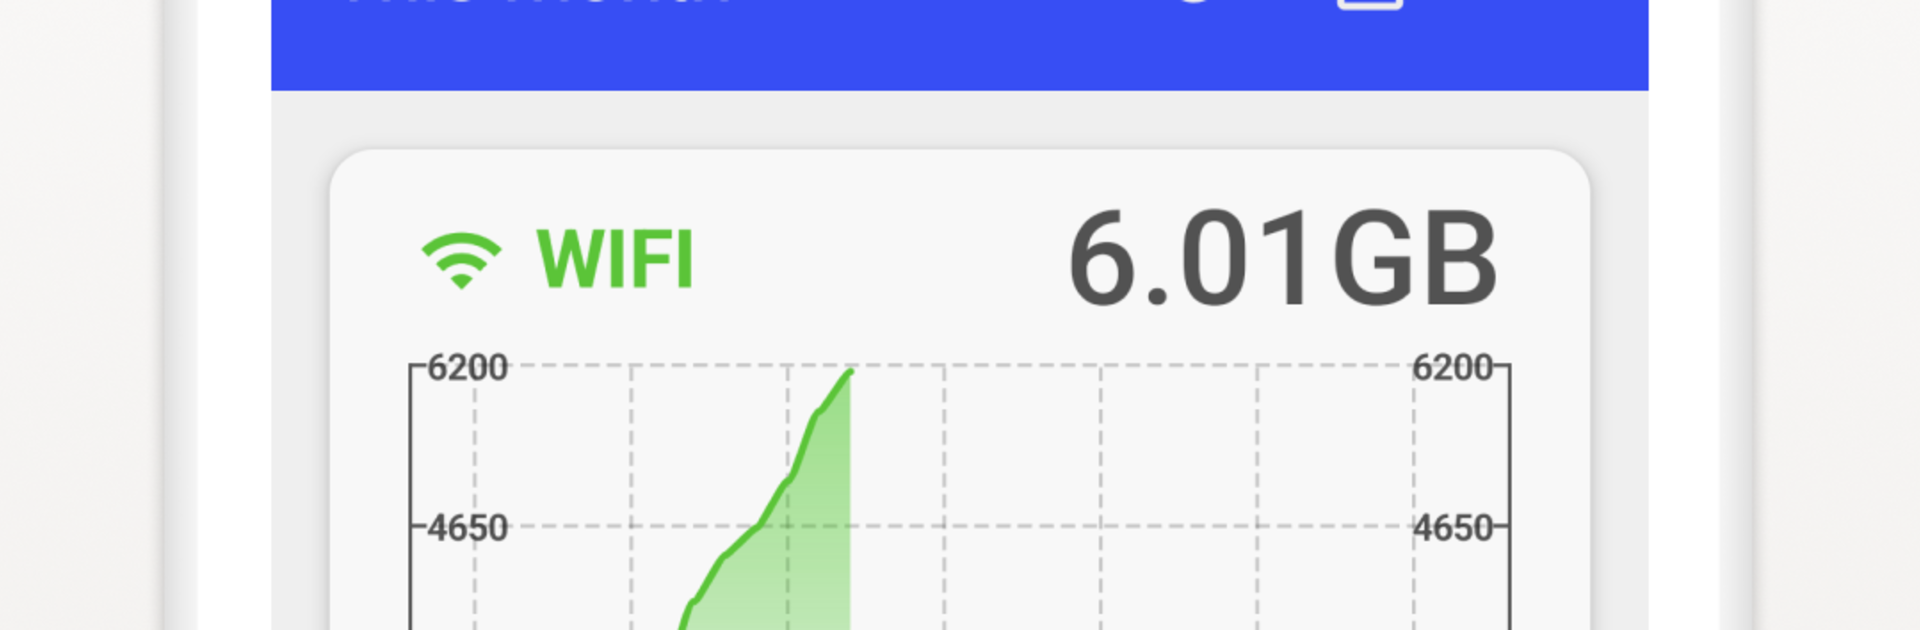
Data Usage Monitor feels like a no-nonsense dashboard that keeps an eye on how much data apps are chewing through. Open it and it starts tracking right away, no setup rabbit hole. The main screen splits things into Mobile and Wi‑Fi with simple graphs, so it is easy to spot a spike at a glance. Set a limit and it sends a warning when usage gets close, which is great for anyone with a tight plan or a flaky hotspot. The app view is the useful bit. It ranks which apps use the most data, so streaming, social, or maps do not hide their appetite. Wi‑Fi is grouped by SSID, so there is a clear difference between home, work, or that coffee shop network that always crawls.

It claims precise measurement across any time range, and it lets users align the cycle to their billing date, so the numbers make sense. On a PC with BlueStacks, the charts have more room and it becomes a handy side tool for keeping the emulator from guzzling bandwidth while downloading games or updates. Premium adds a home screen widget that keeps live totals visible without opening anything, which is neat if someone checks usage often. Nothing flashy here, just clean stats, quick checks, and alerts that show up before data runs away.

BlueStacks brings your apps to life on a bigger screen—seamless and straightforward.

How to Download and Run Data Usage Monitor on PC or Mac

  • Download and install BlueStacks on your PC or Mac

  • Complete Google sign-in to access the Play Store, or do it later

  • Look for Data Usage Monitor in the search bar at the top right corner

  • Click to install Data Usage Monitor from the search results

  • Complete Google sign-in (if you skipped step 2) to install Data Usage Monitor

  • Click the Data Usage Monitor icon on the home screen to start playing

video
Watch Video

Minimum System Requirements

With BlueStacks 5, you can get started on a PC that fulfills the following requirements.

  • Operating System

    Microsoft Windows 7 or above, macOS 11 (Big Sur) or above

  • Processor

    Intel, AMD or Apple Silicon Processor

  • RAM

    at least 4GB

  • HDD

    10GB Free Disk Space

Note:

* You must be an Administrator on your PC. Up to date graphics drivers from Microsoft or the chipset vendor.

Data Usage Monitor - FAQs

  • How to Run Data Usage Monitor on Windows PC & Mac?

    Run Data Usage Monitor on your PC or Mac by following these simple steps.

    • Click on ‘Download Data Usage Monitor on PC’ to download BlueStacks
    • Install it and log-in to Google Play Store
    • Launch and run the app.
  • Why is BlueStacks the fastest and safest platform to play games on PC?

    BlueStacks respects your privacy and is always safe and secure to use. It does not carry any malware, spyware, or any sort of additional software that could harm your PC.

    It is engineered to optimize speed and performance for a seamless gaming experience.

  • What are Data Usage Monitor PC requirements?

    Minimum requirement to run Data Usage Monitor on your PC

    • OS: Microsoft Windows 7 and above:
    • Processor: Intel or AMD Processor:
    • RAM: Your PC must have at least 2GB of RAM. (Note that having 2GB or more disk space is not a substitute for RAM):
    • HDD: 5GB Free Disk Space.
    • You must be an Administrator on your PC.