The Latest Addition to the Performance Beast. Say Hello to Android 11 (Beta) on BlueStacks 5
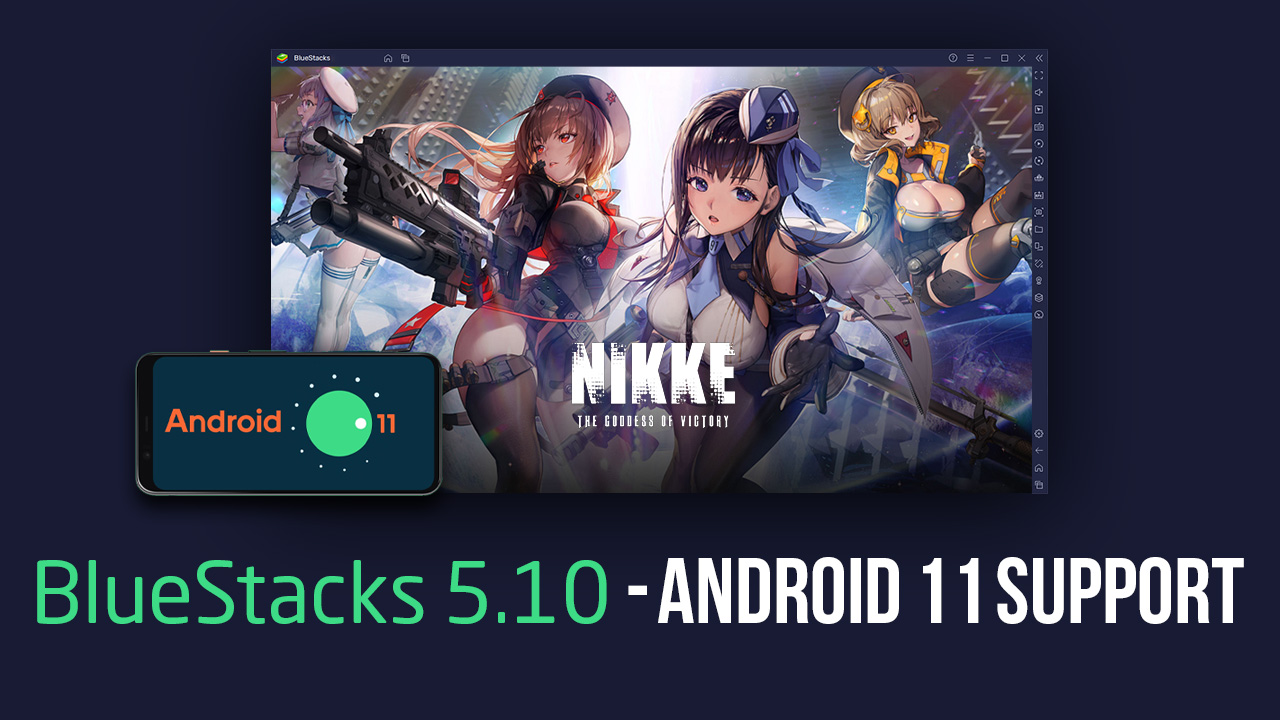
Android 11 (Beta) has come to BlueStacks, giving even more versatility to our awesome Android app player. As soon as you update your BlueStacks to the latest version, you too can create BlueStacks instances using Android 11 (Beta) and revolutionize your mobile gaming experience on PC.
For the past few years, BlueStacks has been the go-to source of entertainment for enjoying your favorite mobile games on PC. Our Android app player is the best way to play mobile games on your computer without the inherent limitations of gaming on your phone, such as playing on a small screen and struggling with performance and battery issues, to name a couple. Not to mention that, since your PC is likely much stronger than your phone, you can easily get the best frame rate with a modest gaming PC, without having to own expensive flagship devices.

Our team constantly strives to upgrade and enhance our BlueStacks offering day after day, bringing you updates that add stability and even more functionality to our app player. This time around, with the latest BlueStacks update 5.10, our Android emulator now has the capacity to create instances using Android 11 (Beta), which gives you access to a more advanced version of the Android OS on our app player.
Accessing Android 11 (Beta) on BlueStacks 5.10
In order to gain access to Android 11 (Beta), you must use the BlueStacks Instance Manager, the tool through which you can create as many BlueStacks instances as you need, in order to either play a single game on several accounts simultaneously, or even to play different games at the same time.
To create and configure these instances, please follow these easy steps:
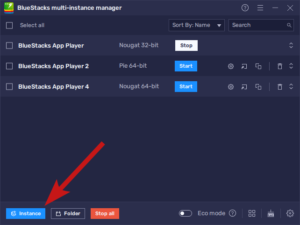
- To access the Instance Manager, you can click its button on the BlueStacks side panel, or press Ctrl + Shift + 8.
- Once on the manager panel itself, you can click on the “+ Instance” button on the bottom left to start the instance creation process.
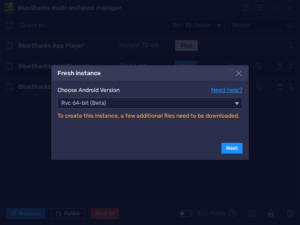
- Click on “Fresh Instance”, and then choose the option corresponding to Android 11 (Beta) on the dropdown menu to create the new instance.
- Fill out the rest of the settings, and then click on “Download” to start creating your instance.
- Once finished downloading and Installing, click on the “Start” button next to your new instance in the manager panel to initialize and begin using it.
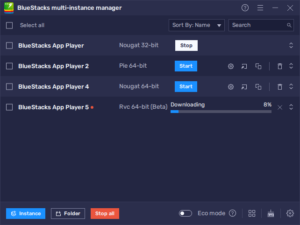
The entire process takes just a few moments, with the longest step being actually waiting until BlueStacks downloads and installs the necessary files for the Android 11 (Beta) instance, which varies depending on your connection speed. Afterward, you’ll be able to start enjoying a wider variety of awesome mobile games on PC with BlueStacks.
With this all-new support for a more advanced Android OS version, you’ll be able to enjoy a much better mobile gaming experience on your PC with BlueStacks!