How to Use Gamepad with BlueStacks Air on Mac
Using a controller to play Android games on Mac was once complicated or simply not supported. Even platforms that claimed compatibility often forced players to rely on third-party mapping tools or faced limited in-game support. With BlueStacks Air, that’s definitely not the case.
With BlueStacks Air, Mac users can connect a gamepad directly to their system and enjoy responsive, native Android gameplay across a growing library of supported games. This guide breaks down how to set up a controller with BlueStacks Air, what makes this feature valuable, and how it specifically enhances top games like Genshin Impact and Fortnite.
What Is Native Gamepad Support on BlueStacks Air?
When we talk about native gamepad support in BlueStacks Air, we’re referring to full plug-and-play functionality. The app automatically detects most modern controllers such as PlayStation DualSense, Xbox Wireless Controller, or third-party Android-compatible pads, and translates your input.
Games that already support controllers on Android will instantly switch to gamepad UI when played through BlueStacks Air, showing button prompts and enabling analog functionality. This is especially important for action-heavy or movement-focused games that suffer from the limitations of mouse-keyboard or on-screen controls.
Additionally, this feature behaves as if the controller were connected to an actual Android phone. And even in games without gamepad support, BlueStacks Air lets you set up your own control schemes using functions like taps, swipes, pinches, and more, and bind them to your gamepad, letting you play with controllers in games that wouldn’t usually allow such configurations.
How to Set Up a Gamepad on BlueStacks Air (Mac)
Connecting a controller to BlueStacks Air gives you the advantage of true native Android input with ease. Whether you’re pairing a PlayStation DualSense or Xbox Series controller, or any other compatible gamepad, BlueStacks Air automatically recognizes it, giving Mac gamers reliable and responsive controls right out of the box.
Follow these steps to get started:
- Connect Your Controller: Plug in via USB or pair via Bluetooth with your Mac.
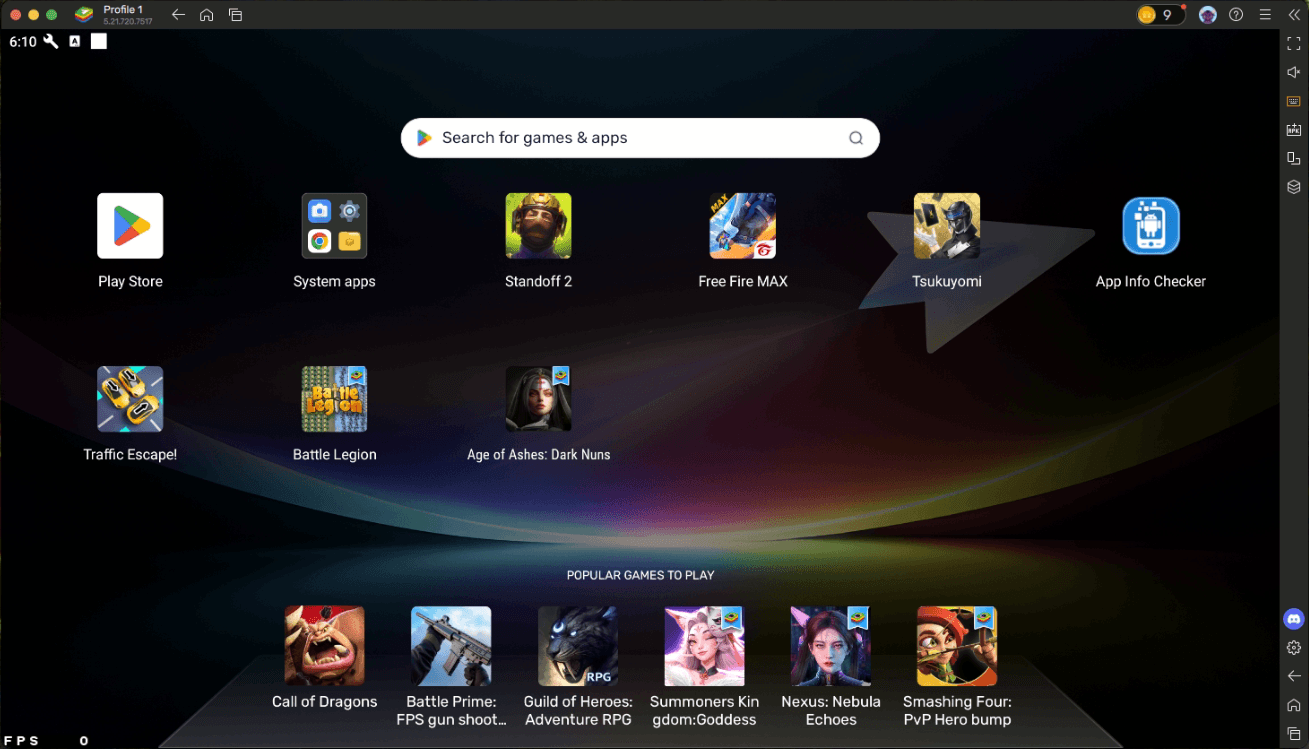
- Launch BlueStacks Air: When you launch BlueStacks Air you should see a prompt indicating that your gamepad has been detected. At this point your gamepad should be usable with no further configuration necessary.
- Use In-Game: Launch a game compatible with gamepads and you will be able to control the action using your controller.
Once connected, your controller input functions seamlessly with no third-party mapping software required. BlueStacks Air’s native integration ensures games that support Android controllers automatically recognize your gamepad, with visible button mappings and full analog control.
IMPORTANT: If your controller isn’t detected, reconnect it or check macOS Bluetooth settings. Also ensure you are playing on the most recent version of BlueStacks Air for the best compatibility.
Game Examples Where Controller Support Really Shines
Native gamepad support enhances performance, control, and immersion in ways that, depending on the game, mouse and keyboard setups often can’t match. On BlueStacks Air, using a controller can give you a serious edge in games that demand precision, speed, or multi-input mastery. Let’s look at a few standout titles where playing with a controller on Mac truly changes the experience.
Genshin Impact
Genshin Impact supports controllers natively on Android, but that functionality is often unavailable or buggy on emulated platforms—especially on Mac. With BlueStacks Air, gamepad input works out of the box and enhances combat flow significantly.
You can chain attacks and elemental combos smoothly by assigning bursts, buffs, and character switches to specific buttons. It also simplifies dodging and gliding during exploration. If you’re running a hypercarry setup, a controller lets you execute setups with tighter precision—like triggering buffs on your support characters before swapping to your DPS for an AoE nuke.
Asphalt Legends Unite
Racing games like Asphalt Legends are built for analog control, and that’s exactly what BlueStacks Air provides. When using a controller, your car responds smoothly to subtle movements, letting you steer through tight corners with far more control than a keyboard or touch input—both of which don’t feature any type of sensitivity and usually go from 0 to 100 when you press the button.
Drifting, boosting, and quick lane switches all feel natural, and button-based acceleration is responsive enough to time nitro boosts during straightaways or turns. On Mac, BlueStacks Air transforms this mobile racer into a console-quality experience.
Honkai: Star Rail
While not as reflex-based as Genshin, Honkai: Star Rail benefits from a controller in terms of clean UI navigation and faster combat interactions. Moving between menus, selecting skills, and targeting enemies is all faster with a thumbstick and face buttons.
With native support through BlueStacks Air, the game becomes more relaxing to play—perfect for grinding daily activities or navigating large hub zones without reaching for a mouse.
Fortnite
Fortnite is a standout case. With full controller support on Android but limited Mac-native options, players have often been forced to choose between mobile controls or high-end PC setups. BlueStacks Air solves this with real controller functionality.
When playing Fortnite on BlueStacks Air, you can build, edit, and aim just as you would on a console. Inputs are low-latency and configurable, and gamepad prompts appear instantly when your controller is connected. Whether you’re snapping 90s or reacting mid-fight, the added responsiveness gives Mac users competitive parity they never had before.
Customizing Your Gamepad Controls
While many games on BlueStacks Air support native gamepad input out of the box, not every title is fully optimized, or you may prefer to tweak the controls to better match your playstyle. That’s where the built-in Keymapping Tool comes in. It lets you assign, modify, or even create your own gamepad control scheme from scratch, directly within the app.
To access the keymapping editor, press Cmd + Shift + A while in-game. This opens the control editor overlay. From here:
- Switch to the Gamepad Tab: Click the tab at the top of the screen to change from keyboard/mouse bindings to gamepad configuration.
- Customize or Add Controls:
- For games that already have keyboard and mouse bindings but no gamepad controls defined, switch to the gamepad bindings and click on the empty controls to assign each of them to your gamepad.
- For games that don’t have any default scheme defined, drag actions from the function panel on the right (like “D-Pad,” “Tap,” or “Swipe”) onto the screen, then assign a gamepad button or stick direction to each.
You can fine-tune sensitivity, position, and behavior for each control node, giving you complete flexibility—whether you want to remap sprint to a bumper or assign combos to a single button. Once done, save your layout and it will automatically load the next time you launch that game. Feel free to check out our troubleshooting page for solutions to the most common problems, including setting up your gamepad controls.
This customization tool is especially helpful for titles that don’t have native gamepad support or need additional inputs not covered by the base gamepad layout. And because BlueStacks Air stores these settings per game, you don’t have to reconfigure them every time you switch titles.
Finding Gamepad-Compatible Games
BlueStacks Air is built to work with any Android game, even ones that don’t support controllers by default. That’s because it doesn’t just detect your gamepad, it also lets you build your own control schemes using the keymapping tool. Still, for players who want instant compatibility, there’s an easy way to find games with native gamepad support.
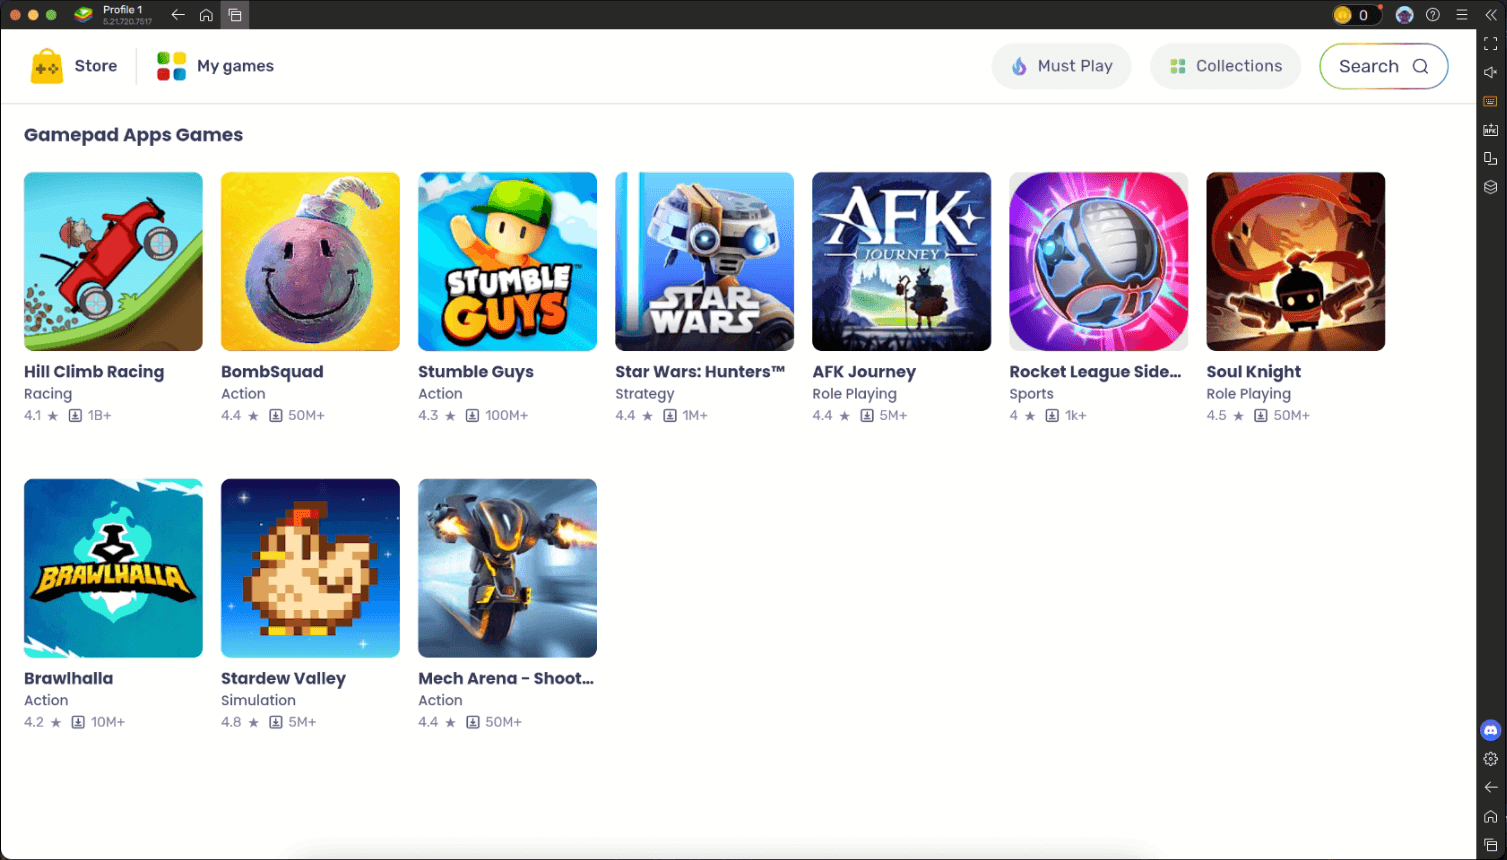
- Open the BlueStacks Store and scroll down to the “Browse by collection” section.
- From there, click on Gamepad apps to access a full list of titles that already support controllers. These games are plug-and-play.
- Install any of these games, launch it from the home screen, and start playing with full gamepad support and in-game prompts. No setup required.
Whether it’s Genshin Impact, Asphalt Legends Unite, or something new from the list, your controller will be ready to go from the first screen.
And remember that even if a game doesn’t show up in the Gamepad Apps list, you can still add custom controller input using BlueStacks Air’s keymapping tool. Native or not, every game becomes controller-compatible with the right setup.
Why Controller Support Changes the Experience
Without a controller, most Android games on Mac rely on key mapping, which is fine in most cases, but leave a lot to be desired in certain situations. Moreover, these methods are rarely ideal for genres like action RPGs or competitive shooters. Native gamepad support eliminates all of that friction.
It provides analog movement, multi-button access to combos or skills, and far better ergonomics for extended sessions. For users who already play on consoles, it also creates a familiar layout, reducing the learning curve. On BlueStacks Air, gamepad support isn’t just a feature, it’s how Android gaming on Mac should feel.
Mac users finally have a way to enjoy Android games with full controller support and with no workarounds and no hacks; just plug and play. Whether you’re chaining attacks in Genshin Impact or drifting through Asphalt Legends Unite, BlueStacks Air delivers the performance and responsiveness you expect. Connect your gamepad, launch your favorite title, and experience Android gaming on Mac the way it was meant to be played.