Azur Lane Installation And Registration Guide

Azur Lane is a game developed by a Chinese company and the English version is still very new. It is so new that it can only be downloaded in certain countries. If you are not living in one of these countries, you need to use some “manual” methods to install Azur Lane. Because some of these methods occur on Chinese sites, you may need help. In this guide, we will tell you how to install and register Azur Lane “manually” if you can’t see it on Play Store / BlueStacks 4. This guide will become obsolete when the English version becomes widespread, but if you do not want to wait until then, just follow the instructions below.
Installing The English Version
BlueStacks 4 has a global player base, so you may already be living in a country where Azur Lane is supported. First, open BlueStacks 4 and search for the game. If you see Azur Lane among the search results, you can download the game as you always do and start playing immediately. You don’t have to do anything extra.
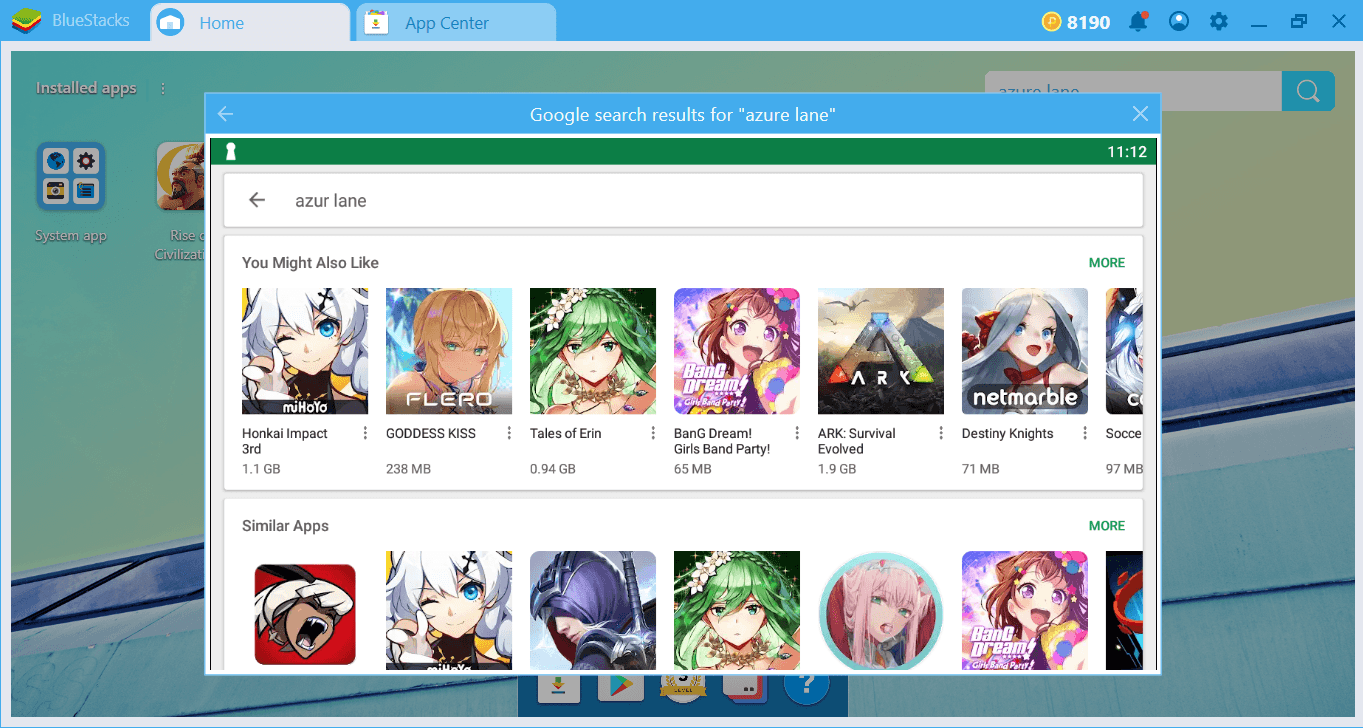
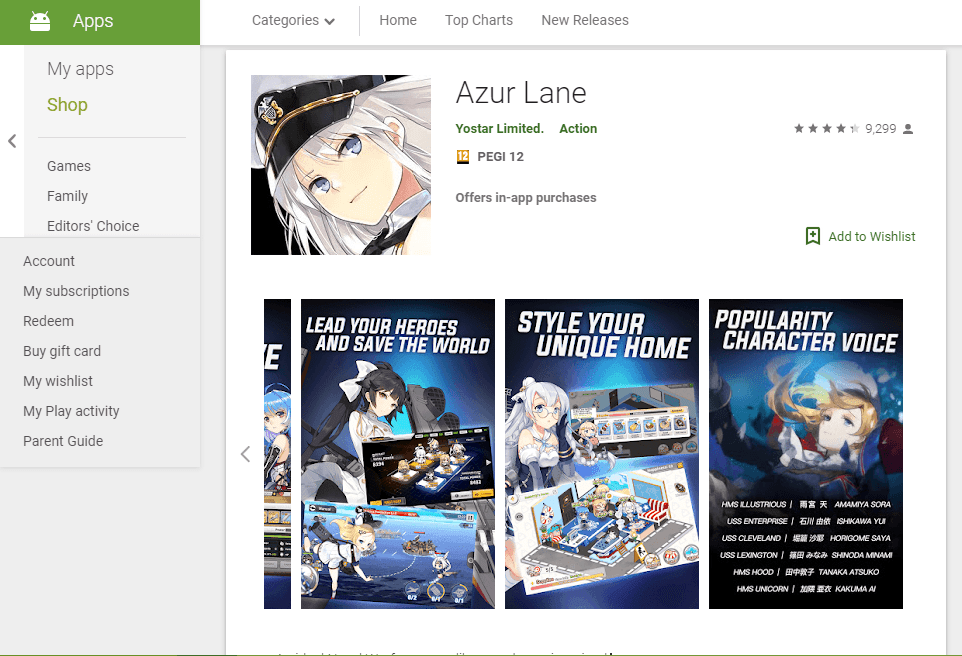
However, in the search results, if Azur Lane is not present, as in the screenshot above, you are in a country that is not yet supported. In this case, try your luck on the Play Store: If you see the “install now” button next to the name of the game, you can also download it from here.
If you don’t see this button, you have no choice but to download and install the apk file of the game with “manual” methods. We’ll tell you how to do this, but the apk file that you’re going to install belongs to the Chinese version of the game. However, once you have completed the installation and registration process, you won’t have much difficulty because while the interface is in Chinese, most buttons are still in English. After a little practice, the Chinese version can be played without difficulty. But if you want a completely English version and can’t find the game on BlueStacks 4, you have no choice but to use English apk files that can be found on external sources. To tell you the truth, we don’t recommend using them: External sources aren’t official and you never know what’s in the file you’re downloading. Also, you may need to re-download the apk file every time an update is released: This is not a fun task, as the file size is close to 850 MB.
Installing The Chinese Version
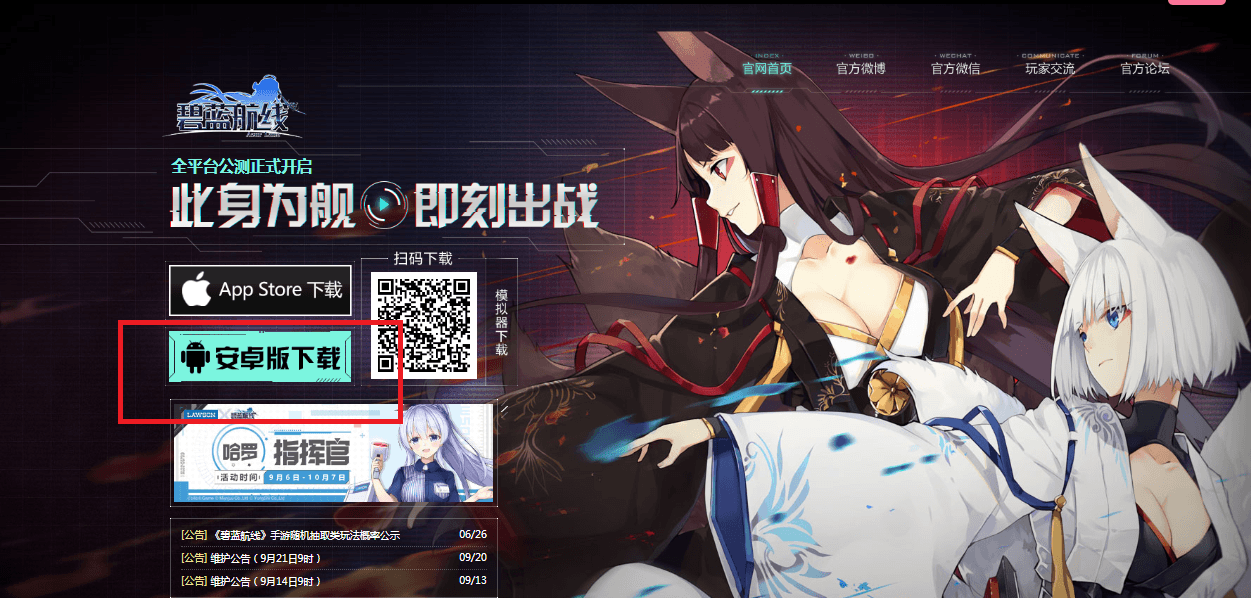
To do this, you should start by visiting http://game.bilibili.com/blhx. You can start downloading the apk file by clicking on the button shown in the screenshot below. A file about 830 MB in size will be downloaded.
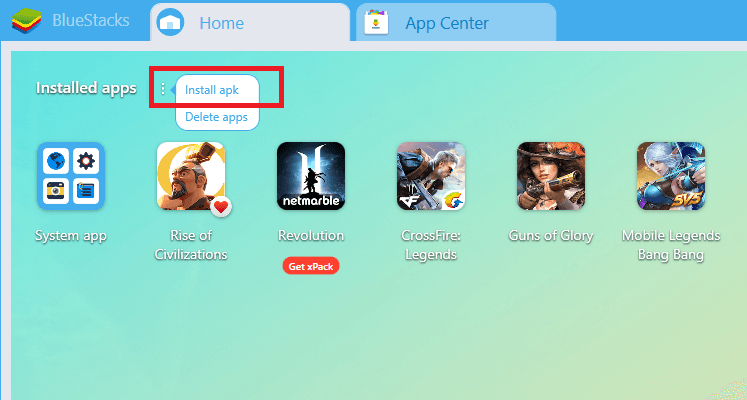
After downloading the file, use the “install apk” option to show BlueStacks 4 where it is. The installation process will start automatically and will be completed in a few minutes.
Alternatively, you can use our Chinese site at www.bluestacks.cn to download the apk file. Start the game after the installation is complete, it will probably make an update and open the login screen.
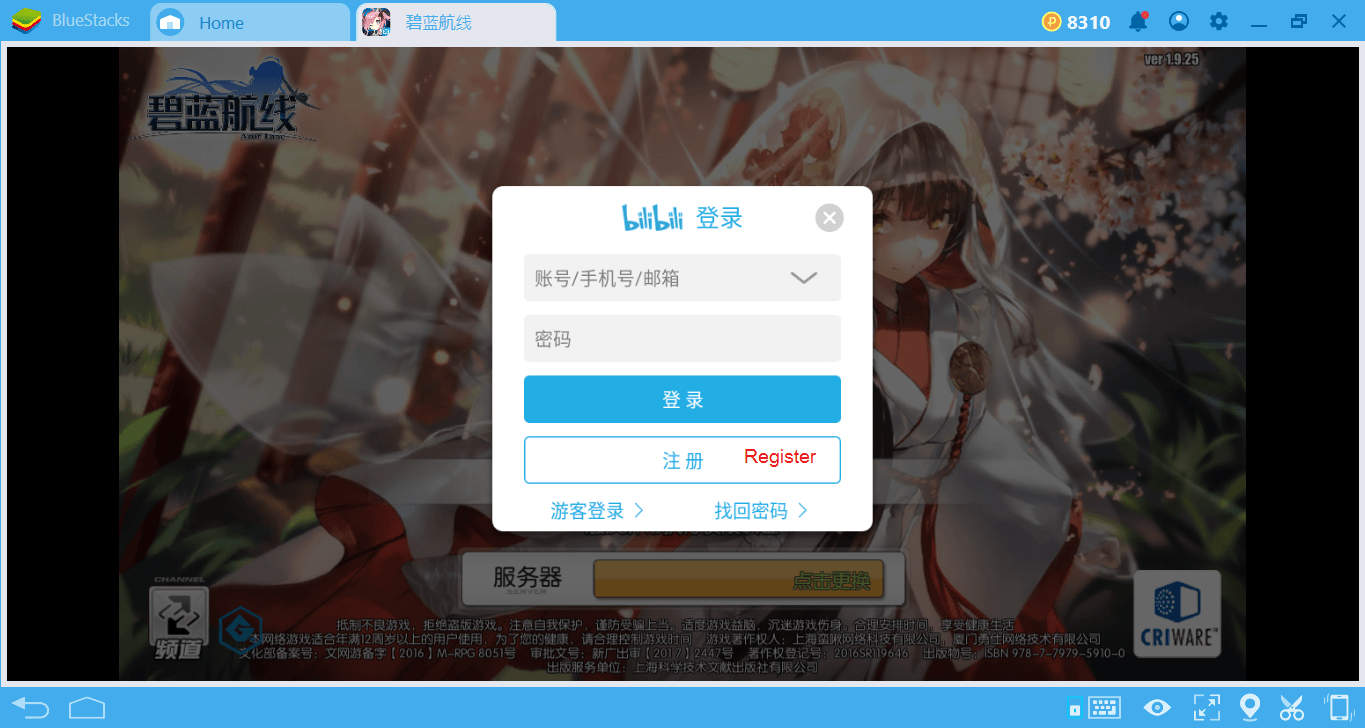
Things are getting a little complicated here. To start the game you need a “BiliBili account”. This account can only be created from within the game, it cannot be created from the official website. The interface is Chinese, but you can easily complete this job by following the steps below.
Play Azur Lane on BlueStacks
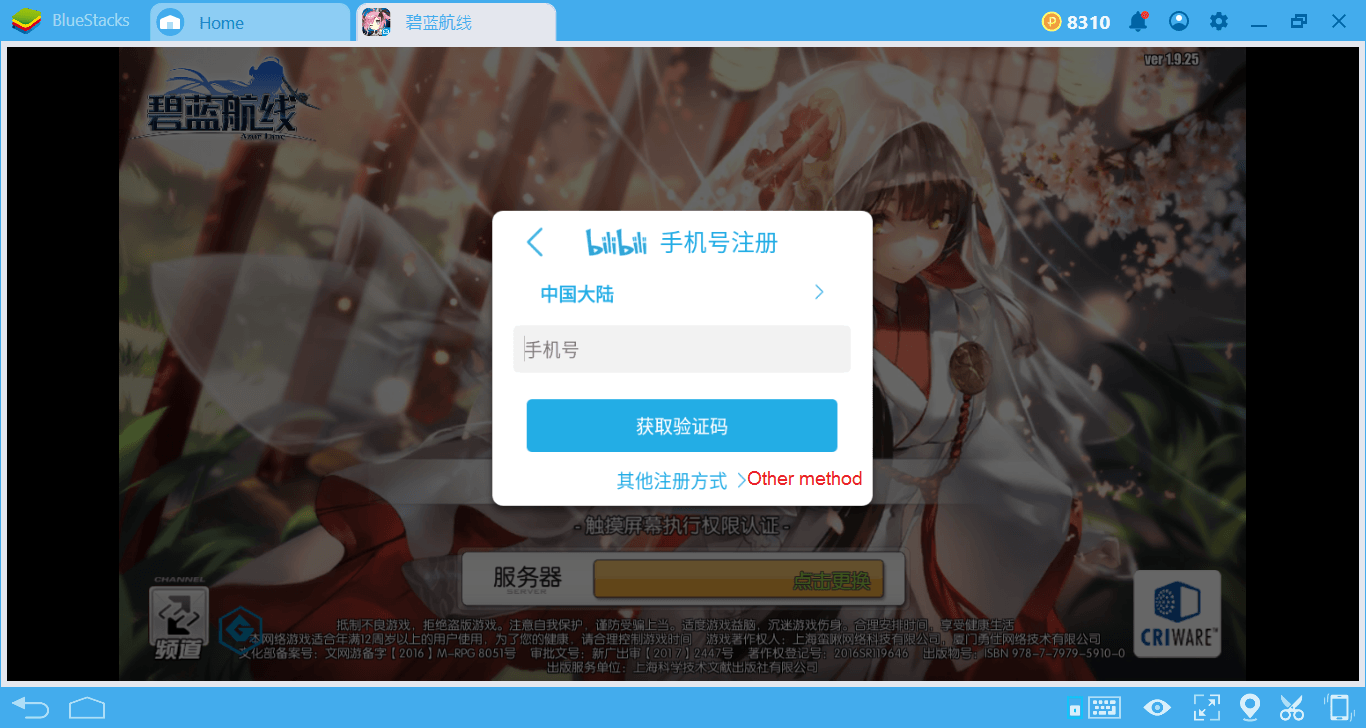
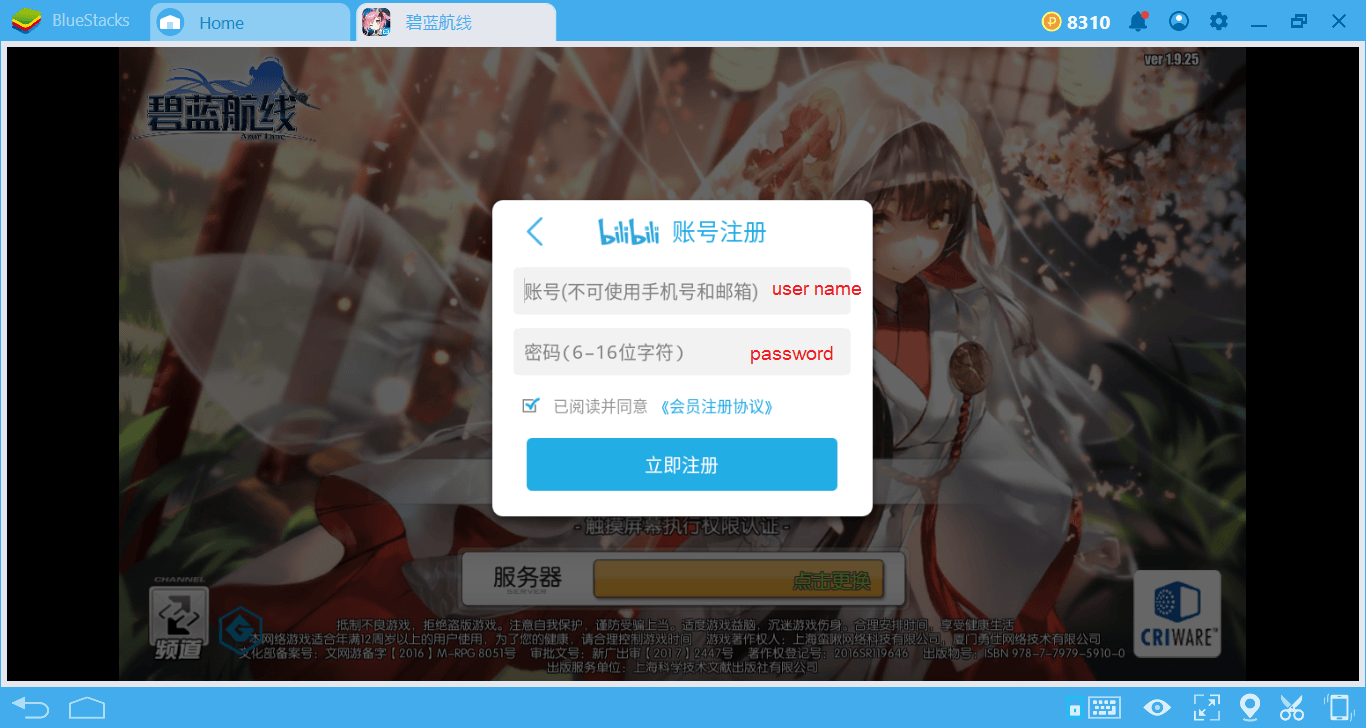
You are allowed to create accounts in two ways: phone number and username. If you live in the USA, you are lucky because American players can register with their phone numbers. Please note, however, that you may have to share your phone number with more than one China-based company. If you don’t want to share your number or if you live in the US, choose to register with your username.
Obviously, the process is quite easy, you just need to set a username and password. If you receive an error at any time during the process, change the time zone from the BlueStacks settings to “Beijing”, you may be experiencing a synchronization problem.
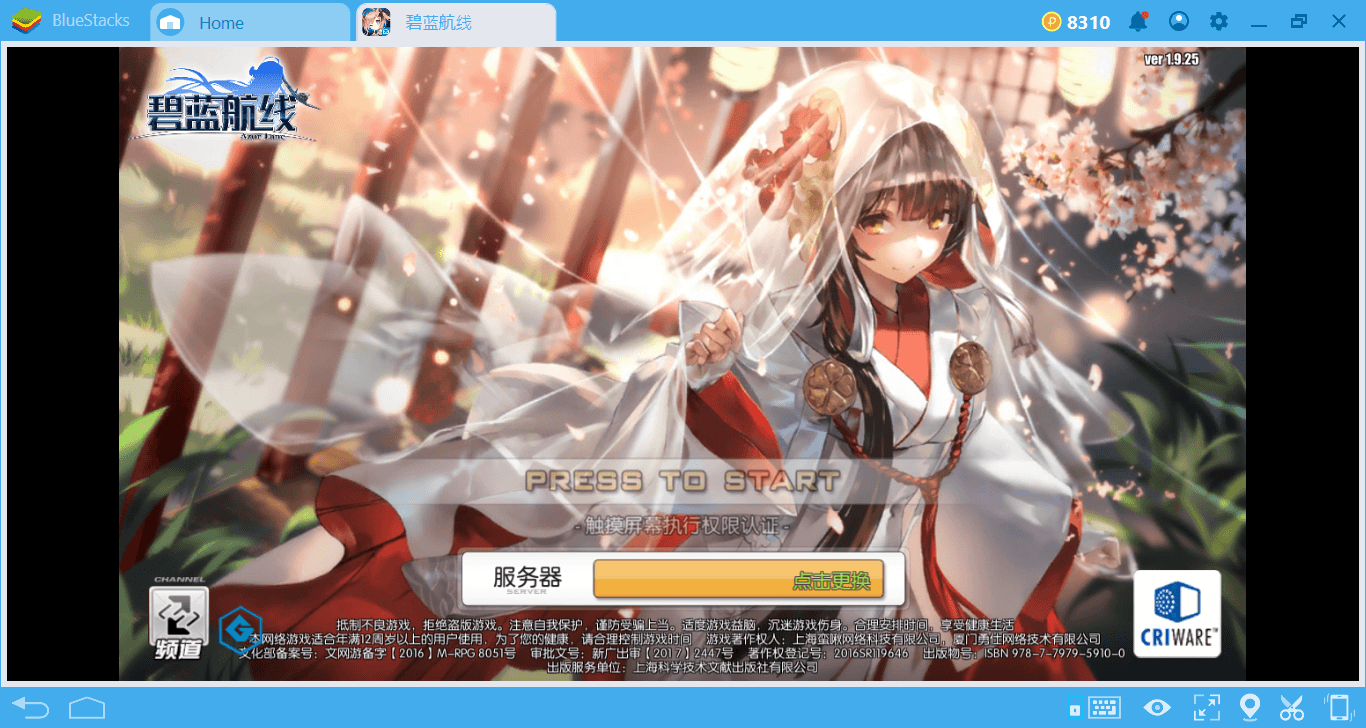
You can now log in with the username and password you set. First, you will be asked to select a server. We recommend that you select a “green” server. If the color is red, this means the server is full. There are some differences between the servers, and currently, the most advantageous ones are the Chinese servers. For example, the level limit on other servers is 70, but this limit is set to 100 on the Chinese servers. (This may change over a short period of time. Generally, Chinese servers receive new updates first.) Likewise, some types of ships are only available on Chinese servers. This is not a simple difference: Asian-based servers have more than 140 types of ships compared to English servers. So by choosing Chinese servers, at least now you get access to more ships and new features.
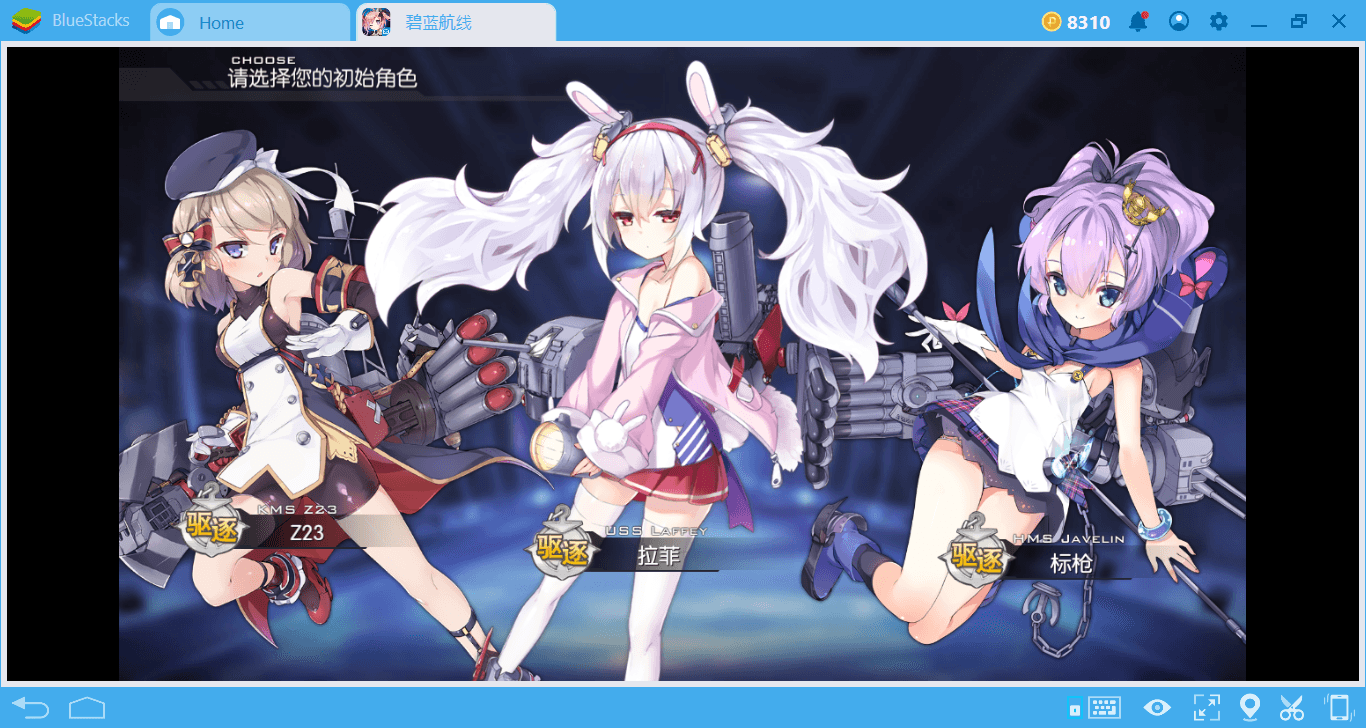
After completing a tutorial mission, you will be asked to select one of three ships. Then you’ll have to specify a nickname. (This should be different from your username.) To find out which ships you should start with, we recommend that you take a look at the BlueStacks Guide for Ships in Azur Lane.
That’s all: Now, you’re ready to start your adventure. With the new BlueStacks 4, you can be sure that you’ll get a much smoother experience. Read our other guides about Azur Lane to continue: We are telling you how to level up quickly and which ships are the best. The English sources on Azur Lane are very few and we are confident that the guides we have prepared will help you. Good luck with your adventure on the seas!
Download BlueStacks Now!