Brawlhalla Gauntlets Guide - The Combo Master’s Best Friend
The Gauntlets in Brawlhalla is one of the game’s twelve weapon types, featuring swift and powerful moves that flow very well with each other but that, at a glance, can seem quite unintuitive and unwieldy. This is one of those weapons that feels deceptively simple to use when you’re starting out, but that has a vast ocean of complexity beneath the surface. This deception is due to its fast and easy initiators, while its wide array of follow up attacks and combos require both skill and knowledge to pull off correctly, not to mention that they also require players to accurately read their opponents and frequently catch them with the mixups.
There’s quite a lot to discuss when it comes to properly wielding the Gauntlets in Brawlhalla—far too much to cover in a single text guide. However, as one of our favorite weapons, alongside the Hammer and a few others, we decided to create an intro article on the Gauntlets, giving a brief overview of the weapon, going over its basic moveset, and talking about some strategies to use them correctly. And this is exactly what you’ll find in the following paragraphs.
So without further ado, let’s get started with this Brawlhalla Gauntlets guide.
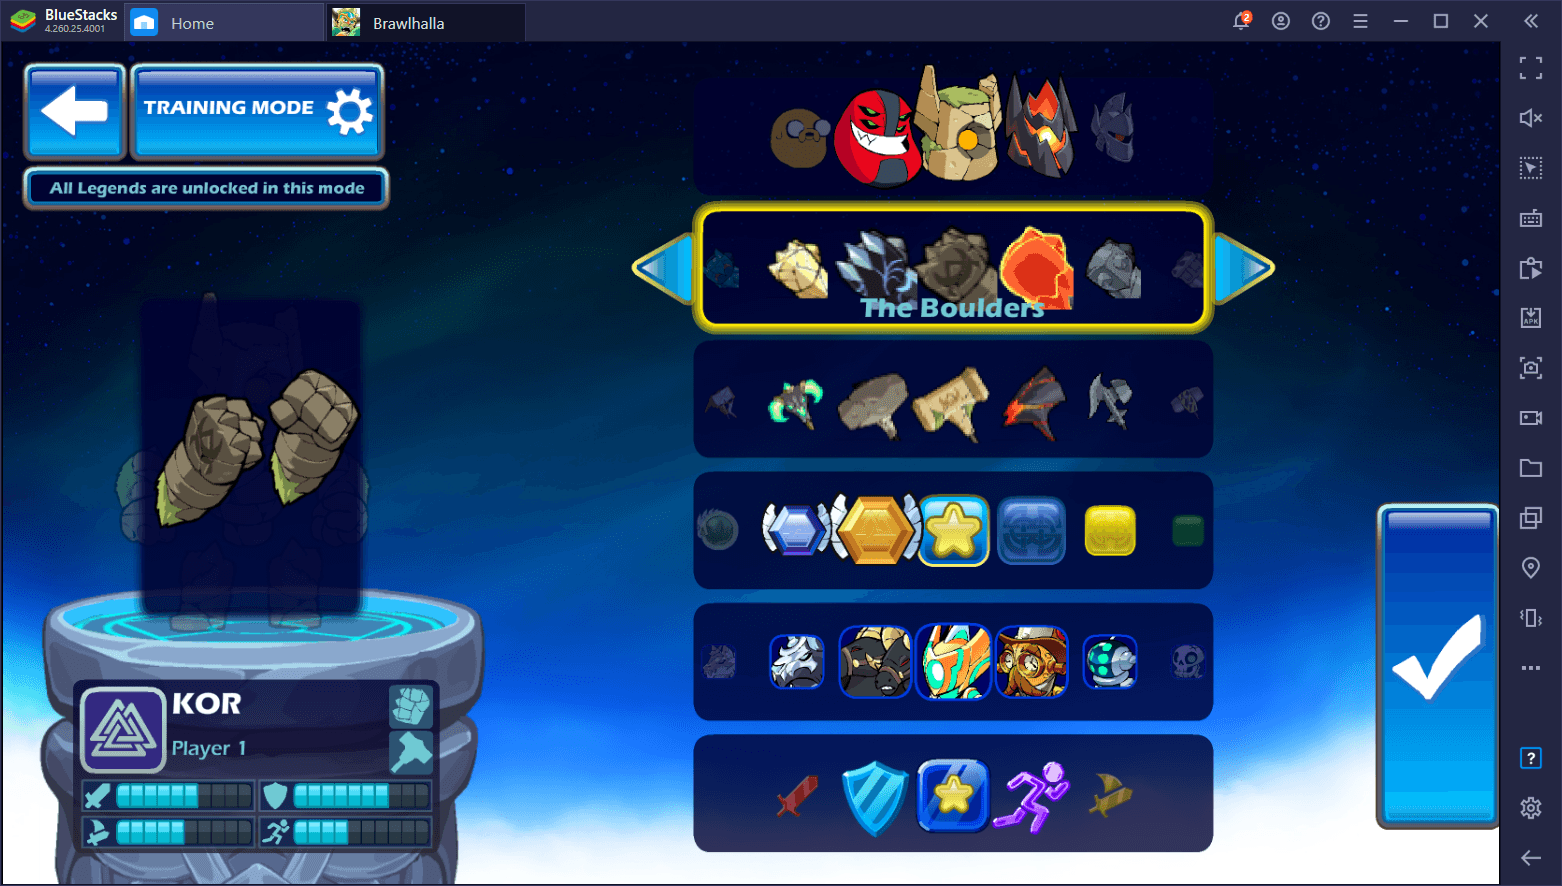
Gauntlets Intro and Overview
As we mentioned just now, and as you can probably tell from the title of this article, the Gauntlets in Brawlhalla are a powerhouse of combos and mixups. This weapon’s moves do little damage on their own, but they have incredible stage domination potential due to their wide hitboxes, fast initiations, and due to how most of these moves flow naturally into each other, as long as you can execute them correctly.
On the flipside, the Gauntlets, more so than with other weapons, require extensive mastery over the fundamentals of the game. In other words, you must have a firm grasp on proper positioning, spacing, aerial game, and especially the dodge mechanics in order to properly use this weapon. Out of all of these, the latter is definitely the most important as many of the Gauntlets’ combos come from properly using Gravity Cancel (GC) into lights and heavies to continue punishing the enemy while airborne.
However, if we had to single out one aspect Gauntlets are great at, it’d be, without a shadow of a doubt, their edge guarding capabilities. With a moveset that naturally sweeps enemies aside blows them to the sides, and one of the best recovery games out of every other weapon, Gauntlets are not only great for ground combos, but also for completely blocking the enemy’s recovery with multiple aerial attacks below the arena, and then easily recovering after getting easy kills.
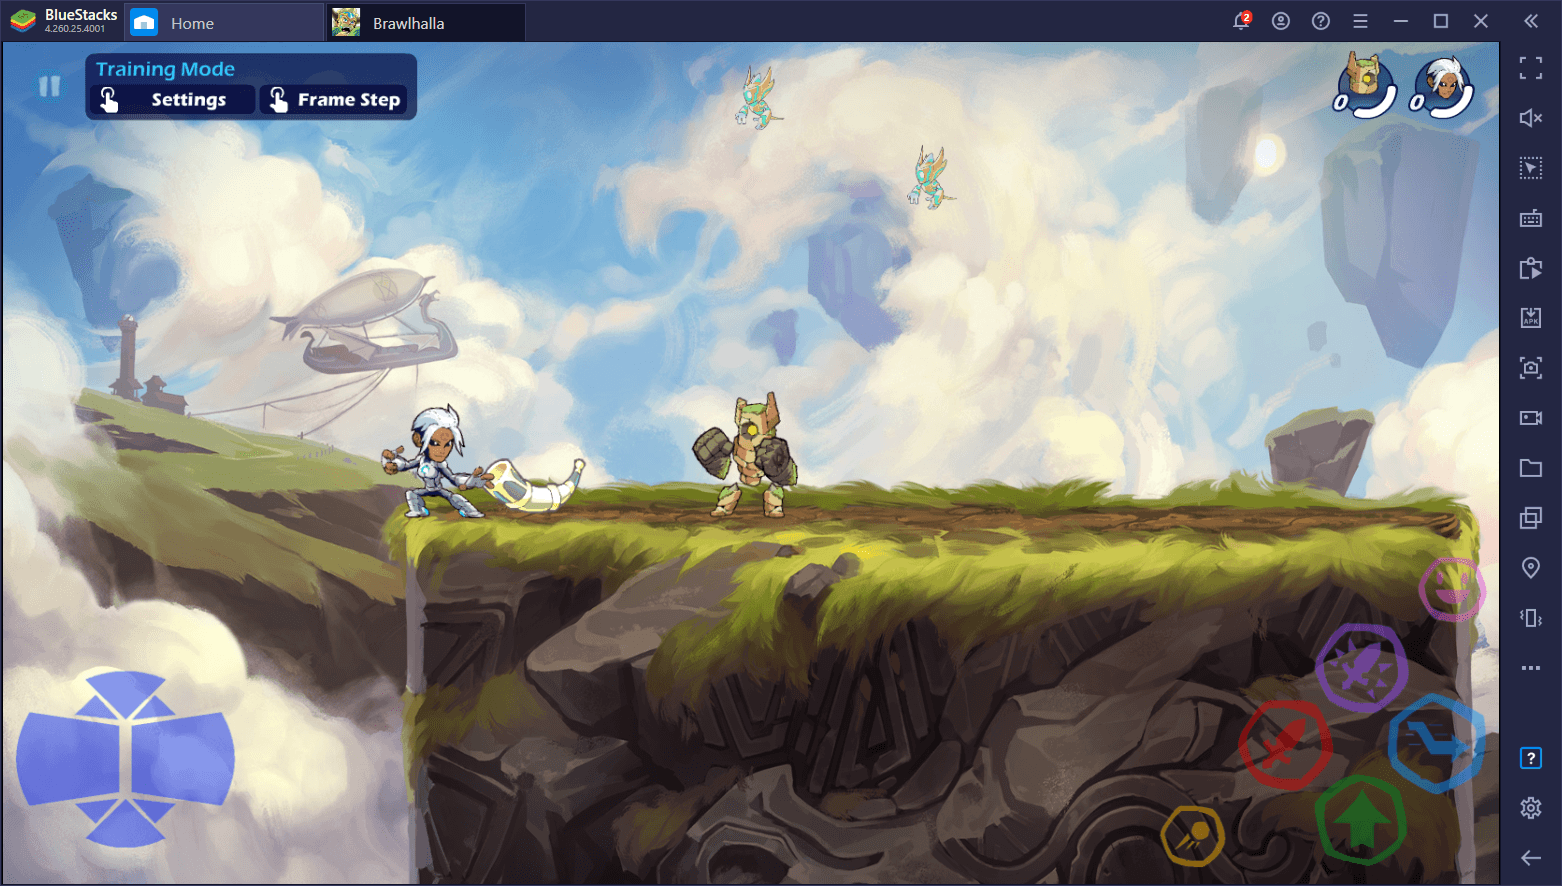
With that being said, let’s take a look at the Gauntlets’ moveset:
Ground Moves
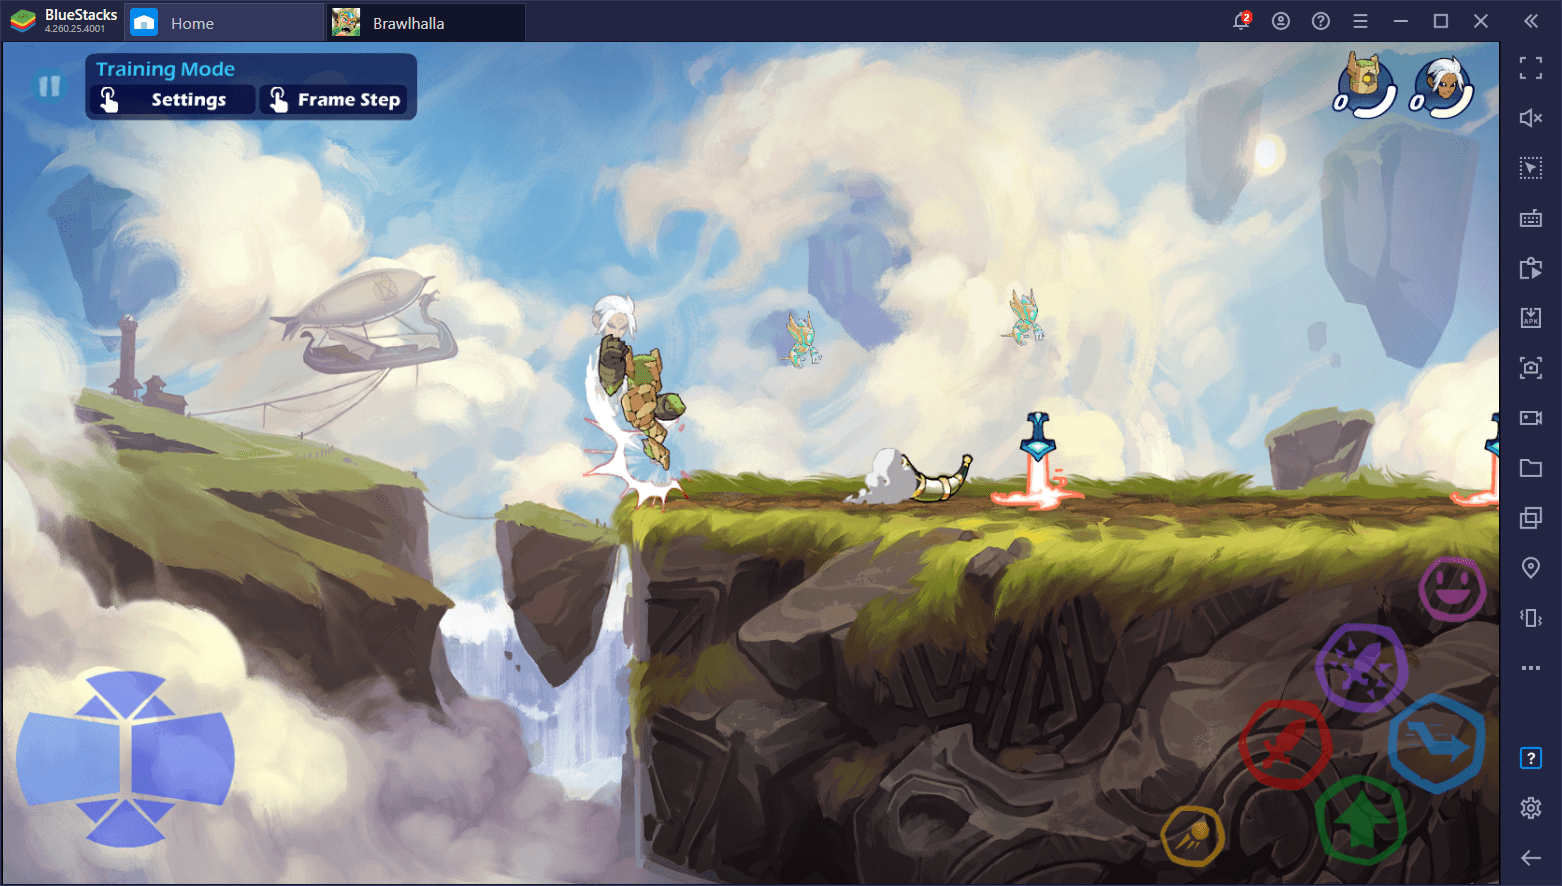
- Neutral Light: A powerful and fast move consisting of a series of standing punches with plenty of active frames. Awesome for getting enemies out of your face if they try to punish one of your mistakes, but also crucial for extending aerial combos after a successful read. Can also be used for edge guarding.
- Side Light: A slide in either direction ending with a powerful uppercut. By itself, this move is quite powerful as it’s very fast and difficult to punish. While the uppercut itself doesn’t do extreme damage, it positions the enemy right above you in a way that allows you to follow up with either a neutral or a recovery. It’s worth mentioning that, when used on the ground, this move ALWAYS pushes you into the air.
- Down Light: A fast ground slam with your fists that deals damage in a longer range than standard punches, but not as long as the side light above. This move is your main ground initiator as it has enough hitstun to enable further hits as true combos, with the most frequent follow up being a side light, followed by a string of aerial combos of your choosing.
Aerial Moves
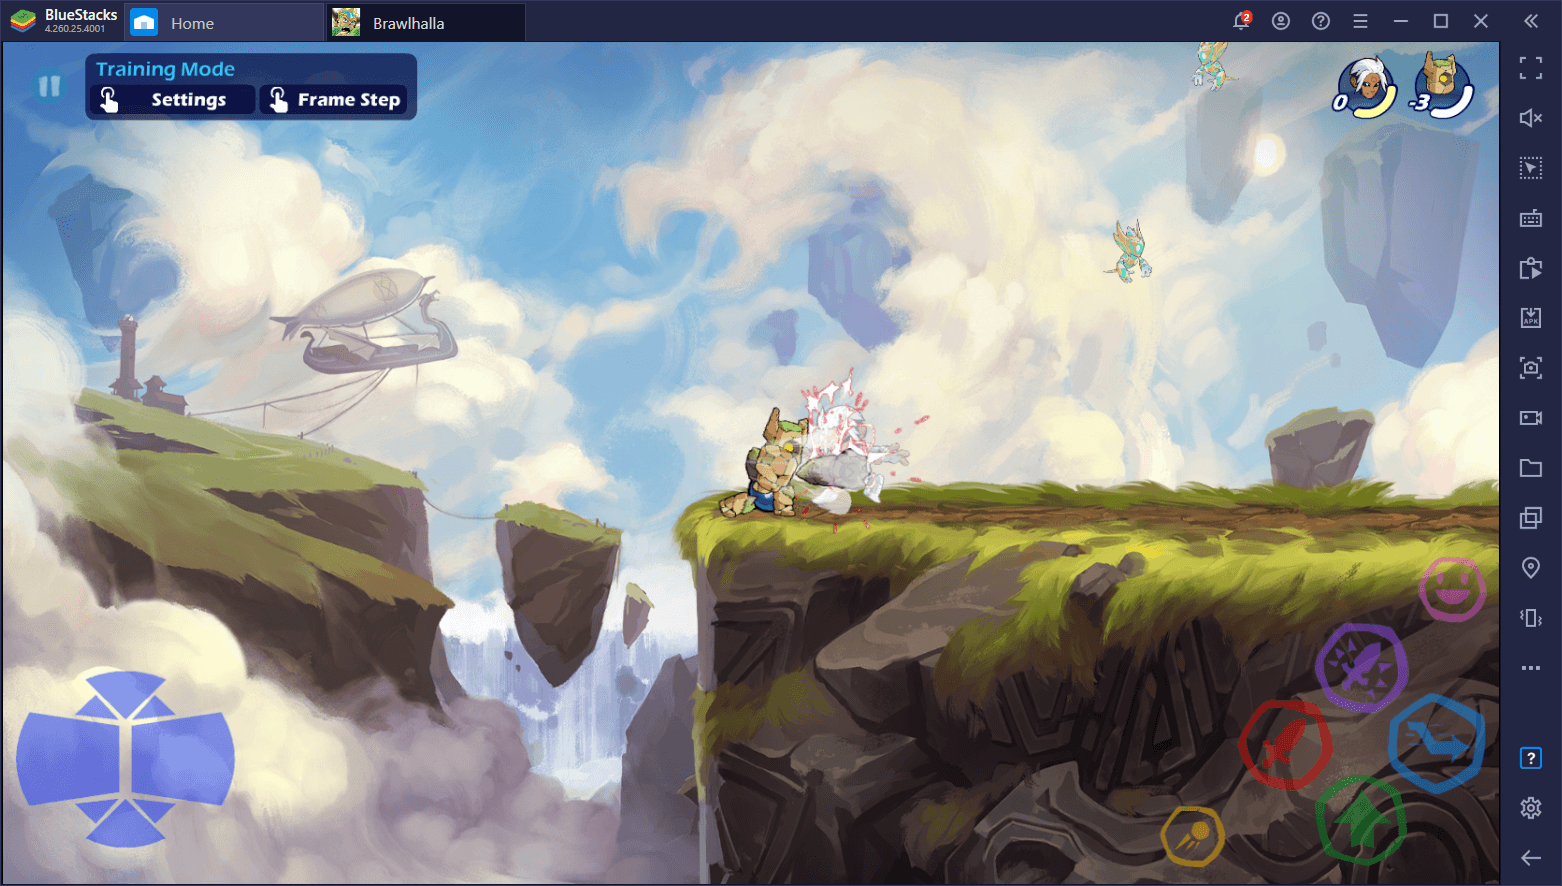
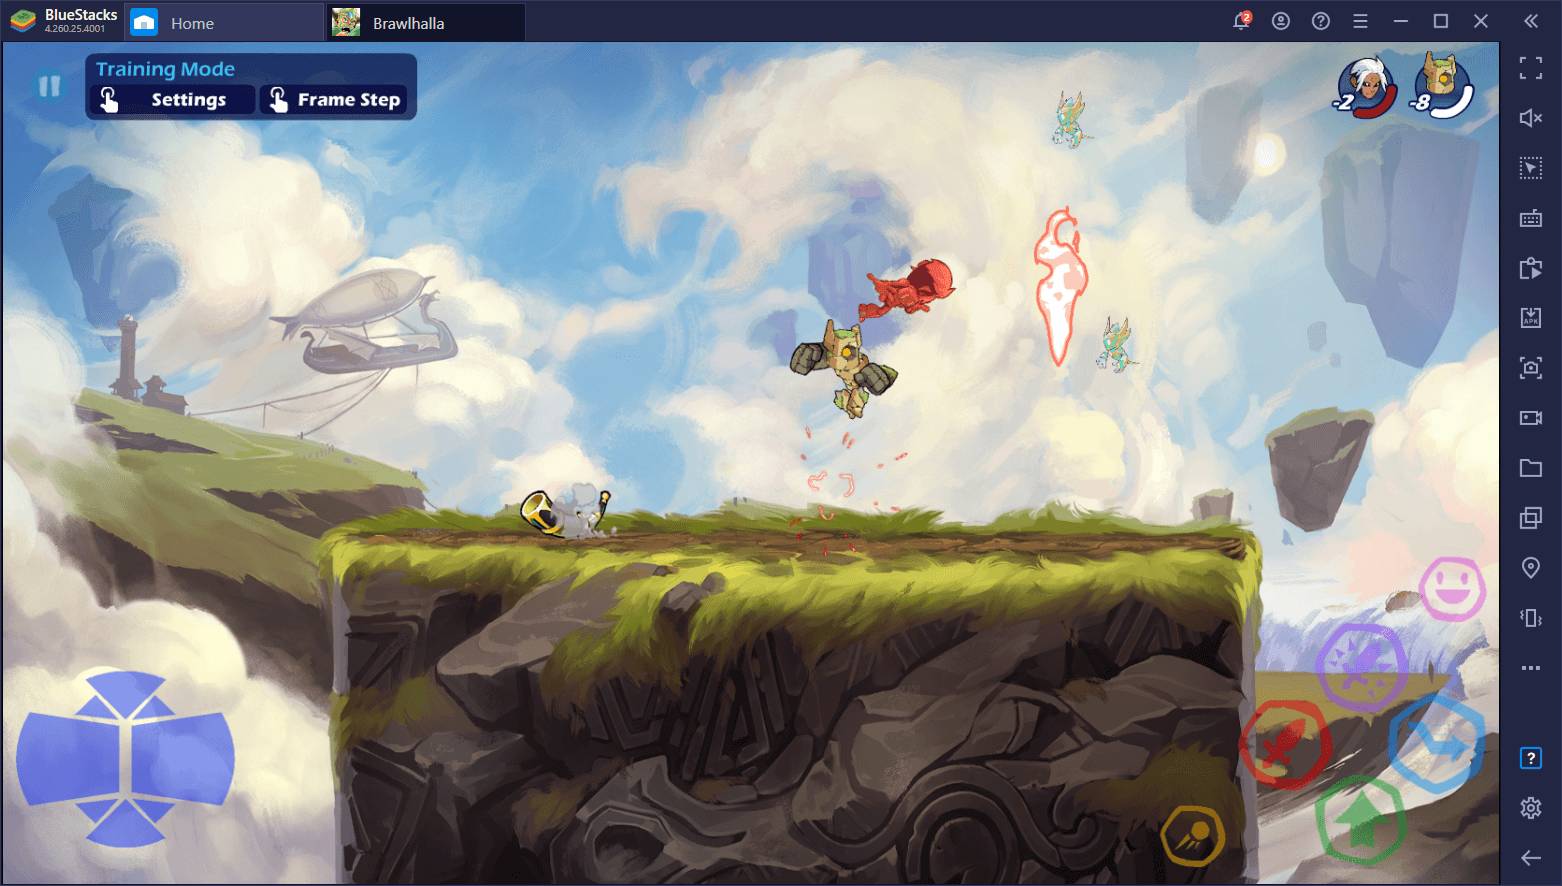
- Neutral Light: A very fast move that grabs an enemy directly above you and throws them back down. Deals very little damage, but its hitbox makes it extremely effective for edge guarding, as you can catch the enemy as they try to recover and forces them to waste their jumps and dodges potentially resulting in low-damage kills.
- Side Light: A swift side punch that moves you slightly to either side before making contact. If the first hit lands, your character will automatically follow up with another powerful punch that knocks the enemy diagonally downwards. A very effective tool for dragging your opponent to the edge of the arena, after which you can blow them away and force them into aerial combat as they try to recover.
- Down Light: A fantastic aerial domination tool consisting of numerous downward punches with tons of active frames. These punches cover a wide angle underfoot, making them ideal for edge guarding, though they are an awesome follow up after throwing the enemy down with an aerial neutral light.
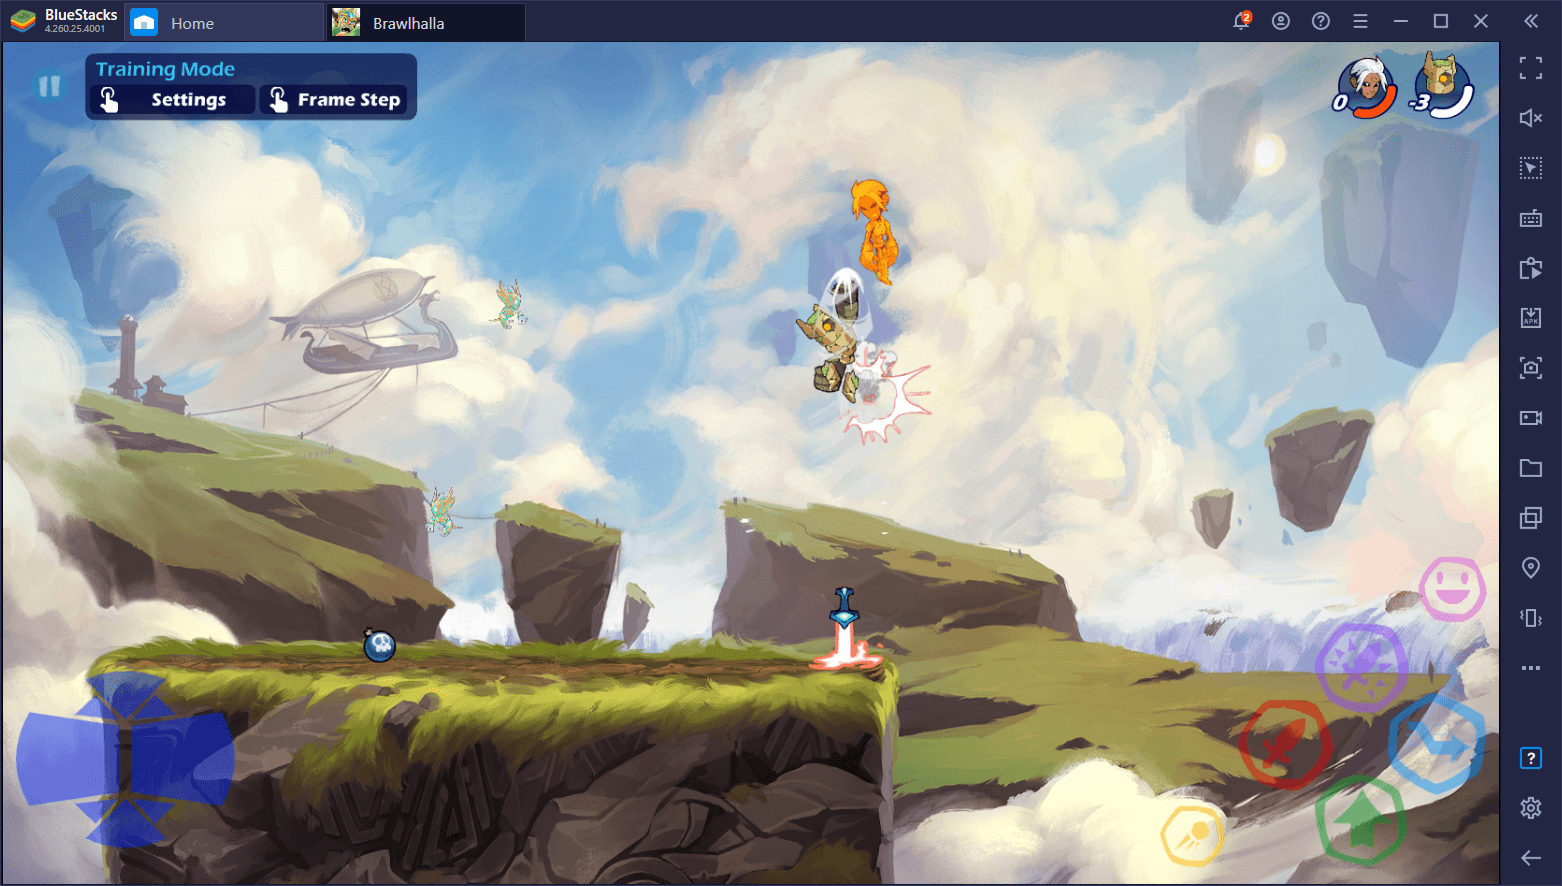
- Recovery: A powerful uppercut that travels a considerable distance vertically, but with no horizontal control. A very useful tool for recovery after an extended aerial battle under the arena, but also a great follow up to a ground side light, especially when the enemy has taken a lot of damage, since this almost always ends up KO’ing them. It’s worth mentioning that this uppercut has tons of priority over other moves, which makes it great for punishing an enemy that’s dropping in on you with an aerial attack. Plus, it’s so fast and travels so high, that it’s very difficult to react to.
- Down Heavy: A “Ground Pound” attack with a large hitbox under the character. What makes this move stand out among the other similar attacks is that the Gauntlets’ version actually lets you modify your position while falling, which is useful for adjusting on a moving target. You will almost always want to use this move when edge guarding.
The Gauntlets’ ground moves can be quite powerful, but their uses are mostly for setting up aerial combos, which is definitely where this weapon shines brightest. The side light, in particular, will be one of your main initiators when you’re on the offensive, which you can then follow up with literally anything, especially once you master GC moves and learn to read the enemy.
In the air, however, the world is literally your oyster. With enough experience and practice, Gauntlets are one of the most complex and freeform aerial weapons in Brawlhalla. However, and we can’t stress this enough, you need to learn how to move in the air and use dodge offensively in order to properly use this weapon. Especially when it comes to follow up attacks in the air, using GC maneuvers is part of your core skill set when using the gauntlets.
Gauntlets Engagement Basics
The Gauntlets in Brawlhalla are a very offense-oriented type of weapon, often relying on you to take the initiative as opposed to reacting to the enemy’s attacks. This is because most of their moves are either very fast in execution, or require a setup in order to use effectively. For instance, while your aerial side light is great for punching away an attacking enemy, it’s much more effective when used after an aerial neutral light to continue punishing the enemy.
You should never wait for your enemy to move when using Gauntlets since, while their combo potential is massive, they’re not very good under pressure, though they do have some tools to reset the field and shift back to the neutral game. In general, however, you will always want to be attacking when using the Gauntlets.
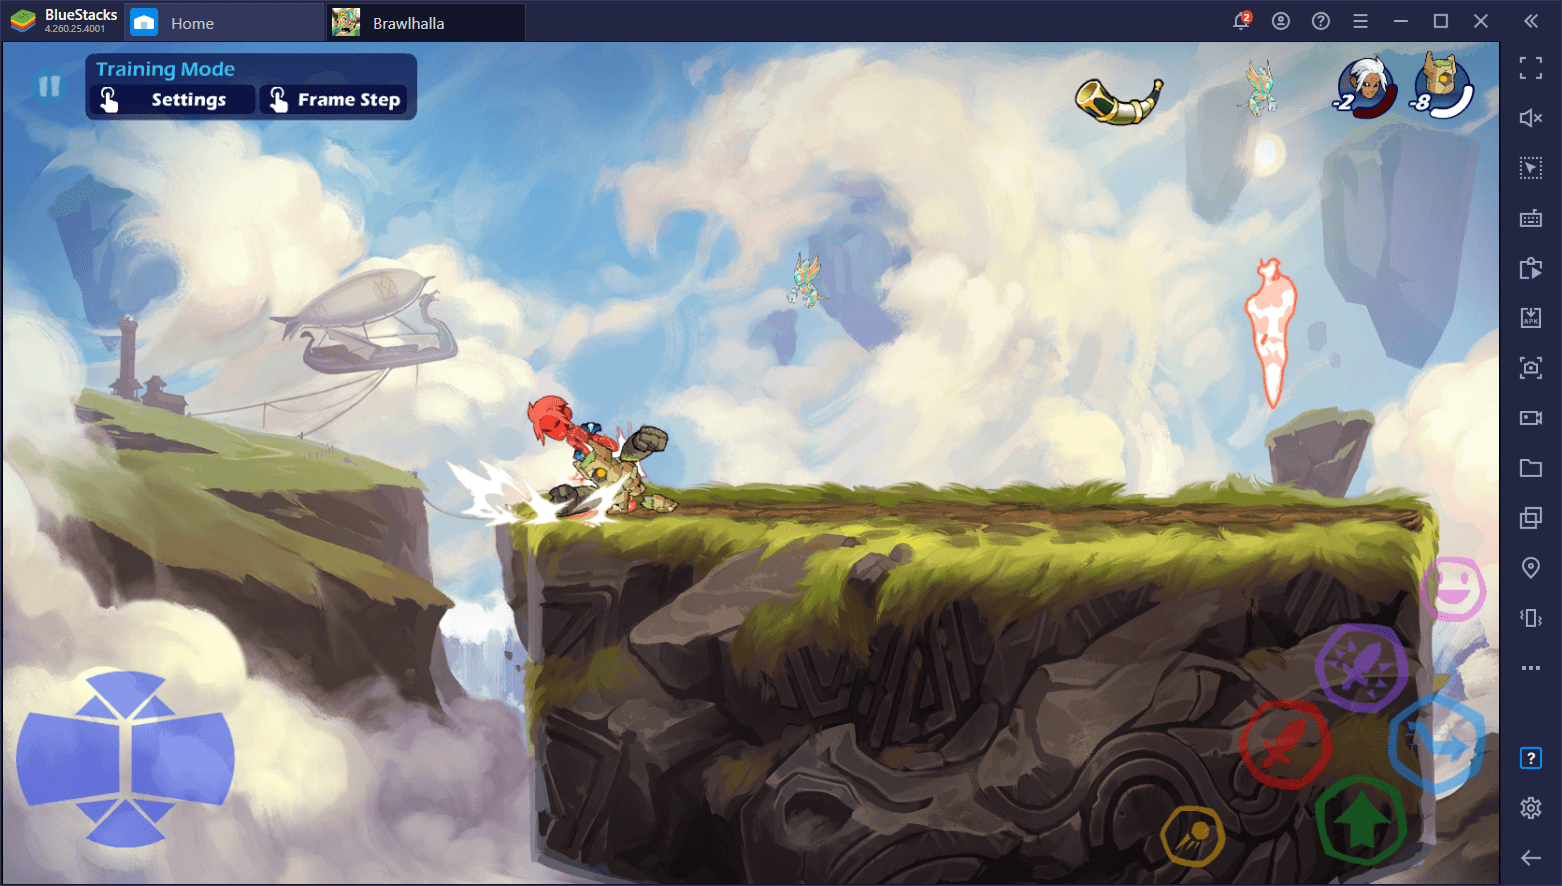
Engaging With Side Light
As a Gauntlets user, your ground side light is your bread and butter for initiating combos. Its lateral movement capabilities coupled with its very fast startup and subsequent hitstun open the enemy wide for follow up aerial attacks. This is especially true when matched against weapons with poor aerial capabilities as they won’t be able to counterattack fast enough after your initial hit. And even against enemies with strong aerial weapons, the side light is often so fast, that unless they’re expecting it, they won’t be able to get out of the way.
With that being said, while the Gauntlets’ side light doesn’t lead to any true combos, there are tons of ways to branch out from it. And since you’ll be using this as your main initiator, you better learn them all:
- Side Light Into Neutral Light: This is your most basic combo, and the one you’ll probably do the most as a beginner since it’s what results mostly from mashing the attack button. This combo is unjumpable, and can only be avoided by a sideways dodge after the first hit. Most players often try to jump instinctively to get out of the way, which means that this is a reliable way to get a combo going. After you throw the enemy down with the neutral light, you’ll be at a position to follow up with literally any other attack.
- Side Light Into Recovery: Similar to the previous combo, but you hit with a recovery attack after knocking the enemy into the air with the initial hit. At low percentages, you can easily follow up this combo with an aerial neutral light to throw your enemy down and continue the combo by falling on them with a mixup. At high percentages, however, this combo WILL kill easily.
- Side Light Into GC Side Light: After landing the initial side light, you wait a split second before doing your Gravity Cancel, and immediately follow up with another side light. If done correctly, you will be able to follow up with either an aerial neutral light, or a recovery attack, and continue racking up the damage.
These are just three of the basic Brawlhalla Gauntlets combos with side light that you could practice if you’re just picking up the weapon for the first time. As you continue practicing your aerial movement, you’ll be able to follow these up with even more attacks by properly executing GCs and reading the enemy’s movements.
Engaging With Down Light
The other part of Gauntlets’ neutral game comes from its ground down light attack, which is another great combo initiator, and often superior to the regular side light. In fact, if you land a down light, you can easily follow up with a side light and go from there with any of the basic combos we mentioned above.
In contrast to the side light combos mentioned above, however, the Gauntlets’ down light attack can actually lead to true combos, which are impossible to escape from. Some of the most reliable combos with down light include the following:
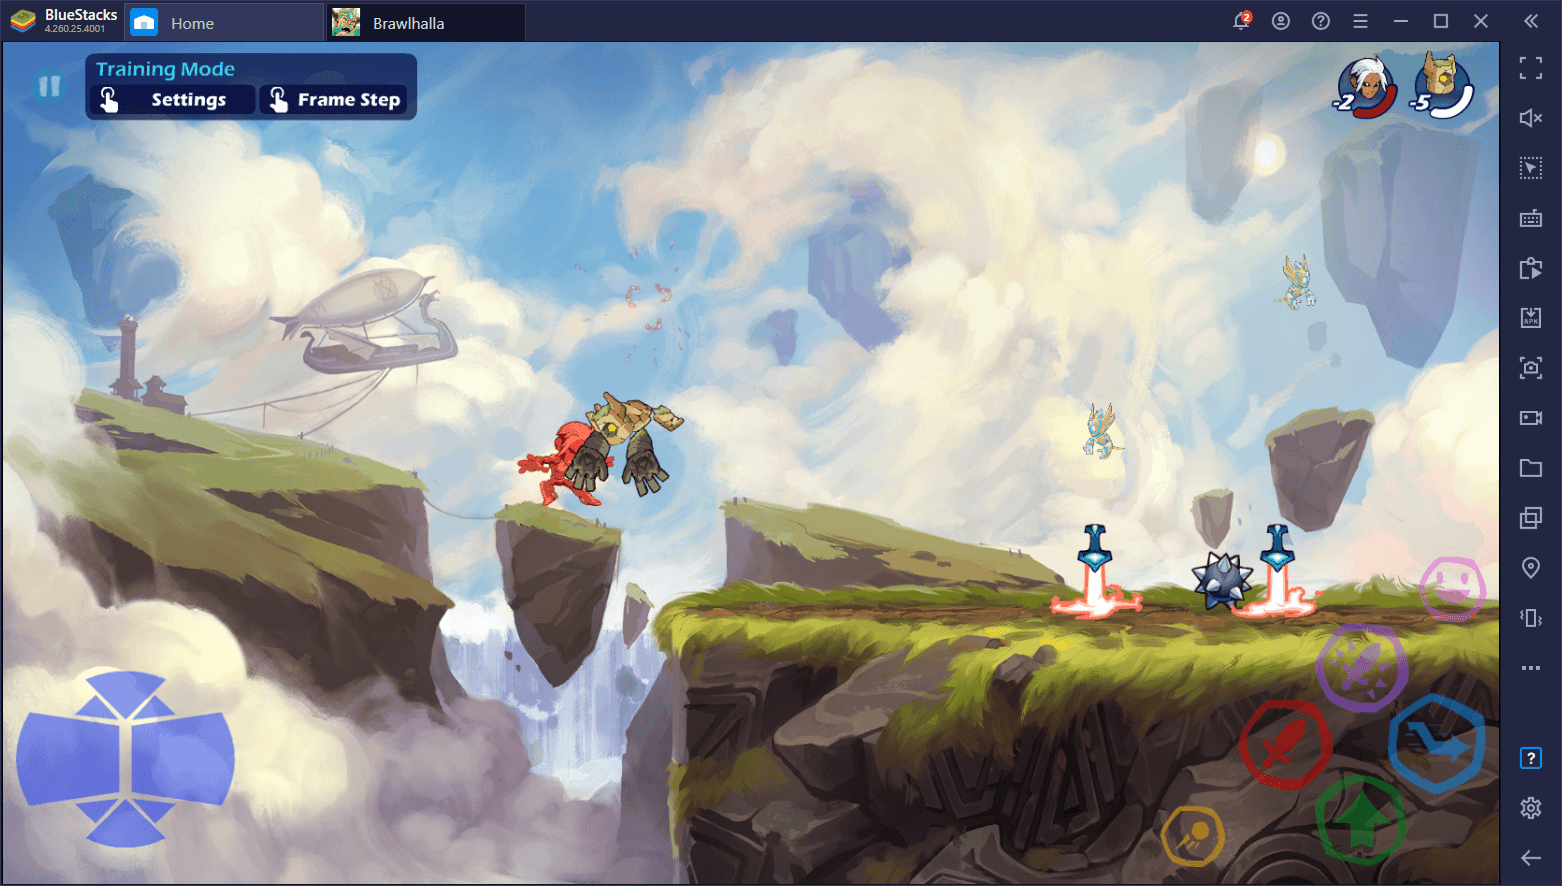
- Down Light Into Side Light: A prime setup for more damage, an edge guard, or a kill. This is a true combo that opens up the enemy after the side light so you can continue with any of the combos mentioned above.
- Down Light Into Aerial Down Light: The ideal true combo for dealing damage to the enemy. Can set up for an edge guard if done near the edge of the arena as this combo will knock your enemy back slightly.
- Down Light Into GC Down Light: A popular mixup combo consisting of a ground down light performed in the air after a Gravity Cancel. If done successfully, you can follow up with any of the other combos in this section.
- GC Down Light Into Recovery: It’s possible to begin these combos with a ground down light performed in the air, such as in the case of the previous entry. By dashing towards the enemy immediately after the GC down light, you can quickly follow up with a recovery to score a kill.
- GC Down Light Into Aerial Neutral Light and Down Light: One of the trickiest true combos to perform, but the bread and butter for forcing the enemy completely into the edge of the arena. This deals considerable damage, and can even set up for a kill if you use a recovery instead of the aerial down light at the end.
We’ve talked at lengths about some of the things you can do with Gauntlets in Brawlhalla, and we admit we’ve only barely scratched the surface. However, this guide serves as a good starting point if you’re looking to get into this fantastic weapon. If you want to learn more about it, we strongly suggest checking out eggsoup’s video on this weapon. He created an exhaustive tutorial featuring everything you can do with Gauntlets, though you might first need a bit of practice and knowledge to understand the terminology.
Keep in mind that, aside from being a combo machine, Gauntlets are also a powerhouse for edge guarding, which is something that you’ll need to learn, and eggsoup explains it wonderfully and in length in his video.
What do you think of the Gauntlets in Brawlhalla? Let us know your thoughts in the comments below!