Days After: Zombie Survival – Tips & Tricks for Progression


Surviving a zombie apocalypse is no small feat, and Days After puts that challenge front and center. This mobile survival RPG combines elements of base-building, exploration, and resource management to create an immersive post-apocalyptic experience. If you’re new to the game, check out our Beginner’s Guide to Days After to learn the core mechanics before diving into these progression tips. Whether you’re just starting out or looking to sharpen your survival instincts, this updated guide provides essential tips and tricks to help you progress efficiently in 2025.
Tip1. Begin with Diary Quests
Starting your journey by completing the Day 1 diary quests is crucial. These initial tasks introduce you to the game’s core mechanics, such as crafting, gathering, and shelter building. Finishing them quickly boosts your experience points (XP) and unlocks essential features and blueprints that help you survive and grow stronger.
Tip2. Restore and Fortify Your Shelter
Your shelter acts as your main base of operations. Begin by repairing the rundown structures using basic materials like pine logs and stones. Once you’ve restored the foundation, reinforce it with walls, barricades, and traps to protect against the increasing threat of zombie attacks. A solid home base is key to long-term survival and also unlocks storage and crafting options.

Tip3. Upgrade the Observation Tower
The Observation Tower determines which parts of the world map you can explore. Upgrading it allows access to new, higher-level zones filled with better loot and more dangerous enemies. Invest in this structure early by gathering the necessary resources—it’s one of the fastest ways to expand your gameplay options.
Tip4. Efficient Resource Gathering and Crafting
Gathering materials is the backbone of your survival. Start by collecting essentials such as pine logs, grass, stones, and scrap metal. Craft tools like axes and sledgehammers to make this process faster and more efficient. Low-risk areas are great for stockpiling resources early on. The crafting menu helps you see what you can build and what you’ll need to unlock advanced gear later.
Tip5. Repair the Vehicle for Faster Travel
Just outside your base is a damaged car that, once repaired, can significantly reduce travel time and increase your safety. To fix it, gather items like rope, nails, scrap metal, pine planks, wire, and pelt. With a working vehicle, you’ll spend less time walking and conserve energy for resource gathering and combat.
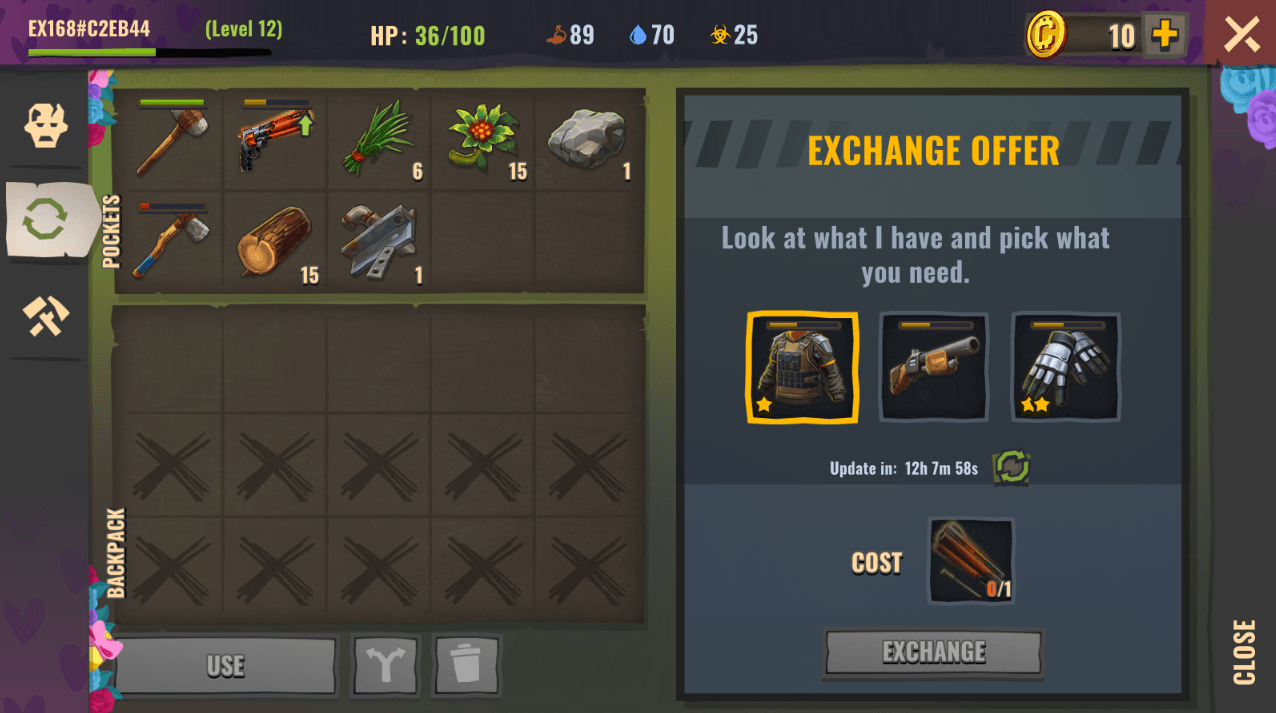
Tip6. Manage Your Inventory Wisely
Inventory space is limited at first, so organization is essential. Each pocket holds up to 10 items, and crafting bags (like the Leather Sack) can increase your capacity. Use your base to store extra supplies and regularly review what you’re carrying to ensure you’re only taking what you need for your current mission.
Tip7. Monitor Character Stats
Your character’s survival depends on four key stats:
- Hunger: Represented by a stomach icon, hunger rises as you play and will deplete your health if ignored. Eat regularly to keep it under control.
- Thirst: This increases with physical activity. Drink water or eat hydrating foods to stay balanced.
- Health: Your overall well-being. It can be restored with food, water, sleep, or medical supplies.
- Toxicity: Increases when you’re infected by zombies. Reduce it by using bandages, berry compresses, first aid kits, or resting at your shelter.
Staying on top of these stats keeps your character in fighting shape.
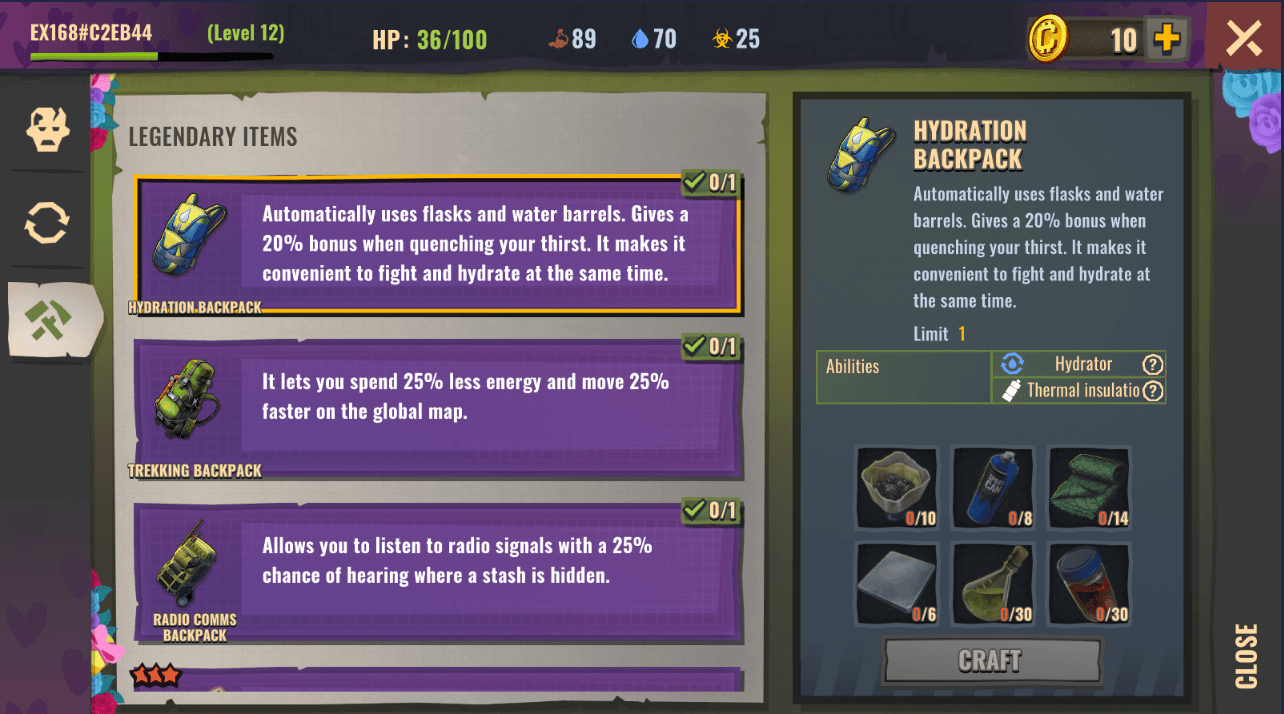
Tip8. Utilize Blueprints for Gear Upgrades
Blueprints are essential for crafting better weapons and clothing. These can be found as loot in tougher zones or as quest rewards. Higher-tier gear not only lasts longer but also provides better defense and damage output, making it easier to survive and progress. Collect blueprints whenever you can and level up your gear accordingly.
Tip9. Take Advantage of Events and Daily Bonuses
Participating in limited-time events and claiming daily login bonuses is one of the easiest ways to accelerate your progression. These often offer rare materials, weapons, and experience boosts. Additionally, joining a clan allows for social interaction and event collaboration, which can further aid your survival journey.
Progression in Days After: Zombie Survival comes down to preparation, exploration, and smart decision-making. By following these tips, you’ll be better equipped to face the growing threats of the wasteland, strengthen your base, and uncover the secrets hidden across the map. Take your time, stay alert, and keep building toward a safer future. For smoother gameplay, consider playing Days After: Zombie Survival on BlueStacks to enjoy enhanced visuals, customizable controls, and a seamless farming experience.