Days After: Zombie Survival – Beginner’s Guide

Welcome to Days After, a post-apocalyptic survival game developed by MY.GAMES VENTURE CAPITAL LTD. It drops you into a zombie-infested world where staying alive isn’t just a goal, it’s a constant struggle. Whether you’re scavenging for resources, building shelter, or fighting off the infected, every decision counts. For newcomers, the early game can feel overwhelming, but fear not, we’ve got your back with this beginner-friendly survival guide packed with key insights, tips, and tricks to help you thrive in this gritty undead wasteland.
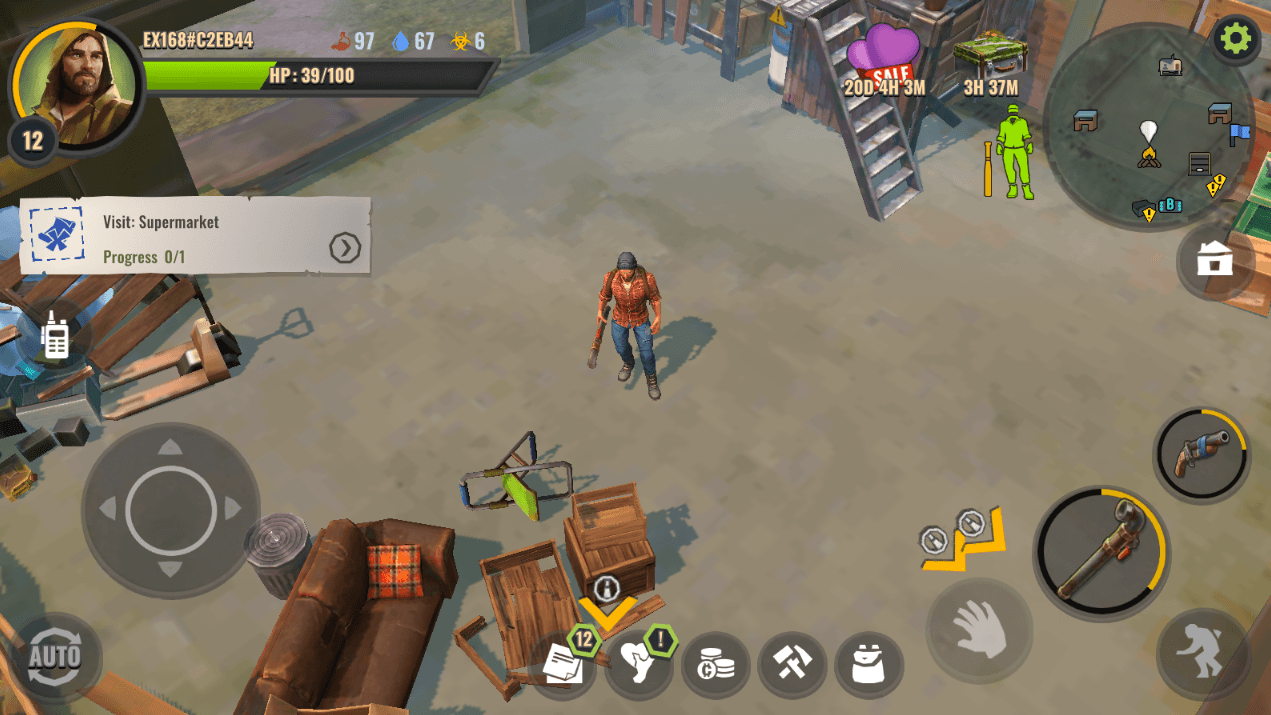
Master the Game Interface First
Since Days After doesn’t include an in-game tutorial, understanding the interface is critical. After choosing your character, you’ll be dropped into the main screen. On the top-left, you’ll find your health and energy bars. Below that is the joystick for movement. The top-right corner houses the world map and settings, while the bottom-right is filled with vital functions: attack, crouch, crafting, building, your backpack, and interact options. The “Build” button, located just above the attack icon, lets you construct and upgrade structures. Familiarize yourself with these controls to avoid unnecessary confusion later.
Take Care of Your Character’s Vital Stats
Survival in Days After starts with managing your character’s four key stats: Hunger (red stomach icon), Thirst (blue droplet), HP (green health bar), and Toxicity (yellow biohazard). Hunger drains health when neglected, so always have food handy. Thirst increases as you move or perform actions, and can be quenched with water or hydrating food items. HP can be restored with food, water, rest, or medical supplies. Toxicity, often caused by zombie attacks, can be reduced using Berry Compresses, Bandages, or by simply resting on your bed. Neglecting these stats will lead to a quick and painful end.
Build and Fortify Your Shelter
Your base is your sanctuary. You’ll start with a wrecked house, which you must gradually restore using in-game materials. Strengthen your shelter with walls, barricades, and traps to keep out zombie hordes. Your home is more than just a safe space; it’s your crafting hub, rest area, and a defensive point. As you progress, continue to upgrade and reinforce it to withstand stronger enemies and support your survival needs.
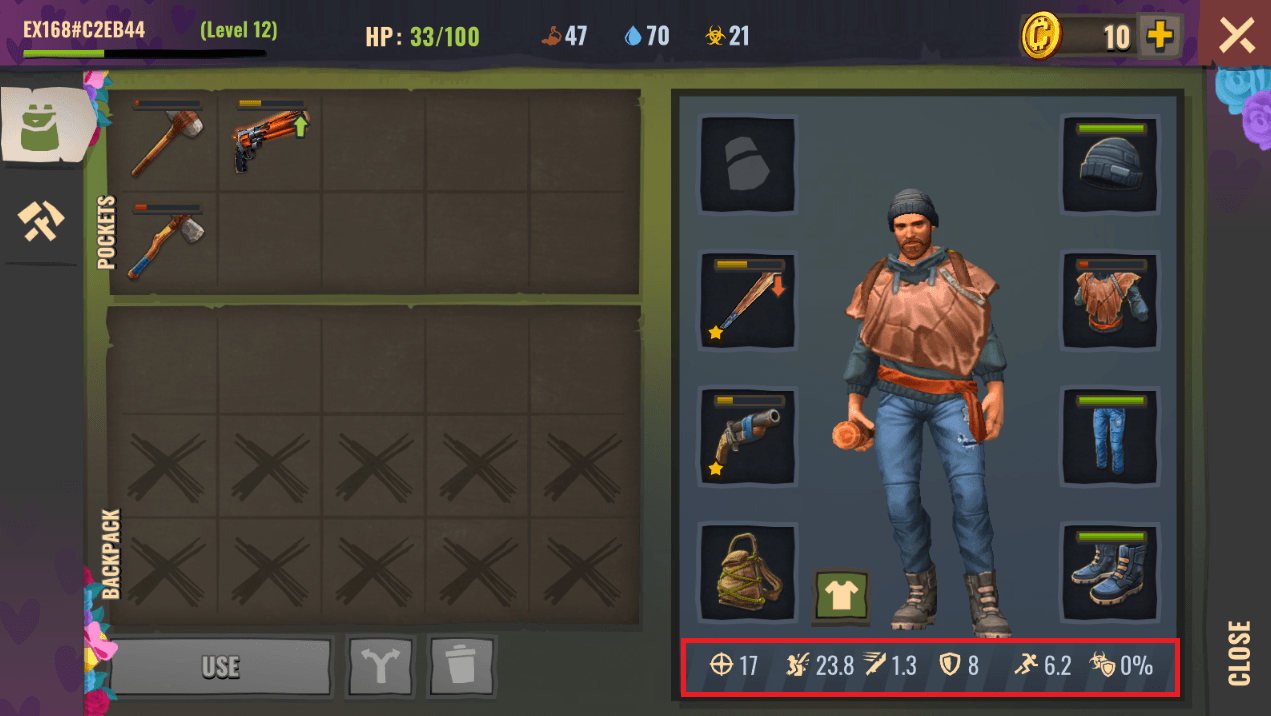
Inventory Management is Key
Resources are limited, so keeping a clean and efficient inventory is essential. You start with pockets that can carry up to 10 items, but crafting items like Leather Sacks expands your storage. Each slot can hold up to 20 of the same item. Be aware of durability on weapons and equipment they wear down over time and will break if not replaced. Prioritize important tools and consumables, and always leave room for loot you’ll pick up during exploration.
Focus on Diary Quests Early On
The diary quests are your lifeline in the early stages. Upon entering the game, you’ll encounter your first five quests completing them helps level you up quickly and unlock new features like crafting blueprints and exploration zones. After completing the initial set, more side quests will become available, offering additional experience and resources. These missions act as a pseudo-tutorial and are your best path forward as a beginner.
Scavenge and Craft Like a Pro
In Days After, crafting is a core gameplay mechanic. You’ll find resources everywhere: pine logs, stones, grass, scrap metal, and clay. Some are collected directly from the ground, while others require tools. Equip axes to chop trees and sledgehammers for smashing rocks or harvesting clay and metal. Use the crafting menu to see what items are currently available to make based on your resources. As you level up, more crafting options become available. Unlocking blueprints found randomly during exploration allows you to create stronger weapons and gear. For smoother gameplay, consider playing Days After: Zombie Survival on BlueStacks to enjoy enhanced visuals, customizable controls, and a seamless farming experience.