Days After: Zombie Survival: How to Gather & Manage Resources Efficiently

In the harsh world of Days After, collecting and managing resources isn’t just important, it’s the difference between survival and death. Whether you’re fending off zombie hordes or expanding your base, resources play a critical role in every aspect of gameplay. This guide dives deep into how to gather, use, and manage these resources efficiently without spending a single dollar of real-world money. If you’re new to the game, check out our Beginner’s Guide to Days After to learn the core mechanics before diving into these progression tips.
Understanding Resource Types
There are three main types of resources in the game: natural resources, craftable items, and loot-only items. Knowing the difference between them helps streamline your expeditions and inventory.
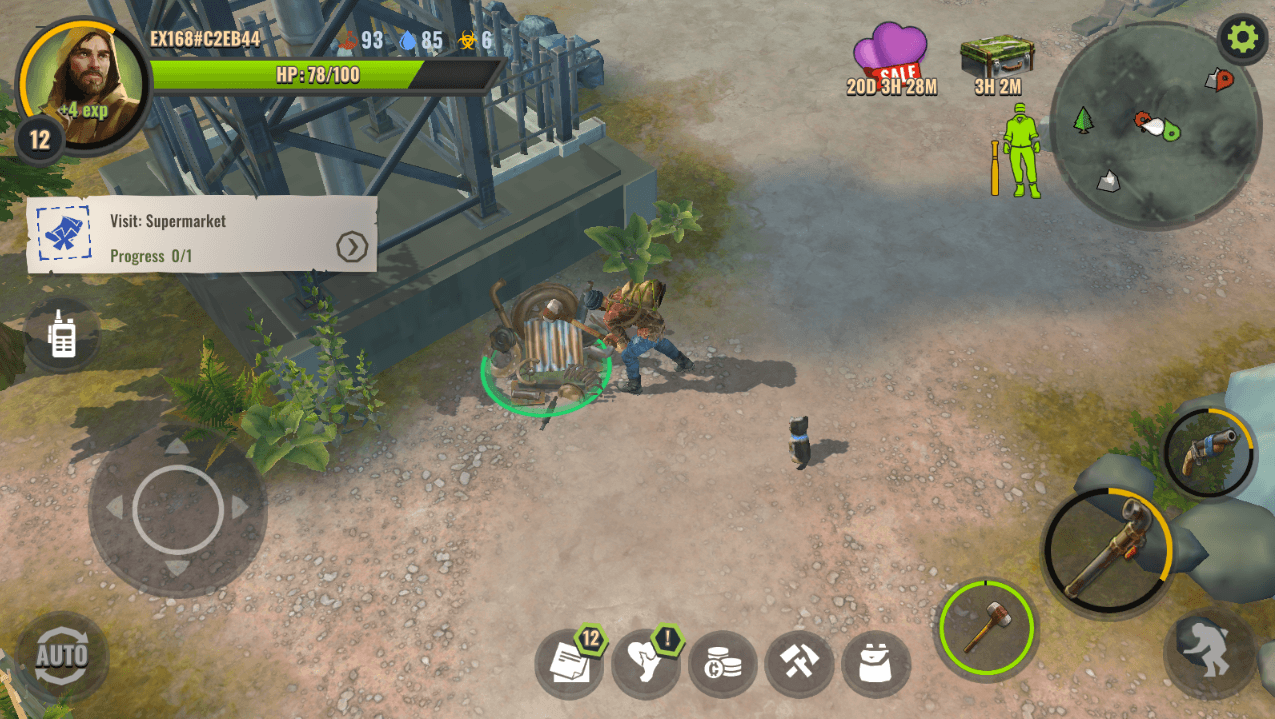
Natural resources like pine logs, grass, stones, clay, and scrap metal are found scattered throughout the world. These can often be picked up by hand if sourced from small deposits, but larger resources require tools. For instance, you’ll need an axe to chop down trees for pine logs, and a sledgehammer to extract stone or smash metal and clay piles.
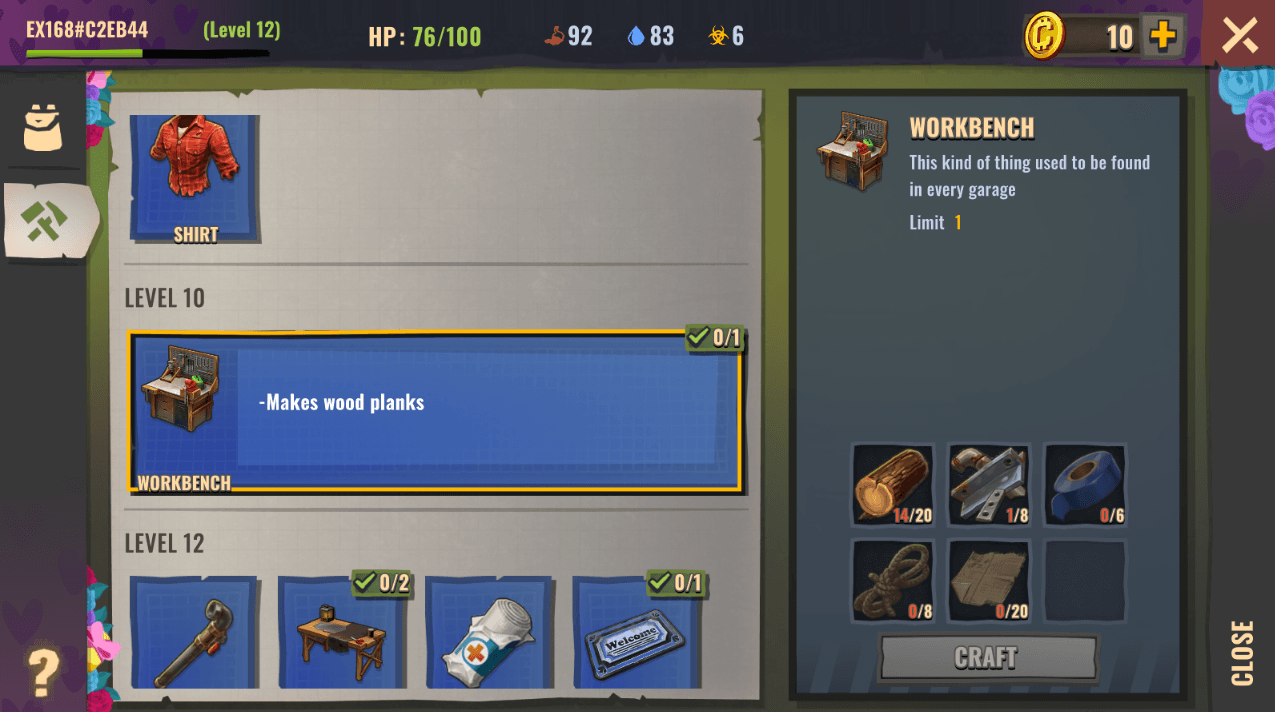
Craftable resources are items like wooden planks that require a specific crafting station, such as a Workbench, which unlocks at Level 10. While these can sometimes be looted, crafting is often the most consistent way to stock up on them.
Lastly, loot-only resources—such as nails, rivets, microchips, and steel scrap—cannot be gathered or crafted. These must be scavenged from containers, backpacks, or hidden crates in explorable locations.
Always Prepare Before You Leave Base
Before stepping outside your home base, take stock of your inventory. Ensure you’re carrying the essential tools like an axe and sledgehammer plus extras if you’re planning an extended scavenging run. Bring food and at least one backup weapon in case you’re forced into combat.
It’s also a good idea to make a checklist of the materials you need. This will help you choose the best location to explore, rather than collecting unnecessary items and wasting valuable space in your bag.
Inventory Management Tips
Each slot in your inventory can only hold 20 items of the same type, and tools degrade with use. That means efficient inventory management is key. If you’re low on space, prioritize rare items or those required for current objectives. If you’re bringing tools, reserve at least two slots just for them.
There’s also an auto-collect feature, which is handy but risky. It makes your character automatically gather nearby items but be cautious. This can sometimes lead you directly into zombie-infested areas.
Exploring the Map
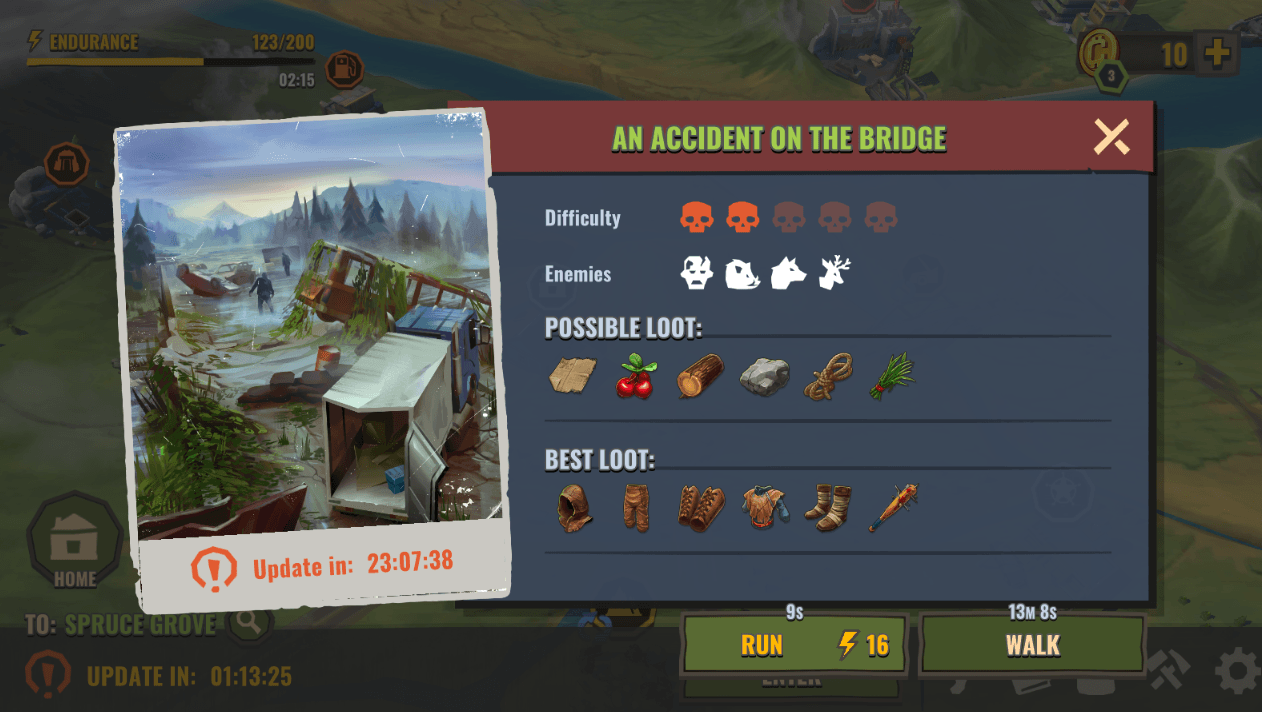
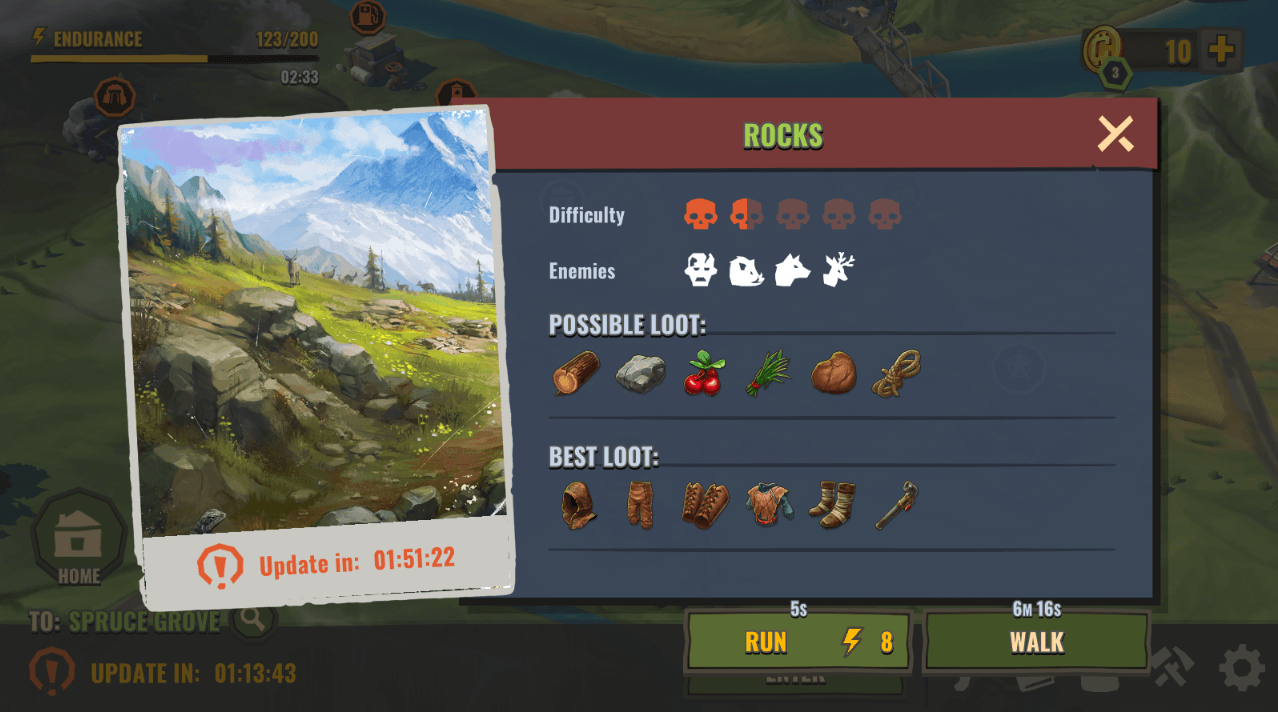
As you leave your home base (crossing the green “exit” boundary), you’ll gain access to a dynamic map filled with explorable zones. Each location is marked with helpful indicators:
- Difficulty level (shown as skulls): More skulls = tougher enemies.
- Enemy types: Ranging from zombies to aggressive wildlife like wolves and boars.
- Loot information: You’ll see both the possible and best loot available in the zone.
Locations reset their loot and resources every 3 hours, meaning trees regrow and containers refill. If an area has been stripped clean, wait for the reset or move on to another zone.
Traveling Smart
You can either run or walk to a location. Running takes a few seconds of real-world time but consumes endurance points. Walking is slower—taking several minutes—but costs nothing. Unless you’re out of endurance, running is usually the better choice. Just make sure your trip is worth the cost.
Your endurance regenerates slowly about one point every three minutes, so plan your expeditions around that.
Upgrade Your Observation Tower
To unlock new and more valuable areas on the map, you’ll need to upgrade your home base’s Observation Tower. At Level 1, only a few areas are accessible. Leveling it up opens up higher-tier loot zones, some with elite enemies and extremely rare resources. Eventually, you’ll even access areas that offer adjustable difficulty (green, yellow, red) for greater rewards.
Repair the Car for Faster Travel
There’s a wrecked car just outside your base. Restoring it requires specific materials: rope, nails, pine planks, wire, pelt, and scrap metal. Once fixed, the car lets you travel longer distances faster and with less reliance on endurance. If you’re planning serious exploration, the vehicle is a must-have.
Best Places to Loot Early On
One standout location is An Accident on the Bridge. It’s packed with abandoned vehicles, each with valuable items stashed in the trunks. This area is ideal for early to mid-game players looking to stockpile loot without facing overwhelming enemy threats.
Look Out for Puppies!
Occasionally, a puppy will spawn during exploration and begin following you. You can pick it up and bring it back to your shelter, where it’ll grow into a loyal dog that grants bonuses. Just remember that taking a puppy consumes one inventory slot, so make room if you plan to adopt one.
Efficient gathering and smart resource management are at the core of Days After: Zombie Survival. Whether you’re chopping trees, crafting workbenches, or looting enemy territory, every decision impacts your odds of survival. With regular map resets, scalable difficulty, and resource-rich zones, this game rewards careful planning and quick adaptation. Follow these tips, and you’ll not only survive but thrive. For smoother gameplay, consider playing Days After: Zombie Survival on BlueStacks to enjoy enhanced visuals, customizable controls, and a seamless farming experience.