Free Fire MAX on PC - Use BlueStacks to get the Headshots and Booyahs
Update: Now you can also try this game on your Mac with BlueStacks Air, built for Apple Silicon Mac. Visit: https://www.bluestacks.com/mac
The new Free Fire MAX was finally released yesterday, giving players a brand new way to experience the popular mobile battle royale.
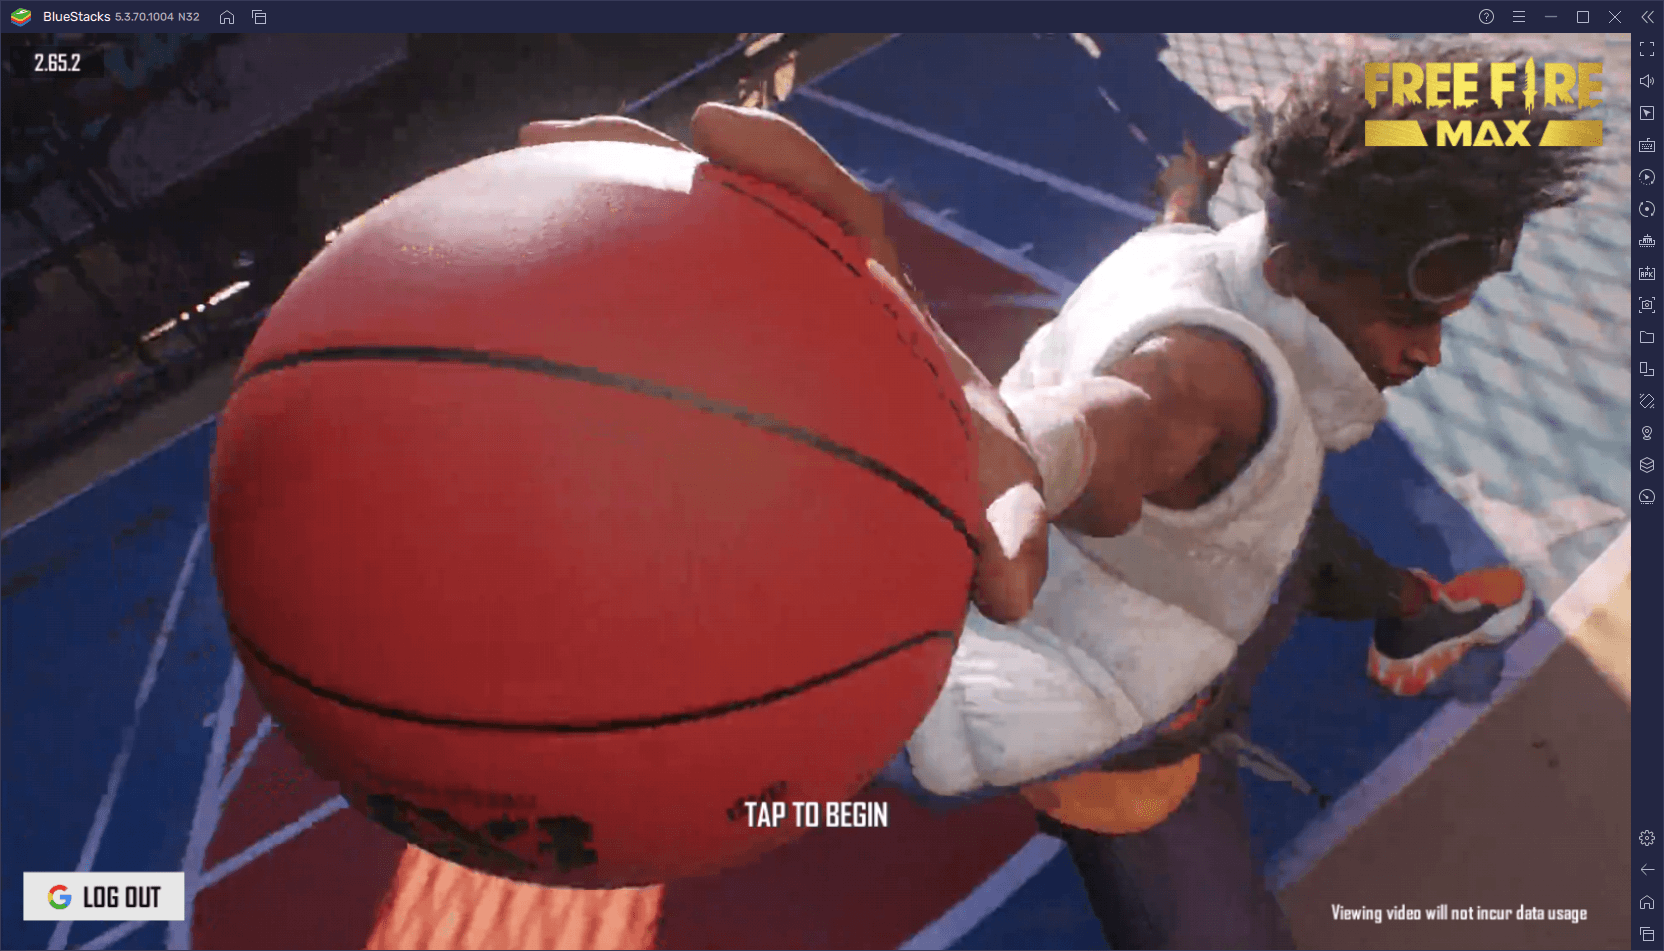
While the original Free Fire has been causing massive waves in the gaming community since its original release back in 2017, one of its biggest shortcomings has always been in the graphical and visuals department. In other words, while Free Fire was massively fun and exciting, striking an awesome balance between shooting and running around the map looting weapons and accessories, it wasn’t so hot when it comes to the graphics. This is mostly intended, as the original dev team wanted for the game to run as smoothly as possible across a variety of devices, since good performance is vital to the player’s success, and a slowdown or lag at the wrong moment can cost someone the match.
Free Fire MAX was created as a much-needed graphical overhaul to the awesome battle royale game, offering superior visuals, enhanced performance, and a whole host of upgrades to the actual gaming experience. However, most of these upgrades are probably lost if you’re playing on your phone. Not only are the details lost when you’re playing on a small screen, but you’d need a powerful phone in order to run the game with the best graphics and performance.
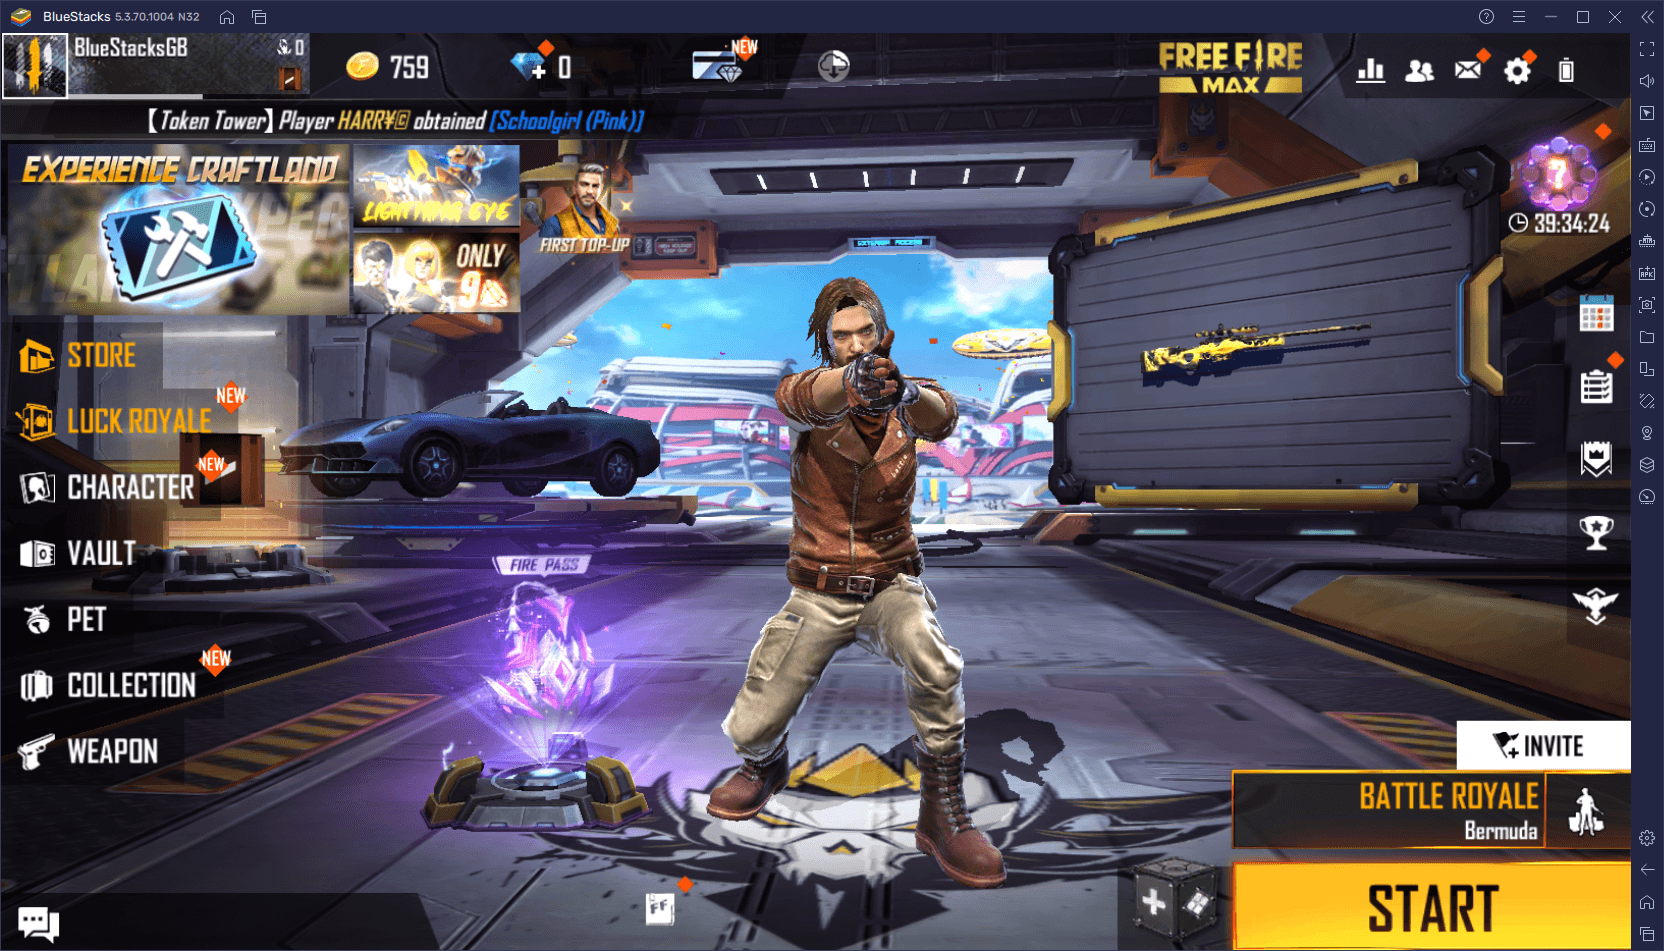
Luckily, you can install Free Fire MAX on PC with BlueStacks to get the best graphics and performance. However, this isn’t the only thing our Android app player can do, as it also offers a whole host of features and tools to help improve your gaming experience. And in this article, we’re going to show you exactly how to use these features to your advantage in Free Fire MAX.
Never Miss a Beat With Smart Controls
A vital component of the Keymapping Tool is the Smart Controls, a valuable feature that lets you transition from menu navigation to aiming and shooting in combat automatically.
Traditionally, you’d need to press F1 while in a match to activate firing mode, which lets you move your camera and aim simply by dragging the mouse, just like with a PC shooter. However, whenever you need to interact with an element in the UI, such as when picking up tools or swapping weapon attachments, you’d need to press F1 again to unlock the mouse cursor, but then you’d run the risk of getting caught in an ambush without being able to fight back.
Smart Controls are the solution to this problem since they let you move from aiming and shooting, to scrolling through menus with your cursor, without the need to manually press F1 every time. In this sense, BlueStacks can detect whether you’re in-game or in a menu, and dynamically release and lock the cursor, without the need for user input.
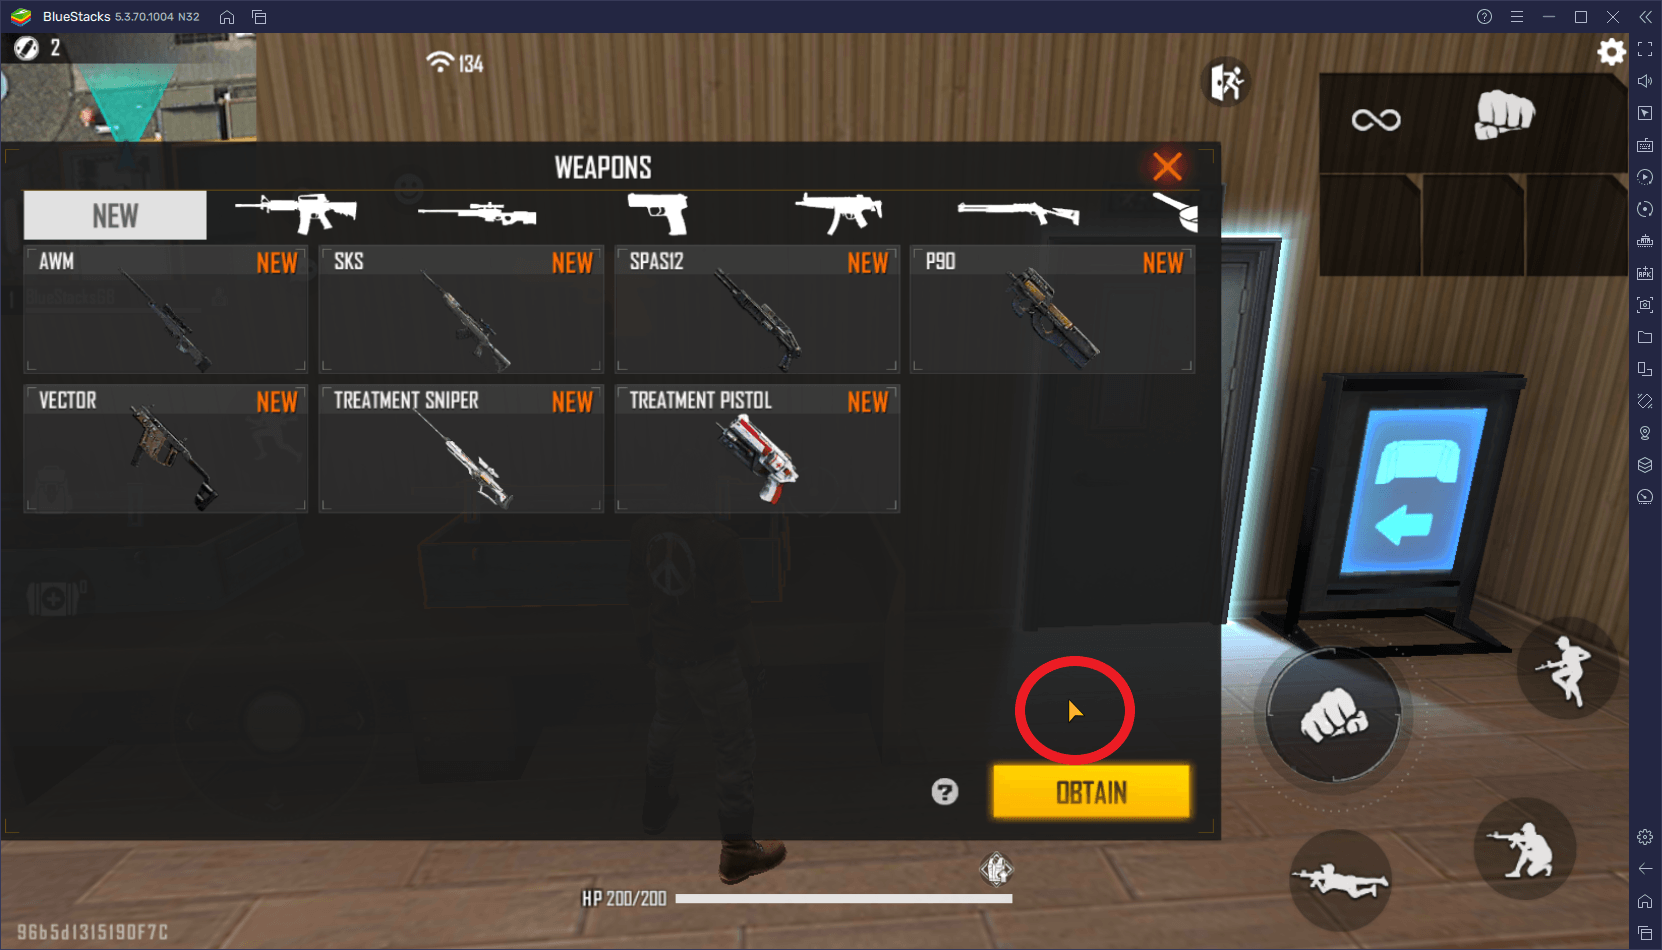
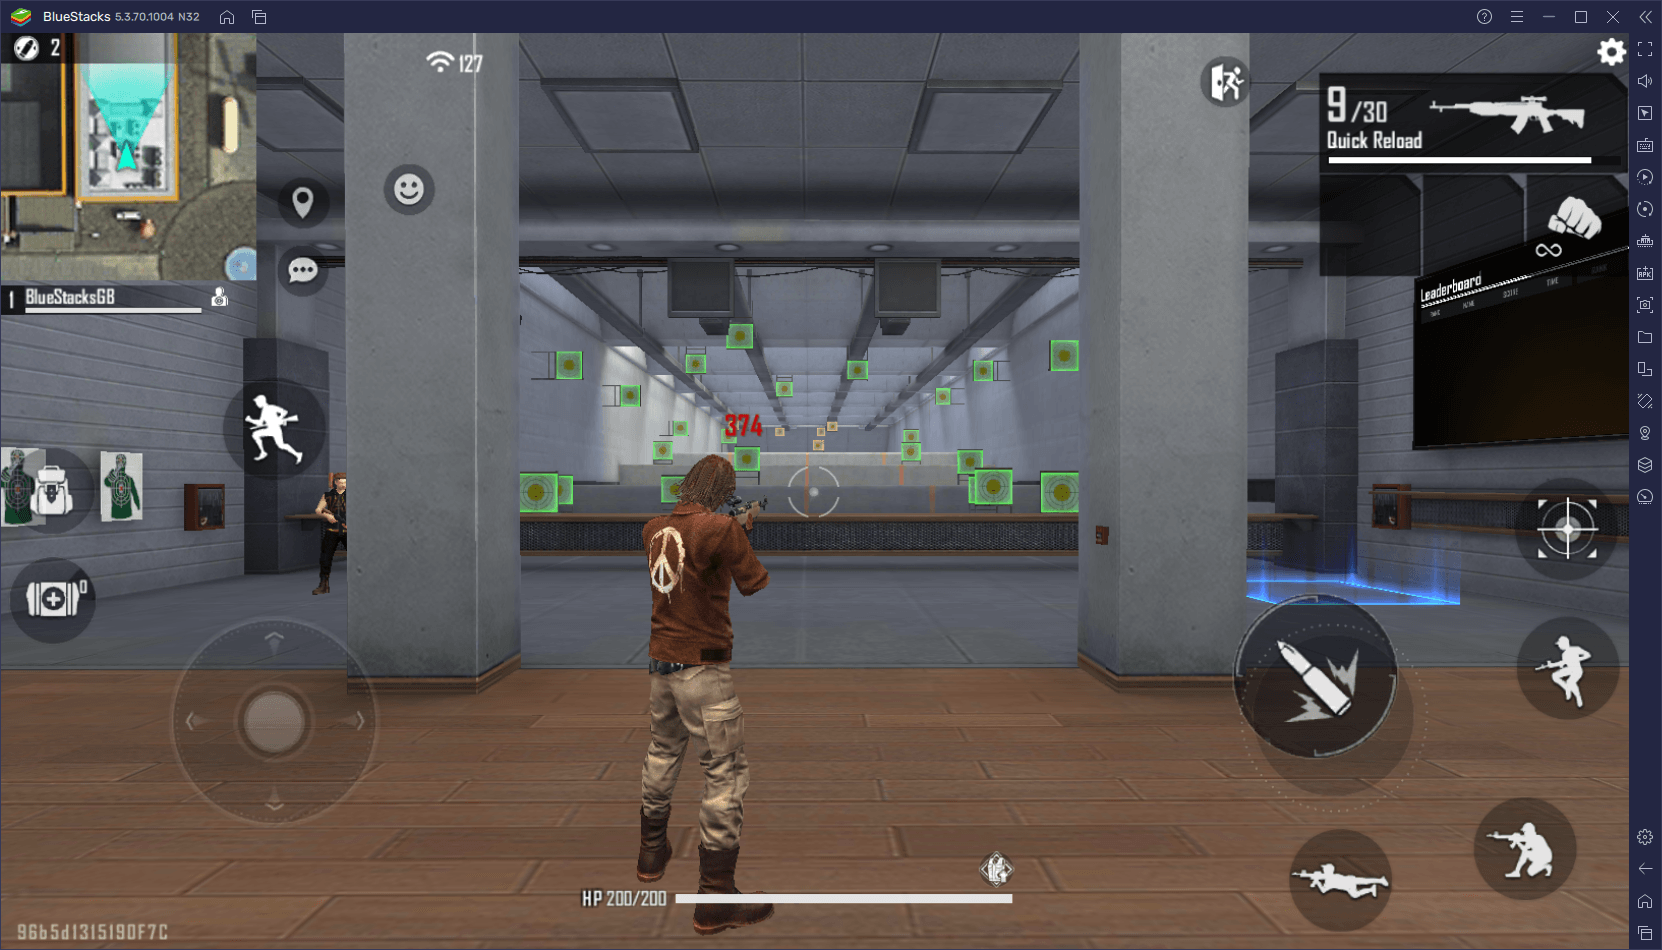
Caption: Cursor when you need it; no cursor when you don’t. Smart Controls manage this aspect automatically so you don’t have to worry about it.
Smart Controls are enabled by default whenever you’re playing Free Fire MAX on PC. Just remember to update to the latest version of BlueStacks if you don’t have them in your current client.
Adjust Your Aiming Sensitivity to Easily Get Those Headshots
An important aspect of the Keymapping Tool is its versatility and the degree at which you can customize the controls. Specifically, you can right-click on most of the functions in order to tweak their behavior. This includes the ability to fine-tune your aiming sensitivity to suit your preferences and make it much easier for you to line up headshots with speed and precision.
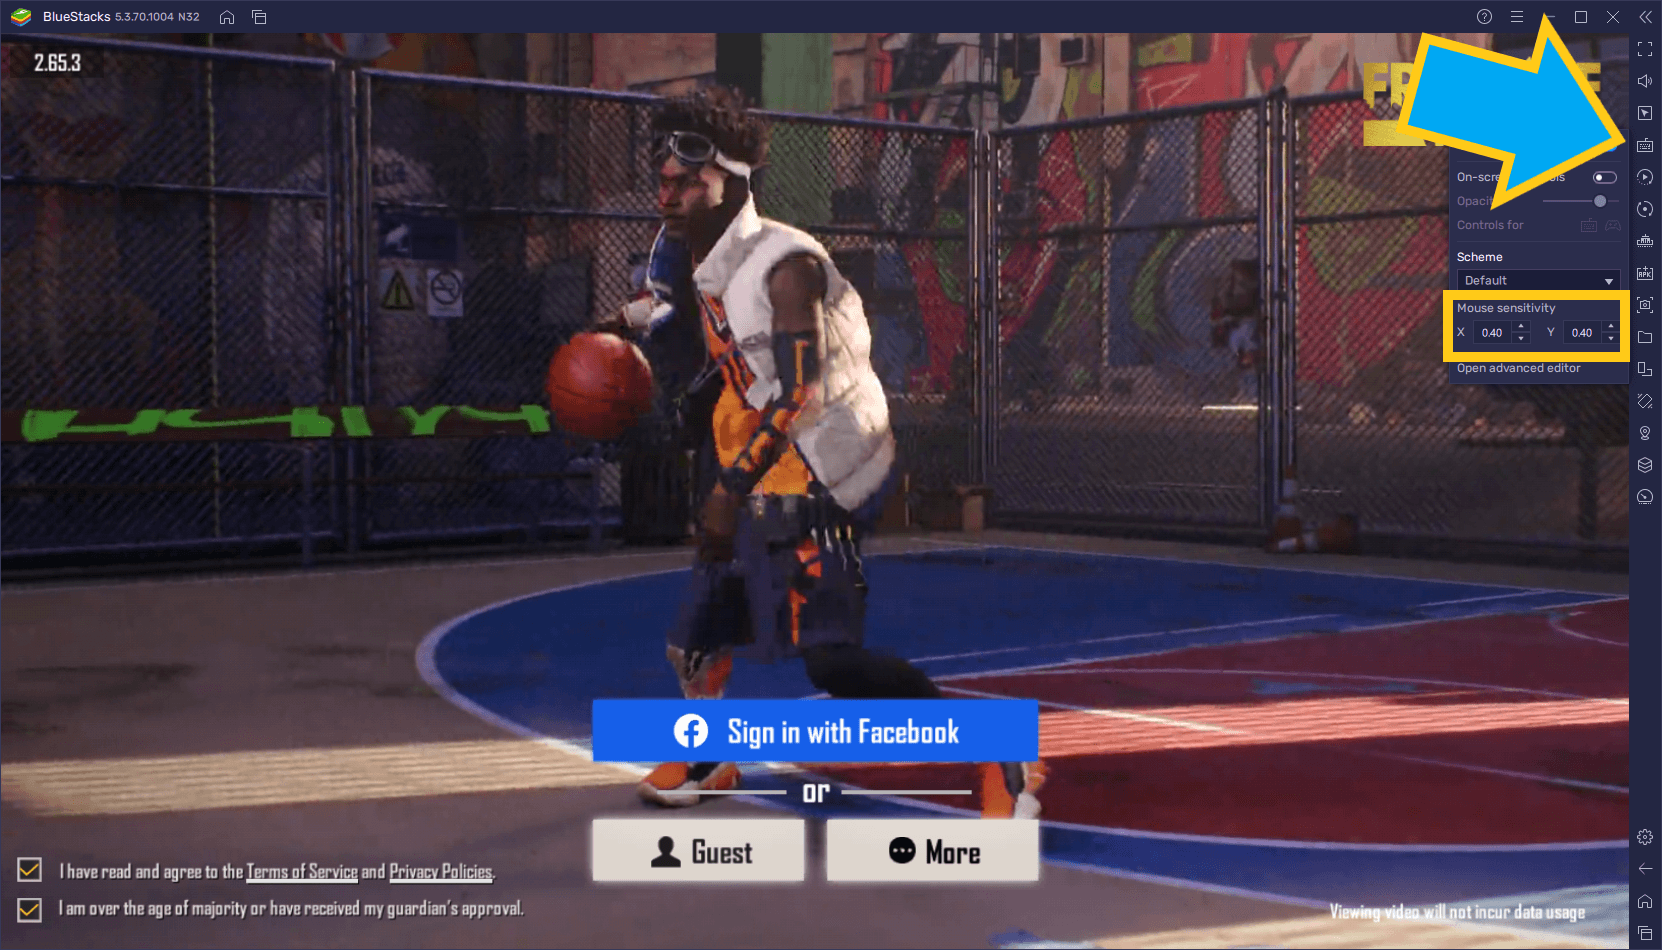
To tweak the aiming sensitivity in Free Fire MAX using the Keymapping Tool, you must simply open the keymapping menu by clicking on the keyboard icon on the rightmost panel of your BlueStacks screen. In this small panel, you can tweak your aiming sensitivity by modifying the “Mouse sensitivity X” and “Mouse sensitivity Y” settings. Both these settings are configured to 0.40 by default, though you can input a new value to suit your preferences.
Just remember to try out your new config in training mode before jumping into a real match.
Get the Best Controls With the Keymapping Tool
And of course, no Keymapping Tool would be complete without the ability to change and modify control schemes at the user’s behest.
While mobile players need to stick with clunky and uncomfortable touchscreen controls that can negatively impact accuracy and precision and offer no physical feedback to the user, those who play Free Fire MAX on PC can use the Keymapping Tool to create the best control schemes using their mouse and keyboards. By playing using your computer peripherals, you not only get a familiar experience, since you’re controlling the game as you would a PC shooter, but you also get much better precision thanks to using your mouse to aim instead of a virtual joystick.
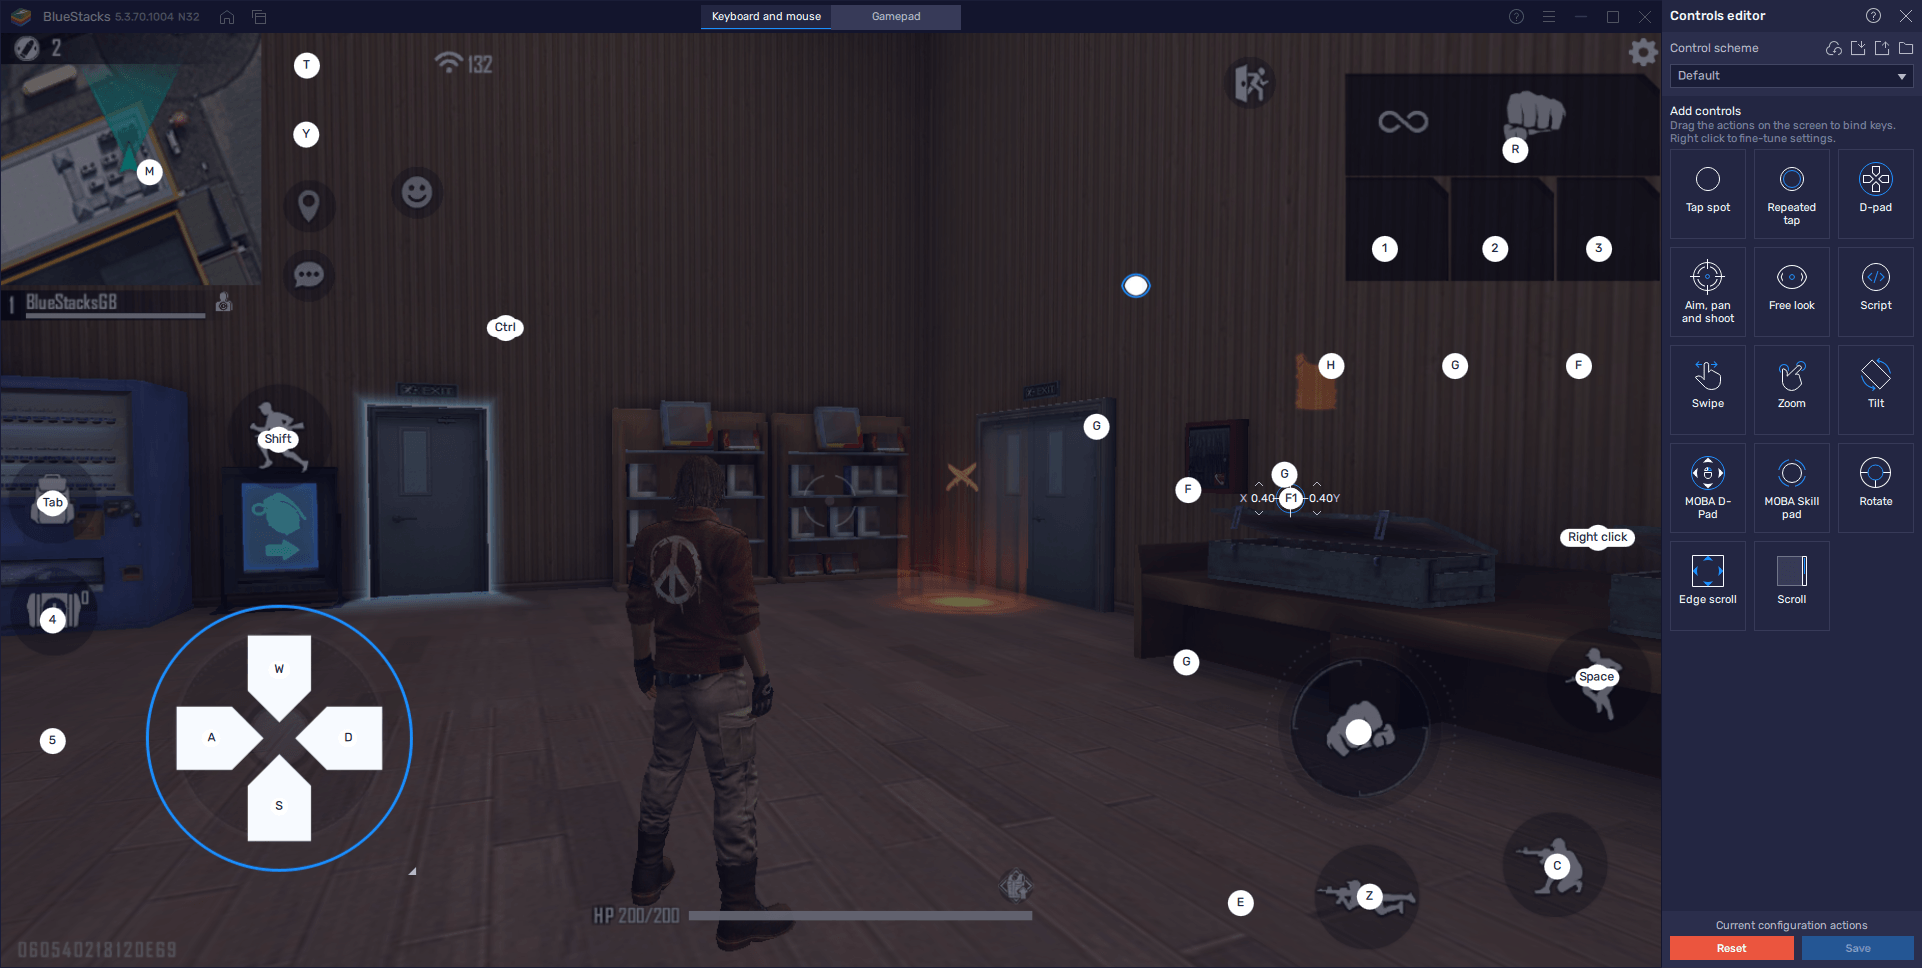
In order to access the Keymapping Tool, you only need to press Ctrl + Shift + A while in-game. In this screen, you’ll find your current bindings, which are created by the team at BlueStacks and cover most of the essential combat controls. You can modify these bindings simply by clicking on them and then pressing the key you want to replace them with. Furthermore, you can drag new functions from the rightmost panel and drop them anywhere on the screen to add new controls; just remember to assign them their bindings before closing the window.
It goes without saying that having good controls in a game like Free Fire MAX will help you to move around with ease, to take cover without missing a beat, and make it much easier for you to get headshots. Just remember to turn off aim assist in-game so that you can line up those headshots without the game auto-aiming to the target’s chest.
Adjust Your Settings to Obtain the Best Graphics and Performance
One of the selling points of Free Fire MAX is its improved graphics and performance. In fact, one could argue that the only reason to play this version is to get a better experience with the visuals, particularly since this is essentially the same game as its predecessor—you can even synchronize your progress with your existing Google account, and play on both versions if you want.
However, as we mentioned above, in order to get the best graphics, you’d need a good phone, or else you’d be stuck with sub-par performance and shoddy visuals. Luckily, BlueStacks is much more powerful than any phone on the market, so you can easily tweak the settings to the max without having to worry about bad performance, battery drainage, or other problems that come from gaming on your phone.
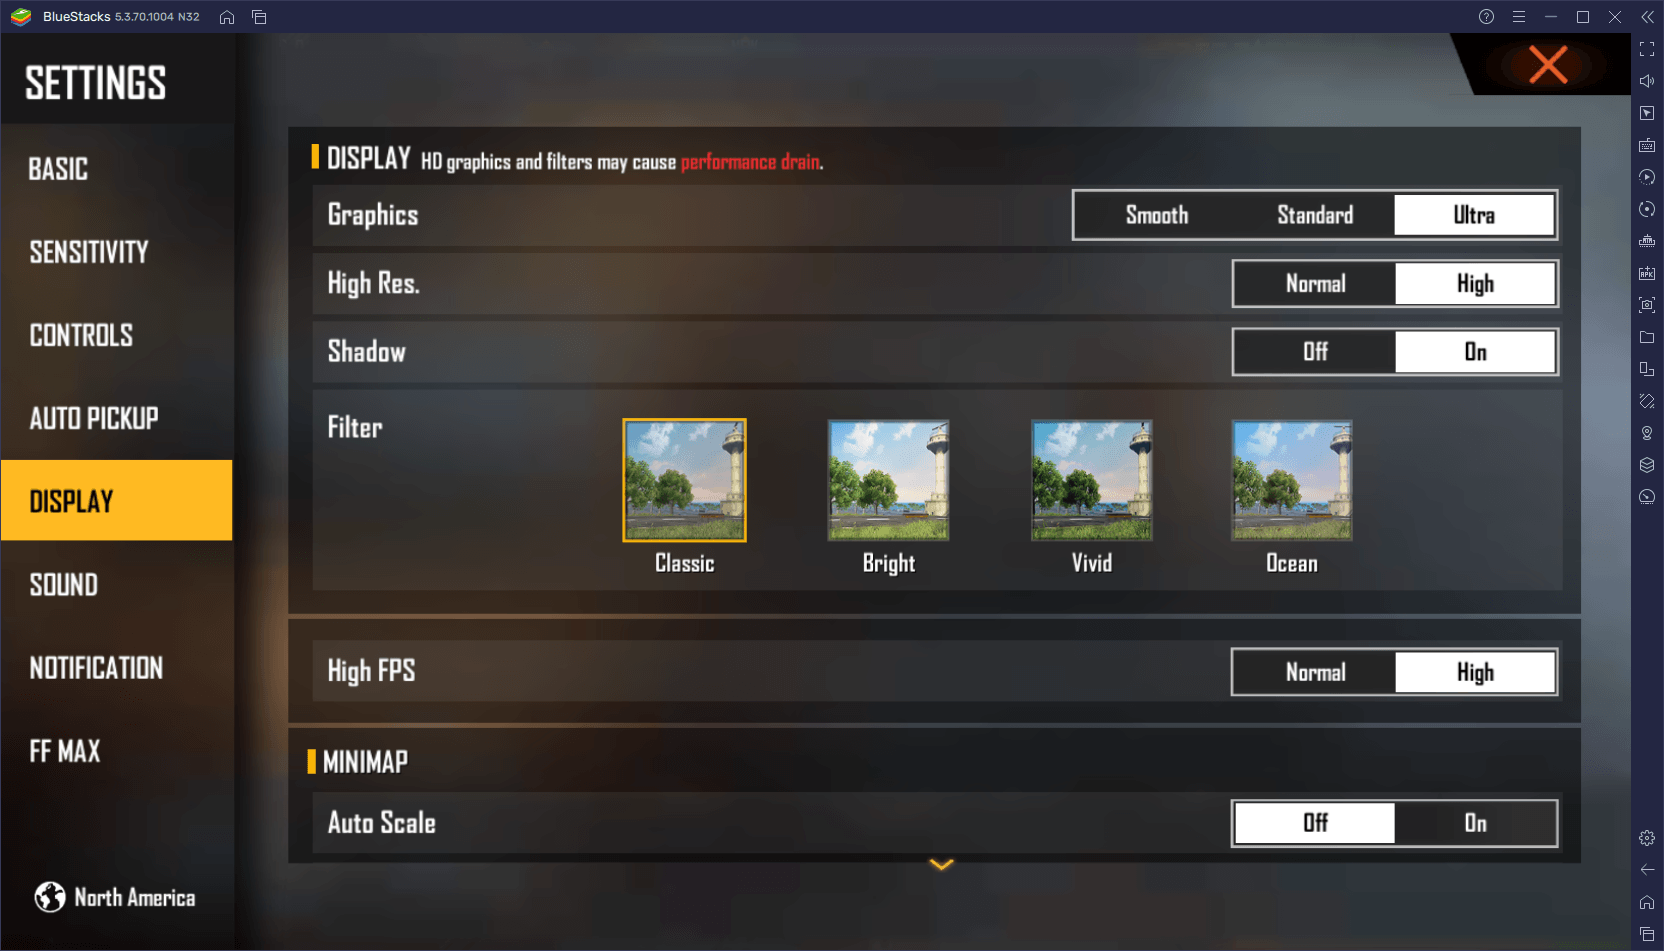
Just remember to check the in-game settings before playing to ensure that you have the proper configuration to enjoy everything that this game has to offer.

