LifeAfter on PC: How to Survive Your First Expeditions

While the game is available on Play Store, it does not work on BlueStacks at this time. Please check this space for updates.
LifeAfter gives you plenty of room to grow as a new player, but when you start your first game, things can get a bit difficult. Sure, you’re not likely to encounter any trouble if you have a powerful friend with you or if you invest money in your character, but if you play solo and you want to stay F2P, then you might feel like quitting before you even get to the fun stuff.
This guide is a follow-up to our article on how to get started in LifeAfter. We focus particularly on those first few expeditions you have to take before you have a decent weapon, which is when most people actually quit. With these tricks up your sleeve, you’ll have your first gun in no time. At that point, you’ll be able to gather a lot more resources for your base and killing zombies will turn into a hobby.
1. First Things First: Get Ready
Before you head on out to your first adventure in Fall Forest, you might want to do the following:
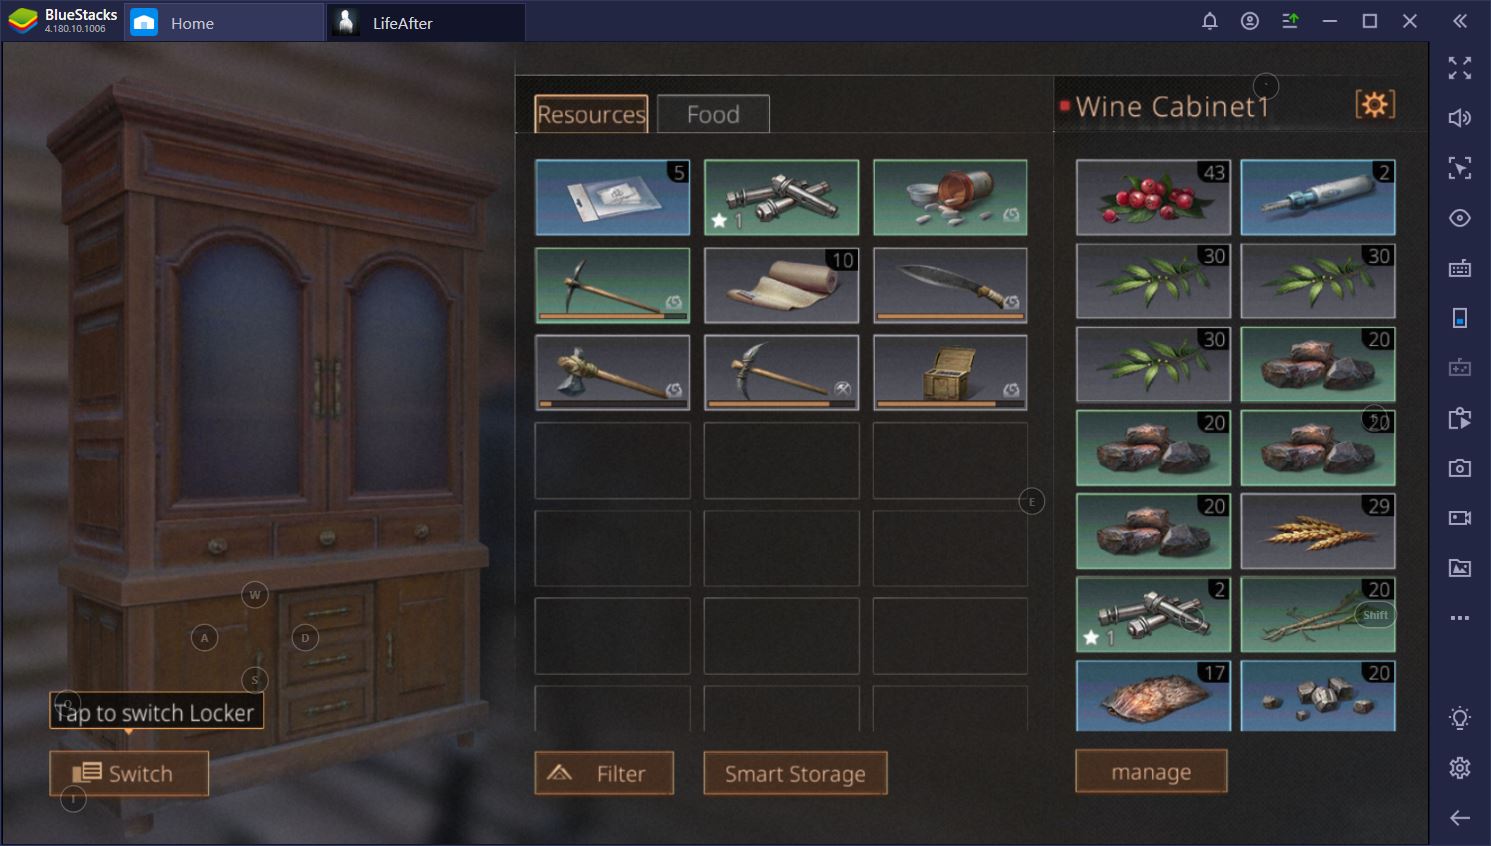
- It’s possible that you still have non-essential items in your backpack from the tutorial missions. If this is the case, you should drop them off in the Wine Cabinet before you take the helicopter to Fall Forest. It might not seem like it now, but backpack space will become insufficient very quickly even if you only carry necessary tools.
- During your first trip, you’ll focus mainly on gathering wood and stone, but if you want to do this effectively, you need the right tools. You should have gotten an axe and a pickaxe from the tutorial missions, but you still have to take them with you. These items lose durability with use and will eventually break. Still, they should be enough for your first few trips.
- Initially, your encounters with zombies and wildlife will be rough. If you have any bandages lying around the base, make sure to take them with you.
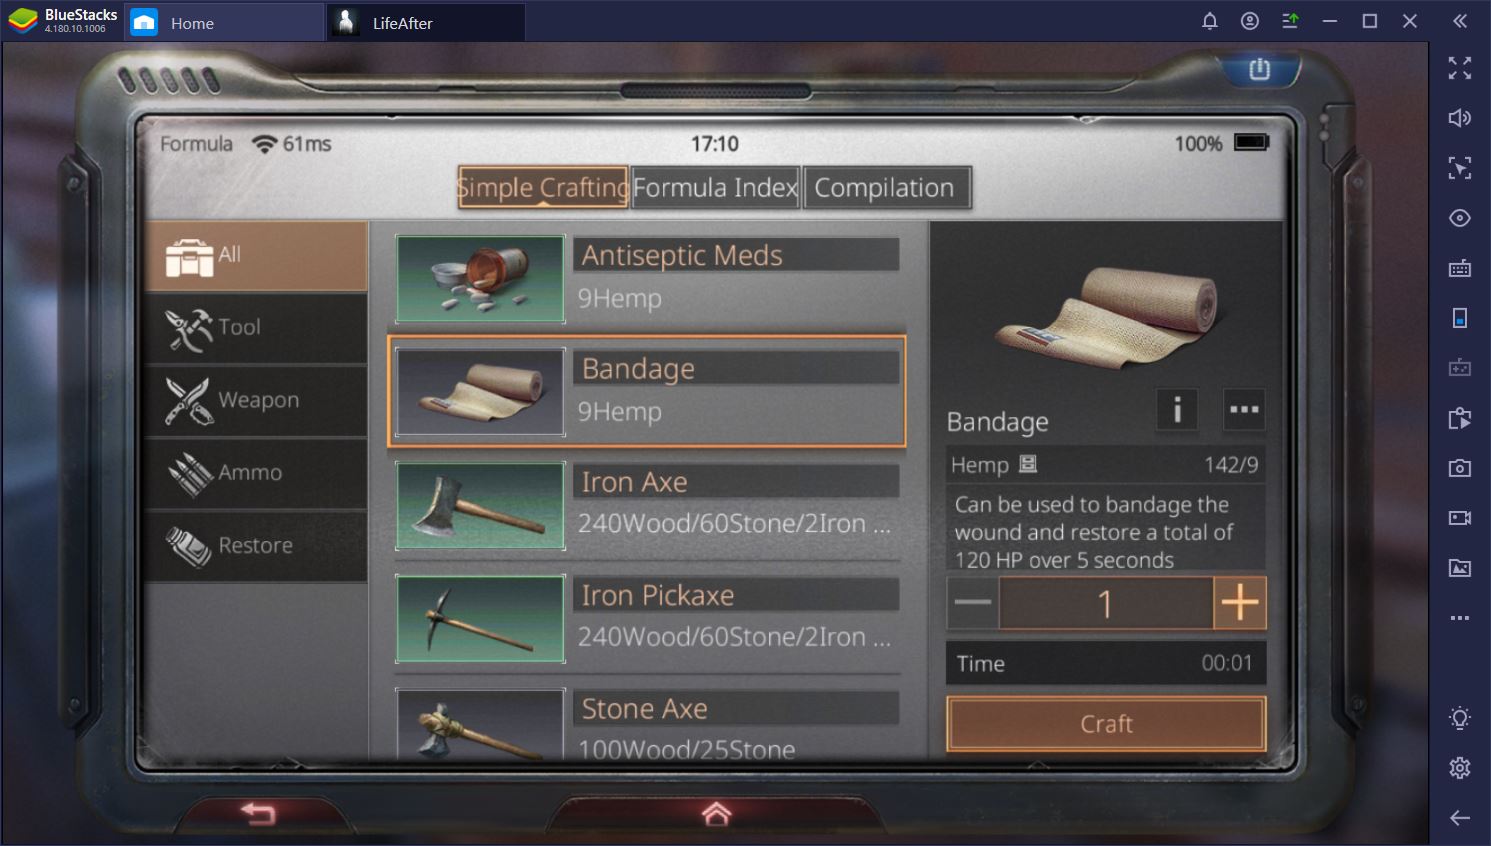
- Before you can craft your own gun, you’ll have to make do with the bow you got during the tutorial. You might want to craft another set of arrows if you’ve used a lot of ammo to defend your base against the initial invasion. There are a few trees and rocks near your home, so you should have all the resources you need.
Now that you have a weapon, ammo, the right tools, and free backpack, it’s time to hop on the helicopter and head out to Fall Forest. Don’t forget to bring some food with you if you have any inside the base. You’ll spend quite a bit of time in the forest and you’ll have to keep yourself full until you get back.
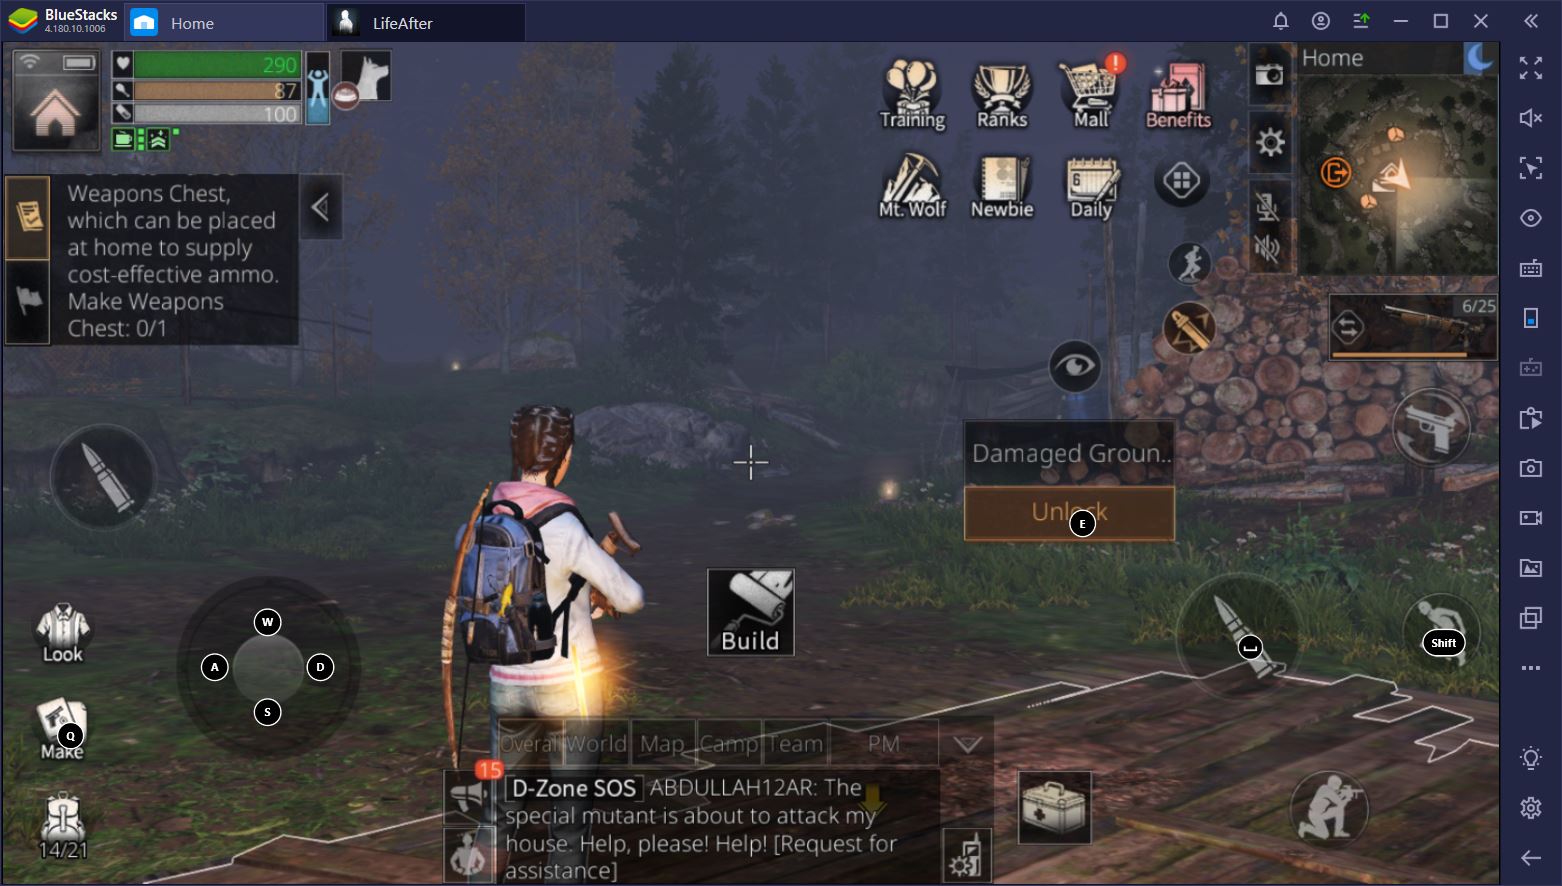
2. Into Fall Forest: How to Not Get Killed Right Away
When you first land in Fall Forest, you might be tempted to run out of the helicopter and start shooting at things. After all, killing zombies has been pretty easy thus far, so why not have a bit of fun? The thing is, zombies are a lot easier to kill during the tutorial than they are in the game proper. Since you’re wearing no armor and have nothing but a bow to defend yourself with, it might be best to avoid hostiles for as long as possible.
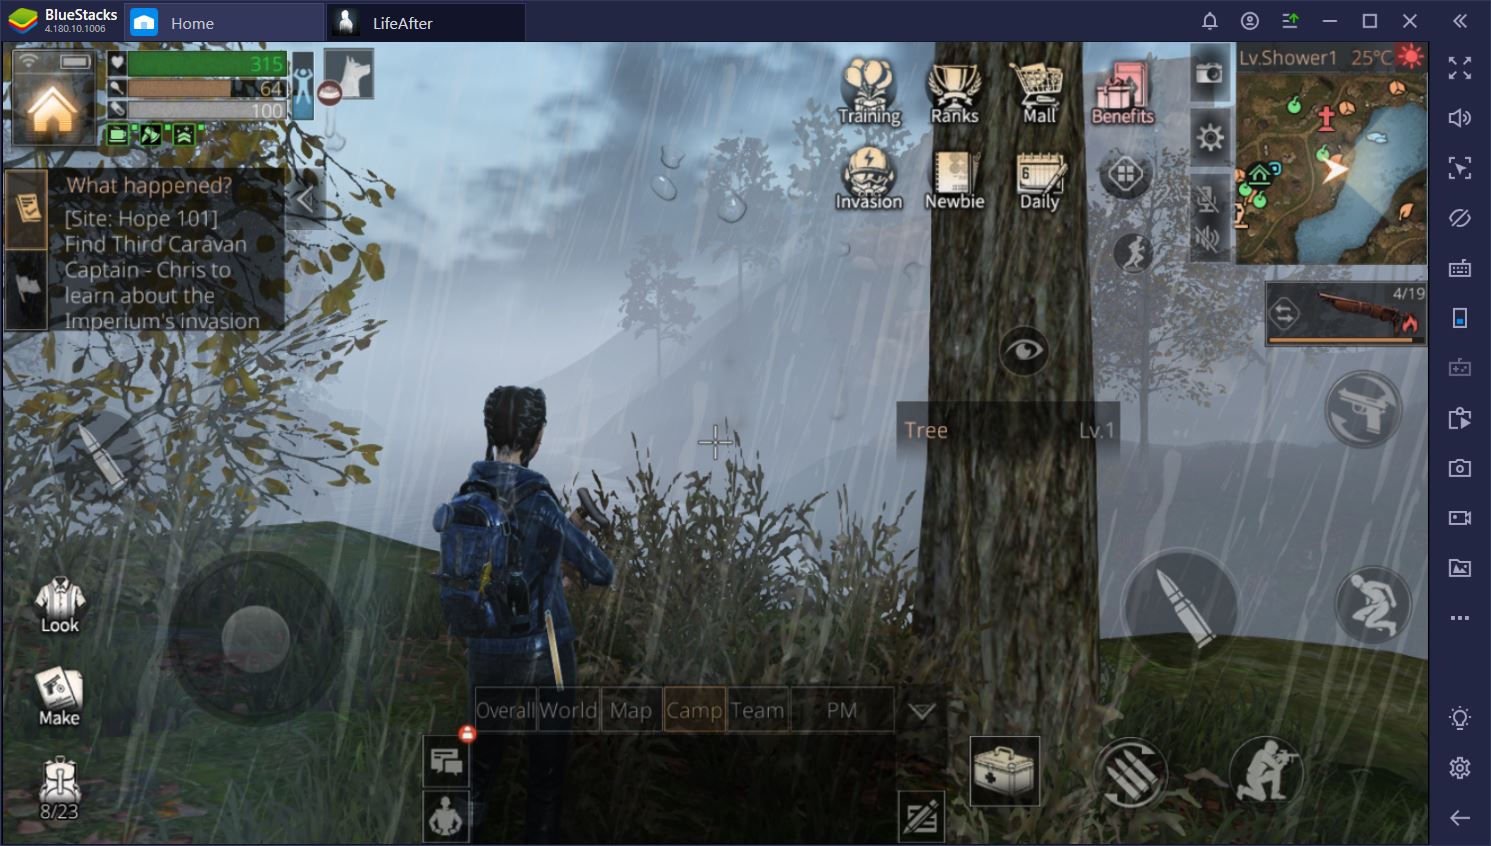
The good news is that you won’t have to deal with too many zombies in Fall Forest, provided that you travel during the day. If your helicopter lands at night, stay inside the safe zone until dawn. Then, you can start exploring the nearby surrounding area for wood and stone.
If, by accident, you get caught outside at night or you aggro a zombie or wolf, you can get rid of them by running. Fortunately, they do let you go at some point, which makes it possible to survive early on. Whatever you do, we recommend that you don’t try and pick a fight. Even though it is possible to kill things with a bow, it can be very difficult and you will take a lot of damage in the process. If you the get caught off guard by a thunderstorm, you might just die and have to respawn with fewer resources.
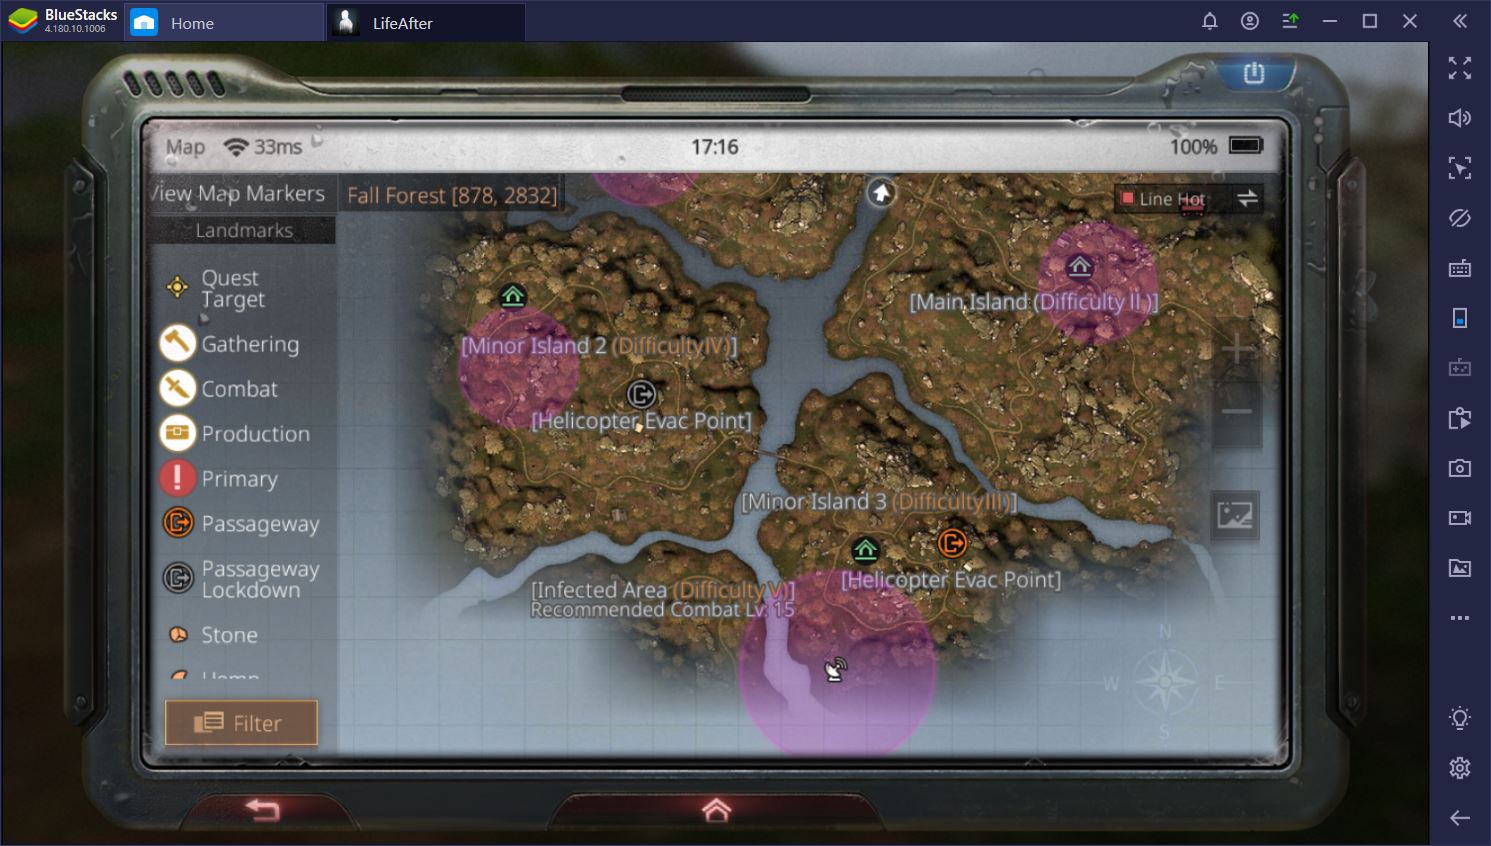
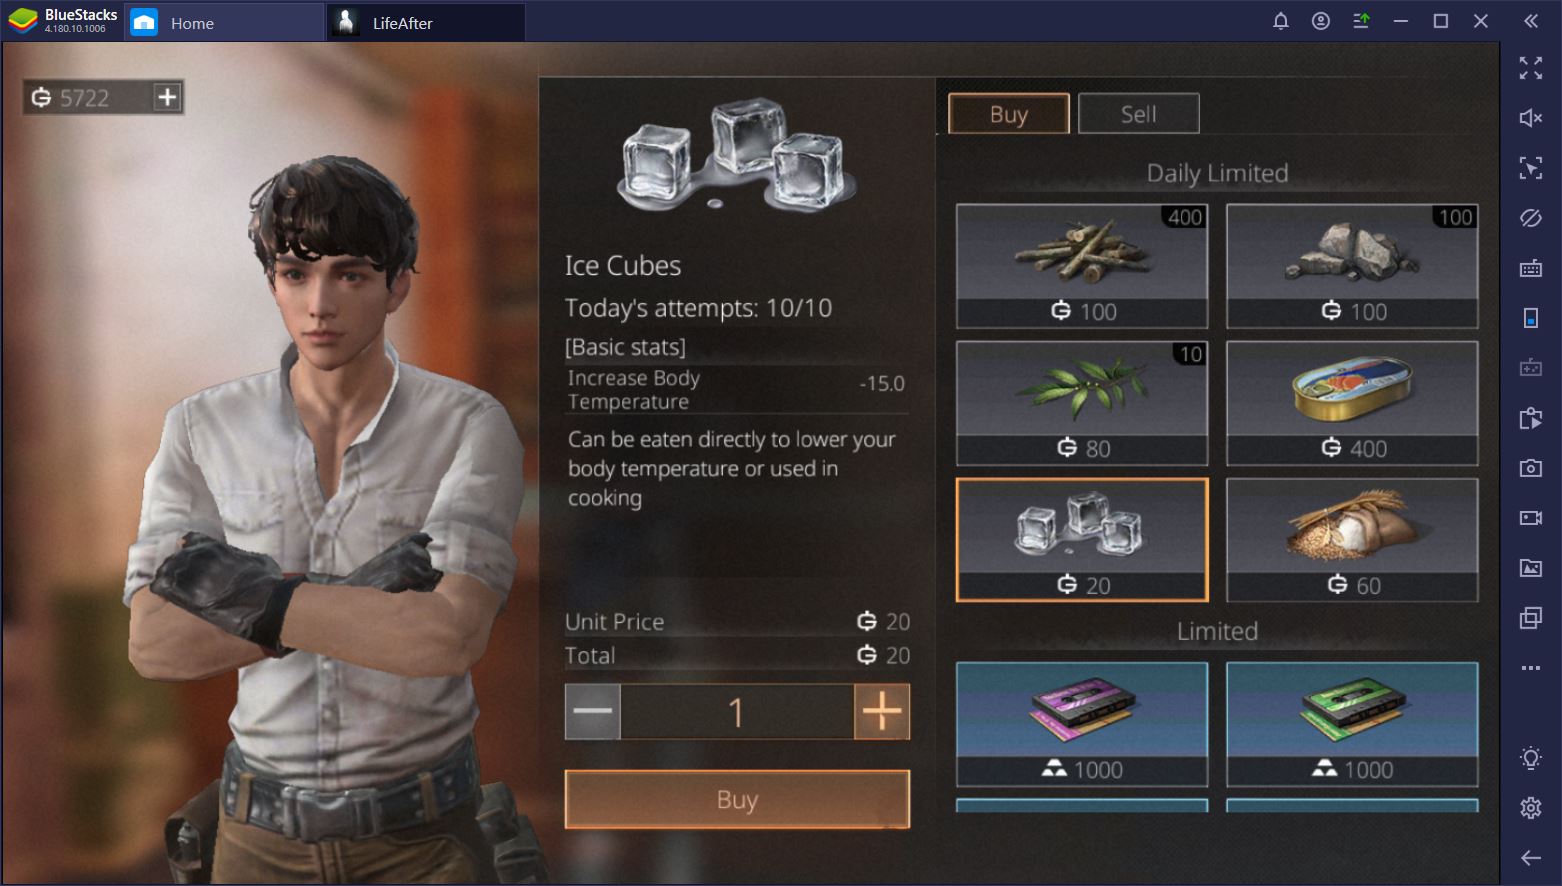
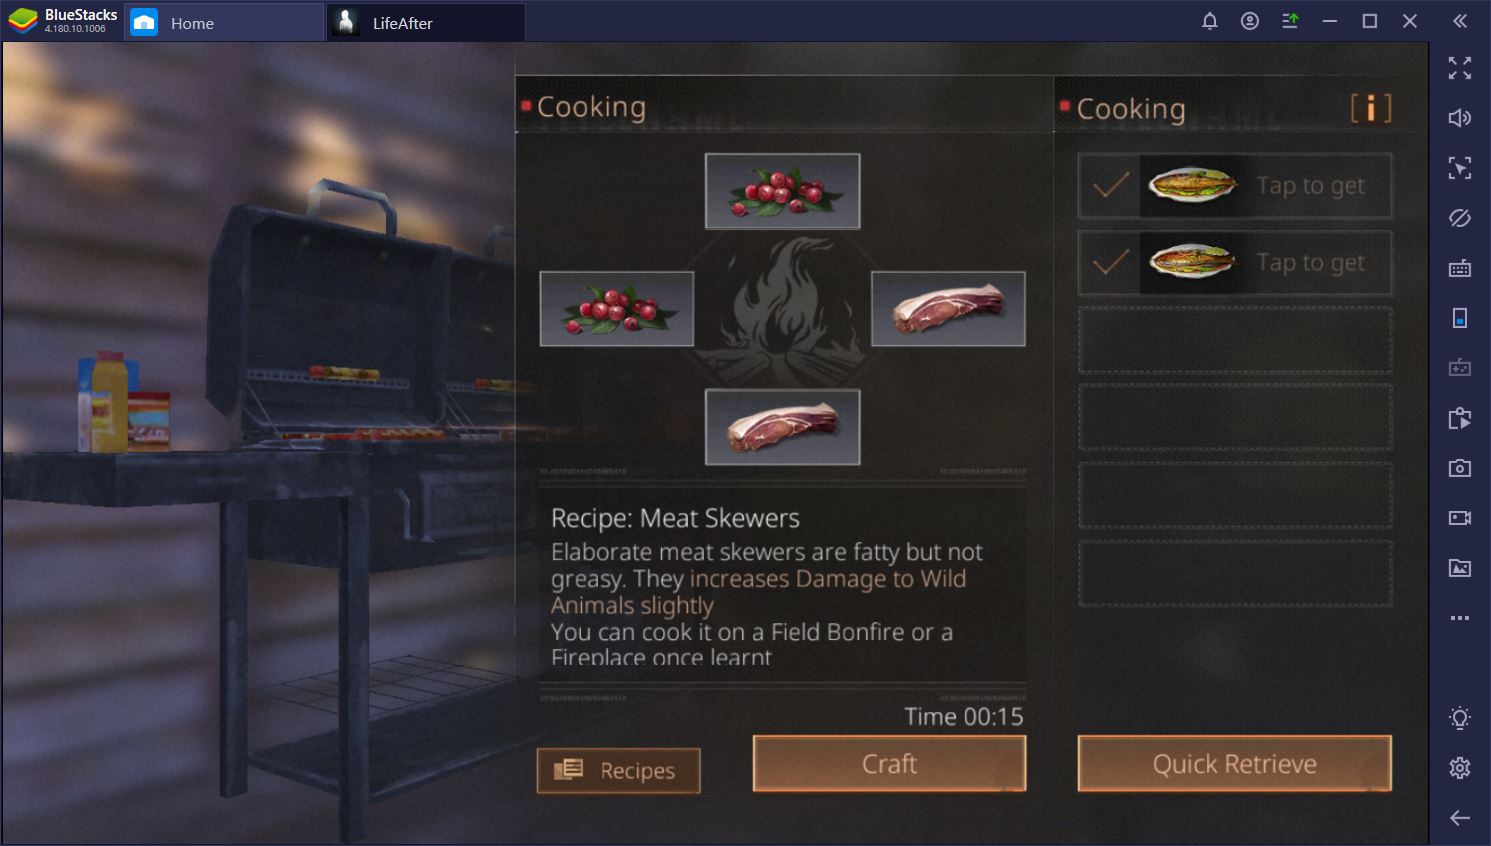
Speaking of the weather, take note of the safe houses on the map before you venture too far from your drop-off location. These are represented by green houses on the minimap and they are your main shelters during poor weather and nights. They also have fireplaces inside, so you can cook any berries you find during the day for a boost in satiety. The higher your hunger meter, the easier it is to run and gather things.
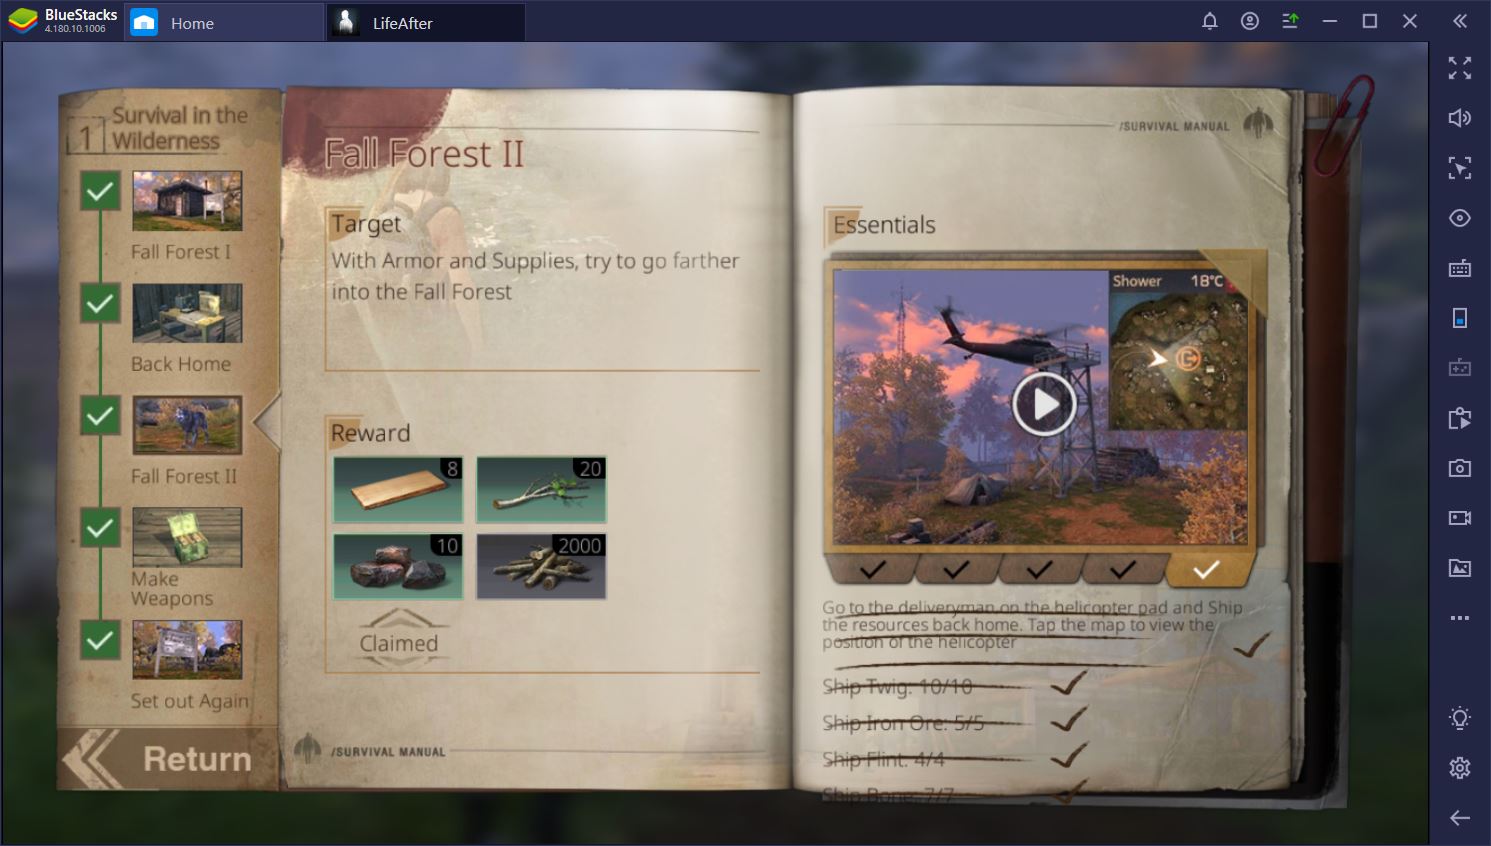
The last piece of advice we can give you for your first expedition is to gather everything you see. Got some hemp in sight? Pick it up. Same goes for berries and rapeseeds, which will be your main source of food for some time. If your bag gets full, but you want to keep gathering things, you can always go to a helicopter point and ask the mailman to deliver everything in your bag to camp. Then, you can head back out for more.
3. Making Your First Gun
Tired of running away from zombies and basically anything that looks like it might attack you? Want to get your hands on one of those giant bear pelts? For that, you’ll need a gun. But don’t worry – making one is easier than you might think.
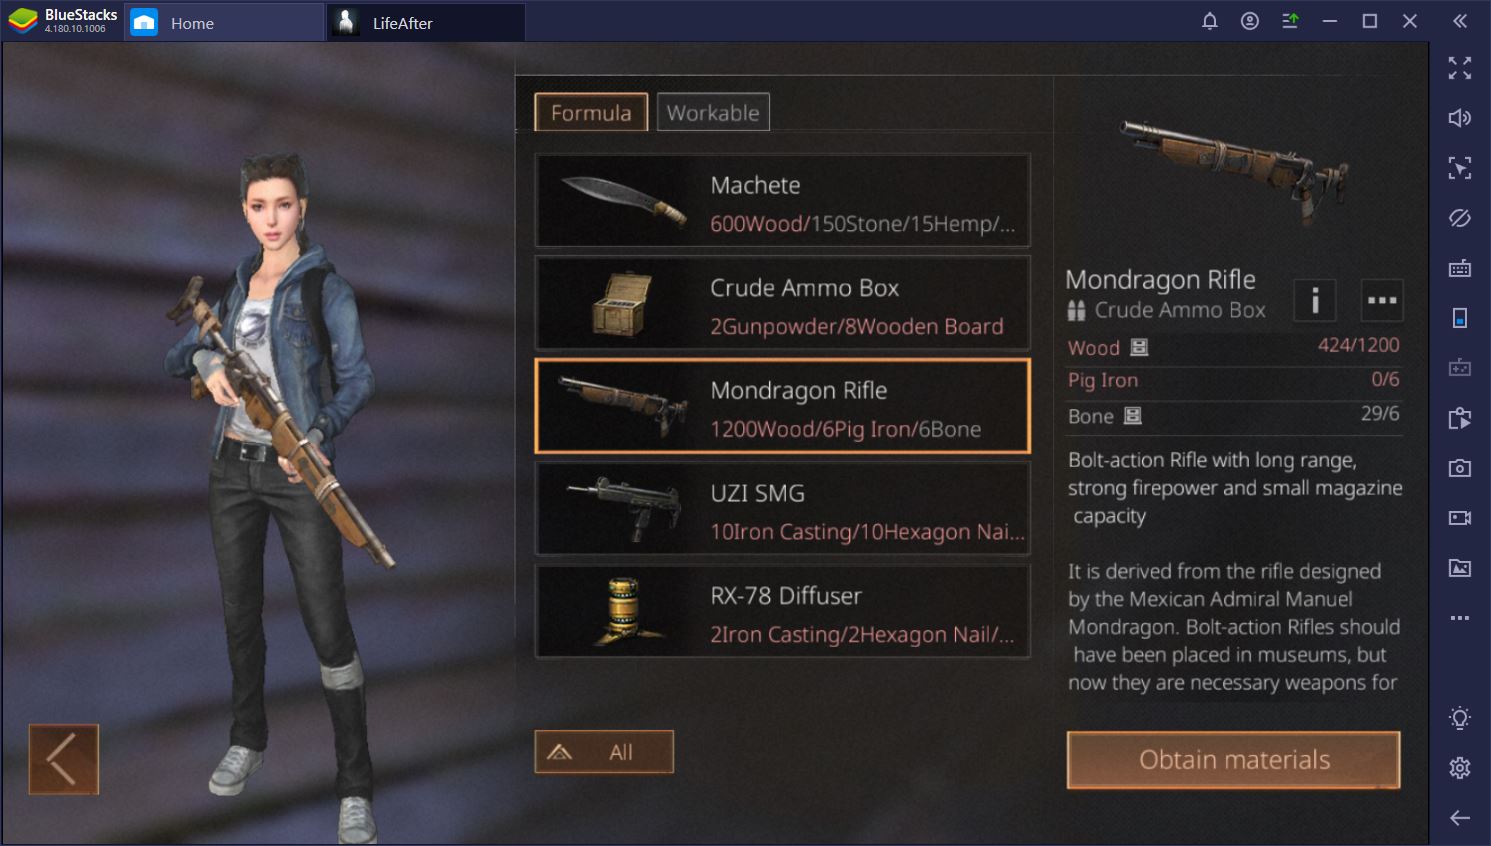
To create a gun at the weapons station in your base, you’ll need the following:
- 1200 Wood
- 6 Pig Iron (8 Iron Ore, 24 Twigs)
- 6 Bone.
You’ll also want to craft an ammo box to be able to fire the gun, so you can add 8 Wooden Boards (960 Wood) and 2 Gunpowder (1200 Wood, 300 Stone, and 4 Flint) to your checklist. As you already know from your first expedition, wood, twigs, stone, flint, and iron ore are fairly easy to find and collect.
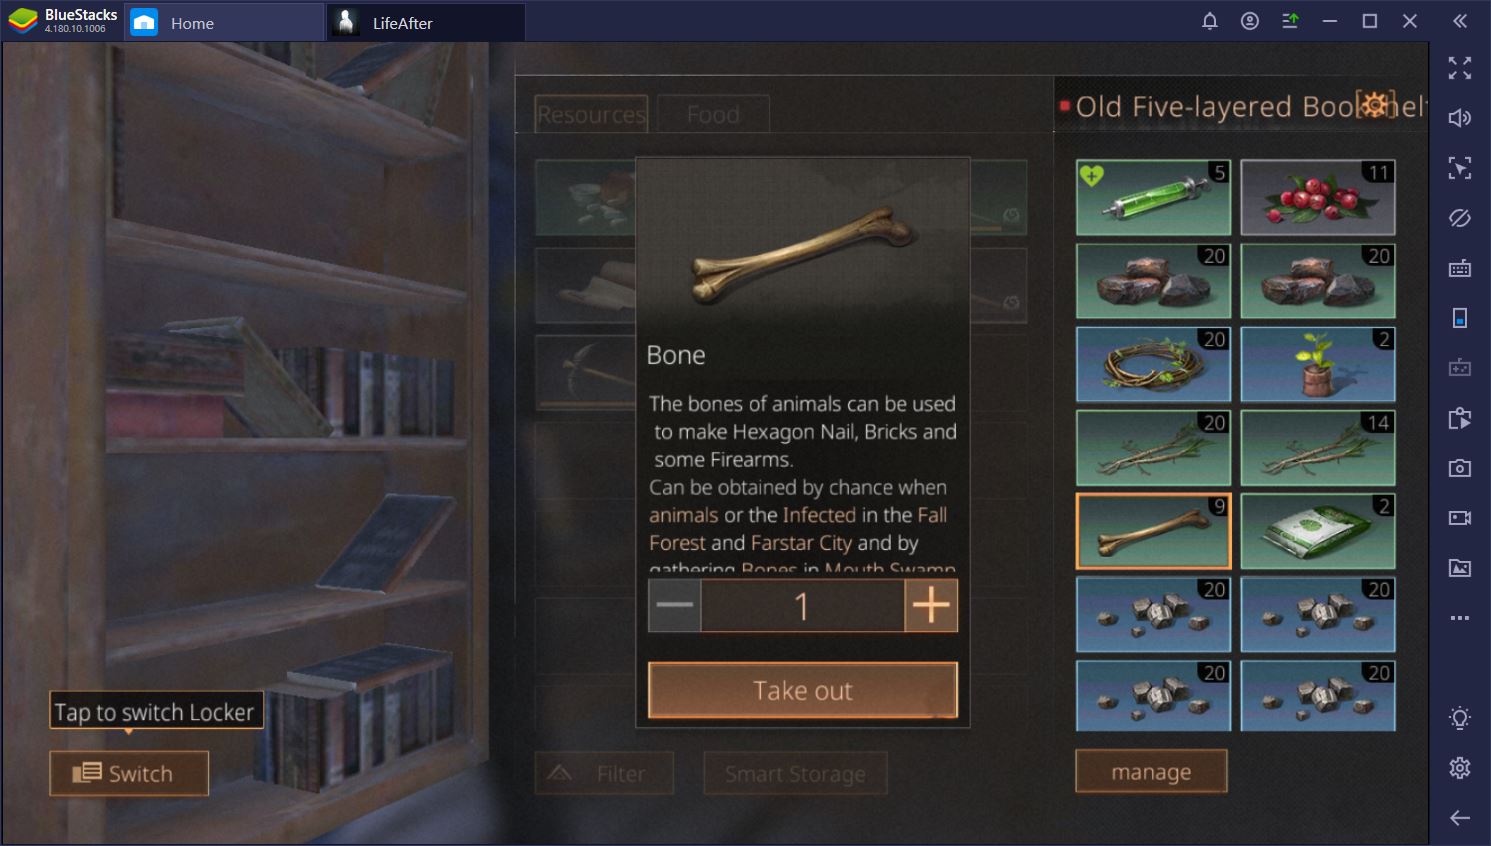
The only problematic items on the list are the bones, which you can only get from zombies or wildlife. This means that you’ll have to kill a few things using just your bow, but don’t despair. You can get bones from deer, which are pretty harmless and easy to kill. Just charge your bow fully before releasing an arrow (for maximum damage) and make sure to follow the wounded deer closely if it doesn’t die in one shot.
Once you have everything you need, you can head back home and craft yourself an excellent weapon. With a gun in hand, you’ll be able to tackle any creature in Fall Forest. This, in turn, will allow you to gather more resources and improve your base even further. Good luck to you!
Download BlueStacks Now