Minecraft Survival Mode - How to Survive the First Day and Set Up a Base
So you just started your first run ever of Minecraft in survival mode and don’t know what you should be looking for? Or maybe you’re a returning player from many versions ago and haven’t gotten your footing yet? Sandbox games like these have a way of perplexing the players due to the vast amount of content that they offer, causing them to wander around taking in the sights and pondering about what their first course of action should be. The problem with this is that, if you dawdle for too long and don’t get your head in the game, then it’s likely you won’t have a base ready come nighttime, which is when the nasty zombies, skeletons, and creepers rear their ugly mugs. Trust us, you don’t want to be caught out at night without shelter, especially if you still don’t have armor or weapons to defend yourself with.
So, without further ado, let’s dive in and get started. In the following paragraphs, you’ll find everything you need to get started with your first world in Minecraft, starting with how to actually create a world that you’ll feel at home in.
Creating a New World in Minecraft
The very first thing you need to consider when creating your new world is the settings. Some of these are set in stone, which means that, once you create the world, you can’t change them. However, some settings, like the difficulty, can be freely adjusted—some of them even when you’re in-game.
With that being said, once you create a new world, you can adjust many different parameters. Here’s a quick explanation on what each of these does:
- Name, Mode, and Difficulty: This is the basic information about your world in Minecraft. You can name it anything you want but refrain from using profanities or dirty language, especially if you’re thinking of hosting the world in Realms. The game mode can be set to either Survival, or Creative, but we’re going with the former for the purposes of this guide. Lastly, the difficulty determines how tough it is to survive in the world. If you’re not too fond of difficulty, you can simply set it to “Peaceful”, which turns off the hunger system and enemy spawns.
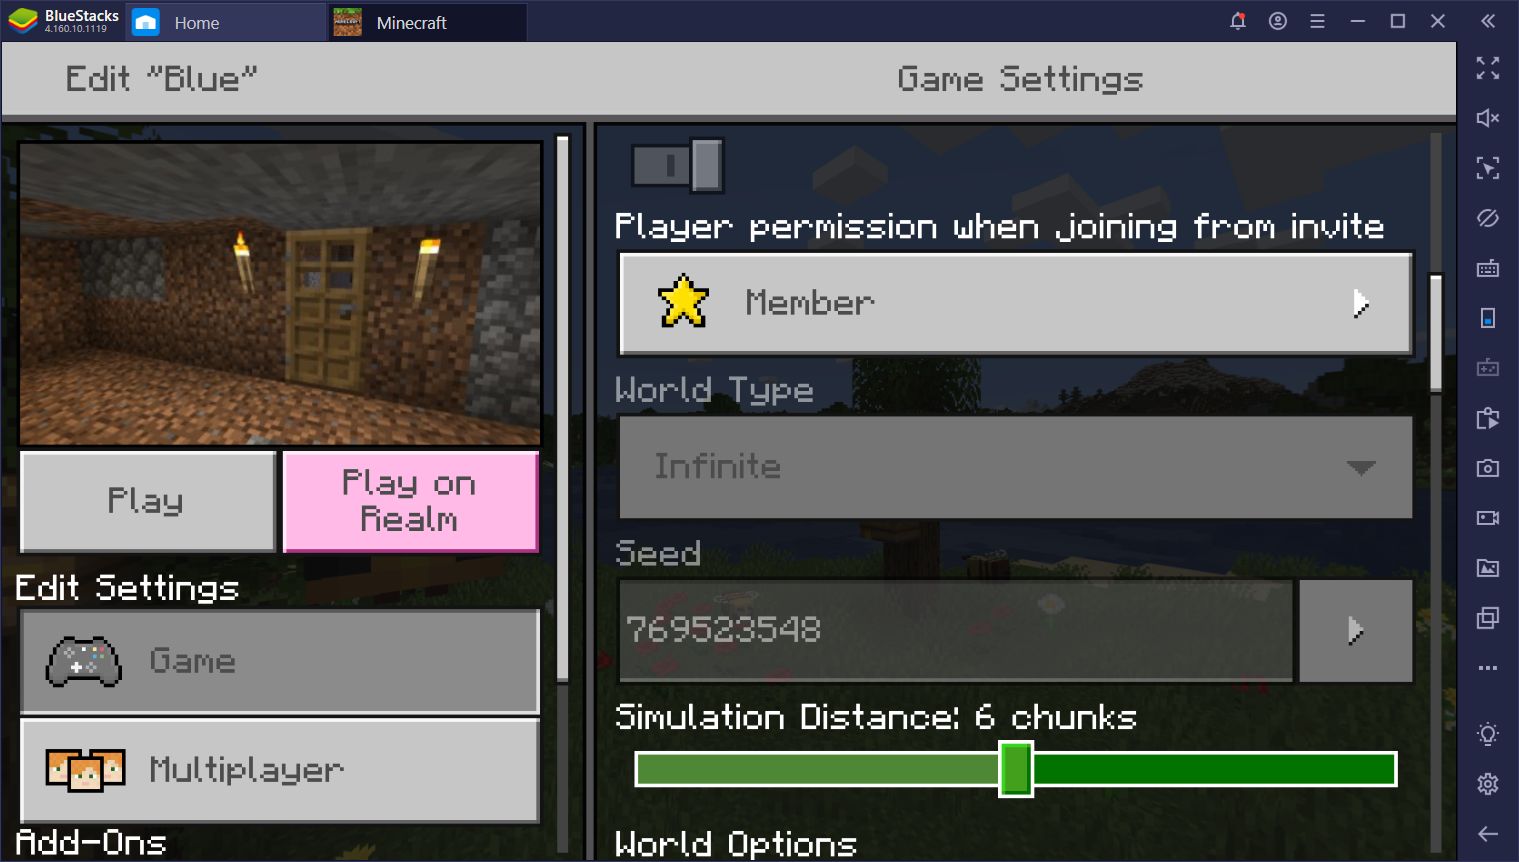
- World Preferences: There are two main settings in this category; Starting Map, and Bonus Chest. The former allows you to start your game with a crafted map, which lets you chart your world as you explore. Meanwhile, the latter option, if turned on, spawns a chest with a few goodies to get you started.
- World Type: There are three options to choose from here, though in reality only two of these are important. Here, you can choose if you want your world to be Infinite, Flat, or Old. The first option is Minecraft as we all know it; a random, procedurally-generated, infinite world. The second option creates a world that is completely flat. This option is mostly used in Creative mode for players who want a blank canvas to build their masterpieces in. The third mode creates smaller maps and is used on lower-end devices that can’t quite handle the requirements of Infinite mode.
- World Options: This category features a plethora of miscellaneous settings to customize your Minecraft experience, and includes options such as friendly fire, coordinates, HP regen, immediate respawns, and many others. These options are usually self-explanatory and can be toggled on or off to suit your preferences. These can also be modified even after creating the world.
Starting the Game
Once you’ve settled upon your settings, you can create your world and dive in. For the purposes of this guide, we’re assuming you’re playing the regular Minecraft experience, which is Survival mode with Normal difficulty.
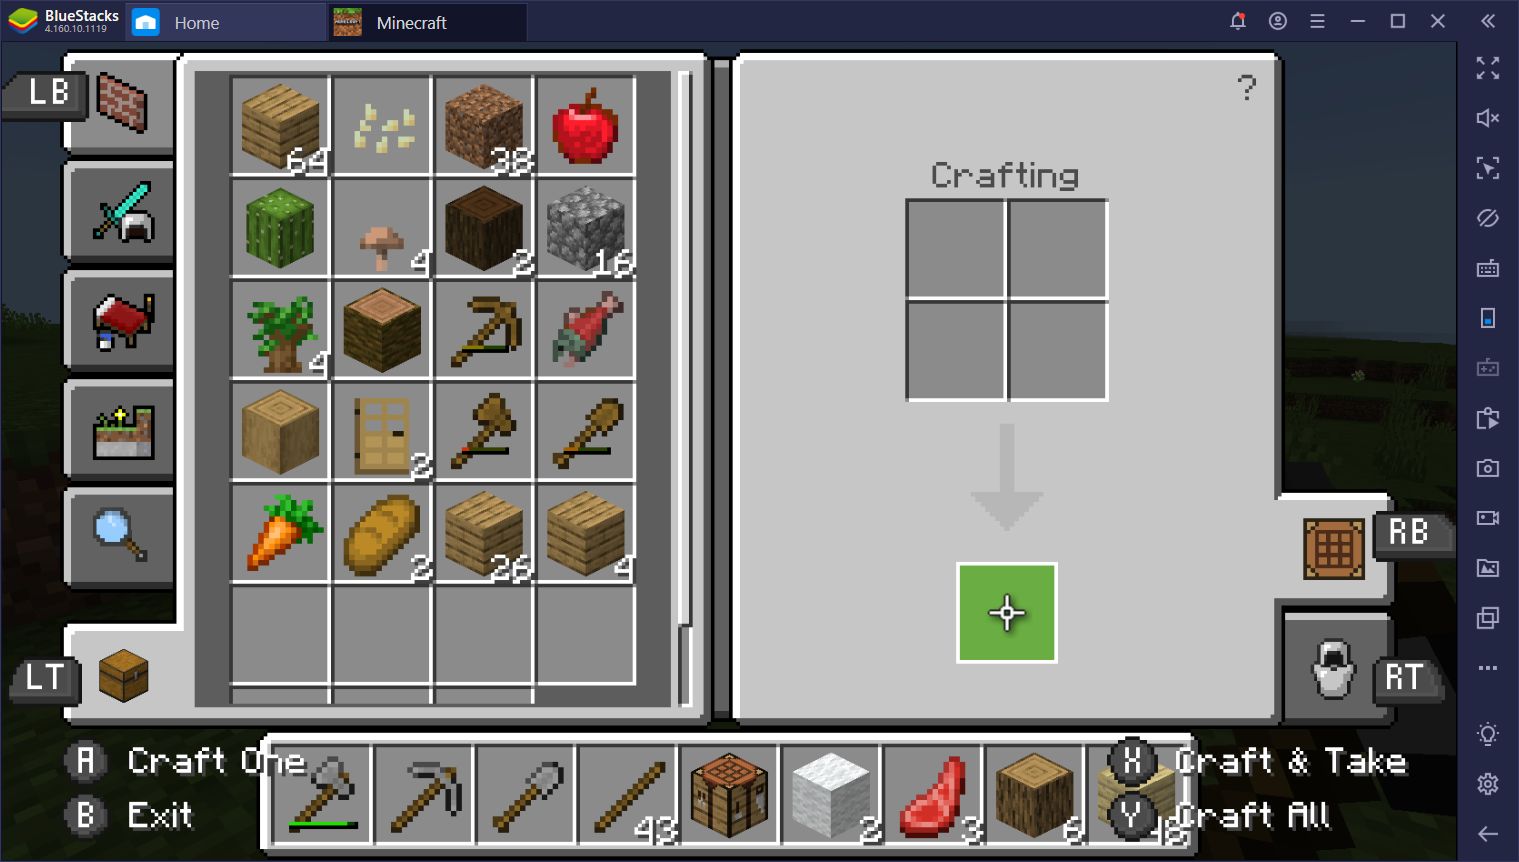
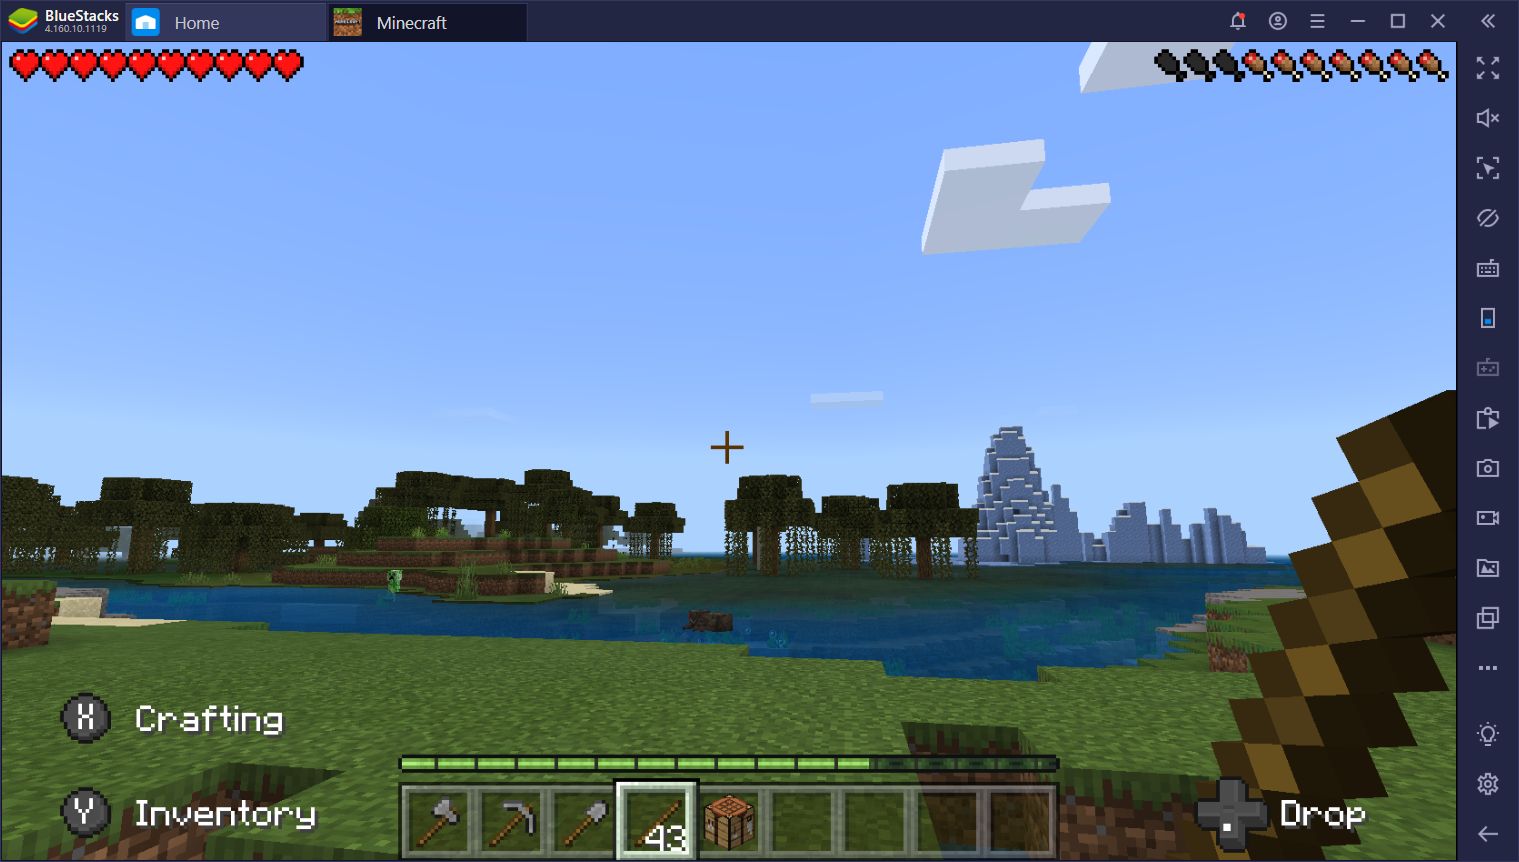
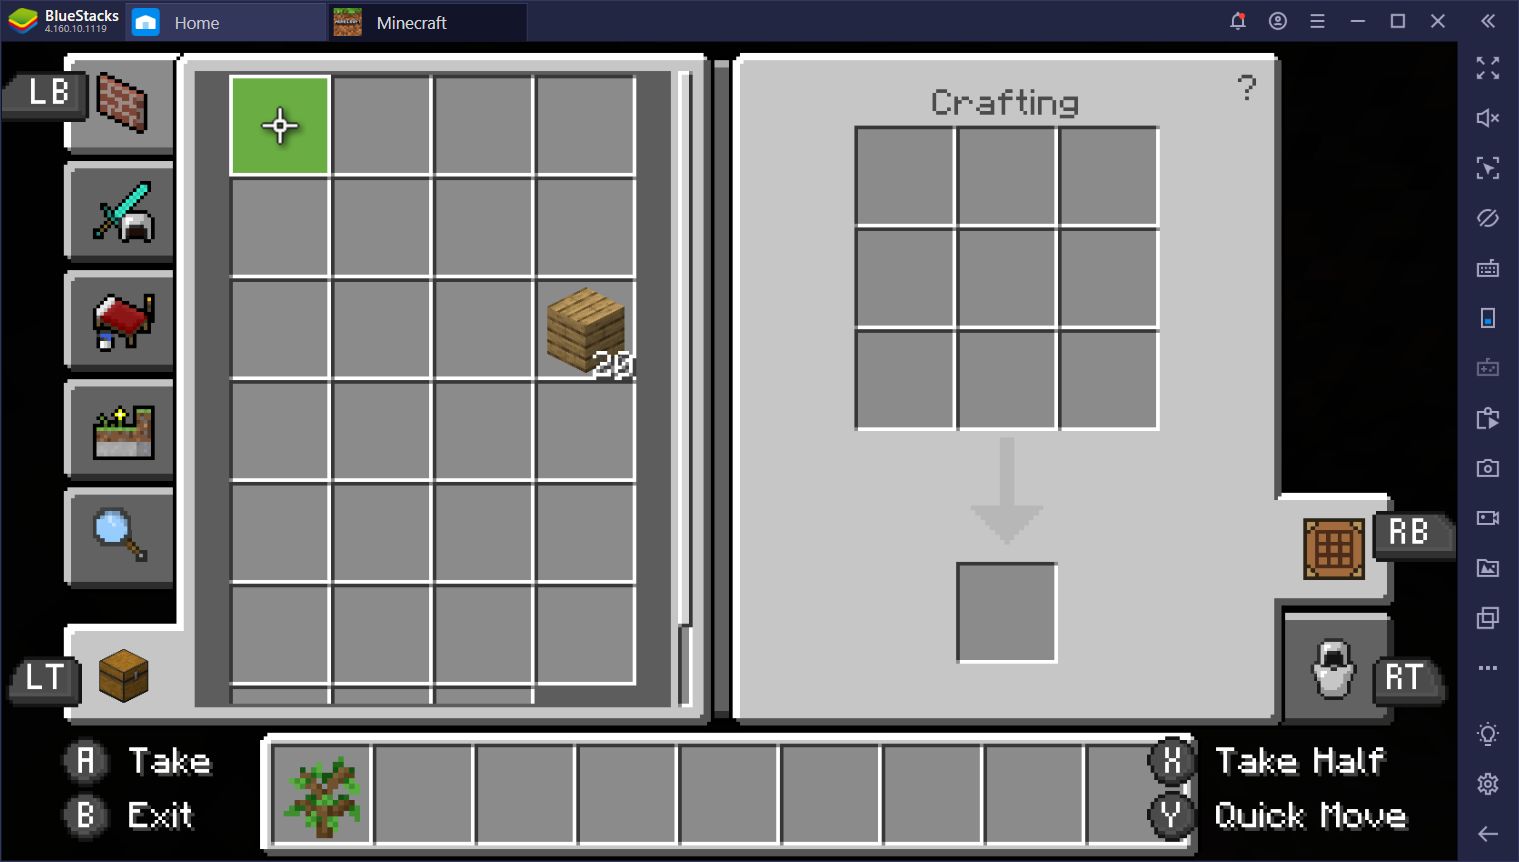
Your first contact with the game should be with your character appearing in a random location in your world surrounded by nature and with nothing but your firsts and your wits. By yourself, you can only craft a limited number of items. In fact, your personal crafting menu consists of a small 2×2 grid, which is enough to craft only the most basic of items. However, the most important item that can help to greatly expand your repertoire of craftable items, and that you’ll definitely need to get you started on your first shelter, is the crafting table.
My First Crafting Table
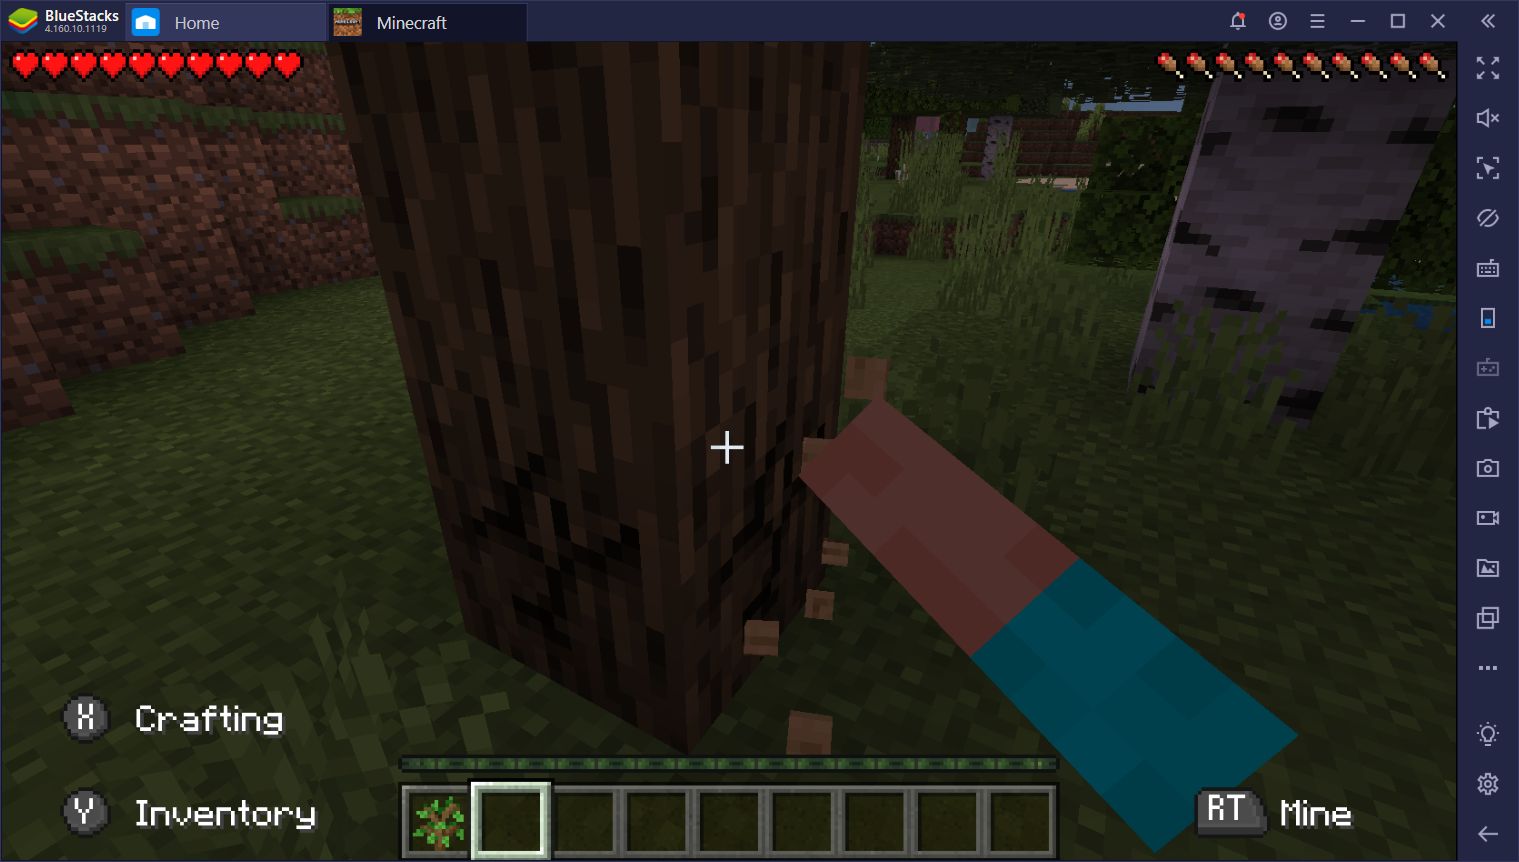
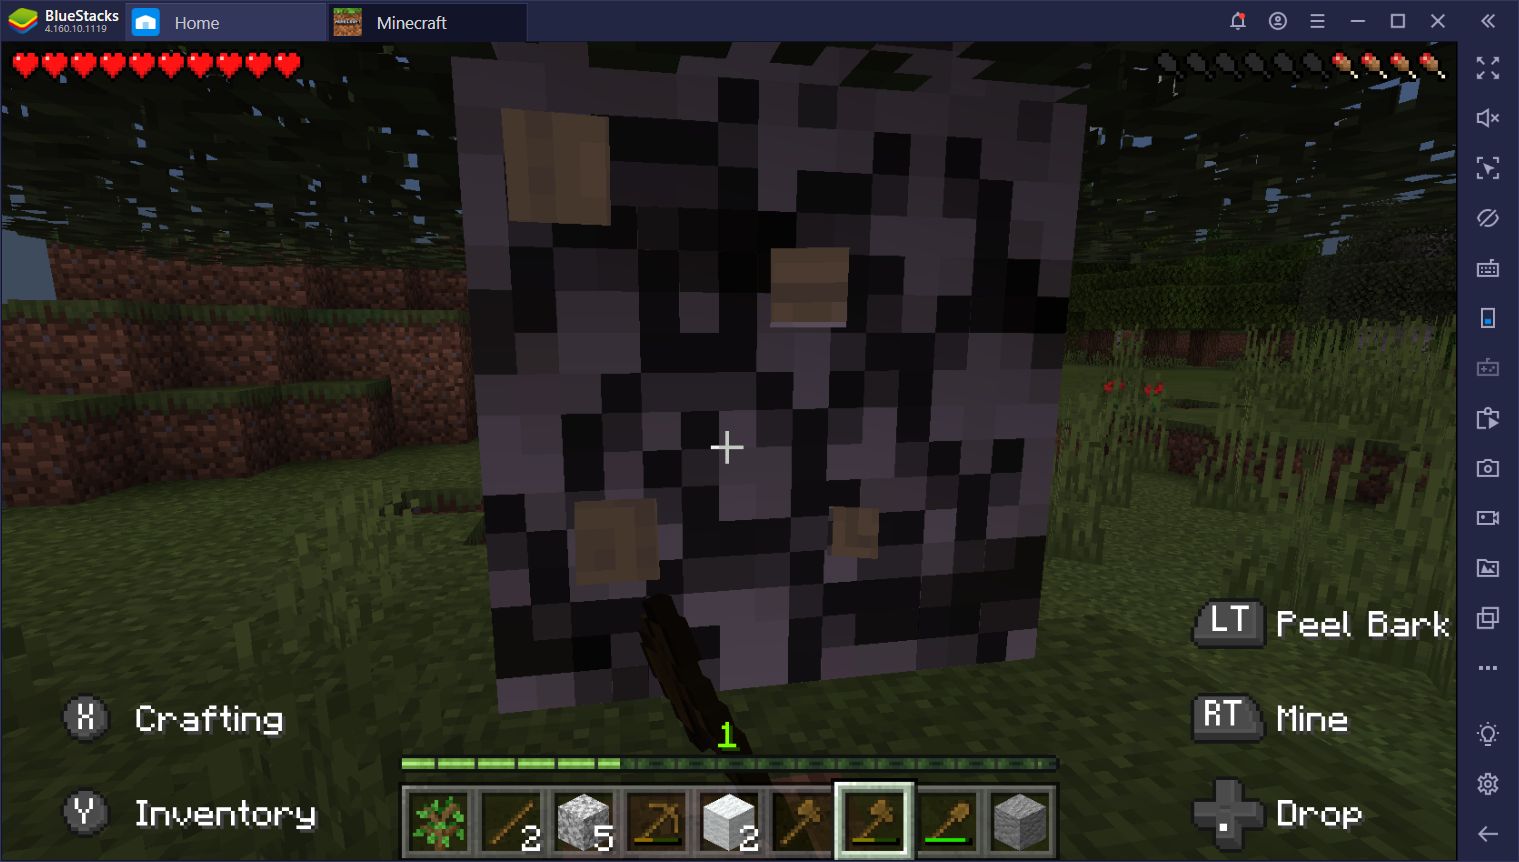
In order to get your first crafting table, you’ll first need to collect wooden planks, which you can process from wooden logs. This is where the fun starts as your first course of action should be to punch trees. Yes, you read that right: You can destroy trees with your fists in Minecraft by punching their trunks. Each section of the tree will give one block of logs, and you’ll need every last one of them. Try punching enough trees until you have an entire stack of logs (64 units) in your inventory. This should be more than enough to get you started on your first shelter.
Once you have enough logs, go to your crafting menu and place the stack in any of the slots. This simple recipe will result in 4 units of wooden planks per unit of logs. In this sense, your 64 logs should result in 256 planks, all of which will be used shortly.
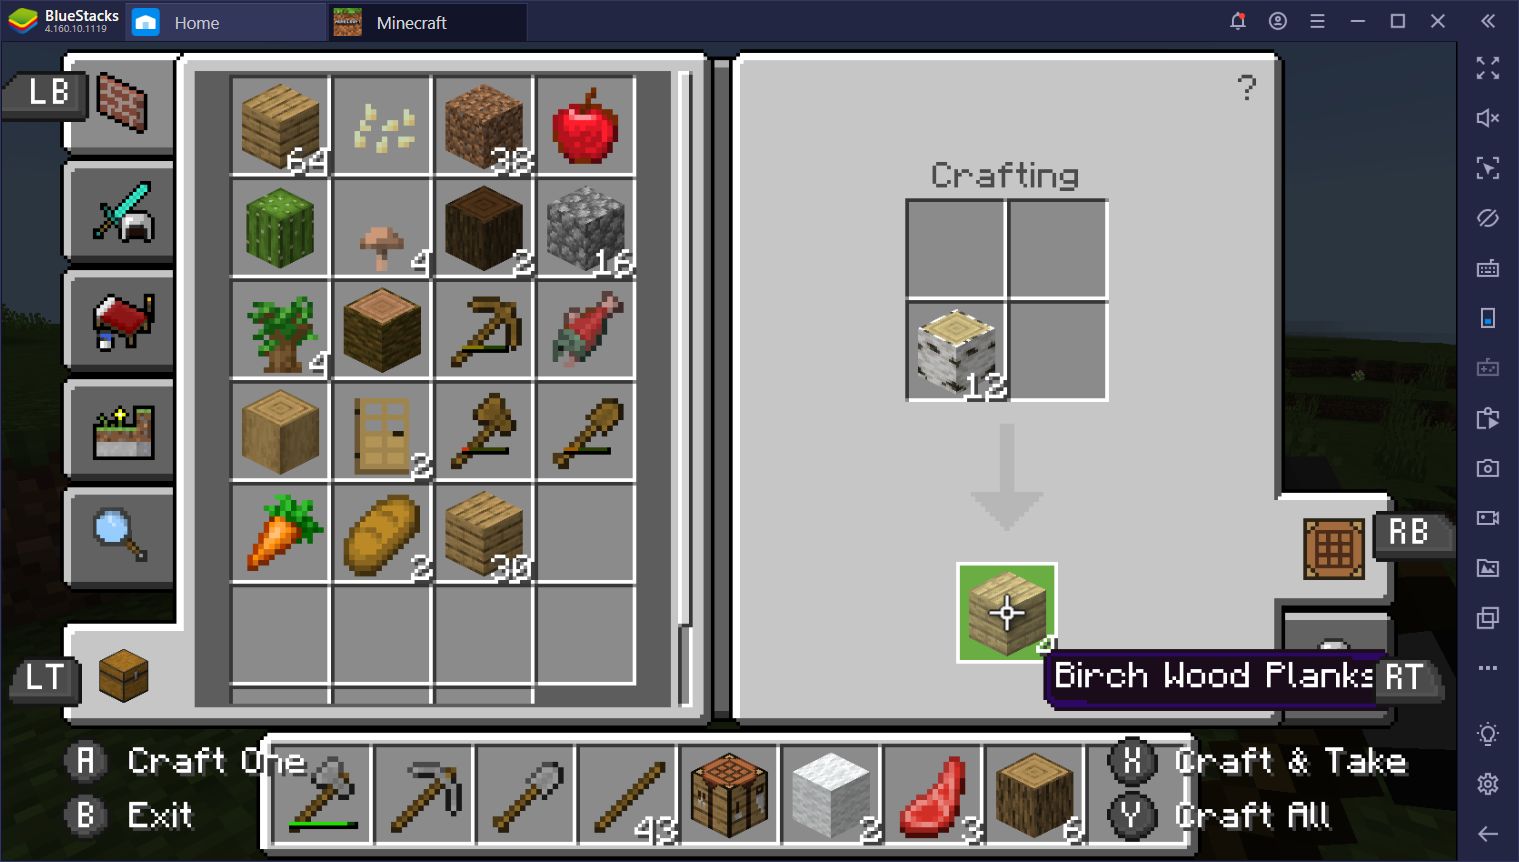
After you’ve processed your logs, let’s go ahead and create a crafting table. For this recipe, you need to place a unit of wooden planks in every slot of the grid. You can either do this by manually placing the planks on the slots, or by using the crafting shortcuts in the crafting menu by pressing LB.
These shortcuts show you lists of what you can craft in your current status. The items highlighted in red are those that are craftable, but that you don’t have the necessary ingredients for. The other items are those you can currently craft, and the numbers beneath are the amount that you can craft with the materials you currently have on hand. These shortcuts are a godsend for the mobile version of Minecraft since you can craft anything with the press of a button, instead of having to arrange items in the grid manually.
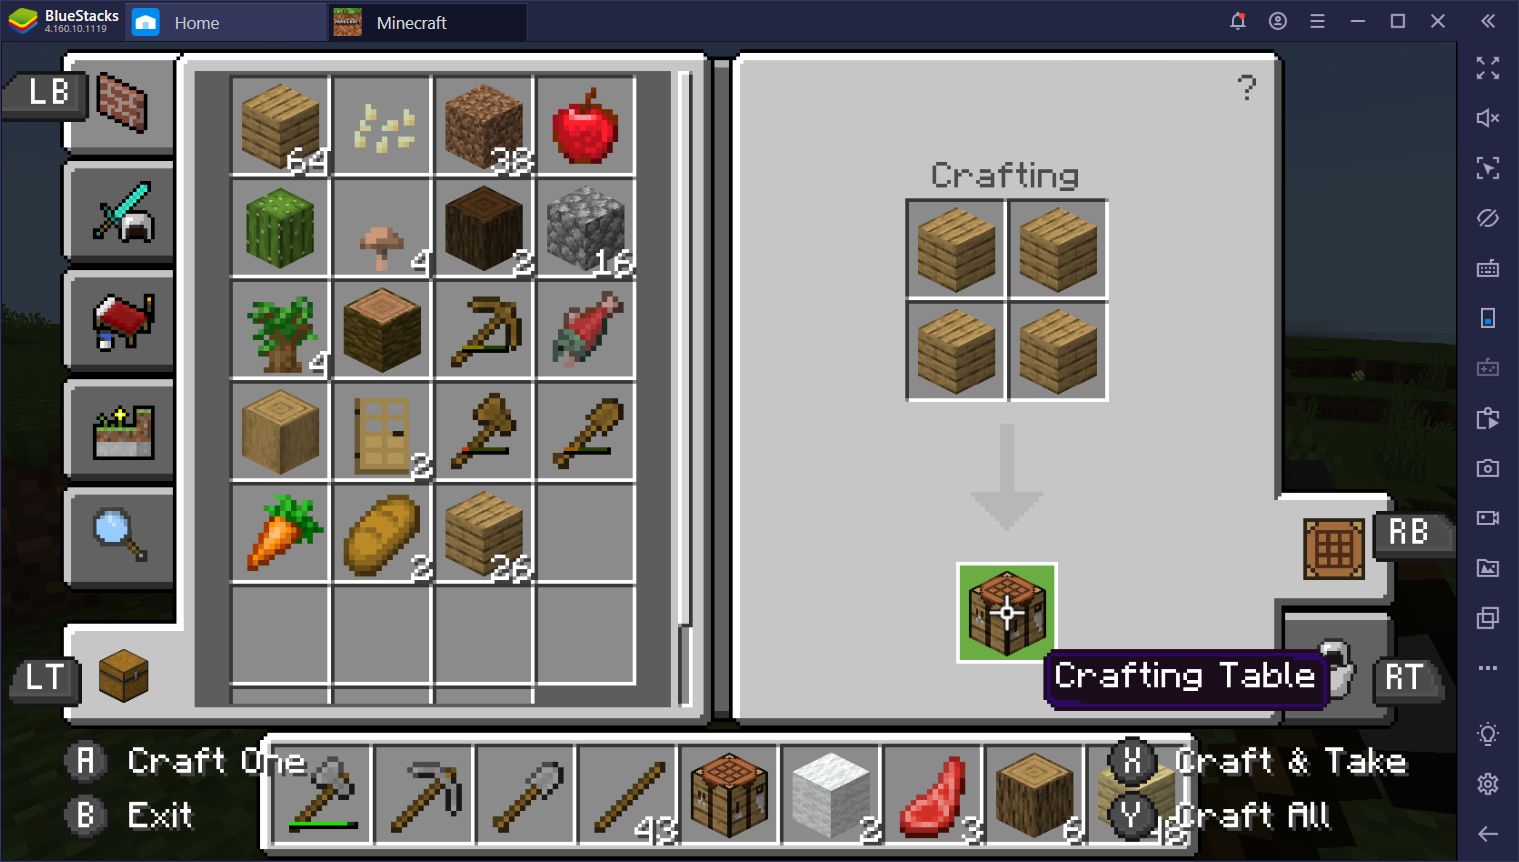
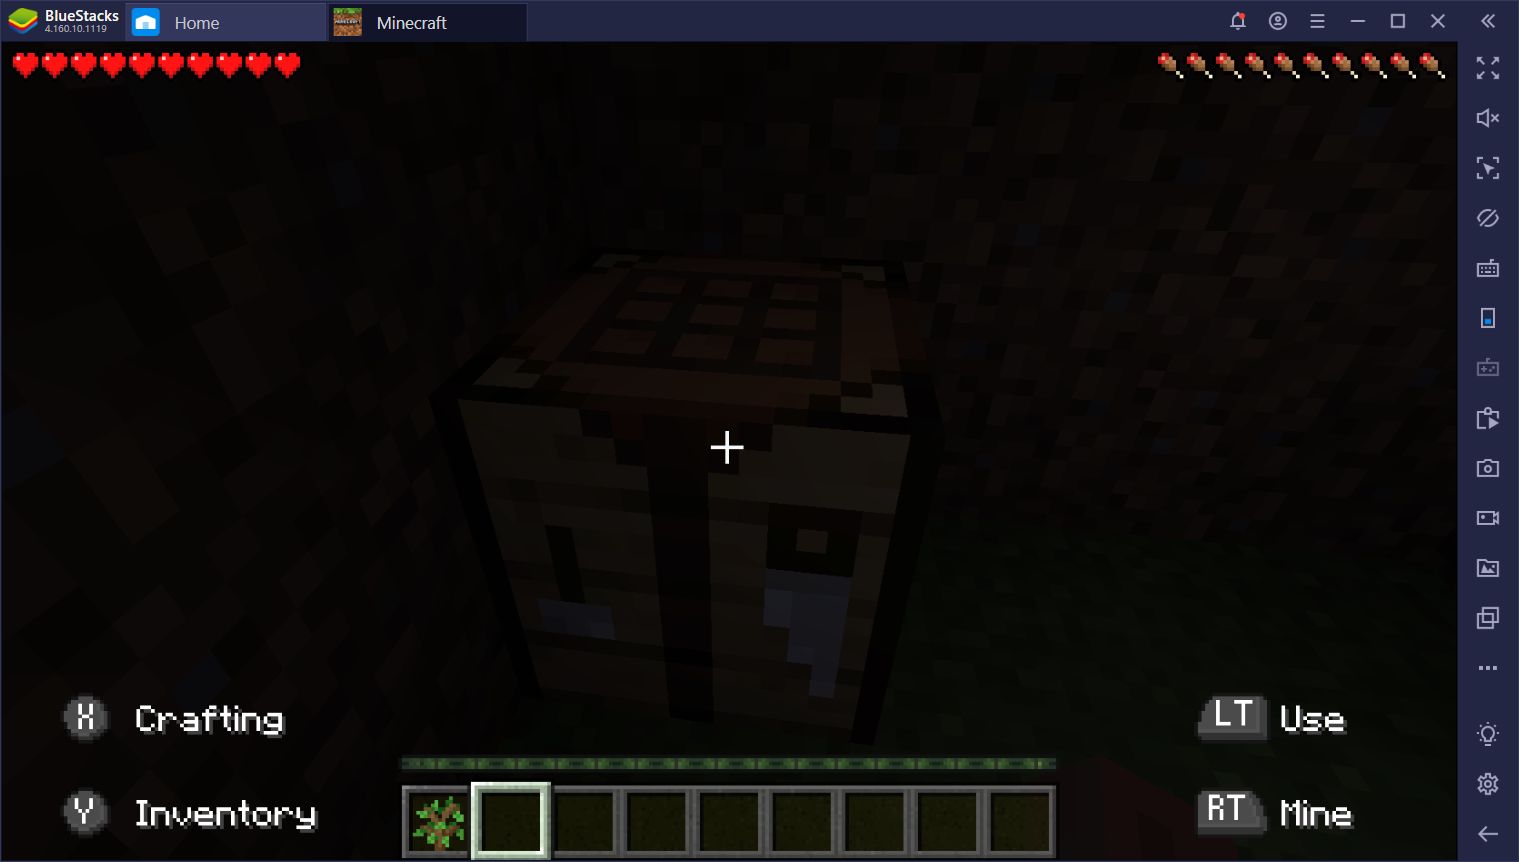
After creating your crafting table, go ahead and put it down anywhere and notice how your crafting grid expands from 2×2 to 3×3, allowing you to create many additional items than with your bare hands. Your crafting shortcuts have also expanded to reflect this.
My First Shelter
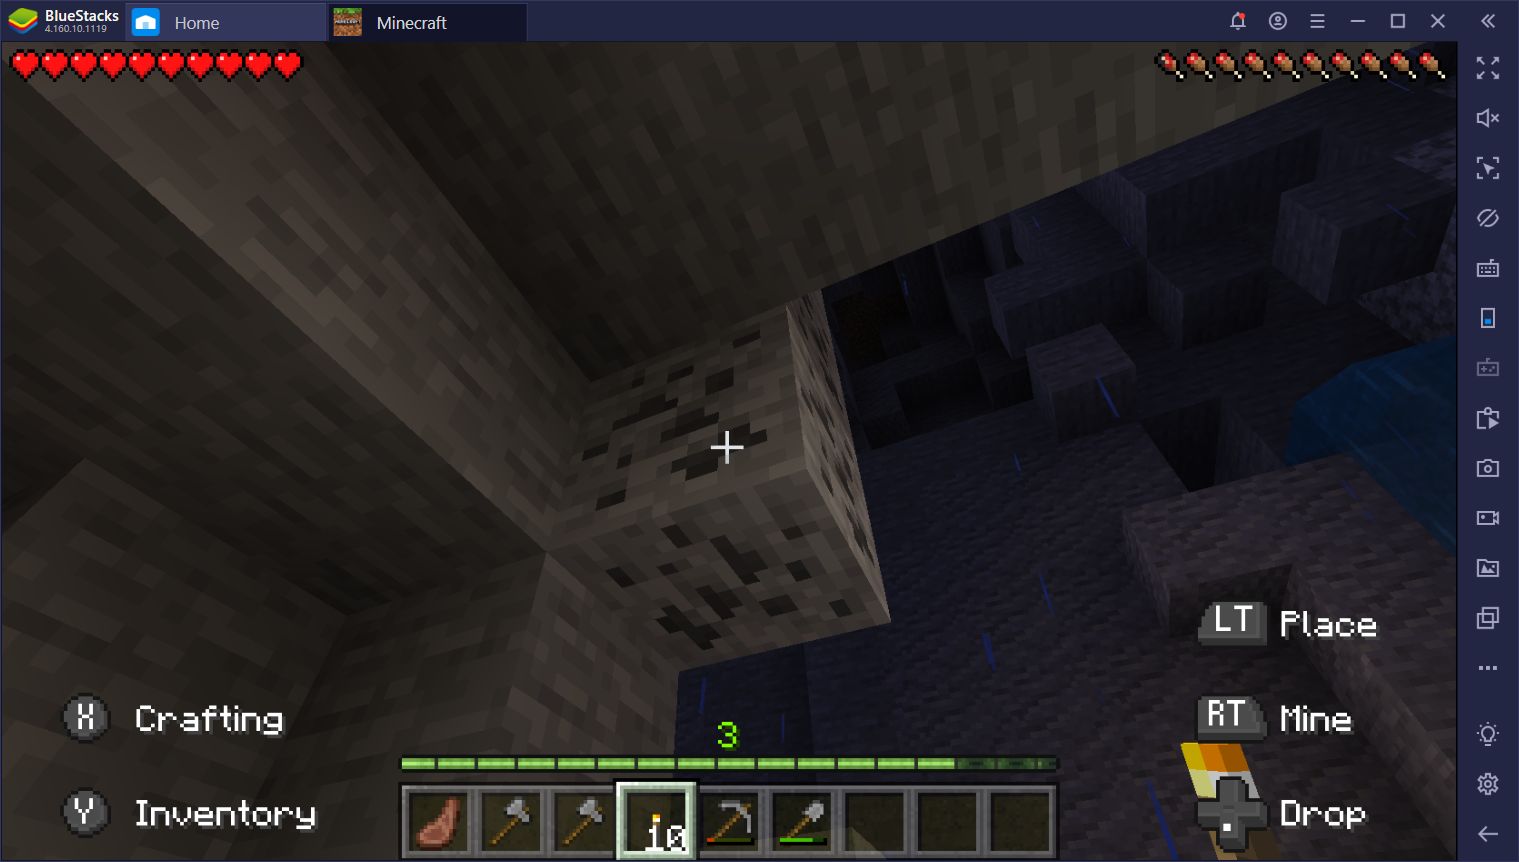
With your crafting table complete, you can go ahead and craft the tools necessary to build your first shelter. Go ahead and create a couple of wooden axes, some wooden pickaxes, and a wooden shovel or two (use your handy crafting shortcuts to easily find the recipes). These tools are very flimsy and break easily, but will do the trick for gathering materials much faster than with your bare hands. Your objective here should be to mine some stone with the pickaxes, and chop down some more trees and gather wood with the axes. The shovels, on the other hand, are used for digging into and hollowing out a part of a hill that you can use as your first base of operations.
Be mindful of any copper, iron, or coal that you may run into when mining for stone. These materials are necessary for creating a wide variety of items, including stronger weapons, armor and, most importantly, more durable tools. Iron tools can not only mine metals of better quality, but they can also break through stone with fewer hits. These metal tools are also more durable and don’t break nearly as much as their wooden counterparts.
Now, while Minecraft is a game where people get to create many awesome structures and buildings, your first shelter doesn’t necessarily have to be something extravagant. This will be the place where you’ll hang your hat at nights, rest in your bed to fast-forward time, and process most of the materials you get from your gathering expeditions. As such, we always decide to build it into the side of a mountain since it’ll save us the effort of having to build walls, not to mention that it’ll save us hours of farming since we won’t have to use wood to create our walls.
If you still haven’t found a good place for your shelter, and night is approaching, you can build a small 2×2 hole into a mountain and lock yourself inside until morning comes. This is not an ideal way of spending your first night as it’s essentially downtime where you’ll be doing absolutely nothing, but it’s much better than getting killed by monsters and losing all your stuff.
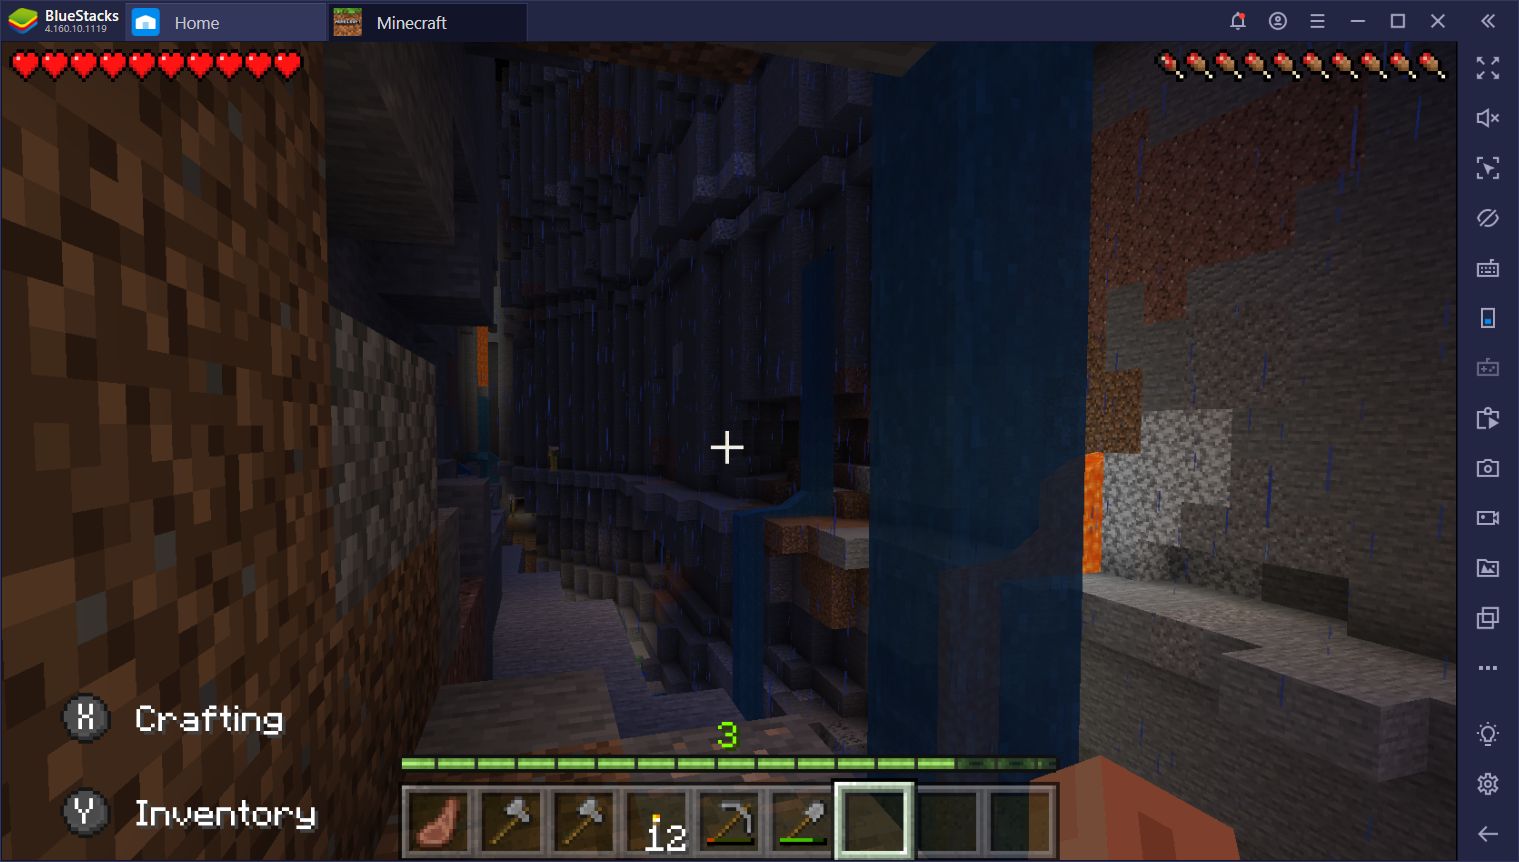
Once you find a nice hill, start carving your way in. Use the shovel for soft terrain like dirt and gravel, and the pickaxe for harder stuff like stone and ores. This will allow you to mine faster and while conserving the durability of your tools.
As a general rule of thumb in Minecraft, you’ll want a spacious shelter; something that will let you move around relatively comfortably. In this sense, you might want to clear out a 10×10 space so you have ample room to place furnaces, a bed, several chests, and your crafting table. Speaking of which, once you collect some coals and ores, you’ll need a furnace to process the latter into ingots, which you can then use to craft stronger tools. Smelting ores takes time and coal, so you might want to create two or three of these to speed up the process.
Once you’ve cleared out a nice space for you to call home (temporarily), make sure to add the following to your first shelter:
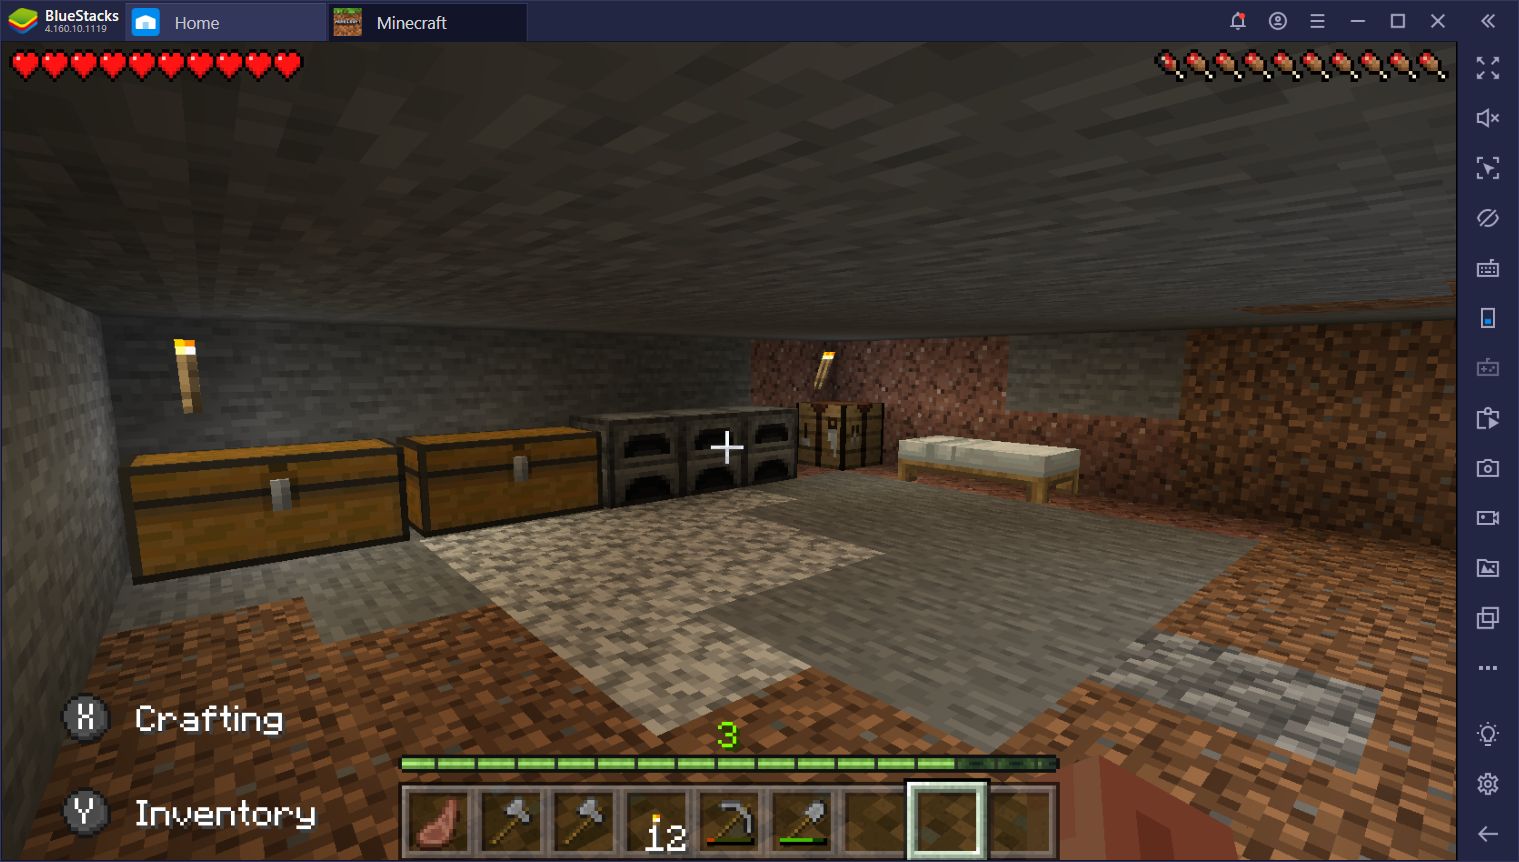
- A bed. Necessary for fast-forwarding time at night and for setting your new spawn point if you die.
- A crafting table. For crafting virtually anything that you’ll need for most of the game.
- Several furnaces. For smelting ores into ingots and cooking ingredients into edible food to fill your hunger meter.
- At least four chests. To store all the valuables and materials that you’ll find on your foraging expeditions.
And there you have it, that’s all you need to know about how to build your first shelter to survive at night while keeping busy processing ores and other materials. Ideally, you’d want to complete this task during your first day. However, if this is your first time playing, it’ll likely take you a bit longer to get started. Just remember, if you still don’t have a shelter, and nighttime is coming, feel free to build into a nearby hill (or even into the ground), and hunker down until morning. Trust us, those zombies, creepers, spiders, and skeletons are NOT joking around and WILL eliminate you with a few hits if you’re unprepared.
Download Minecraft on PC