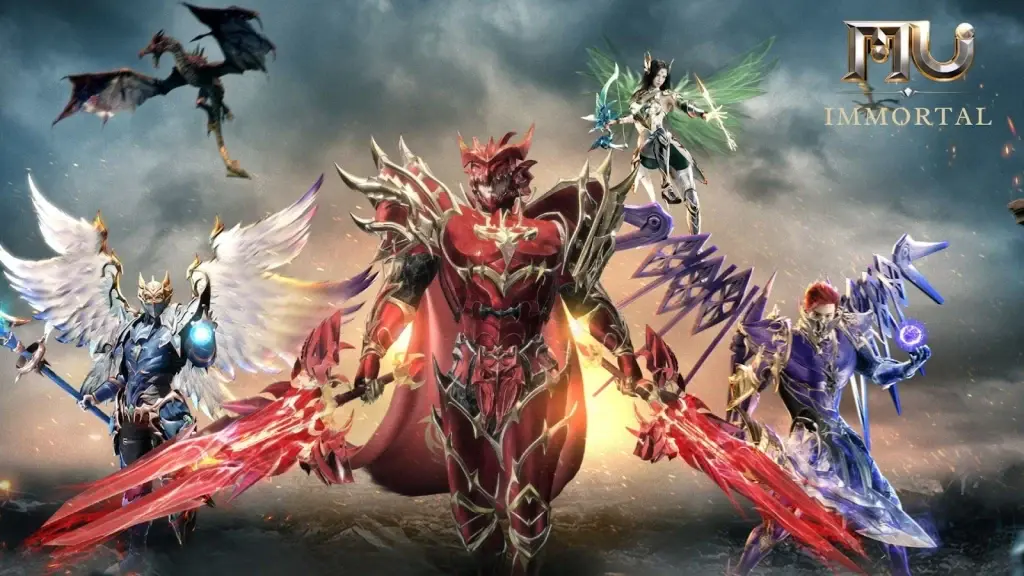
Enhance Your MU Immortal Experience with BlueStacks Features
MU Immortal is built around the timeless gameplay that fans of the timeless MMORPG know and love—grinding levels, refining stats, and building your dream character. While it’s tailored for mobile, playing on PC with BlueStacks gives you access to tools that can make every part of that journey smoother and more enjoyable. From customizing controls to running multiple characters at once, these tools go far beyond simple quality-of-life improvements. They can help you play smarter, not harder.
In this guide, we’ll go over a few essential BlueStacks features and show you how each one fits naturally into the MU Immortal experience. Whether you’re just getting started or already knee-deep in offline farming, these tools can give you a major edge.
Customize Your Controls and Shortcuts With the Keymapping Tool
The Keymapping Tool is one of the most practical features in BlueStacks, especially in a game like MU Immortal where you spend a lot of time managing skills, potions, and menus. While the game is designed with touchscreen controls in mind, using a keyboard and mouse gives you better accuracy and quicker access to important functions.

With Keymapping, you can assign keys to specific on-screen buttons, making it easier to activate your skills or use healing potions at exactly the right moment. All you have to do to access this feature is press Ctrl + Shift + A to view and customize your keyboard and mouse controls for this game. As such, instead of tapping around, you’ll be able to hit a single key to perform an action, helping you respond faster in combat or even tweak your auto-play behavior on the fly. This is particularly useful when customizing your skill rotation in auto-play mode—something we covered in the beginner’s guide—and ensures you can keep your gameplay both fluid and efficient.
It also helps with navigating menus, sorting inventory, or buying skills in the store using MU Coins.
With BlueStacks, you’re not just speeding up combat; you’re speeding up everything.
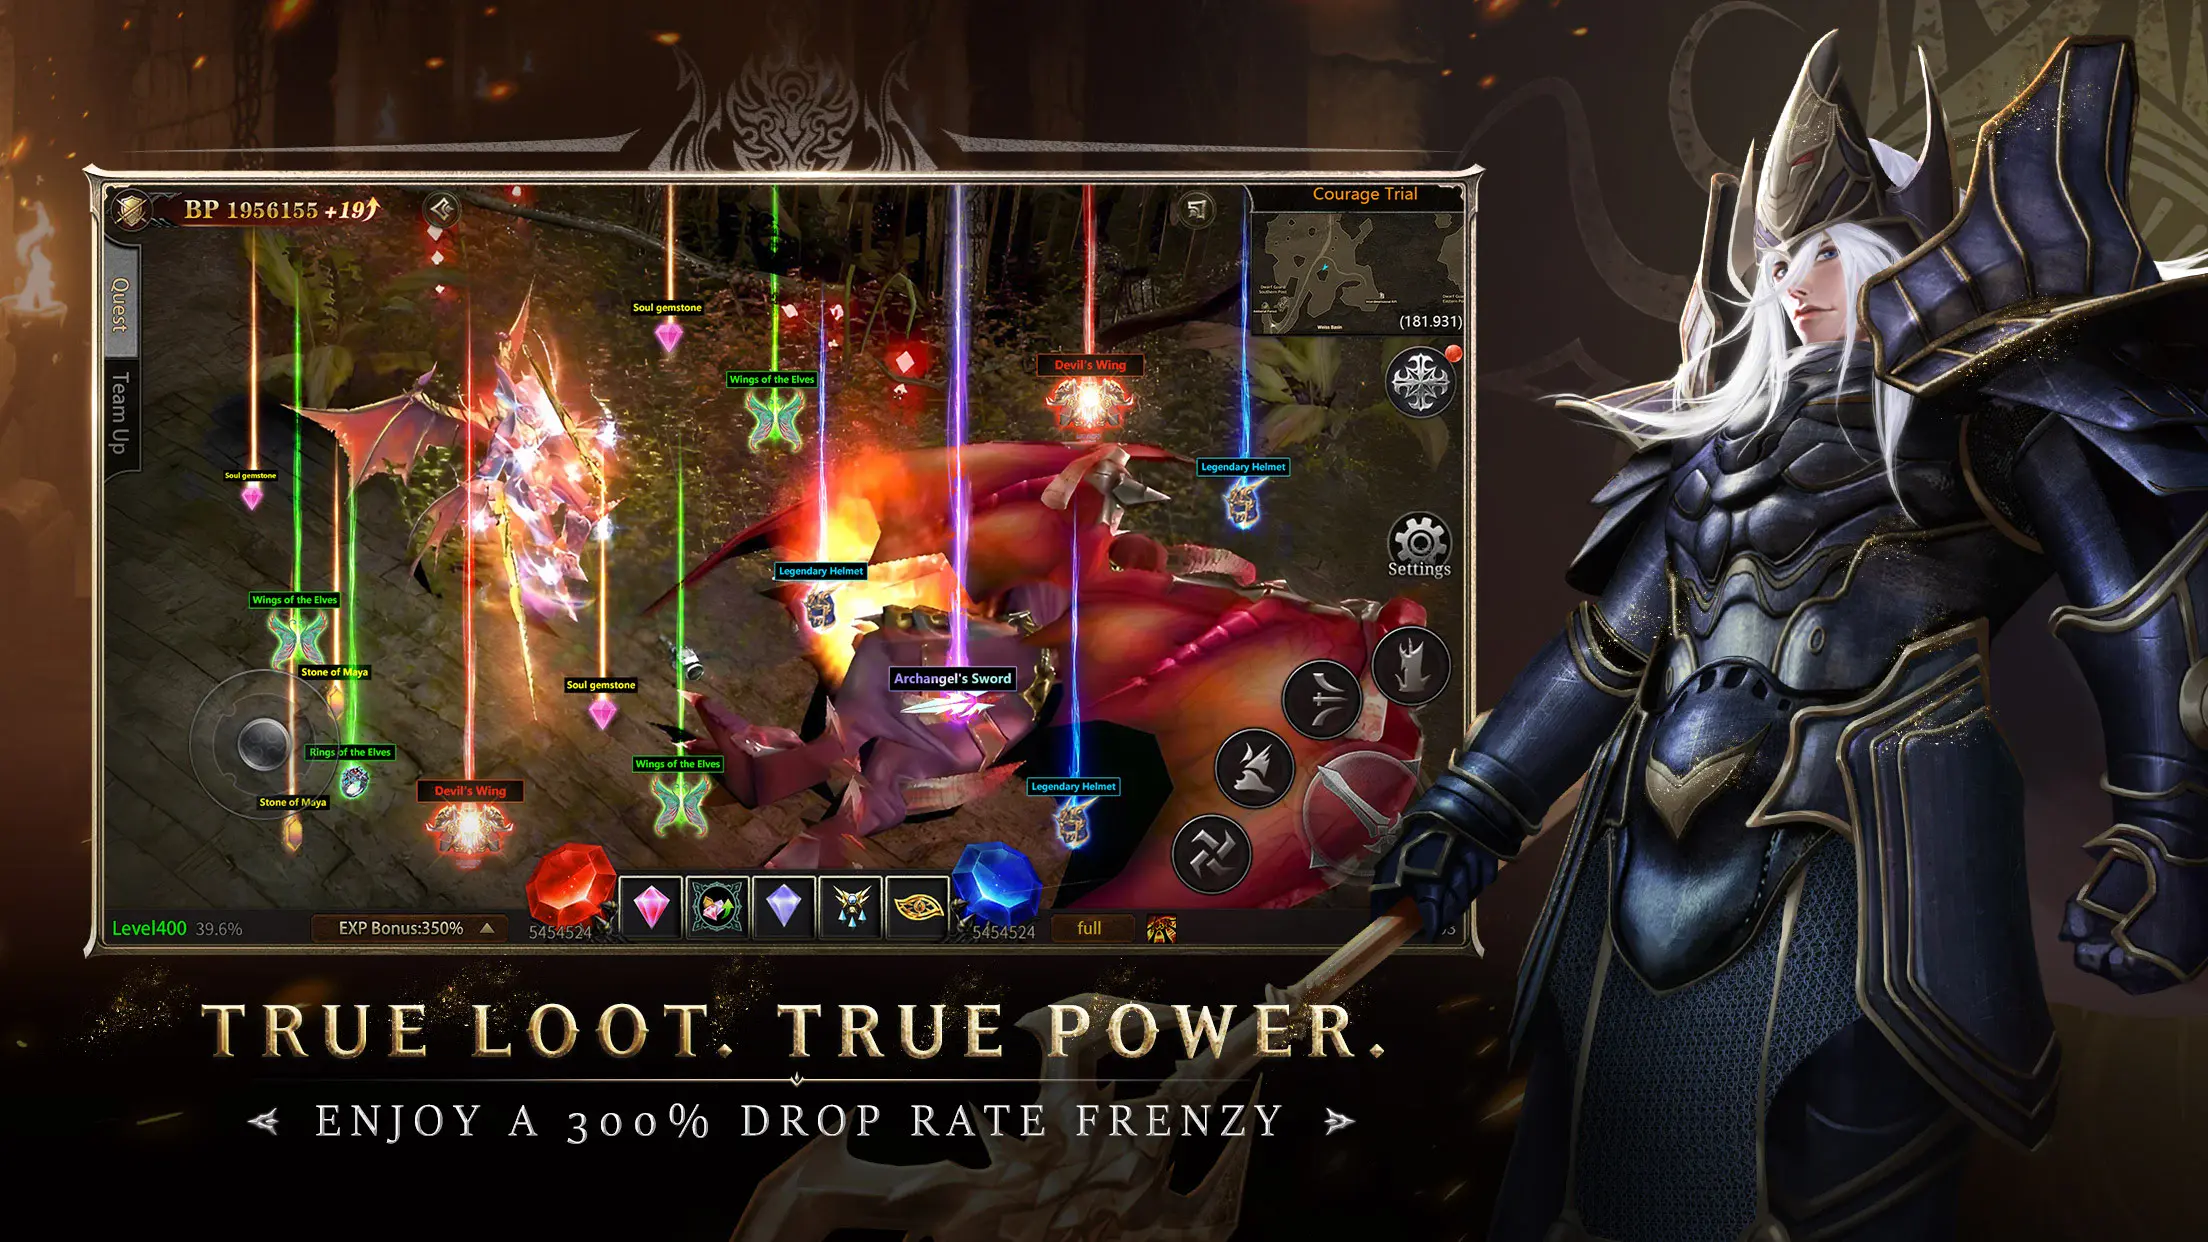
Save Time on the Repetitive Stuff With the Macro Recorder
MU Immortal has a loop that’s rewarding but often repetitive. Farming monsters, tapping through daily quests, reapplying the same buffs, or sorting through gear can get tedious over time. That’s where the Macro Recorder shines.
By opening the Macro Recorder menu (Ctrl + Shift + 7), you can record a sequence of actions and replay them with a single keypress. Imagine you want to quickly collect rewards, sell off junk gear, or even recycle unwanted items to free up space and get Gold Coins. Instead of repeating those clicks daily, record a macro once and let BlueStacks take care of the rest.

This is also helpful for farming routines. If you’ve set your auto-play area and want to keep running a loop of kills with a certain skill order, your macro can help ensure the process starts exactly the way you want, without needing to be at your keyboard each time.
It’s not about replacing gameplay—it’s about giving you control over the grind so you can focus on what actually matters, like building out your class or unlocking new skills.
Level Up Multiple Characters With the Instance Manager
One of the coolest things about MU Immortal is the variety of classes, each offering a different playstyle. But switching between characters on a single device or account can slow things down. BlueStacks solves this with its Instance Manager, which lets you run multiple versions of the game at the same time.

Using separate instances, you can level up different classes side by side. Want to main a Dark Wizard but also see how a Fairy Elf plays later on? You don’t need to choose—you can run both accounts simultaneously. This is also helpful if you’re managing a support and a main character, or testing builds to figure out what works best.
Beyond experimenting, you can also use multiple instances for strategic resource sharing or to participate in events from more than one account. It’s all about flexibility. And since BlueStacks keeps each instance running smoothly, your overall performance won’t take a hit if you’re playing on a capable PC.
Streamline Your Setup With the Instance Sync Feature
If you’re running multiple accounts, you don’t want to waste time repeating the same actions in each window. That’s exactly what Multi-Instance Sync (Ctrl + Shift + 9) helps with. When you enable this feature, every action you take in your main instance is mirrored across the others.
In MU Immortal, that means you can accept quests, initiate combat, or manage gear across all your characters at the same time. Farming is one area where this tool really shines. You can set up a group of characters to farm in different areas or focus on the same objective and then control all of them from one screen. When you tweak auto-play settings or start a sequence with macros, the sync keeps everything running in perfect unison.

This is especially useful for players who are using offline farming on multiple accounts, since you’ll want each character set up correctly before logging off. Syncing everything ensures no one falls behind, and your overall resource generation stays steady.
MU Immortal already offers streamlined gameplay with features like auto-play and offline farming, but there’s always room to optimize your time and effort. That’s where playing on PC with BlueStacks steps in, giving you tools that align perfectly with the game’s systems and demands.
If you’re already playing MU Immortal or thinking about starting, don’t settle for the limitations of mobile. Download BlueStacks and enjoy a cleaner, faster, and more customizable gaming experience on PC. You’ll spend less time managing the grind and more time enjoying the game.