Nevermore-M on PC - How to Use BlueStacks to Enhance Your Automation and Performance In this Eastern Idle RPG

Nevermore-M is a brand new gacha gaming experience for the mobile platform, which you can experience in all its glory by playing it on PC with BlueStacks. As such, our Android app player has all the tools that not only improve your gameplay in general, but also to give you the best graphics and performance, without any of the limitations of gaming on phones.
Table of Contents
- Using Mouse and Keyboard Shortcuts to Navigate the UI
- Raise Multiple Accounts to Easily Grow Your Power
- Play With the Highest Graphical Settings and With No Drawbacks
In this article, we’ll be giving you a rundown of some of the most important features for when playing Nevermore-M on PC with BlueStacks, as well as how to configure and use them to your advantage.
Using Mouse and Keyboard Shortcuts to Navigate the UI
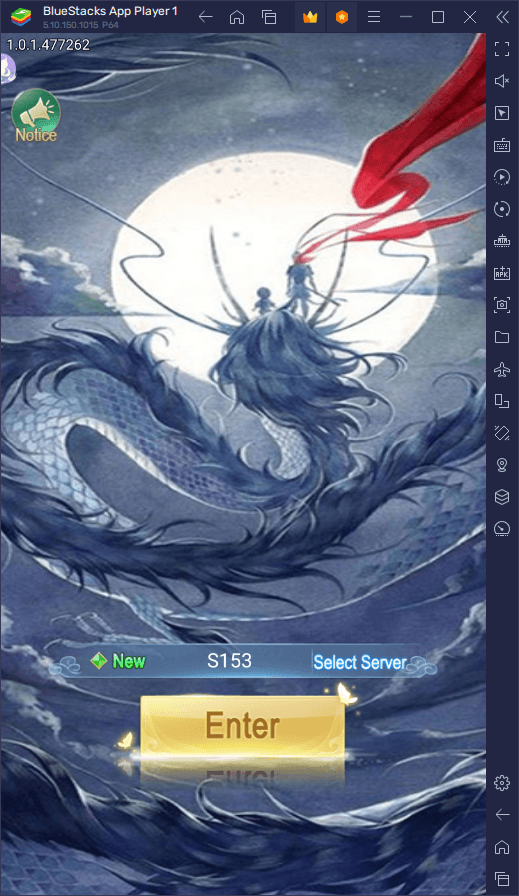
Nevermore-M can be a bit confusing at first, especially since it doesn’t really have a tutorial or any meaningful narrative segments that can give you context as to what you should be doing or what the premise of the game is. As such, you’re thrust into this world with only a main quest list to guide you and you’re left to discover everything else on your own. Luckily, this game is quite simple as it consists of an idle RPG where most activities are completely automated, and your main input will come from navigating menus and clicking on buttons while your squad does all the heavy lifting for you.
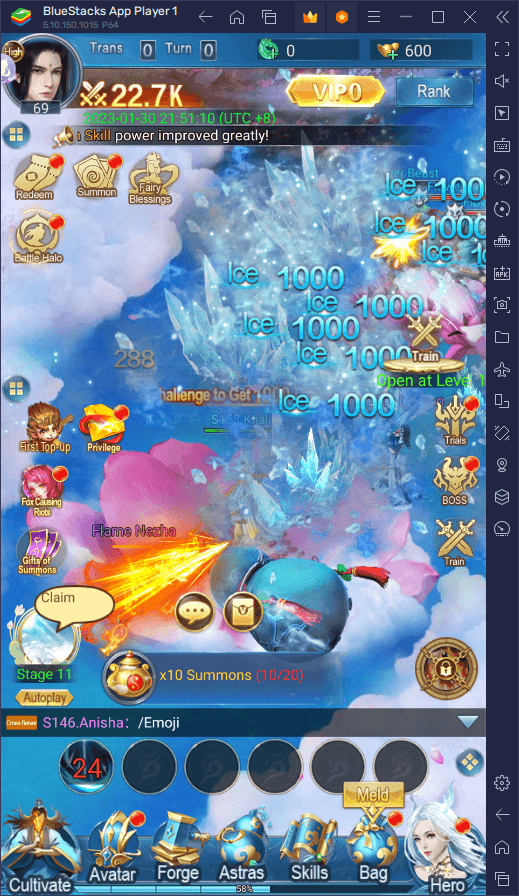
Suffice to say, Nevermore-M can be quite menu-intensive as you’ll need to sift through lots of different screens to power up your squad, access different game modes, and progress in the story, in general. Games like these are perfect to play on BlueStacks since you can get access to the Keymapping Tool, a feature through which you can create customizable control schemes for any mobile game, allowing you to control the action with your mouse and keyboard instead of relying on clunky touchscreen controls.
To access the Keymapping Tool, you simply need to click on its button on the BlueStacks side panel, or press Ctrl + Shift + A while in-game. This will bring up the Advanced Editor screen, where you can view your current shortcuts, modify them, delete them, or even add new ones. To modify them, you simply need to click on them and then press the new button you wish to assign to the function. To delete them, just hover your mouse over them and click on the “X” that appears beside them. And to add new shortcuts, you must drag them from the rightmost panel and drop them wherever you need them on the screen, followed by giving them a binding.

Once you’re done modifying your shortcuts and bindings, make sure to press on the “Save” button on the lower right to implement your changes and start playing Nevermore-M with the best controls.
Raise Multiple Accounts to Easily Grow Your Power
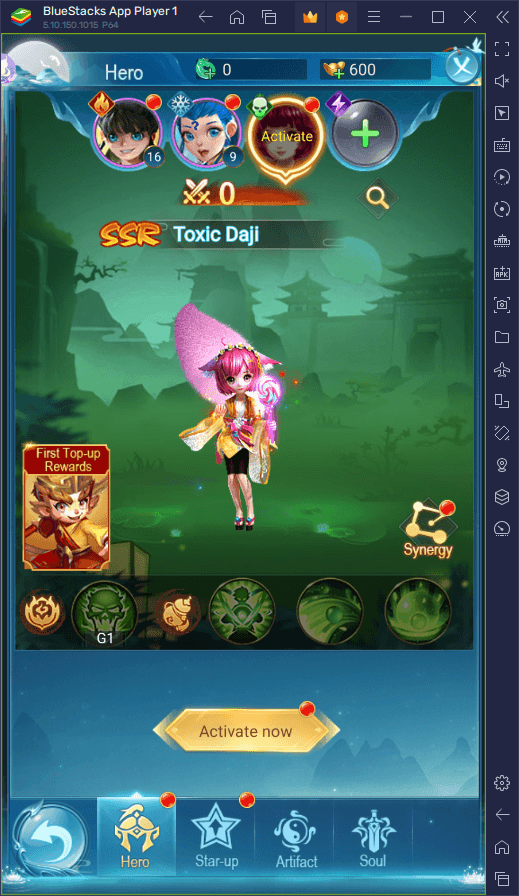
AFK games like Nevermore-M have the perk of being quite easy to play, since a lot of the action is automated and you don’t really have to do anything aside from keeping your squad ready and upgraded for action. As such, these games are great for playing on multiple accounts at the same time, so that you can try out different squad compositions, or even form parties using your own secondary accounts to face the toughest challenges without having to rely on other players.
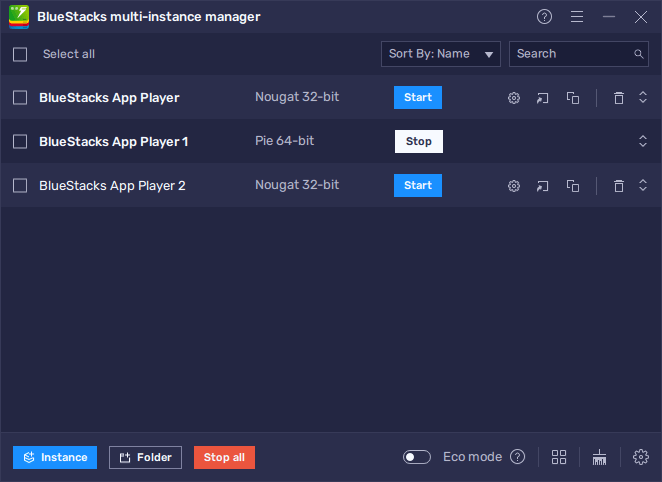
However, playing on different accounts when using your phone can be quite cumbersome, considering you have to logout and back in constantly in order to switch between your accounts, not to mention that you’ll actually need multiple phones if you plan on forming parties with your secondary accounts. Luckily, if you’re playing on PC with BlueStacks, you can use the Instance Manager to create multiple instances of the emulator and use them to play multiple games at the same time, or to access the same on different accounts simultaneously.
To access the Instance Manager, you simply need to click on its button on the side panel, or press Ctrl + Shift + 8. On this panel, you can click on the “+ Instance” button on the lower left and follow the instructions that appear to create as many instances as you need, keeping in mind that the more of these that you try to run at the same time, the more RAM and CPU you’ll need to sustain them.
Once all your instances are up and running, all you need to do is download and install Nevermore-M on each, and start playing the game on multiple accounts at the same time. Just remember to create all your accounts on the same server, so that you can eventually group all of them and create powerful parties without having to wait for other players.
Play With the Highest Graphical Settings and With No Drawbacks
Nevermore-M has a pretty simplistic art style that prioritizes function over form and allows the game to run on virtually any mobile device without major issues. However, even considering these elements, the game still features adjustable graphical configurations that you can tweak to achieve the proper balance of graphics and frame rate. However, if you’re playing on BlueStacks, you can simply crank up the graphics to the max and get the best visuals without having to worry about lag or about your phone overheating.
However, to get the best graphics and performance, you might need to perform a few tweaks both to your emulator, as well as in-game. Here’s a step-by-step breakdown of the process:
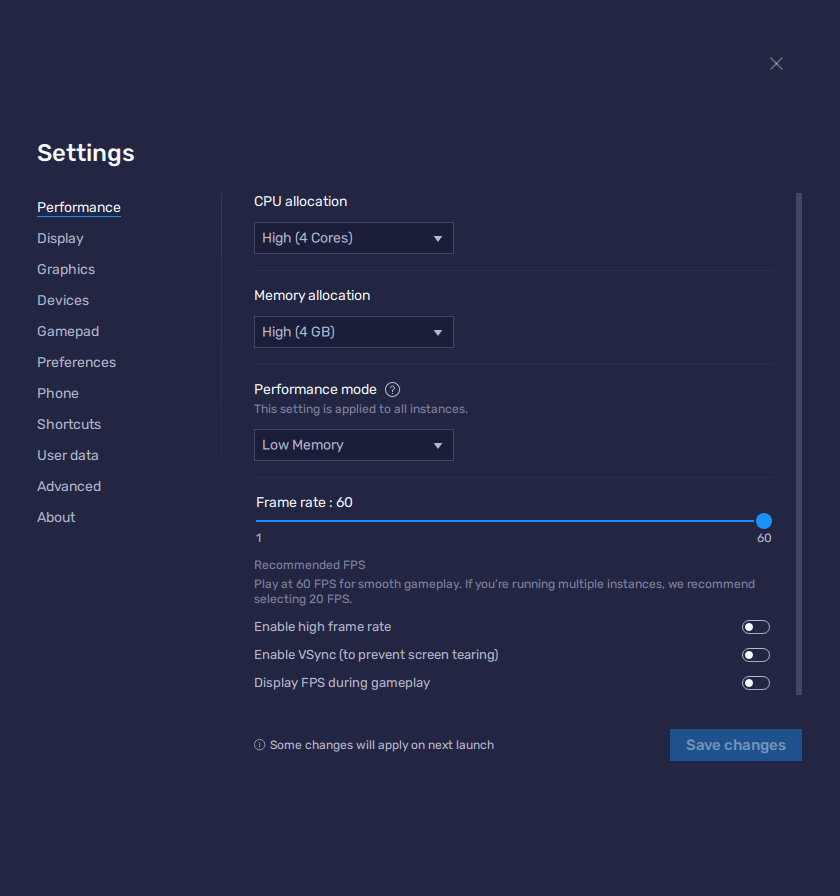
- In the BlueStacks settings, go to the “Performance” tab.
- Check that your emulator is using at least 4 GB of RAM, 4 CPU cores, and that the Performance mode is set to “High performance”.
- Set the FPS slider underneath to at least 60 FPS, and finish by clicking on “Save changes” on the bottom right.
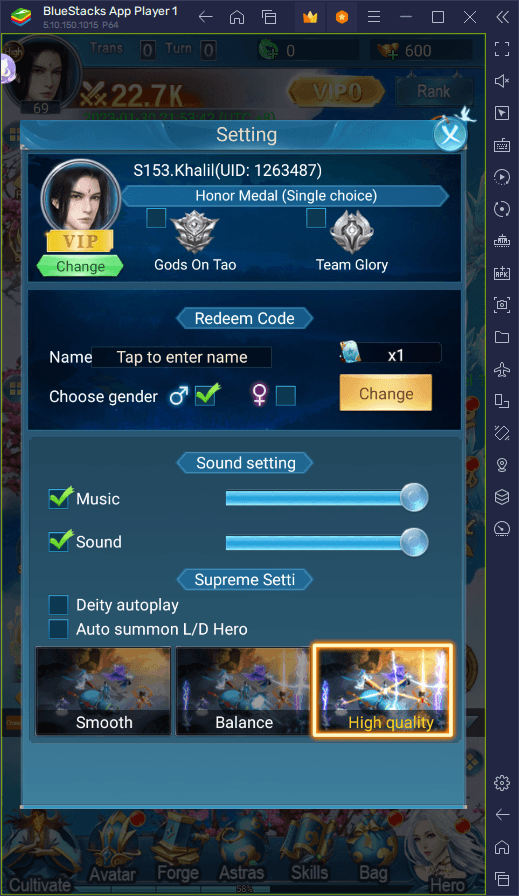
- Launch the game and head to the in-game settings.
- Set your graphical options as high as they’ll go.
With these settings and tools, you can enjoy the best gameplay experience with Nevermore-M on PC with BlueStacks. Feel free to leave any questions or comments in the section below!