A Beginner’s Guide to Tales of Mecha

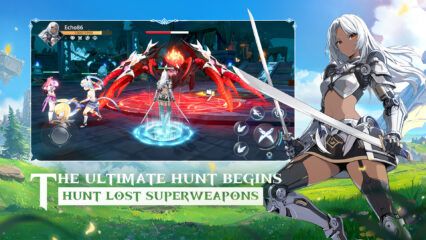
Tales of Mecha is an online action RPG set in a world where fading magic and awakening machinery collide, casting you as the Chosen One linked to a dangerous relic called the Apocalypse of the Chosen. From your first steps on a lonely shoreline to the bustle of Windmill Village and its looming Exclusive Boss fights, the game quickly teaches you how quests, classes, and gear upgrades work while steadily unlocking more advanced systems.
This beginner’s guide focuses on those opening hours, showing how to follow the story, choose a class, build power through equipment, and start tackling bosses like the Village Chief (Monster) with confidence.
Prologue, Chosen One, and Early Story
The game begins on a small coastal island where your character arrives on a glowing teleport pad and meets the fairy Chevera, who tells you only the Chosen One can safely touch the Apocalypse of the Chosen and that more than nine thousand others have already died trying. Chevera’s warnings immediately establish both your unique role and the lethal nature of the relic you are about to claim.
A prologue card then reveals that your arrival happens six centuries after earlier events, framing you as the fulfillment of a long‑delayed prophecy in this world of fading magic and emerging machinery. As main quests move you to Windmill Village, you comfort lonely Chevera and soon learn that both the village chief and a mysterious Boss’s Scroll have vanished, giving your early journey a clear investigative focus.

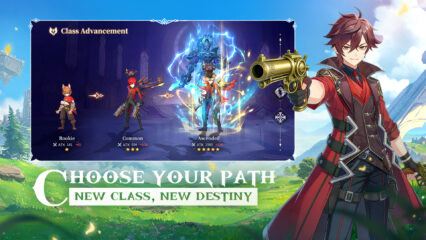
Class Selection and Character Customization
Before or shortly after the prologue, you can view detailed class previews, with the Mage screen for example describing Raging Gust as a hurricane that repeatedly attacks several enemies over a few seconds. Each class (Swordsman, Dual Gunslinger, Hierophant, Mage) lists multiple skills with damage percentages, target counts, and additional effects such as slows, self‑heals, or movement, allowing you to judge whether it leans toward melee brawling, ranged pressure, or heavy frontline damage.
Character setup also includes a cosmetic layer where you can adjust hairstyle, hair color options like “First Snow” or “Summer,” eye color, and even expression presets while previewing armor ensembles like Ember. This early screen appears before proper combat, giving you time to finalize how your avatar looks in both cutscenes and the real‑time action that follows:
- Class previews present both visuals and full skill text, so you can compare damage patterns instead of deciding blindly.
- Because later systems such as Exclusive Bosses demand sustained damage and survivability, thinking early about whether you prefer ranged or melee play helps you commit to one class and learn its toolkit.

Main Quests, Windmill Village, and Early Combat
After the intro, the yellow quest tracker on the left side of the HUD becomes your primary guide, listing objectives such as “Encounter Day,” “Give it a shot,” or “Crying Child.” Tapping a quest causes your character to auto‑path along glowing white arrows through areas like the Windmill Village dock and plaza, ensuring you never lose your way even when the map opens up.
Combat begins with small monsters such as Chipmunks and Bathing Bears, where your character can fight under “Auto Battle” while you monitor health and positioning. As you clear these tasks your level rises quickly—screens show level‑up messages like Lv.3, Lv.4, or Lv.9 along with power gains—allowing you to meet the requirements for new features without separate grinding.

Apocalypse Platform and God Chosen Systems
Story quests eventually lead you to a large circular platform overlooking a shipwrecked harbor and the village, which functions as your main hub. Here the Apocalypse of the Chosen appears as a radiant magical book, and the environment UI shows important panels such as the quest list, minimap, and system unlock notifications gathered around this central location.
During these scenes the Apocalypse directly addresses you as “Chosen One” and hints at your destiny, while Chevera exclaims that she has awaited your arrival for six centuries. The book also gives concrete guidance such as “North of the windmill, signs of mutation. Boss’s Scroll, the key to breaking the deadlock,” linking its mystical role to specific exploration objectives and upcoming boss encounters:
- The Apocalypse platform is where many “New features unlocked” messages appear, including God Chosen Attire and later systems.
- Because key NPCs like Chevera stand nearby, you frequently return to this spot to accept story quests, claim power boosts, and transition into higher‑tier content such as Exclusive Bosses.

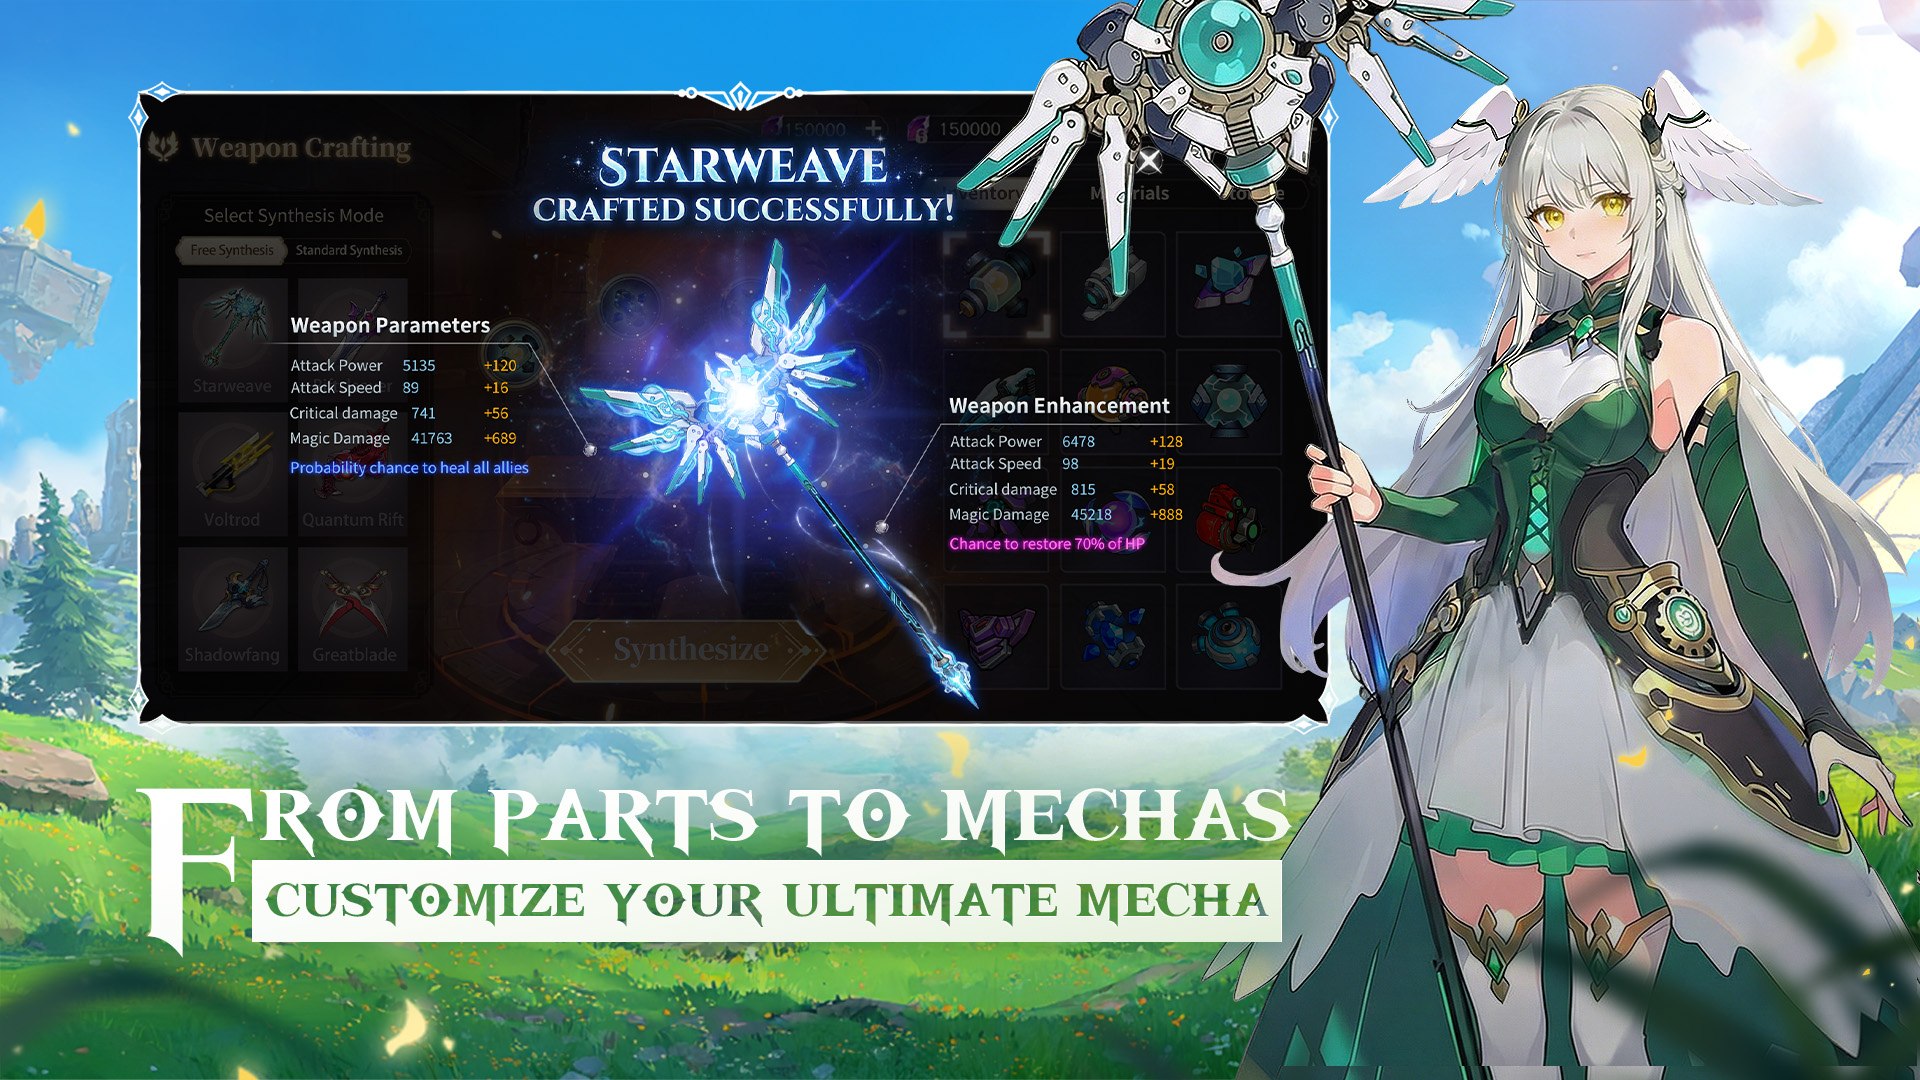
Gear, Stats, and Inventory Basics
Opening your backpack shows that equipment is divided into parts (primary and secondary weapons, helmet, armor, accessories) and tiers, with examples like Solo Sun Dagger, Solo Sun Spear, and Solo Sun Helmet labeled “T1.” Each piece lists Basic Stats such as ATK, HP, DEF, and Armor Sunder, but also Star Stats that scale with levels (for example, extra Armor Sunder or Elemental Armor every few levels) and Tempering Stats providing large flat bonuses plus percentage boosts like damage reduction or block rate.
Higher Gear Rating values correlate with noticeable power jumps in the top‑left HUD, especially when equipping items from better sets such as Tri‑Crown Sun gear earned later. The inventory also contains functional items like Rename Cards, described as items that let you change your character name for a small gold price, and prompts asking for specific expansion cards to unlock additional Guardian Gear slots, hinting at deeper defensive customization once you progress.

Exclusive Bosses and the Village Chief (Monster)
When the Exclusive Boss feature opens, a dedicated menu lists bosses such as Village Chief (Monster), The Golem, Lucyfer, Energy Cube, and Raging Lion, each tagged as T3 encounters with level requirements and their own reward tables. The Village Chief (Monster) panel shows him at level 40 with a massive lion mask on his back and displays guaranteed enhancement materials plus rare T3 weapons, armor, and accessories, while a note at the bottom states that killing a boss for the first time does not consume a Boss Attempt.
After defeating the Village Chief (Monster), high‑grade drops such as the Tri‑Crown Sun Dagger and multiple Common Enhance Gems appear on the ground while your power increases by several hundred. System messages like “New features unlocked – Gear” and clear goals marked as completed in the Exclusive Boss panel confirm that these encounters are central to early progression, giving both equipment upgrades and access to new enhancement mechanics.

For a new player, Tales of Mecha’s early hours form a clear loop: follow the main quests from the beach prologue into Windmill Village, unlock the Apocalypse of the Chosen at the seaside altar, then use Exclusive Boss fights and newly opened systems like God Chosen Attire and gear enhancement to steadily raise your power. Paying attention to class previews, equipping higher‑rating items as they drop, and tackling bosses such as the Village Chief (Monster) as soon as they become available ensures smooth progression through the game’s opening chapters. For the best gaming experience, play Tales of Mecha on BlueStacks!