Whiteout Survival on PC - How to Use BlueStacks to Enhance and Streamline Your Gameplay Experience


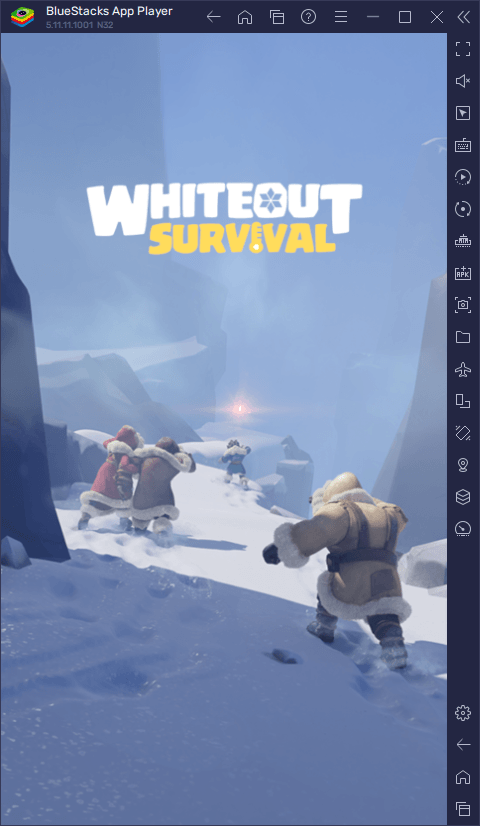
Surviving in the wilderness can be a very challenging endeavor, especially if said wilderness is constantly at the mercy of the biting cold and mountains of snow, and Whiteout Survival is nothing if not that. For this reason, you not only need the proper know-how if you want to thrive in the harsh blizzards, but also the right tools for the job, which is exactly why you’ll want to play Whiteout Survival on PC with BlueStacks. Our Android app player gives you the best performance and visuals, along with a few useful tools that will make it easier for you to survive in the harsh cold.
Table of Contents
- Optimize Your Graphics and Frame Rate Before Setting Out
- Configure Keyboard and Mouse Shortcuts to Optimize Your Controls
- Reroll With Ease and Develop Multiple Settlements at the Same Time
In this article, we’re going to talk about how to optimize your gameplay experience in Whiteout Survival on PC with BlueStacks, as well as how to configure some of our tools to significantly optimize and streamline your gameplay, allowing you to reduce the grind and focus only on the most entertaining aspects of the game.
Optimize Your Graphics and Frame Rate Before Setting Out
While the vast majority of this game revolves around environments draped in white powdery snow, the views can sometimes look pretty great, especially during snowstorms. And if you’re playing on PC with BlueStacks, you can get the absolute best visuals without having to sacrifice performance, mostly because our Android app player runs on virtually any machine, which makes it a much better alternative than gaming on your phone, especially if you’re already chilling at home.
However, while BlueStacks already comes mostly configured as soon as you install it, you might need to perform a few adjustments both to your emulator as well as to your game, in order to optimize your graphics and frame rate. Here’s a quick breakdown of what you need to do:
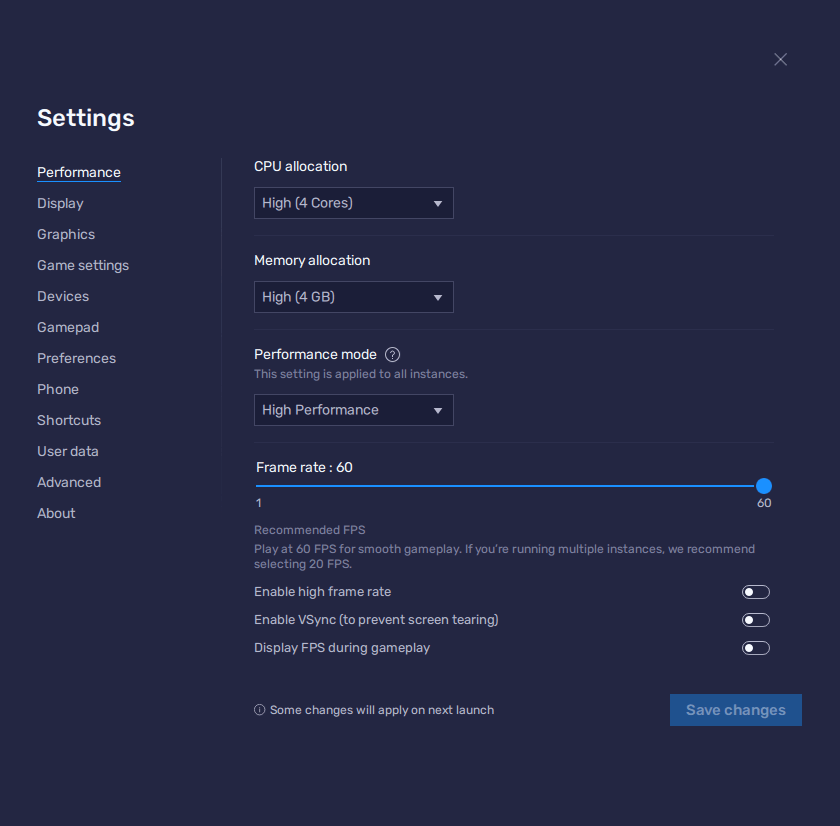
- In the BlueStacks settings, go to the “Performance” tab.
- Check that your emulator is using at least 4 GB of RAM, 4 CPU cores, and that the Performance mode is set to “High performance”.
- Set the FPS slider underneath to at least 60 FPS, and finish by clicking on “Save changes” on the bottom right.
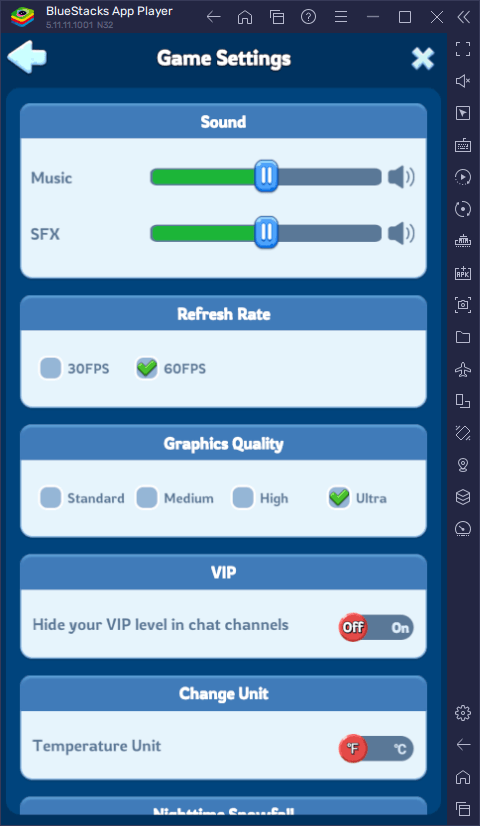
- Launch the game and head to the in-game settings.
- Set your graphical options on the highest settings.
These quick tweaks will ensure that you get the best graphics, without sacrificing your frame rate or stability.
Configure Keyboard and Mouse Shortcuts to Optimize Your Controls
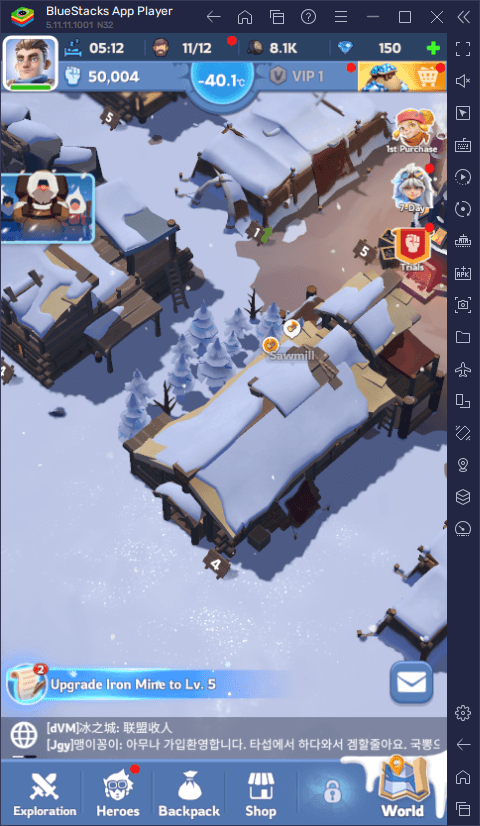
Developing your settlement can be pretty tough on any normal occasions, especially since it requires navigating through tons of different menus in order to build new structures, upgrade them, manage your survivors and assign them to different work stations, and more. And while if you were playing on your phone you’d be limited to manually tapping and swiping on your screen to issue commands and manage your settlement, BlueStacks lets you configure handy keyboard and mouse shortcuts to simplify the entire process.
Through the Keymapping Tool, we can create intuitive control schemes for any of our favorite mobile games, greatly increasing your productivity and comfort, while also making the game feel as if it were a genuine PC RTS. To access this tool, you simply need to press Ctrl + Shift + A while in-game, which will bring up the Advanced Editor screen where you can view your current bindings, modify them by clicking on them, delete them, or even add new ones by dragging and dropping them from the rightmost panel onto anywhere you need them on the screen.

Once you’ve set up your controls, make sure to click on “Save” on the bottom right of the Advanced Editor to implement your tweaks, after which you’ll be able to control the game using the bindings you just set up.
Reroll With Ease and Develop Multiple Settlements at the Same Time
Sometimes, one game is just not enough, which is exactly why we developed the Instance Manager as one of BlueStacks’ most important offerings. This powerful tool lets you create multiple instances of your BlueStacks emulator, and use them to play multiple games at the same time, or access one same game on several different accounts simultaneously.
For Whiteout Survival, this tool has multiple uses: On the one hand, it lets you play on several accounts at the same time, giving you much more to do. And on the other hand, it also allows you to reroll and unlock the best heroes from the very beginning, which is always an important part of these games, as strong heroes can help to clear some of the tougher challenges.
To use the Instance Manager, you must press Ctrl + Shift + 8 while on BlueStacks, which will bring up the instance panel where you can view your current instances, edit their settings, launch or close them, and even delete the ones you don’t need anymore. Moreover, you can click on the “+ Instance” button on the lower left to create as many instances as you need, keeping in mind that for each of these that you are running, you’ll need additional RAM and CPU to sustain them.

With all your instances up and running, you can download and install Whiteout Survival on each of them, and use them to multiply your fun, or to simplify the process of rerolling—or maybe even both!
For this and countless other reasons, BlueStacks is the best way to play Whiteout Survival on PC. Feel free to check it out for yourself and see what all the hype is about!