How to Use the BlueStacks 5 Instance Sync to Reroll in Epic Seven

The new BlueStacks 5 is the fastest and lightest our Android app player has ever been, and with its 5.1 update, it’s about to get even better. This version implements the Multi-Instance Sync feature to the emulator, a tool with which you can synchronize the actions you perform on one of your instances, across all the other active instances. The general idea behind it is so that you can streamline some of the most repetitive and grindy tasks of the games in all your accounts, by only having to do them on main instance, and without having to do it in all of them one by one, therefore saving a lot of time and effort.
However, when it comes to gacha games, the Instance Sync feature is quite useful for a specific purpose: Speeding up rerolling. The term rerolling refers to the process of restarting your game as many times as necessary until you unlock the exact characters you want from the initial free summonings. This process can often take a long time since the results of every summoning are randomized, and the probability of getting strong heroes is very low. However, by rolling with multiple accounts at the same time and using the Multi Instance Sync feature, you can speed up the process tremendously.
In this article, we’re going to show you how to reroll in Epic Seven with the Instance Sync feature in BlueStacks 5.
Streamlining Rerolling in Epic Seven With Instance Sync
As we mentioned above, the idea of rerolling is to restart the game as many times as necessary in order to get a few good characters from the very beginning. By doing this on multiple instances, you can multiply the speed at which you reroll by the number of active instances you’re keeping. And while this won’t do anything to improve your odds of getting good characters from every attempt, it’ll make it so that you can roll much more in a shorter period.
To get started with this, you’ll first need to create several instances of BlueStacks.
- Launch BlueStacks 5 and open the Instance Manager by clicking on its button on the rightmost panel, or by pressing Ctrl + Shift + 8.
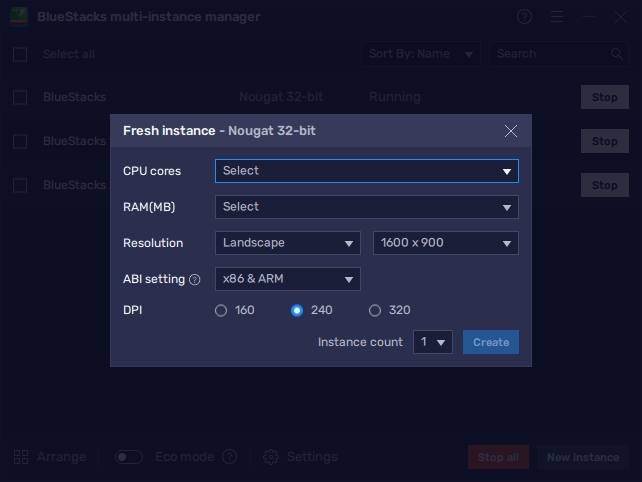
- Click on “New instance” and assign the necessary resources for it to function properly. Afterward, click on “Create”. Repeat as many times as you want until you’ve created the desired number of instances.
- Link a unique Google account to every instance, and install Epic Seven on each.
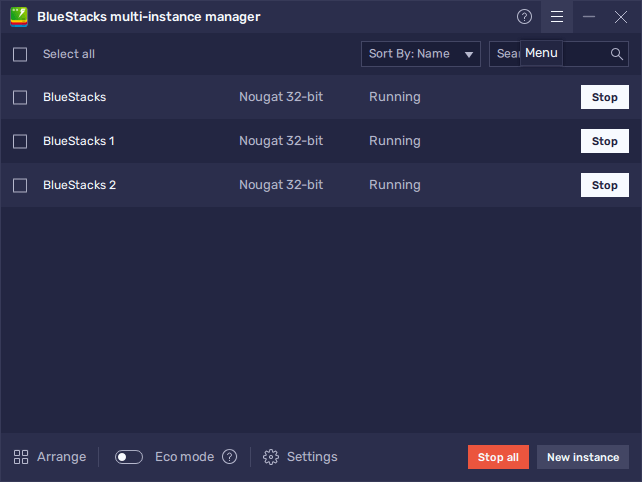
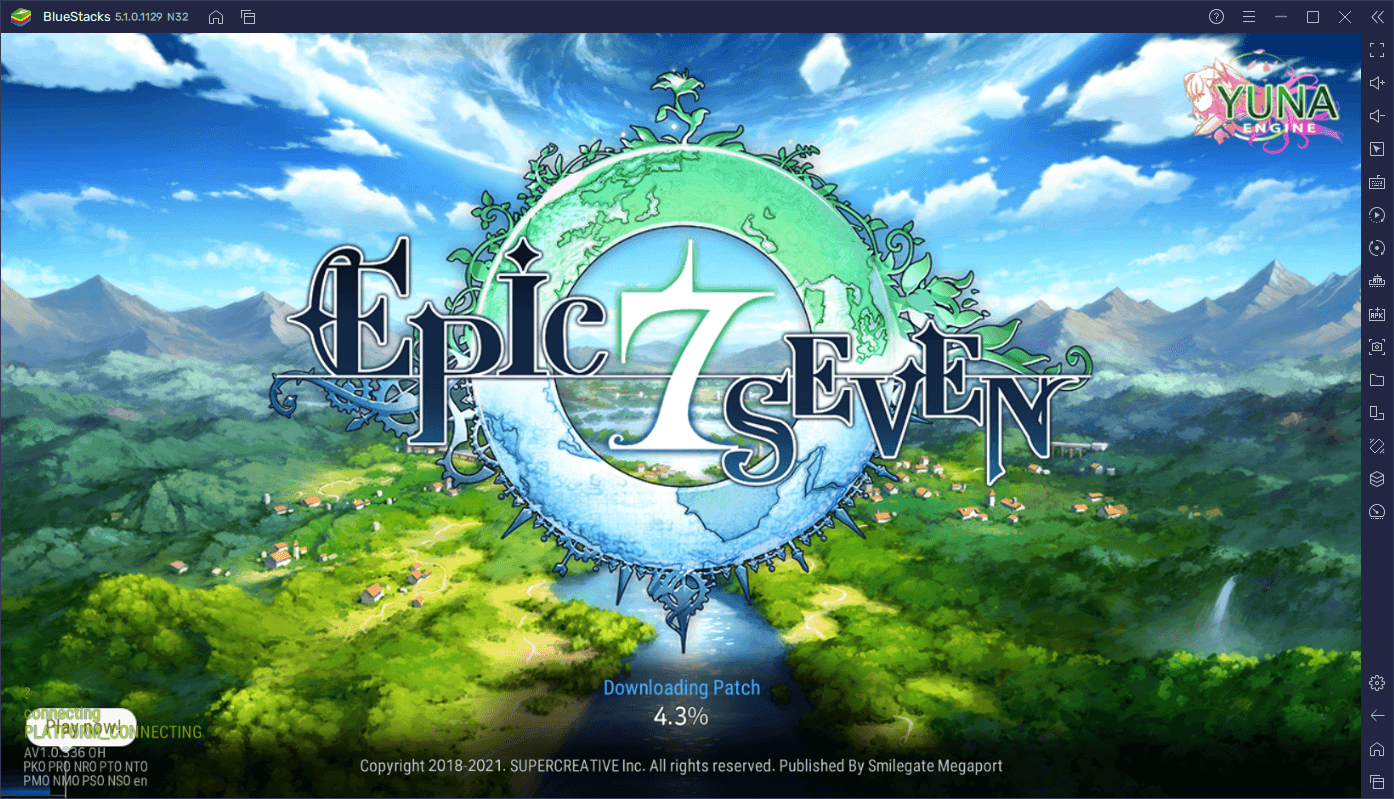
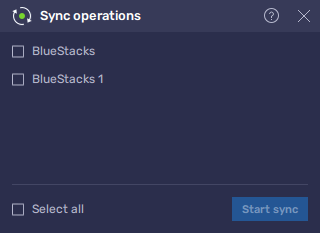
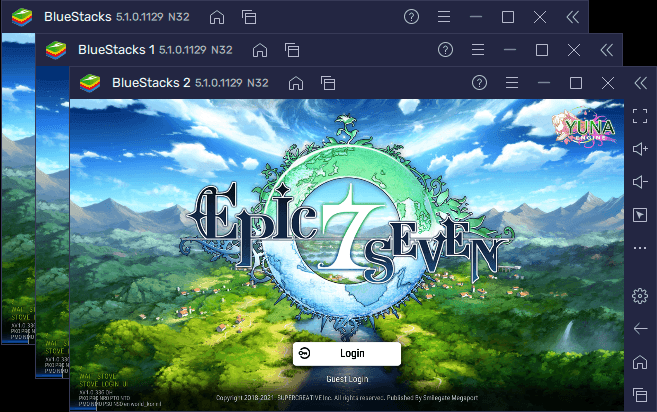
Once you’ve installed the game on each of your instances, go ahead and launch it and wait until all your active windows are in the game’s title screen, so that they’re all lined up in the same place. Once they’re all lined up, activate the Instance Sync feature by pressing Ctrl + Shift + 9, and then choose “Select all” in the panel, followed by clicking on “Start sync”.
Once you’ve activated the Multi-Instance Sync, all the actions you perform on your main instance will be replicated on the others. This means that, by playing as you normally would on your main window, BlueStacks will automatically progress your games on all your other instances, therefore letting you reroll in Epic Seven with as many accounts as you want, without any of the extra effort.
Let us know if you have any questions about the BlueStacks 5 Instance Sync feature in the comments below!