How to Easily Free Up Disk Space in BlueStacks 4
No matter how many hundreds of gigabytes or terabytes of digital storage we have at our disposal, we’ll always find ways to get our drives full of random things. We’re talking about games like Overhit, Garena Free Fire or any big RPG title, for that matter, that take up several GBs of disk space. It’s also easy to get carried away when installing games on our PC and apps on BlueStacks since it always happens that we end up with all of our partitions on red, regardless of how large our HDDs are.
We’re certainly fond of our progress in those games that we don’t play anymore. Sure, we may not be playing our maxed-out Agi Crit Sin Cross in Ragnarok Online anymore, but you can bet that the game isn’t going anywhere anytime soon. So managing disk space becomes instrumental to data hoarders like us.
Why Disk Space Is Important
Having your hard drives full all the time is problematic for the performance of your machine. Windows, for instance, will gradually slow down the more clogged its system drive is. In fact, all operating systems normally store temporary information on their system drives. This is necessary for certain applications—such as games, or videos on YouTube, for example—to run smoothly.
When your drives get too full, your computer’s performance starts to decrease. Programs no longer respond to your commands in a crisp, timely fashion, and you find yourself waiting longer on things to load than actually playing the games.
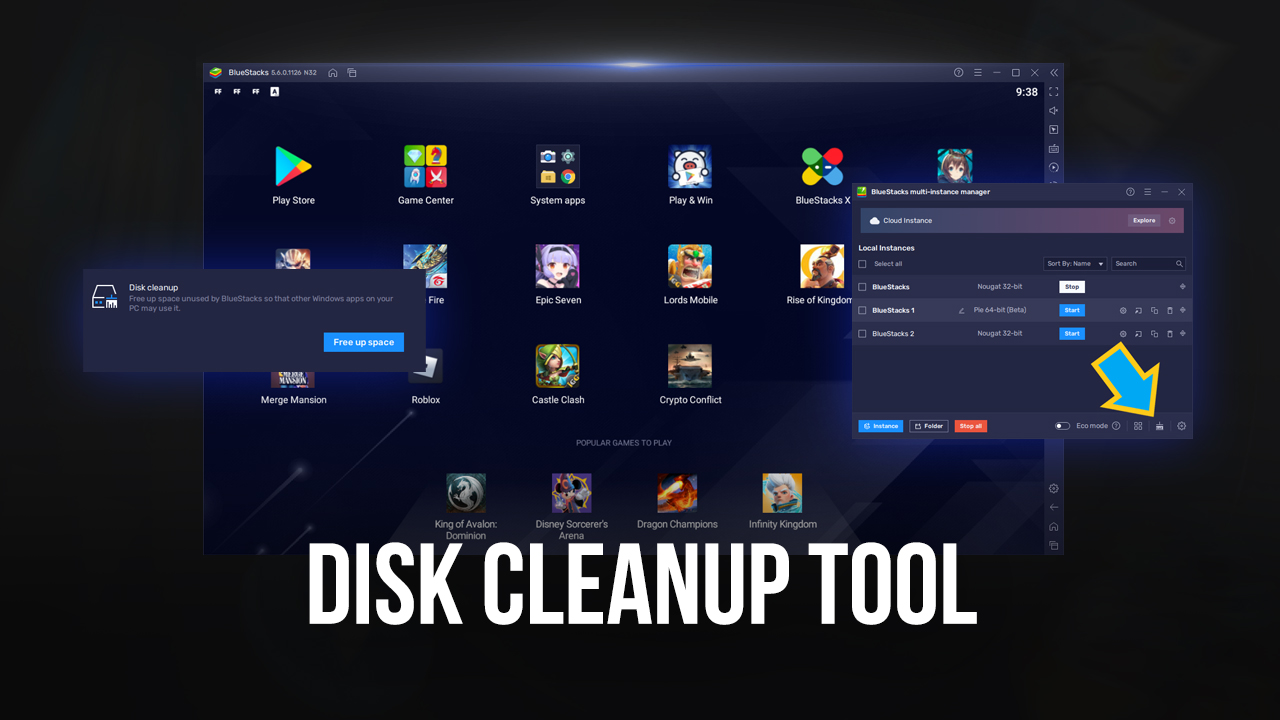
As you can see in the example above, we still have lots of free space, but we also have some unwanted files from uninstalled apps that we can get rid of. We don’t want unnecessary files left behind from applications that are no longer installed because they might spike our latency in-game.
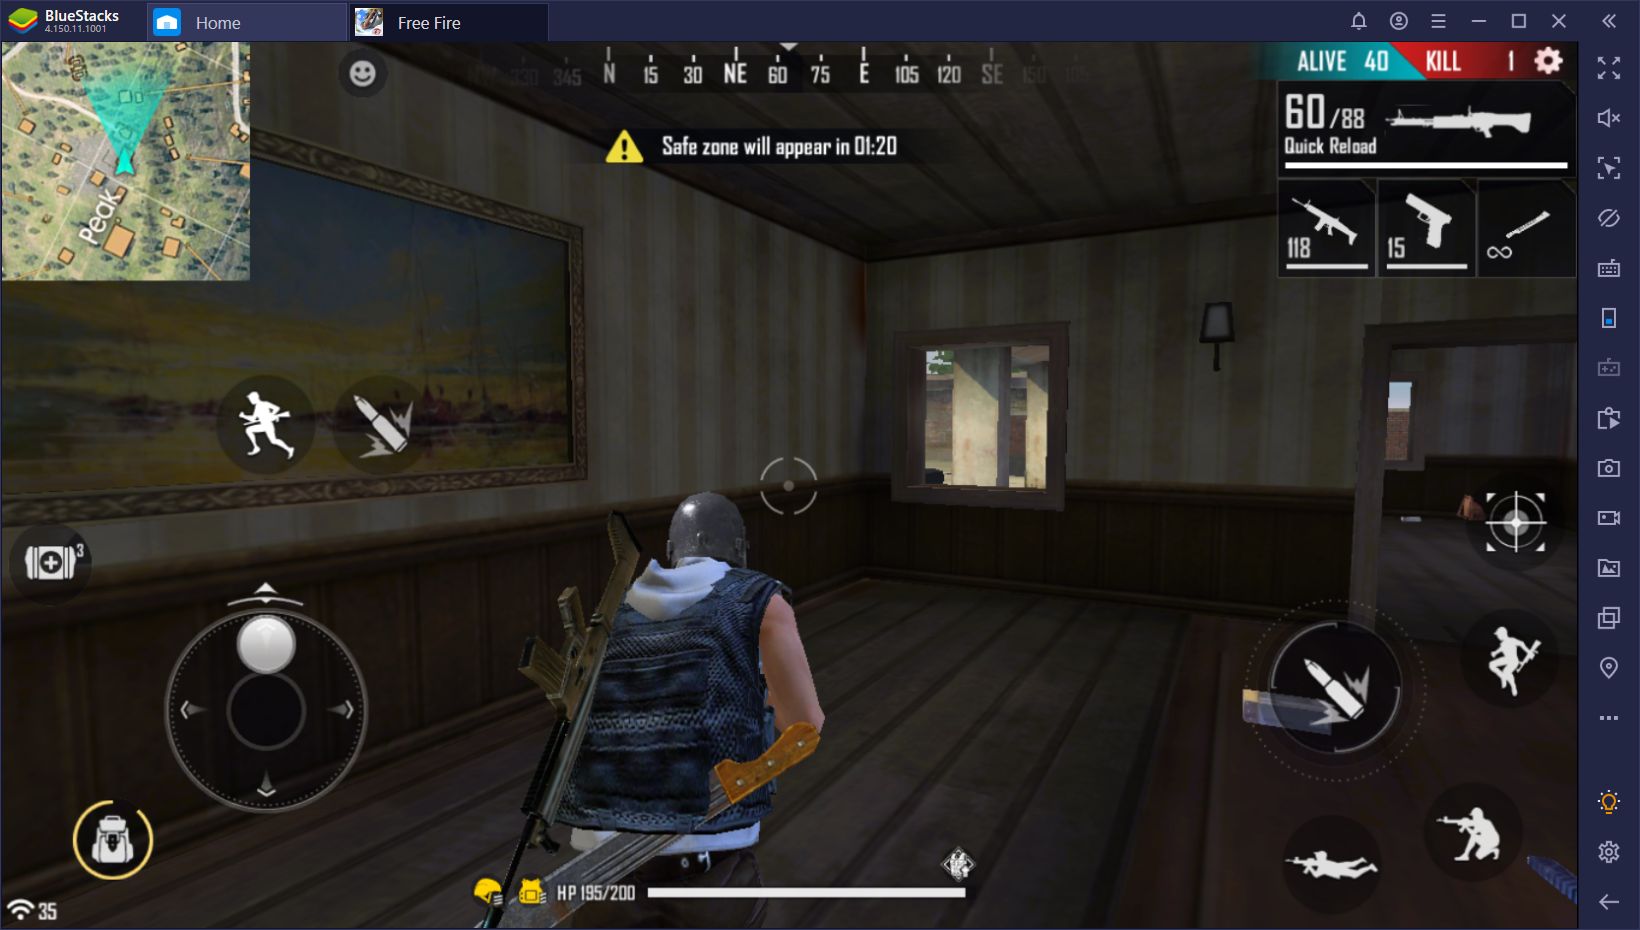
Particularly when we were this close to winning our Free Fire match, it would have been disastrous for our PC to crash the application or stutter because BlueStacks doesn’t have enough room on the internal SD. Lack of space can also prevent you from installing new applications. Luckily, we can free up this unused disk space in a matter of minutes.
Using Disk Cleanup to Delete Unnecessary Files
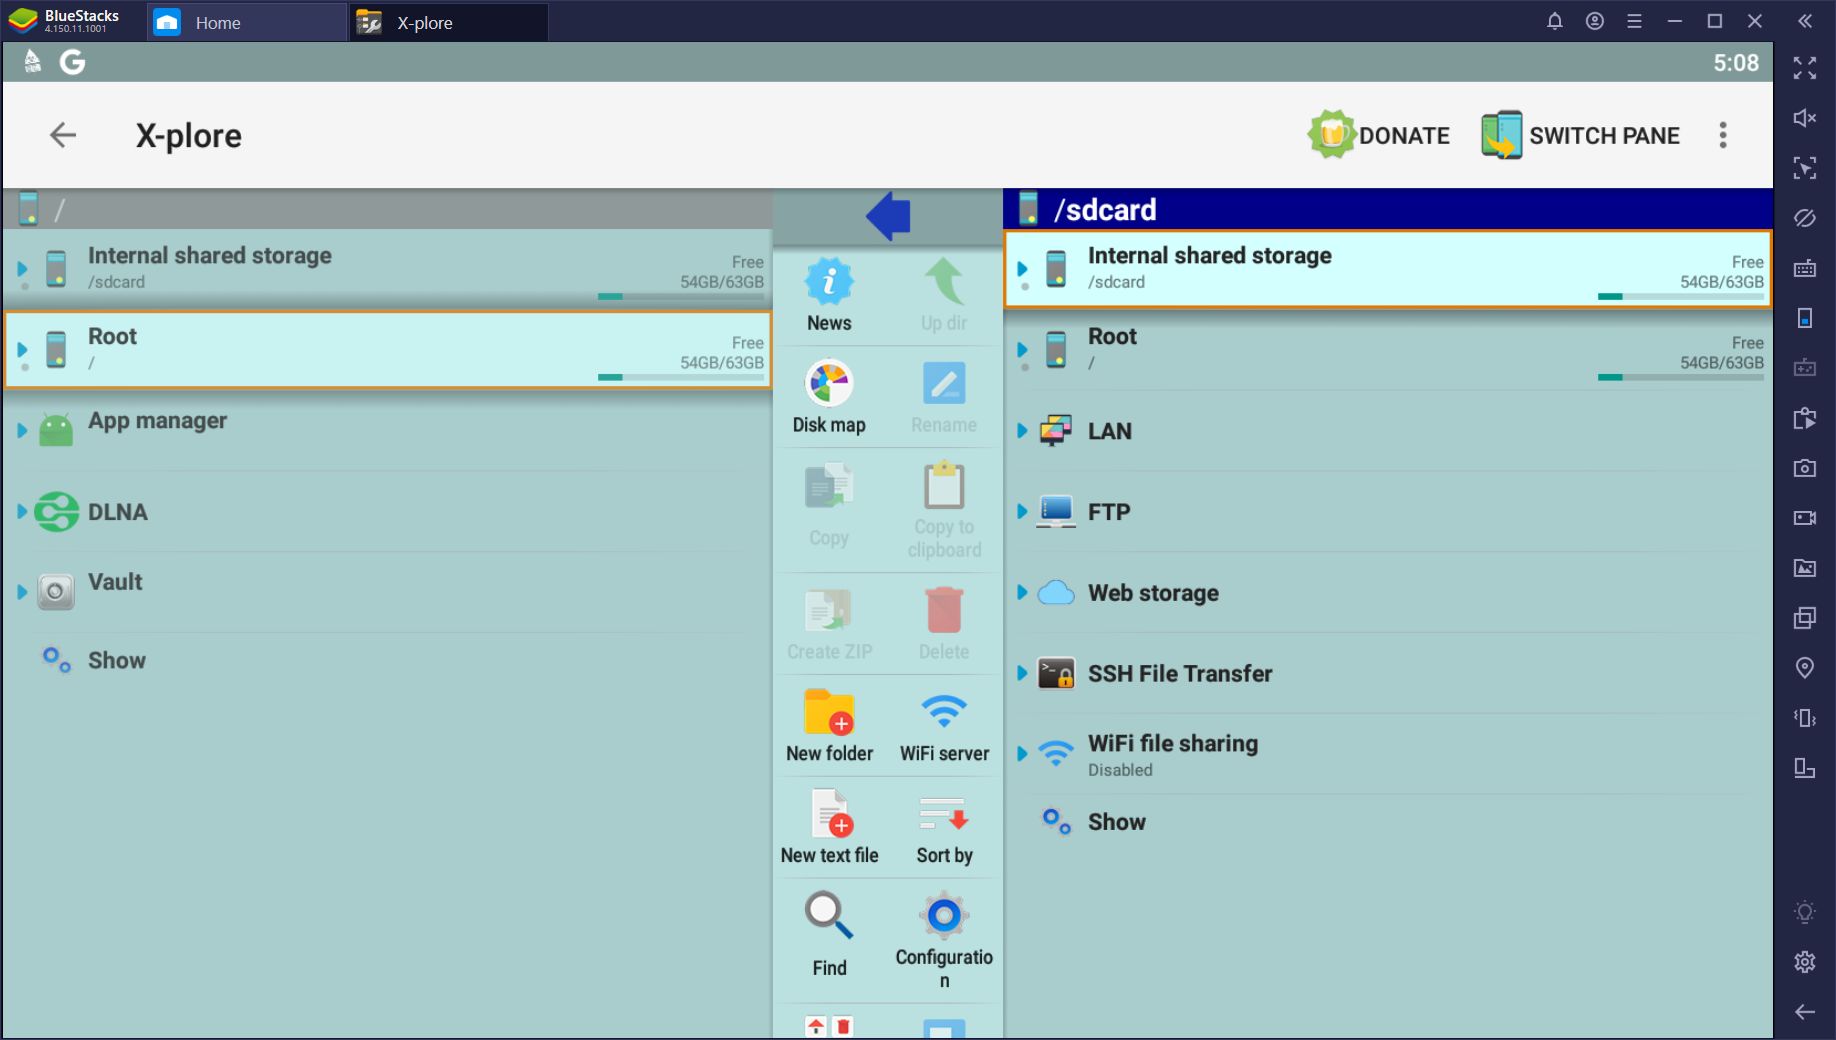
This method applies to anyone who is running BlueStacks version 4.90.0.1046 and higher. By all means, you should always be running the latest version of BlueStacks for the best stability and state-of-the-art features. You can check your version on the top left corner of the BlueStacks window, right to the left of your Home tab. If you’re not running the most recent version, you can easily upgrade to it by downloading the application again from our website.
The newer version has several noteworthy improvements, including Macro Recorder and Multi-Instance Sync features, to name a couple. Don’t worry, though; you won’t be losing any of your application data in the update.
As we mentioned above, Android applications sometimes have a habit of leaving files behind after they are uninstalled. This can happen for a variety of reasons, but the outcome is invariably the same; your precious free space is taken up by unnecessary files. Whether you’re a bit of a neat freak or you just need some extra space to install your favorite games, this tool is an easy answer to get rid of all the junk left behind by various applications.
Step 1: Finding the Disk Cleanup Tool
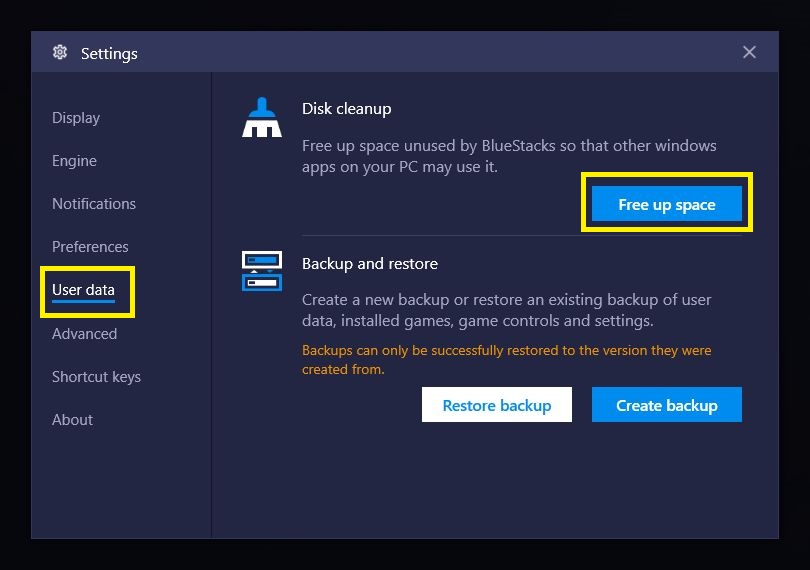
If your BlueStacks is properly updated, you’ll find the Disk Cleanup feature conveniently located in the BlueStacks settings menu, which you can access via the gear icon in the top right. Specifically, it’s in the “User Data” tab. In this menu, you simply need to click on “Free up space” in order to run the tool.
Step 2: The Disk Cleanup Tool Screen
Once you run the tool, you’ll access the Cleanup screen, through which you can begin the cleaning process by clicking on “Continue.”
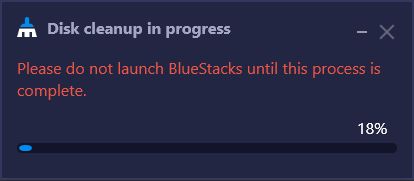
During the procedure, the tool will close BlueStacks and start merging the disk. Depending on your machine, it will take a few minutes to finish. If you have an older PC, we recommend you put your feet up and grab a good book. Don’t try to do other tasks on the computer if your disk is running at capacity. We know it’s tempting, but it will only slow things down.
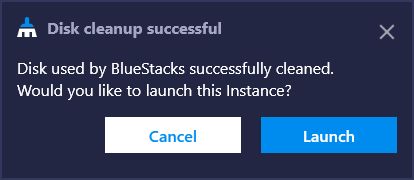
Step 3: All Done!
After only a couple of minutes, you should have much more free space than before. You’ll also get a confirmation message that will ask you if you want to launch BlueStacks. Now, you’re free to play or install anything you might want on your BlueStacks without having to worry about performance issues or lack of space. We got rid of just over 1GB worth of garbage we didn’t even know was there. Pretty neat, huh?
For us, the last step was celebrating a job well done. We find great satisfaction when we take pleasure in the small things. And what better way to enjoy an amazing Android emulator running on a smooth computer than to win a Free Fire game? Can we get a Booyah? Let’s make it a double!