How to Install BlueStacks 5 on the New Windows 11
In the tech world, there are few things as exciting as watching Microsoft unveil their new versions of Windows, the most popular operating system in the world. And while some of their updates are a bit controversial, especially regarding the privacy and advertising aspects of the OS, these new releases often give the team somewhat of a blank slate; an opportunity to dazzle the crowds with new features, visual designs, and innovations in user experience and accessibility.
Got questions about guilds, gaming, or our product? Join our Discord for discussions and support!

However, one of the top concerns when it comes to new versions of Windows is compatibility. Will the same apps be compatible? What will the new features mean in relation to the performance of apps and games? Well, while only time will tell what the extent of changes that Windows 11 will bring in terms of compatibility, we can already say for sure that BlueStacks 5 will, without a doubt, work on the new OS. And when it comes to installing BlueStacks 5 on Windows 11, the process will be as simple as always, and you’ll still be able to enjoy your favorite Android games on PC, even in the new upcoming version.
In this article, we’ll talk about all you need to know about Windows 11, as well as how to install BlueStacks 5 on the newest version of Microsoft’s operating system.
Installing Windows 11 Through the Insider Program
As of right now, Windows 11 still hasn’t launched yet. However, it’s possible to access a preview of the operating system through Microsoft’s Windows Insider Program. This program is meant to choose users with eligible systems so that they can access a trial version, and report any bugs or flaws in the system, in anticipation of its launch later this year.
Before we install BlueStacks 5 on Windows 11, we’ll need to access the operating system through the Windows Insider Program, and you can do this by following the steps in this section.
Windows 11 System Requirements
According to Microsoft’s website, users will need to fulfill the following hardware requirements to upgrade to Windows 11:
CPU: 64-bit processor with at least 1 GHz on 2 or more cores.
RAM: 4 GB.
Storage: At least 64 GB of storage space on any storage device.
Firmware Requirements: Secure boot capable, UEFI.
GPU: Integrated or dedicated graphics chip with Directx 12 compatibility.
Display: 9” or larger screen with at least 720p resolution.
Internet: An internet connection and Microsoft account are required to install Windows 11 Home.
Feel free to check out Microsoft’s page on Windows 11 to get a more detailed list of the system requirements.
Before Beginning
Before we proceed with the installation steps, we first need to check that your PC is eligible for the free upgrade to Windows 11. You see, even though your machine might fulfill the necessary hardware requirements, it might still require some settings to be enabled before upgrading. A quick way to check is by using the PC Health Check program that you can find on Microsoft’s website, through the link mentioned in the section above. While this tool is unavailable for now, Microsoft has said that they will bring it back well before launching this Fall.

If by any chance that link was working for you, simply download the program and run it, and you’ll learn whether or not your PC is eligible. And even if it’s not, you can read the details to learn if it’s a hardware issue, or simply if you need to configure a setting in your BIOS. Regardless, as long as you meet the hardware requirements, there’s a good chance that you’ll be able to upgrade to Windows 11 for free this Fall if you wish.
Windows 11 Installation Steps
Now that we know your PC is eligible to upgrade to Windows 11, you can obtain early access to a preview of the new OS through the Windows Insider Program. For simplicity’s sake, let’s break down the process into easy steps:
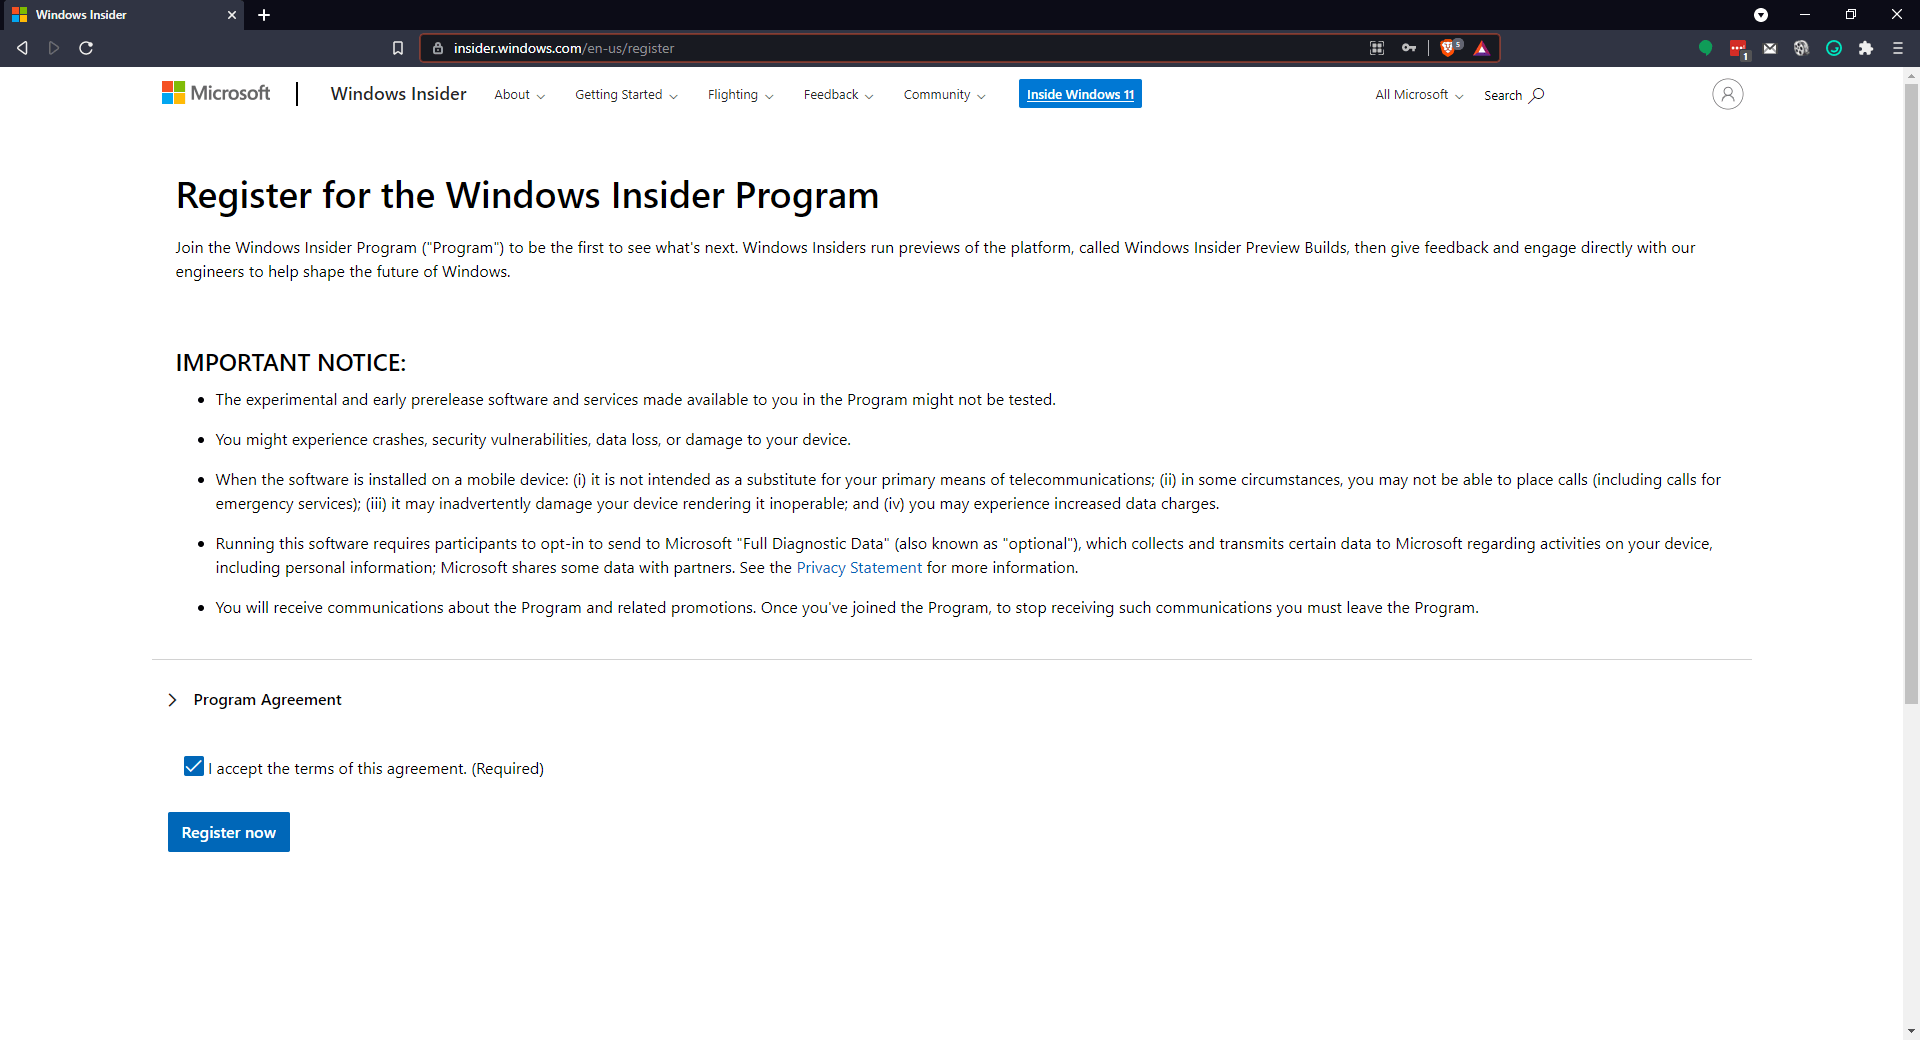
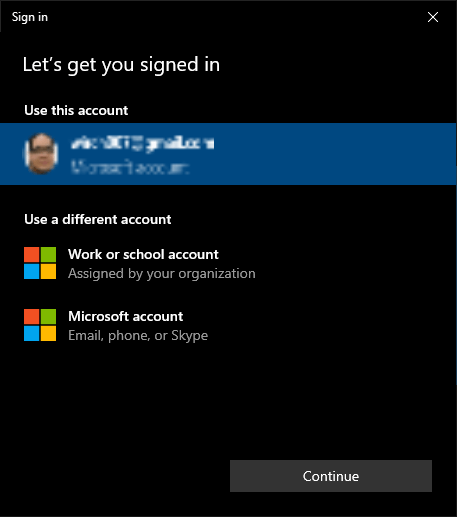
- Head on over to the Windows Insider Program portal and register to become a tester. Make sure to login with the Microsoft account linked to the PC in which you intend to upgrade.
- On your PC, go to Settings > Update & Security > Windows Insider Program.
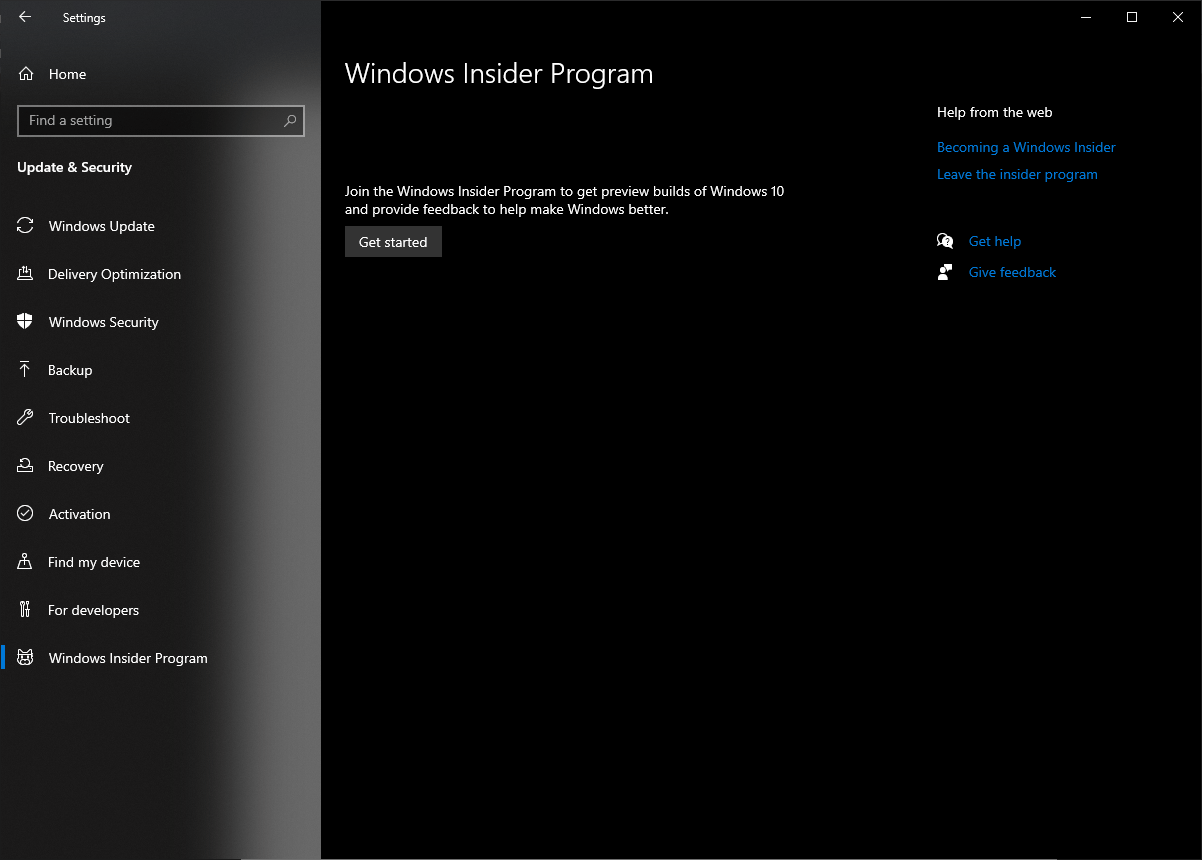
- Click on “Get Started,” and choose the Microsoft Account with which you signed up.
- Follow all the steps, and then click on “Restart Now” or “Restart Later.” The version of Windows 11 you chose can only be installed after restarting your PC.
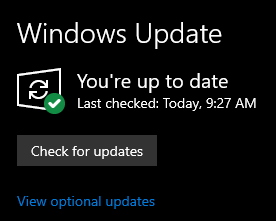
- Once restarted, head to Settings > Update & Security > Windows Update, and click on “Check for updates” to download the latest version of Windows 11, as per your selection when you registered.
This Windows Insider Program tab can also tell you whether or not your PC meets the minimum system requirements, and can give more information if it doesn’t. Nevertheless, if you were able to follow these steps, you should now be on Windows 11, and ready to install BlueStacks 5.
How to Install BlueStacks 5 on Windows 11
If you’re a veteran user of BlueStacks, you’ll notice that the process for installing BlueStacks 5 on Windows 11 is quite the same as ever. Regardless, if you’re just getting started with gaming on our Android app player, then you’ll find everything you need to know about installing BlueStacks on PC in this section.
Let’s begin.
BlueStacks 5 System Requirements
BlueStacks 5 is the fastest and lightest our Android emulator has ever been, being able to run on more systems, and with much better performance than the previous version. However, to have the best experience with playing Android games on PC, we recommend meeting these requirements before running BlueStacks:
Minimum System Requirements
- OS: Microsoft Windows 7 and above.
- Processor: Intel or AMD Processor.
- RAM: Your PC must have at least 4GB of RAM. (Note that having 4GB or more disk space is not a substitute for RAM)
- Storage: 5GB Free Disk Space.
- You must be an Administrator on your PC.
- Up to date graphics drivers from Microsoft or the chipset vendor.
Recommended System Requirements
- OS: Microsoft Windows 10
- Processor: Intel or AMD Multi-Core Processor with Single Thread benchmark score > 1000.
- Graphics: Intel/Nvidia/ATI, Onboard or Discrete controller with benchmark score >= 750. To find the scores of your CPU and GPU, we recommend reading the brief guide we wrote on the topic.
- Please ensure Virtualization is enabled on your PC/Laptop.
- RAM: 8GB or higher
- Storage: SSD (or Fusion/Hybrid Drives)
- Internet: Broadband connection to access games, accounts, and related content.
- Up to date graphics drivers from Microsoft or the chipset vendor.
- You can install BlueStacks 5 even if you have a virtual machine such as Microsoft Virtual PC, VMWare Workstation, or Oracle Virtualbox, installed on the same PC. However, please note that you may run into some performance issues.
Downloading and Installing BlueStacks 5
Once you’ve checked that your PC meets the system requirements to run BlueStacks 5, we can go ahead with the installation.
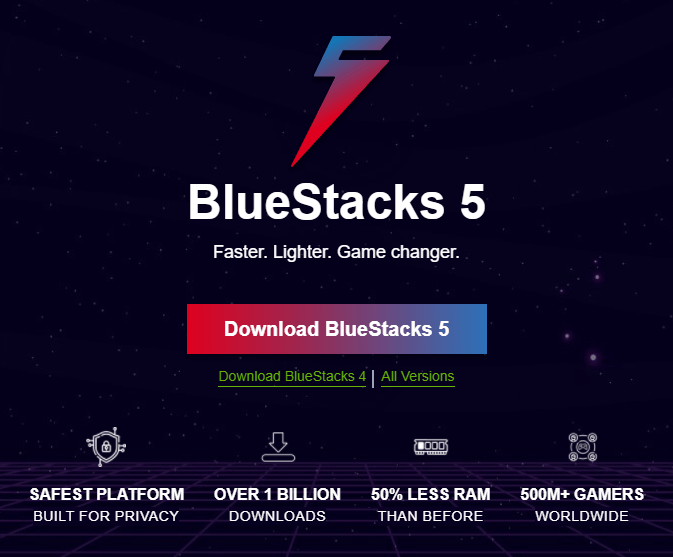
First off, head over to our official website and click on the big download button front and center. This will download the latest version of our Android app player, which includes the latest features, tools, and the best stability and compatibility with the largest variety of games. Keep in mind that we can only respond to the BlueStacks clients downloaded through our official website, and can’t guarantee the proper functioning of clients acquired from third party sources.
Once downloaded follow these simple steps:
-
Before Installing
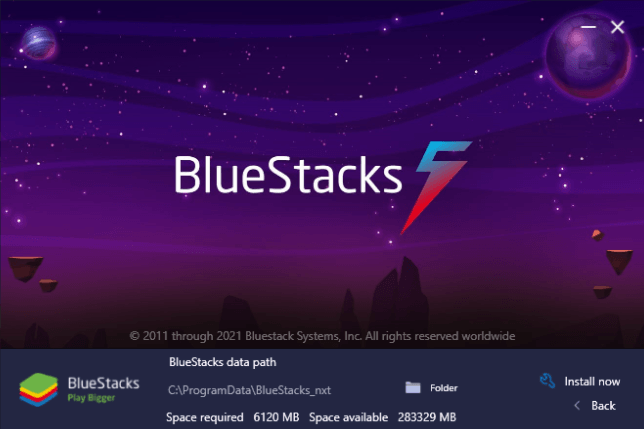
Run the installer to begin the process. By default, BlueStacks will install in the C:/ drive, but you can click on “Customize installation” on the bottom right to change the install directory. This is important as well because all the games and apps you download and install on BlueStacks 5 will be stored in this drive, which in some cases can increase the size of the BlueStacks directory. Make sure you have enough space leftover to avoid potential issues in the future.

-
Download and Installing BlueStacks Files
Once you’ve selected the desired install directory, click on “Install now”. During this process, the installer will download and install all necessary files. No user input is required here; you just need to sit tight for a few seconds until the installer finishes. It’s worth noting that the install time here will vary according to your connection speed.
-
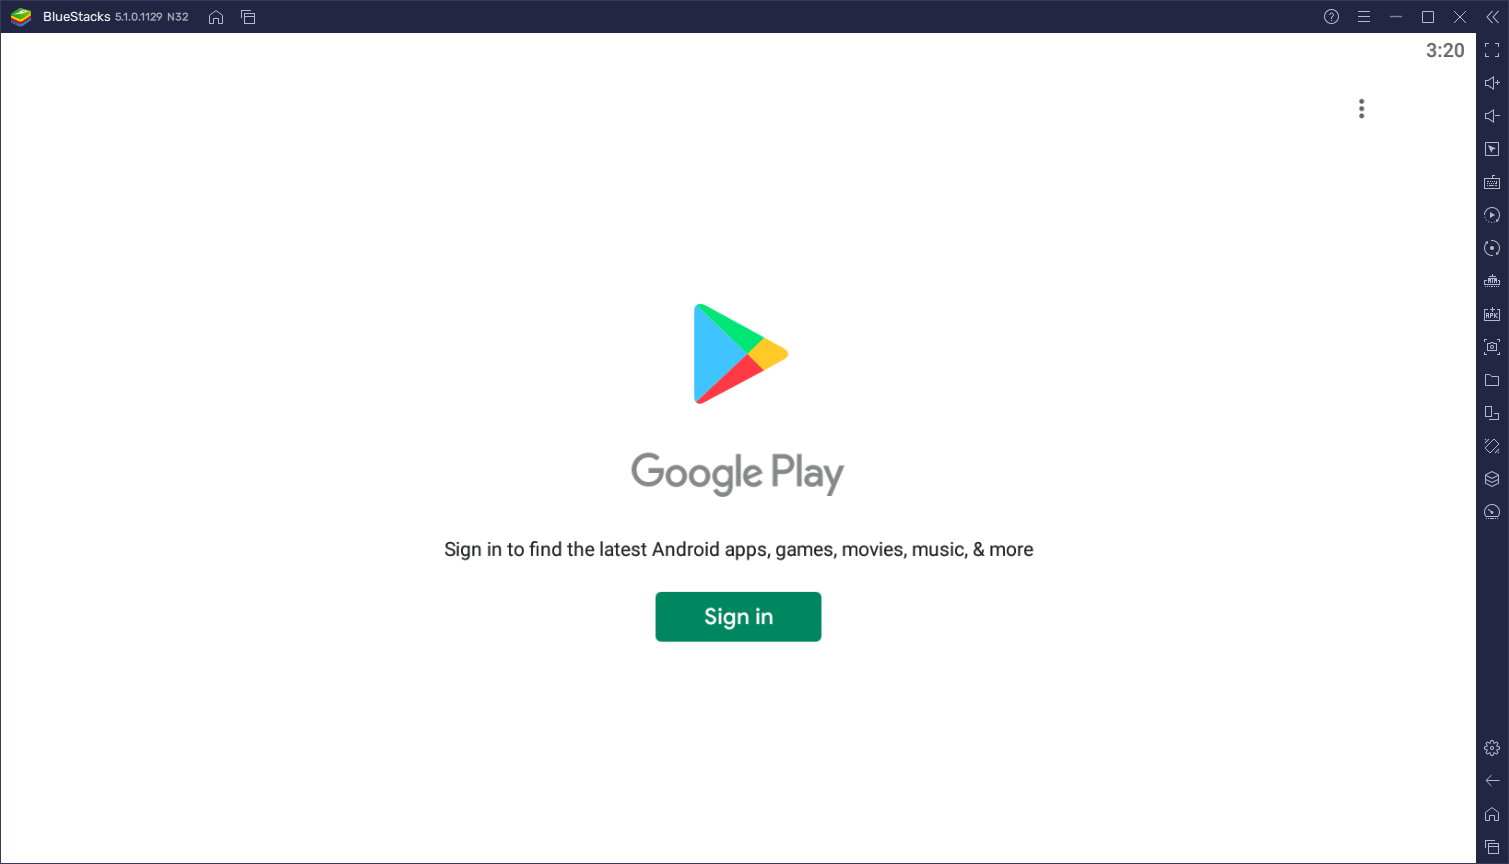
Setting Up Your Google Account
Just like with your smartphone, you’ll need to link a Google account to BlueStacks in order to download games from the Play Store. While BlueStacks 5 doesn’t automatically prompt you to link an account on its first launch, you can do so manually either through Settings > Account > Add Account, or by launching the Play Store app from the home screen, upon which you’ll be taken to a screen where you can add an account before being able to browse the store.
Upgrading From a Previous BlueStacks Version
If you’re using BlueStacks 4 currently, there’s no way to upgrade from it to BlueStacks 5, since this new version is a complete rewrite of our emulator from scratch. Consequently, you must follow the steps above to install BlueStacks 5 if you wish to upgrade. The good thing about this is that, if you still want to continue using BlueStacks 4 for some games, it’s possible to have both versions of our emulator installed on one PC and even running at the same time.
If you’re already on BlueStacks 5 and wish to update to a more recent release, you might get prompted upon launching the emulator to do so if a new version is available. However, you can also update manually by downloading the installer from our website and running it. If you have an older version of BlueStacks 5 installed when running the installer, you’ll be prompted to update instead of installing. All you have to do in this case is wait until the installer finishes updating, after which you’ll be on the latest version of BlueStacks 5.
As we mentioned above, BlueStacks 5 is the lightest and fastest that our Android emulator has ever been. Installing it on a system with the recommended hardware and a good connection speed takes only seconds, after which you’ll be playing your favorite Android games on PC, even on the new Windows 11.
Let us know if you have any questions or comments related to installing BlueStacks 5 on Windows 11 in the section below, and we’ll try to answer them as soon as we can.