How to Install & Setup Bullet Echo on Your PC with BlueStacks
GTA I, Alien Swarm, Ultima Online: The common feature of all these legendary games that you can remember from your childhood was that the camera was at an isometric angle. You saw the playing field from above and determined your style of play accordingly. If you want to return back to the good old days, Bullet Echo might be just what you’re looking for. You move your character in a room, shoot, and keep shooting just like in those old games: Sometimes, after a busy day, this might be exactly what you need. Moreover, Bullet Echo is much more fun to play with BlueStacks – first of all, you get extremely comfortable controls with the keyboard and mouse. If we managed to get your attention, keep reading: Below, we explain how you can start playing the Bullet Echo game on your computer.
Installing Bullet Echo To Your PC
Like any other mobile game, you can find all the files you need on BlueStacks Game Center. The installation process is largely automatic and very simple. Launch BlueStacks and type “Bullet Echo” in the search box in the upper right corner of the home screen. After you press the Enter key, you will see a couple of results listed. Select the game among them to open its Play Store page. After clicking the “install” button on this page, you can leave everything else to BlueStacks. Bullet Echo will be downloaded and installed automatically and you will see a notification when it’s ready to play. You can click the game’s icon on the home screen to start shooting cheerfully at your teammates, enemies, and every living creature in general.
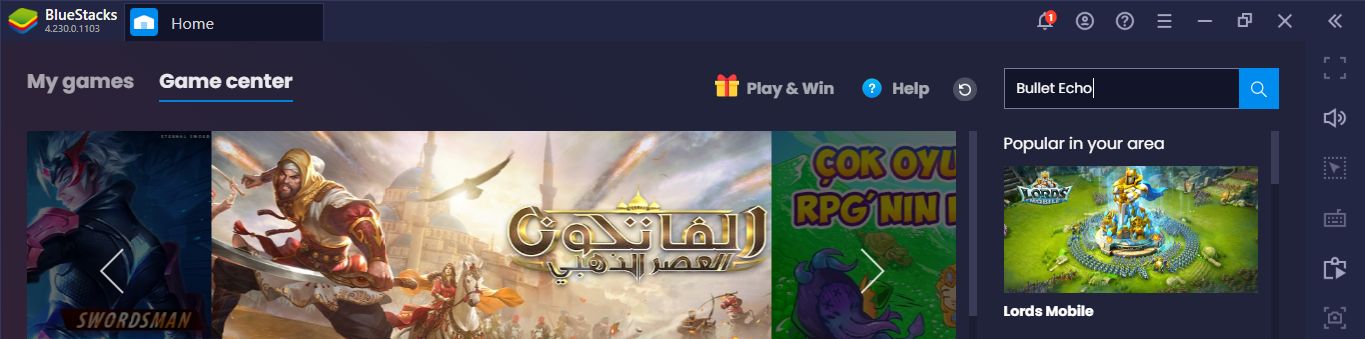
You can see the search box where you need to type the name of the game in this screenshot.
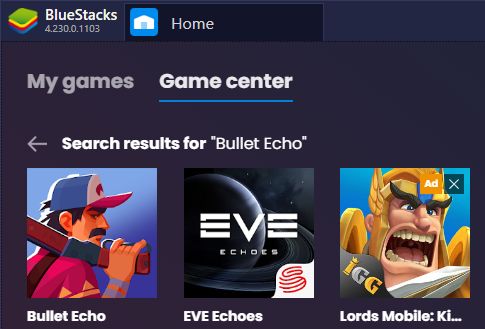
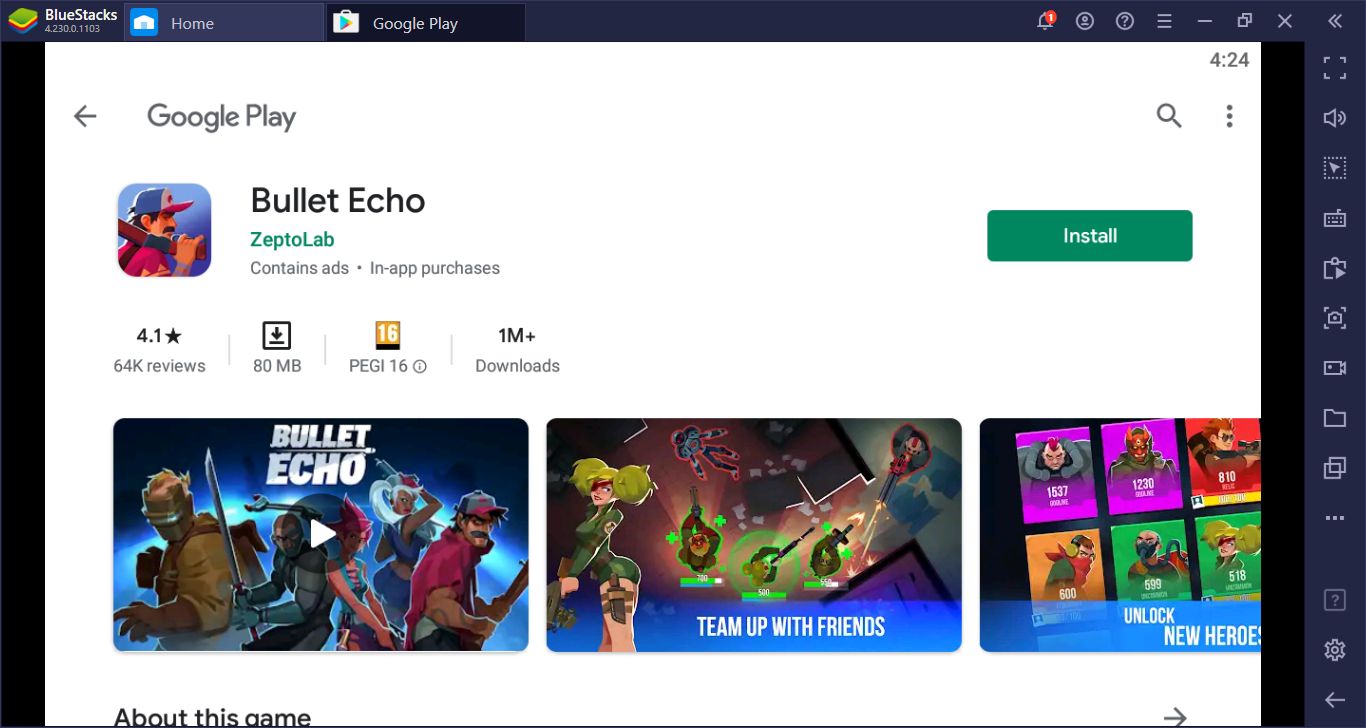
Select the game from the search results.
Just click the install button on this screen. Bullet Echo has an installation file smaller than 100MB.
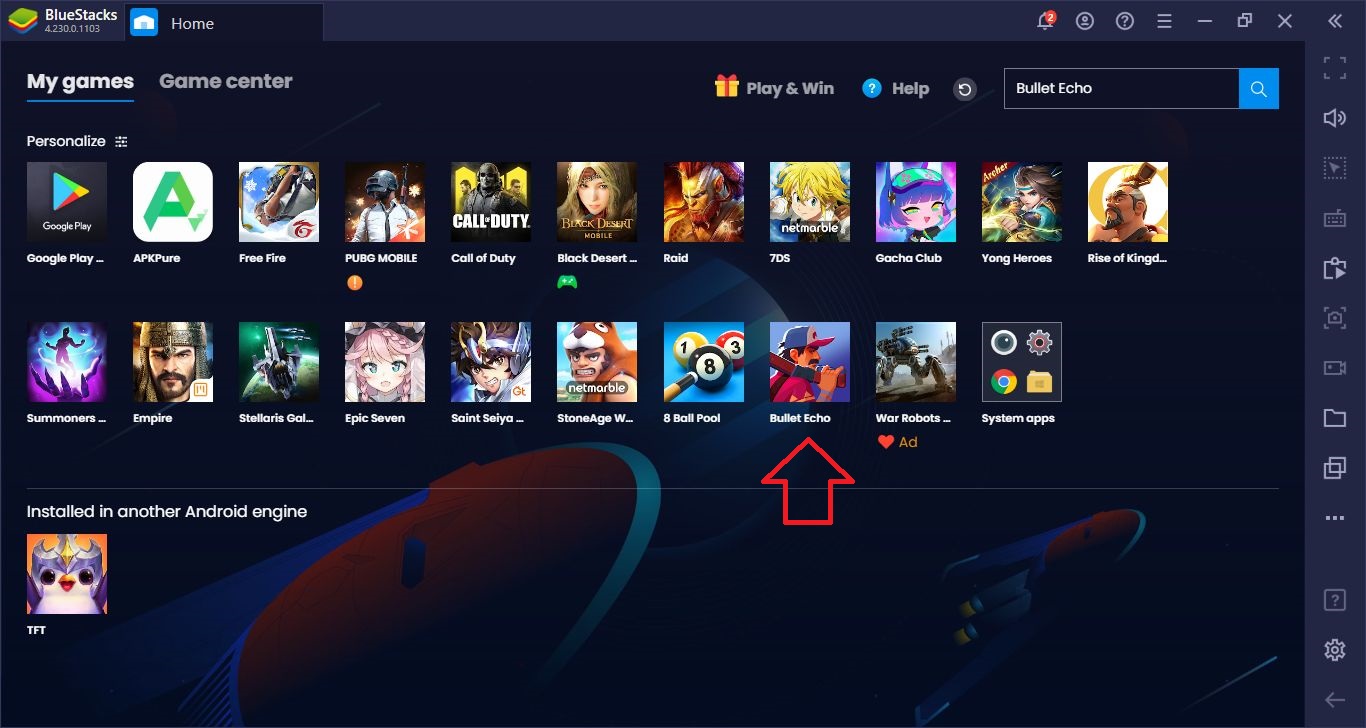
Click on the game’s icon on the home screen to start.
Changing Default Controls
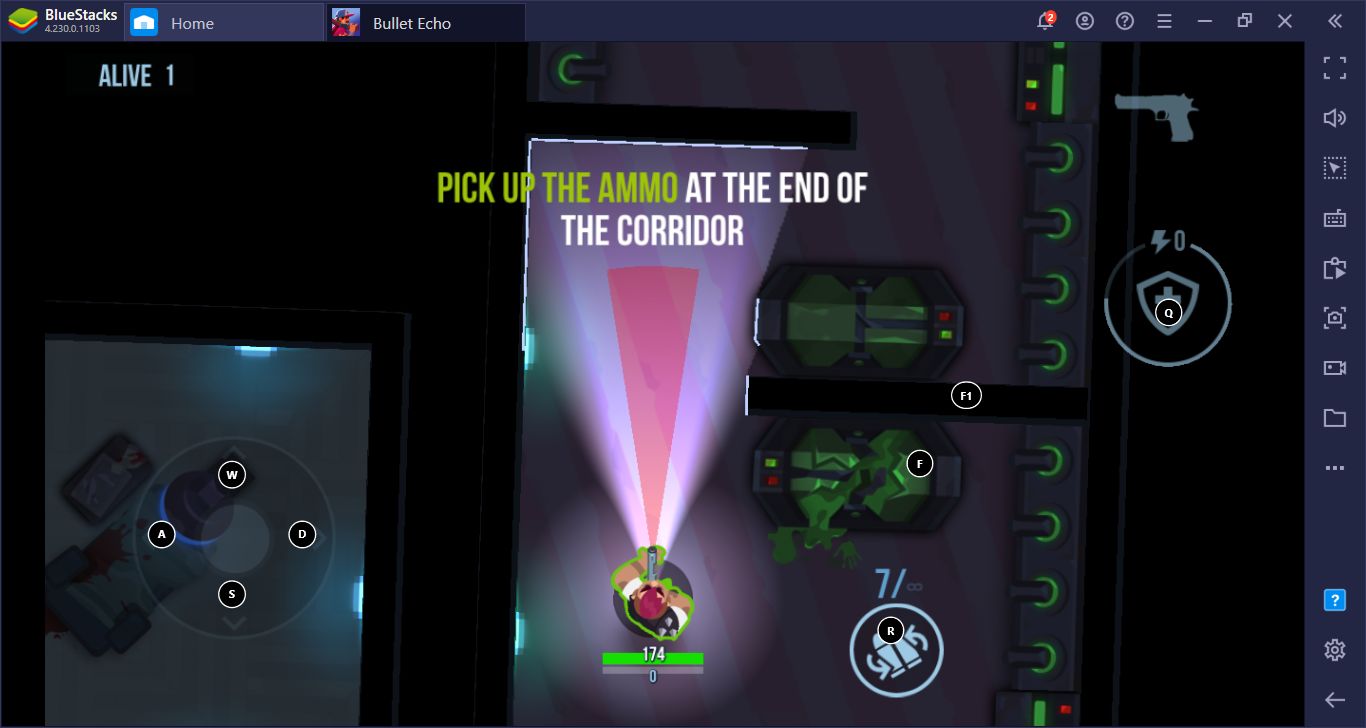
If you want to be successful in action games like Bullet Echo, you need to use sensitive and responsive controls. The faster you move and shoot, the longer you will survive. It is not possible to do this with the touch screens of mobile phones, but you can use your keyboard and mouse with BlueStacks. The default controls of the Bullet Echo game are simple and practical: You can use WASD to move, and you can use your mouse to turn your character. Don’t worry about the shooting, your character does it automatically. All you have to do is keep your shooting angle on the enemy and not stop moving. A moving target is harder to hit!
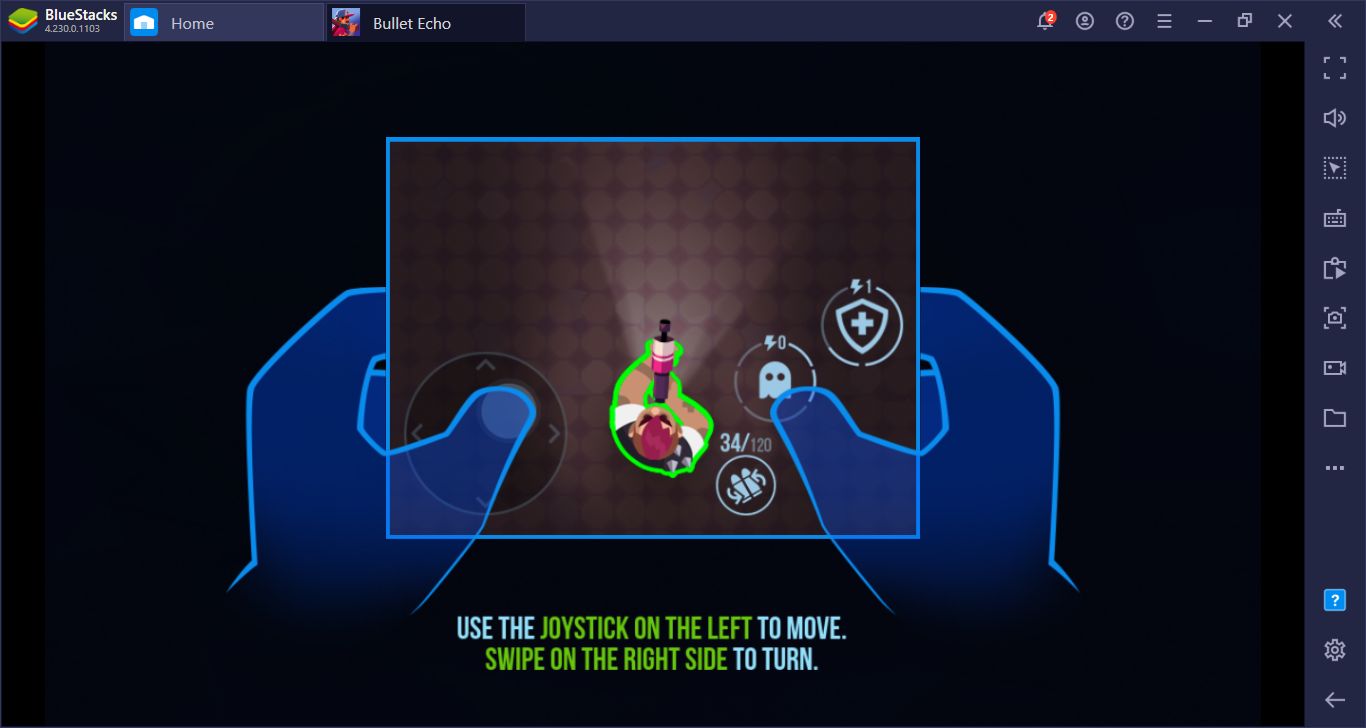
These are the touch controls of the game, but we will use WASD to move and mouse to turn.
You can see the default keyboard keys on this screen. There are a total of four buttons you can use, and you can assign a key to all of them.
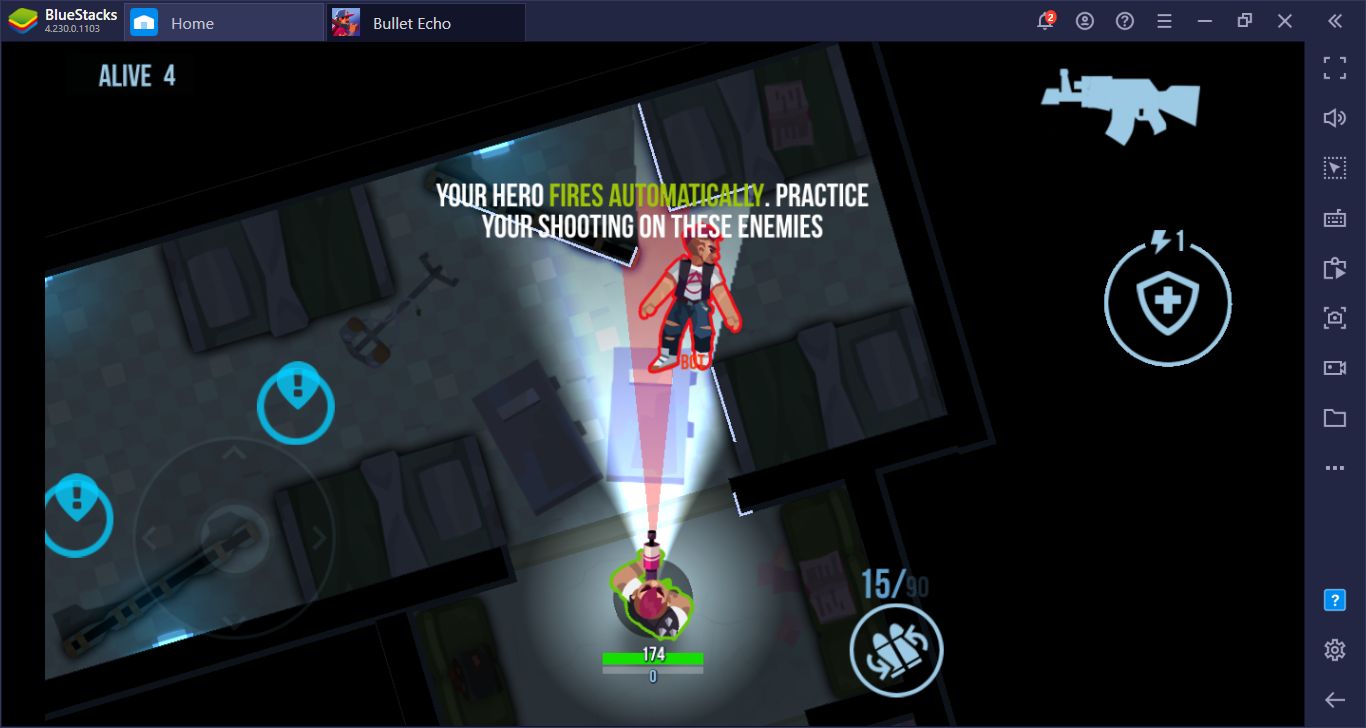
Don’t worry about shooting: You just have to aim. You can also do this perfectly with precise controls.
If for some reason you want to change the default keys, you can do so easily. With Bullet Echo open, look at the right side of the screen – you will see the BlueStacks bar. You can open the controls menu by clicking the question mark icon on this bar. There is also a video showing how you can play the game in this menu. At the bottom, you will see a button that says “edit”, clicking it will allow you to assign new keys to all functions. Remember to hit the “save” button after making a change, otherwise, new keys won’t be saved.

You can open this screen by clicking the question mark icon in the right bar. Hit the edit button in the lower right corner to get started.
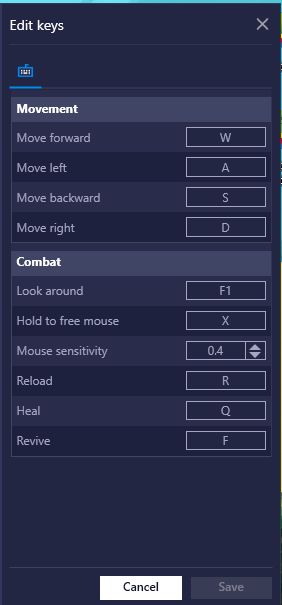
On this screen, you can assign any key to any function you want. Note that there is a special setting for mouse sensitivity: By changing this, you can increase or decrease the control sensitivity. Decide according to your play style.
Create A Macro For Complex Actions
It is nice to shoot with a smile, but it is also necessary to reload your weapon, collect ammunition, and use first aid kits to heal. Moreover, you may have to do these all at the same time. This means that you have to press many buttons at once. It can be very difficult to do this when you are facing an enemy. You may even lose a fight you can win if you press the wrong button. Fortunately, you don’t have to worry about all of these, thanks to the BlueStacks Macro Recorder. With this tool, you can record any chain of actions and repeat this recording at any time with the click of a single button. Reload your weapon, grab an armor from the ground, and use the first aid pack: If you save these actions, it will be possible to repeat them as many times as you want with a single click in the future. In other words, you don’t need to press a number of keys each time: You can now do multiple jobs at the same time with just one button.
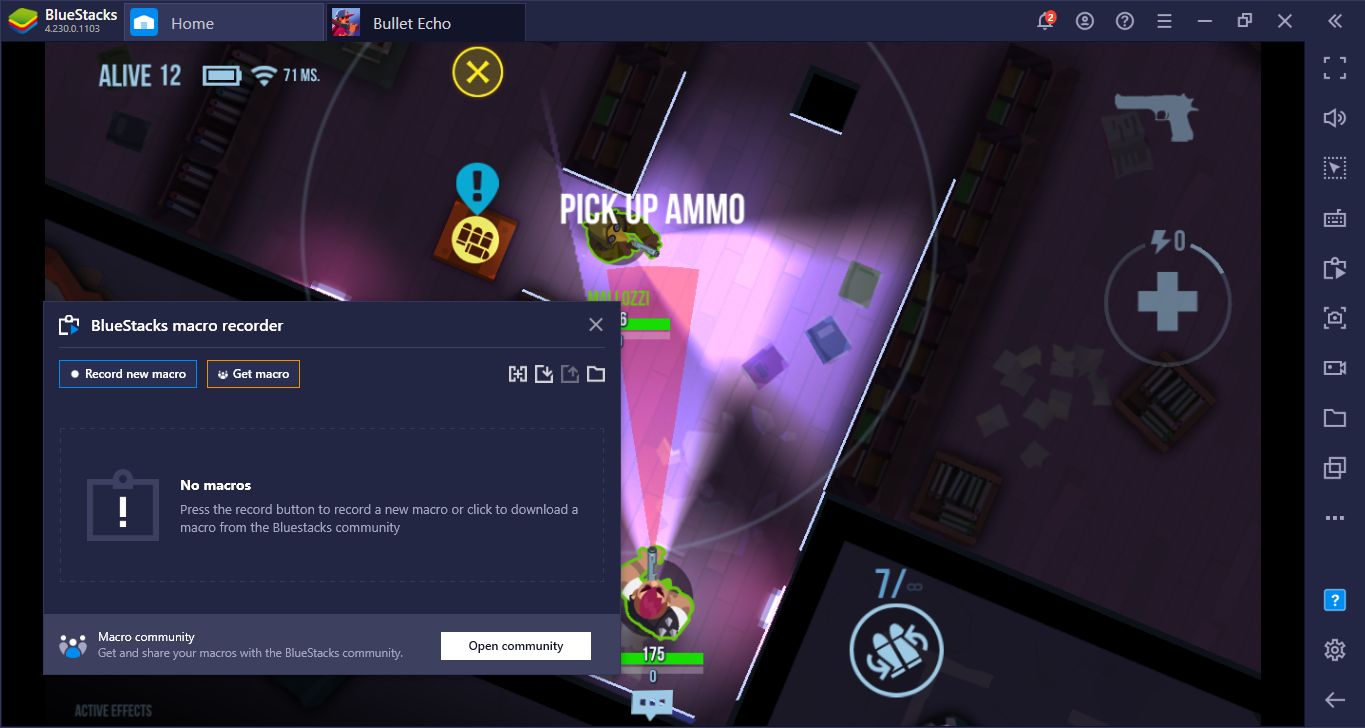
Create a recording and start doing all the actions you want to record.
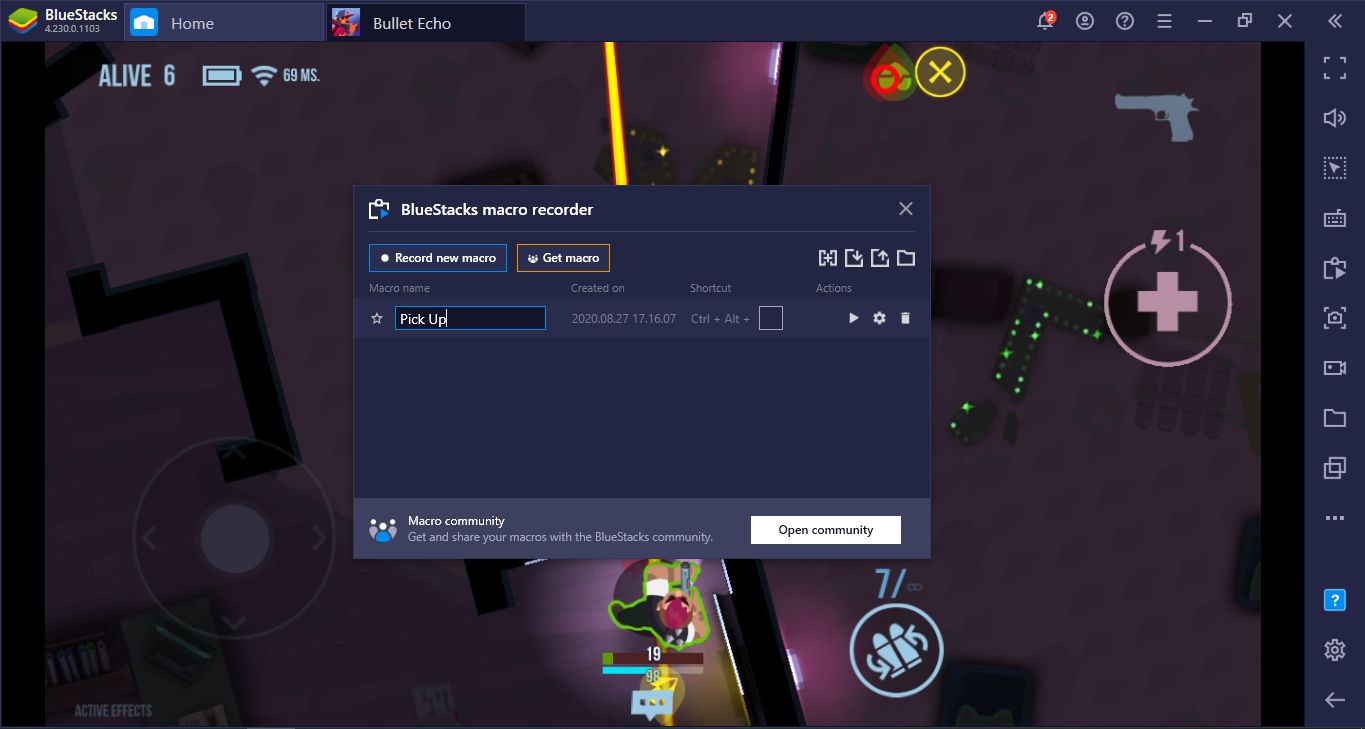
Stop recording, give it a name, and assign a button: You can now repeat this chain of actions at any time.
You have installed the game, changed the controls, and chosen your hero: Now you are ready to begin a cheerful massacre. Bullet Echo game appeals to players who want a casual shooter experience and offers both fast and enjoyable gameplay. If you want to get started quickly, don’t forget to check out our tips guide too, as it contains lots of helpful tricks. Let’s play together: The fastest shooter wins!