Crossfire: Warzone - Installing and Playing This Mobile Strategy Game on PC With BlueStacks
RTS games have been around for decades, ever since games like Age of Empires and Starcraft elevated the genre into the mainstream. Throughout the 2000s, these games were all the rage, spawning a huge competitive scene with lots of tournaments and large prize pools. Sadly, for various reasons, this category has since fallen a bit into niche status, at least on the PC platform. However, when one door closes, another tends to open, which is exactly the case for this genre.
As RTS games slowly started to fade from PC gaming, they began to take root on the mobile platform, where they arrived to stay. Crossfire: Warzone is one of the latest entries in the genre, set in a post-apocalyptic, zombie-infested world where, in order to survive, you must take control of a military base and construct buildings, research technology, and build your armies. However, while the zombie threat is always looming on the horizon, you must also defend yourself against other players that might want to attack you for your resources.
PC Vs. Mobile
For many reasons. Crossfire: Warzone is tons of fun, especially if you play with friends. Feel free to check out our review if you want to learn more about its basic premise and gameplay elements. However, while the RTS genre has become a staple in the mobile platform, playing them on your phone can be a bit awkward, especially due to the small screen and performance issues. Luckily, by playing it on BlueStacks, you can enjoy this game on PC, just like with the classic RTS games, AND also have access to better controls via your mouse and keyboard, while enjoying several tools that can greatly improve your gameplay.
In this article, we’re going to explain how to install and play this game on PC, and also talk about some of the benefits that you can enjoy by playing it on BlueStacks.
How to Install Crossfire: Warzone on PC
While Crossfire is definitely designed to be played on the go, there’s no reason why you should force yourself to play it on your phone if you’re at home relaxing. In this context, you’ll always want to get the best experience from your games. For this reason, playing it on PC is definitely the way to go, and these are the steps you need to follow to get started:
- Head on over to our official website and download the latest version of BlueStacks. Run the installer and let it finish, and the emulator will launch automatically.
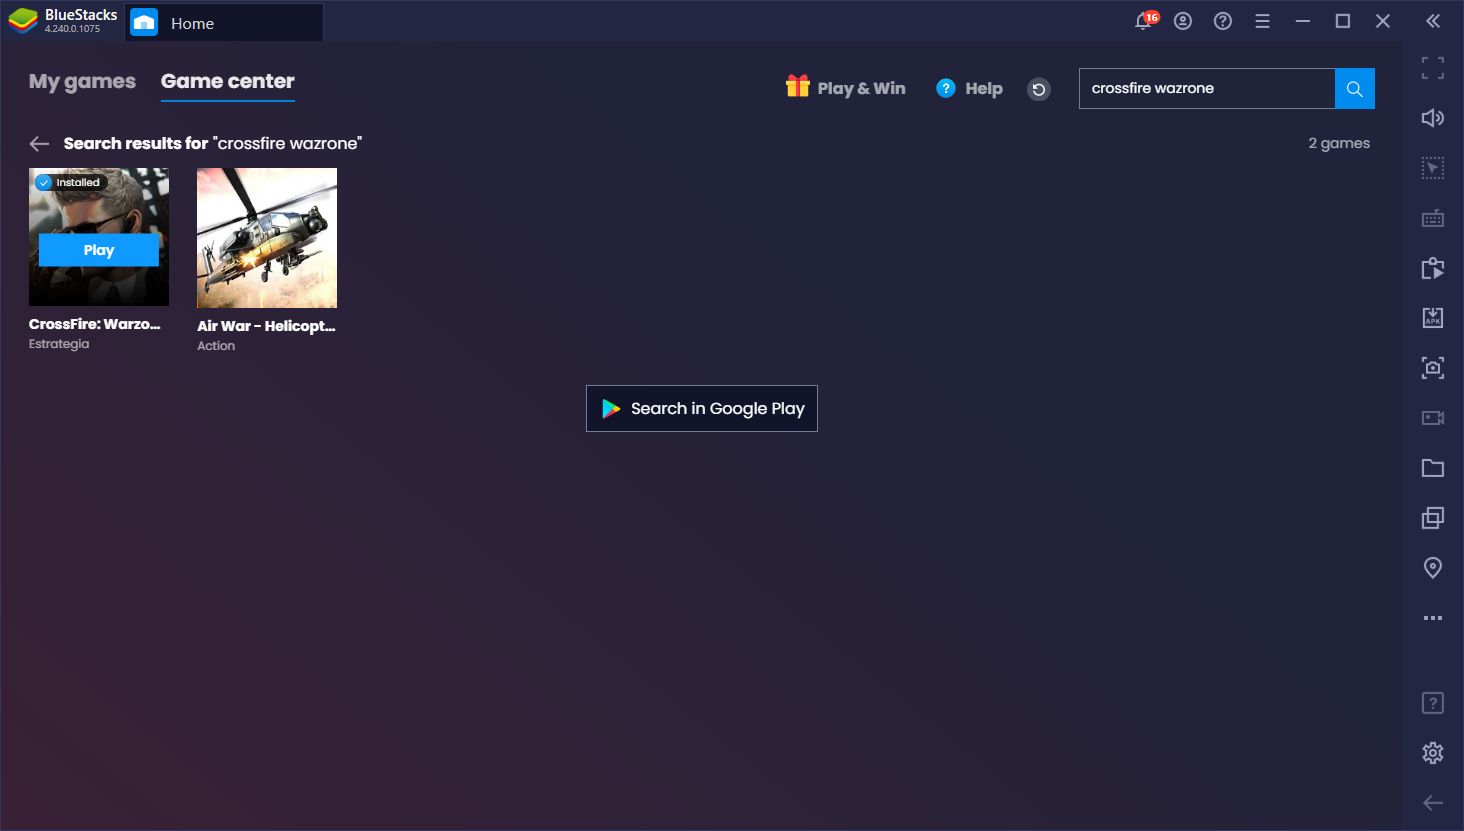
- Once booted up, use the search bar on the top right to look for the game in the Game Center.
- Click on the game’s portrait in the search results to go to its Play Store page and download it just like you would with any other mobile title on your phone.
- After installation is complete, you can launch the game by clicking its icon on the home screen.
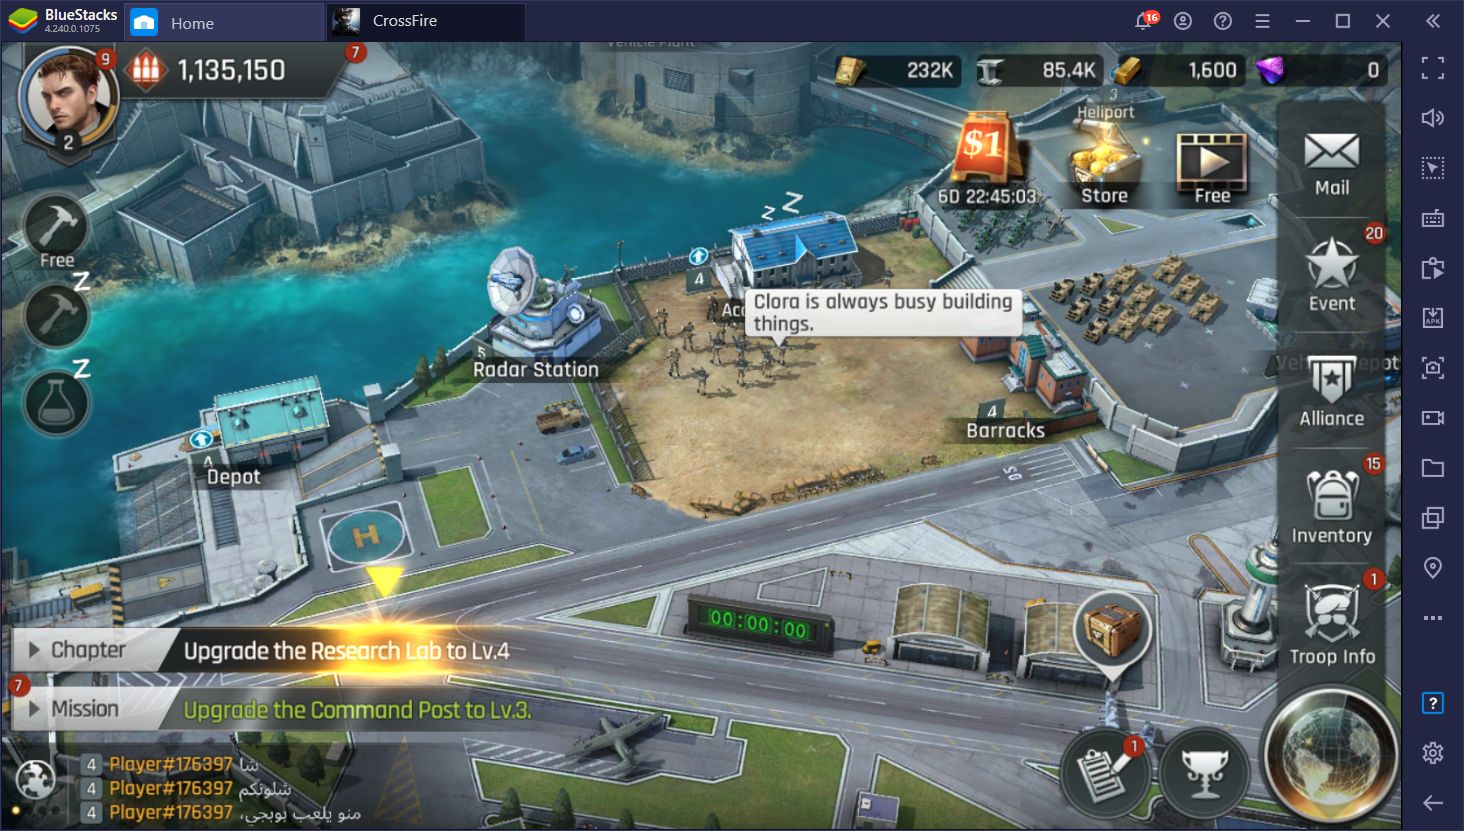
Once you’re done installing, you can start playing Crossfire: Warzone on your PC, not only on a larger monitor and with mouse and keyboard support, but with much better performance than any phone currently available on the market—yes, even the most expensive ones.
However, not many people play mobile games for the graphics, which is why BlueStacks also offers many different features to enhance your gameplay experience. Particularly with mobile strategy games like this one, our tools can definitely help both to speed up your progress, as well as automate certain parts of it completely.
Here’s a snippet of just a handful of things you can achieve by playing Crossfire: Warzone on PC with BlueStacks.
Crank the Performance to the Limit
While graphics aren’t as important to some gamers, performance is always crucial for everyone’s success. Especially in shooter games, if your game starts to stutter, you’re going to start missing shots. Conversely, in RTS games like Crossfire, having good performance can make the experience much more enjoyable as you can pan smoothly across your entire base, and even navigate through different screens and menus without slowdowns or issues.

To achieve the best performance in this game, simply head on over to the settings menu by clicking the gear icon in your character screen, and then going to “systems”. In this screen, set the Graphics and Resolution to “High”, and the Performance Settings to “High Performance”. This will ensure that you’re not only getting crystal clear and crisp visuals, but also a silky smooth framerate.
And the best part about BlueStacks’ stellar performance in games is that, in contrast to phone gaming, you won’t have to worry about issues like battery drainage, overheating, and wearing down your mobile device at an accelerated rate. If you’re an enthusiast of mobile gaming, and like to play a few hours every day, then BlueStacks is definitely the way to go.
Use The Keymapping Tool for Menu Navigation and the FPS Segments
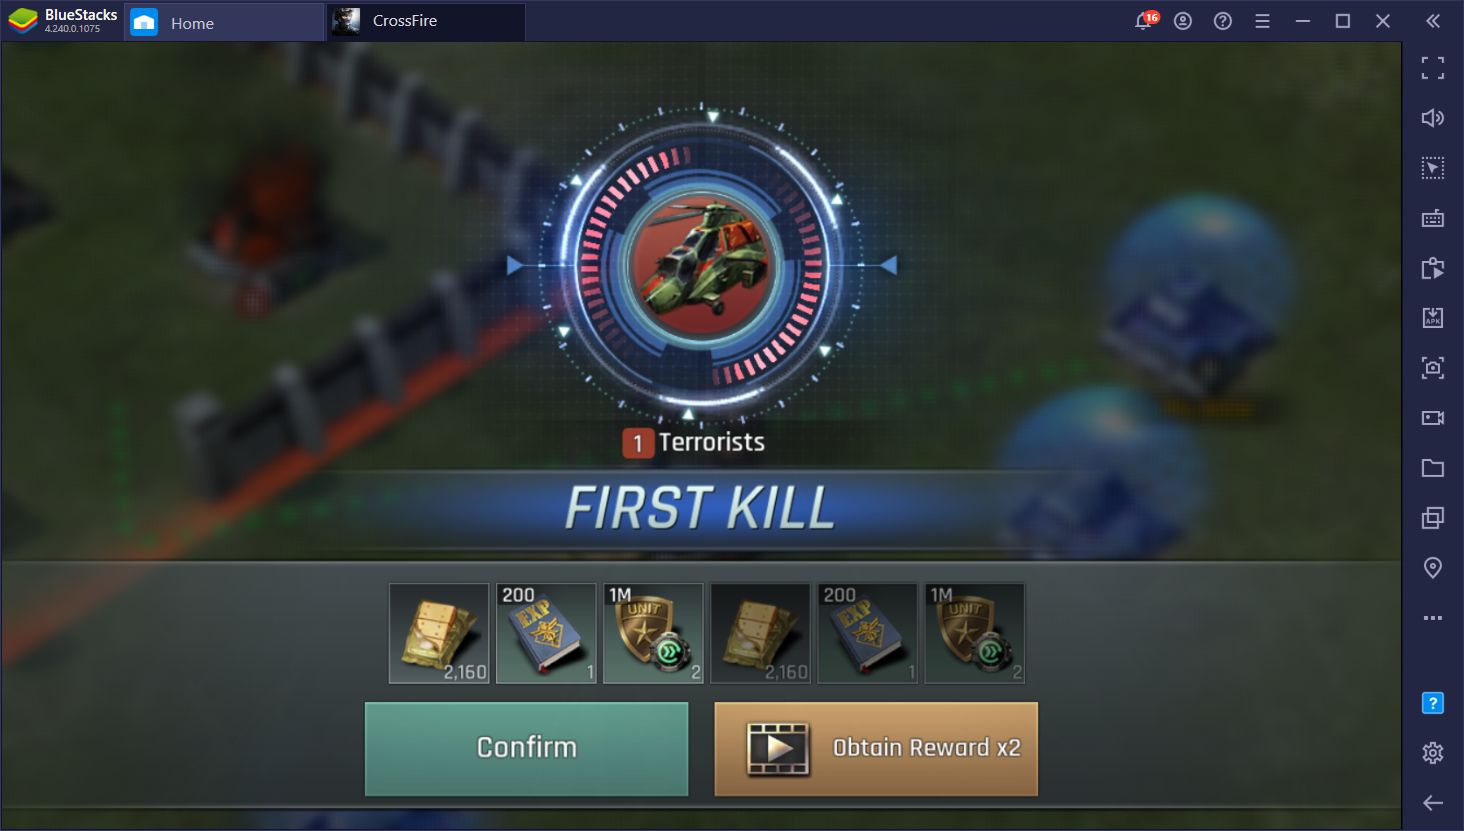
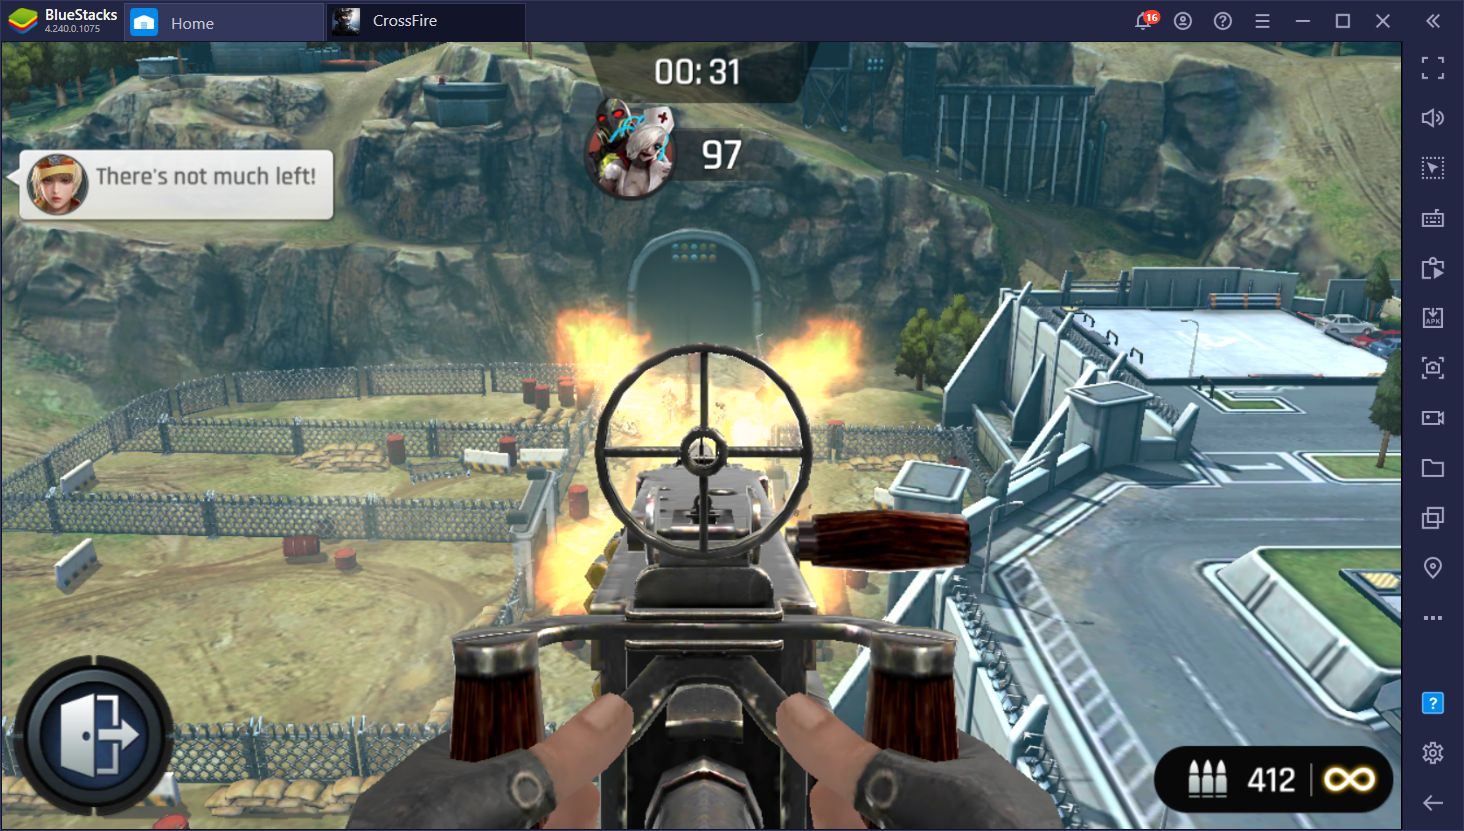
We already mentioned this in our review so we won’t go into detail here, but Crossfire has certain segments where you need to mow down hordes of zombies with a gatling gun, and also snipe distant targets with a rifle. Both of these segments are played in a first-person perspective. To complete these challenges, you need to drag your aim to the target and pull the trigger, after which you’ll receive rewards.
The BlueStacks Keymapping Tool makes these challenges much easier since it allows you to use your mouse to aim and shoot, which helps tremendously in landing precise shots. However, its use doesn’t end there as you can also configure keyboard shortcuts that can help to better navigate through the game’s numerous menus. This tool is very versatile and can definitely help to improve your experience in this game.
Automate Gathering Trips With the Macro Recorder
One crucial task in order to progress in Crossfire: Warzone is gathering from the world map as, though this process, you’ll be able to score additional resources on top of the ones your base generates on an hourly basis. However, to maximize your production, you need to be diligent in sending out your troops to gather continuously as soon as they arrive, which takes a bit of getting used to.

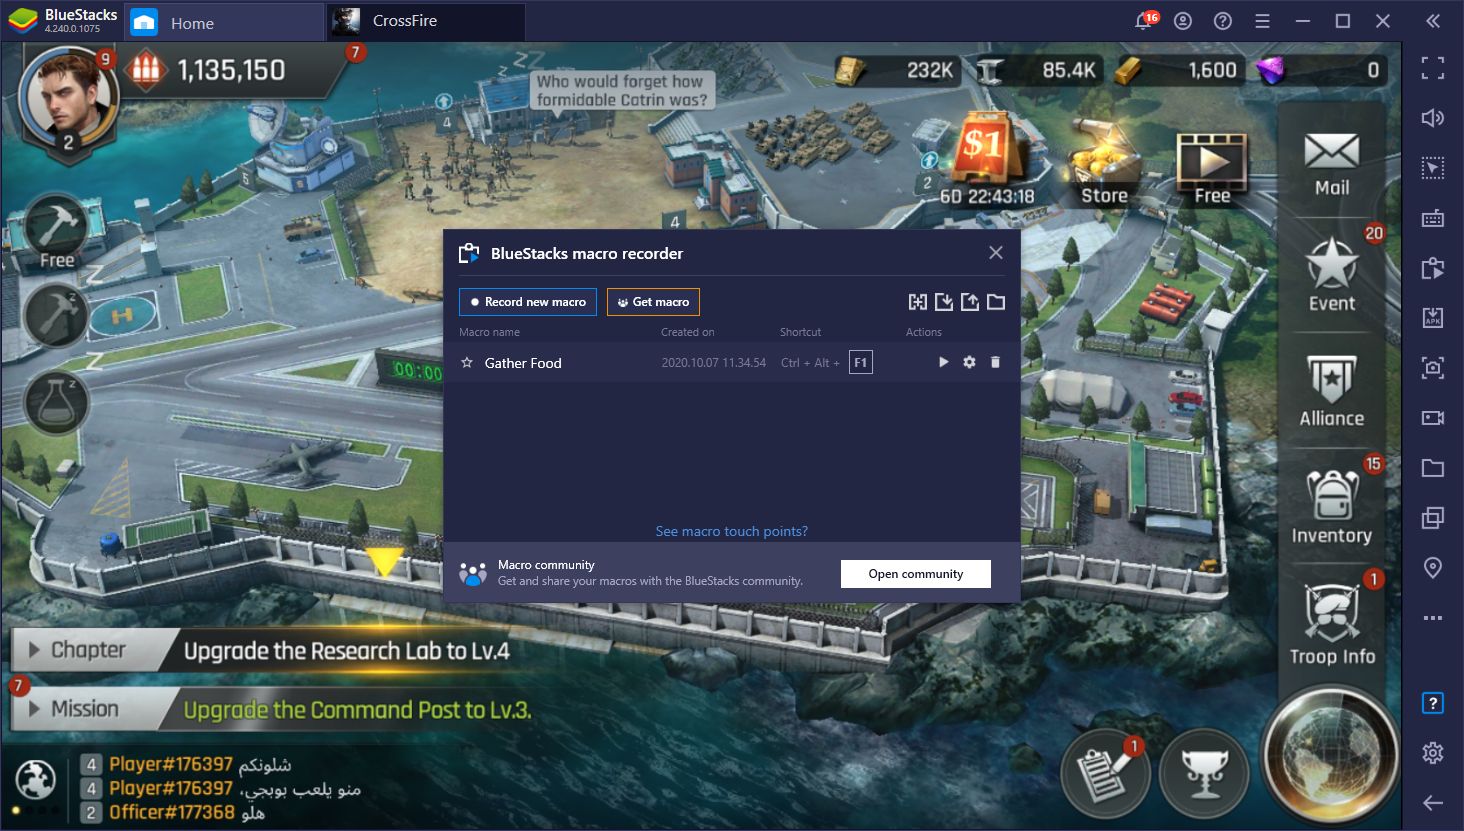
With the BlueStacks Macro Recorder, however, you don’t even have to bother going through the entire process as you can automate it with a macro. To do this, you simply have to record yourself doing it once, and then have the macro do it for you on every subsequent occasion with the press of a button. To take the automation further, you can even make it so that your macro loops automatically after a certain time. For example, if your gathering trip takes an hour to complete, you can set the macro to repeat every 60 minutes, and simply leave the game in the background while your units gather infinite resources for you.
With the improved performance and all the tools our emulator has to offer, BlueStacks is definitely the best way to enjoy Crossfire: Warzone on PC. Let us know if you have any thoughts or comments in the section below.