BlueStacks Features to Help you Progress Efficiently in MARVEL Strike Force


MARVEL Strike Force features iconic battles between superheroes and supervillains from the thematic MARVEL universe. Developed by Scopely, the game features strategic fights taking place in turn-based mechanism. However, the game lacks many QOL improvements and features that can lead to inefficiencies during progression. Do not fret, as playing MARVEL Strike Force on your PC with BlueStacks negates many of these factors! Let’s learn more about how you can efficiently progress by playing on your PC with BlueStacks and its supportive features.
Using the Keymapping Tool to Your Advantage
MARVEL Strike Force features thematic turn-based battles wherein players need to take their time and decide the moves they want their character to execute. The combat happens in real-time, enabling players to make strategic decisions. Of course, you can also indulge in auto-combat if you feel your squad is strong enough. Playing on a small mobile device can be aggravating not only for your personal time but also for your phone battery that can get impacted with tons of playtime. It’s much better to switch to a bigger screen of your PC and play MARVEL Strike Force with BlueStacks.
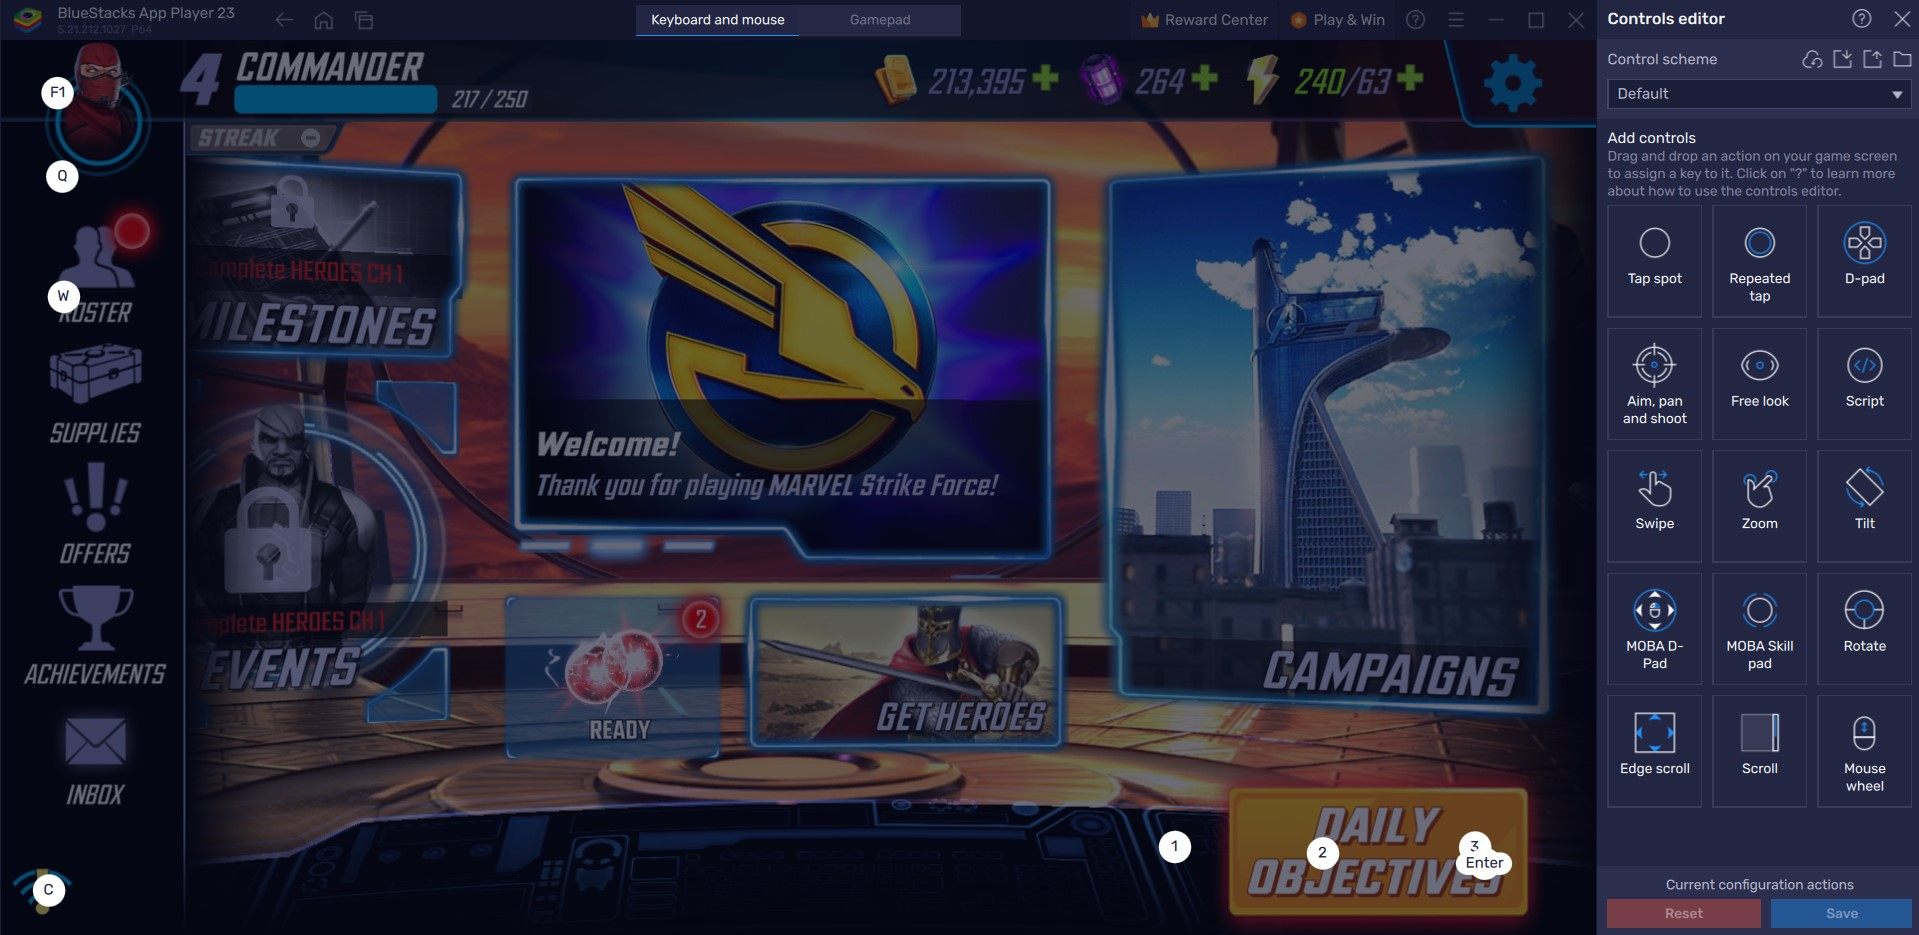
You can make judicious use of your keyboard and mouse with the help of the Keymapping Tool in BlueStacks. The Keymapping tool can be accessed from the right-hand side by clicking on the Gamepad icon. By default, the program generates a predetermined key binding strategy based on the game. It is simple to change these bindings for a more personalized gaming experience: Click on any existing bindings, then select the new key to which you want to attach them. If you believe any bindings are unnecessary, you can remove them by hovering your cursor over them and selecting the X that appears.
For a more intimate experience with the tool, players have the option to create unique control schemes encompassing different key bindings. In MARVEL Strike Force, for example, users can bind the Key “R” to open the roster menu by selecting the area where the icon is usually located.
Manage Multiple Accounts with Multi-Instance Manager
MARVEL Strike Force boasts a strategic combat system that can be quite tough to master. While players may or may not be satisfied with their current roster of heroes, the combat is unforgiving for players who have lower rarity characters. This is where players can try to create multiple accounts using BlueStacks Multi-Instance Manager tool. You can efficiently re-roll for better quality characters from the get-go without needing to re-download all the data.
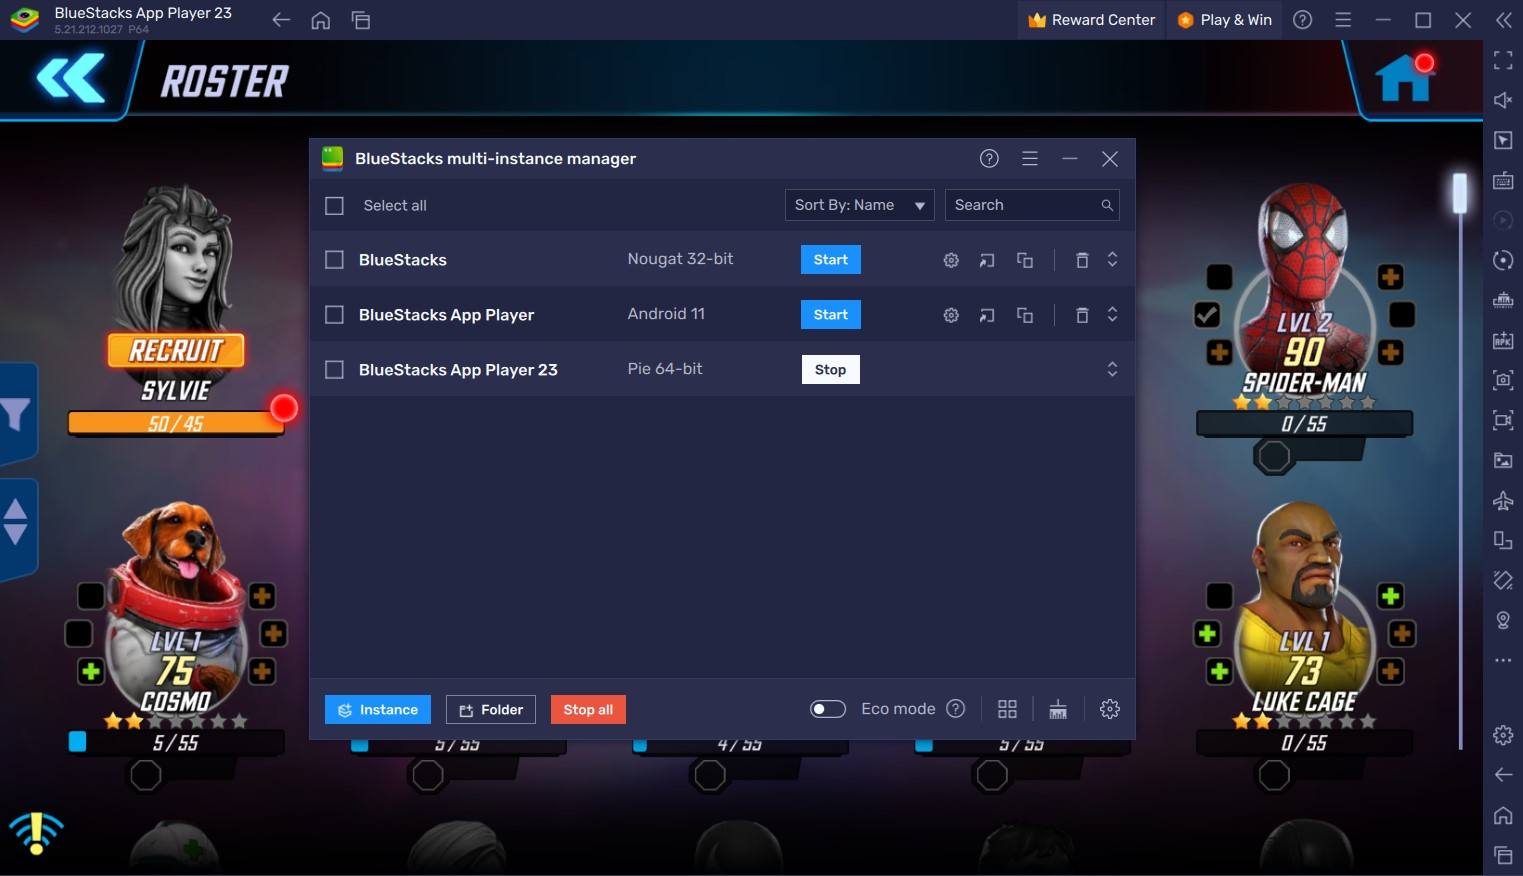
The Multi-Instance Manager allows players to create new Android instances that function as a separate device itself. Gamers can choose to either create a completely fresh instance or simply clone their existing one, saving both time and efforts.
To open the Instance Manager in BlueStacks, press Ctrl + Shift + 8 or select the multi-layered icon on the emulator’s right side. The control panel allows you to create new instances, terminate any running instances, and edit any instance. You can launch several new instances with the touch of a button! Simply click the “+ Instance” button in the control panel’s bottom left corner.
Reduce RAM Usage with Eco Mode
Although MARVEL Strike Force is an older game, it can get quite heavy due to massive updates and expansions it has gotten over the years. Not to mention the abysmally large character roster and intense graphics. All of this can put a significant load on your PC or Laptop, especially if they’re a low-spec one. Such a thing can make your machine slower and feel more clunky than usual. Do not fret, as using BlueStacks Eco Mode (https://www.bluestacks.com/features/eco-mode.html) is the perfect solution.
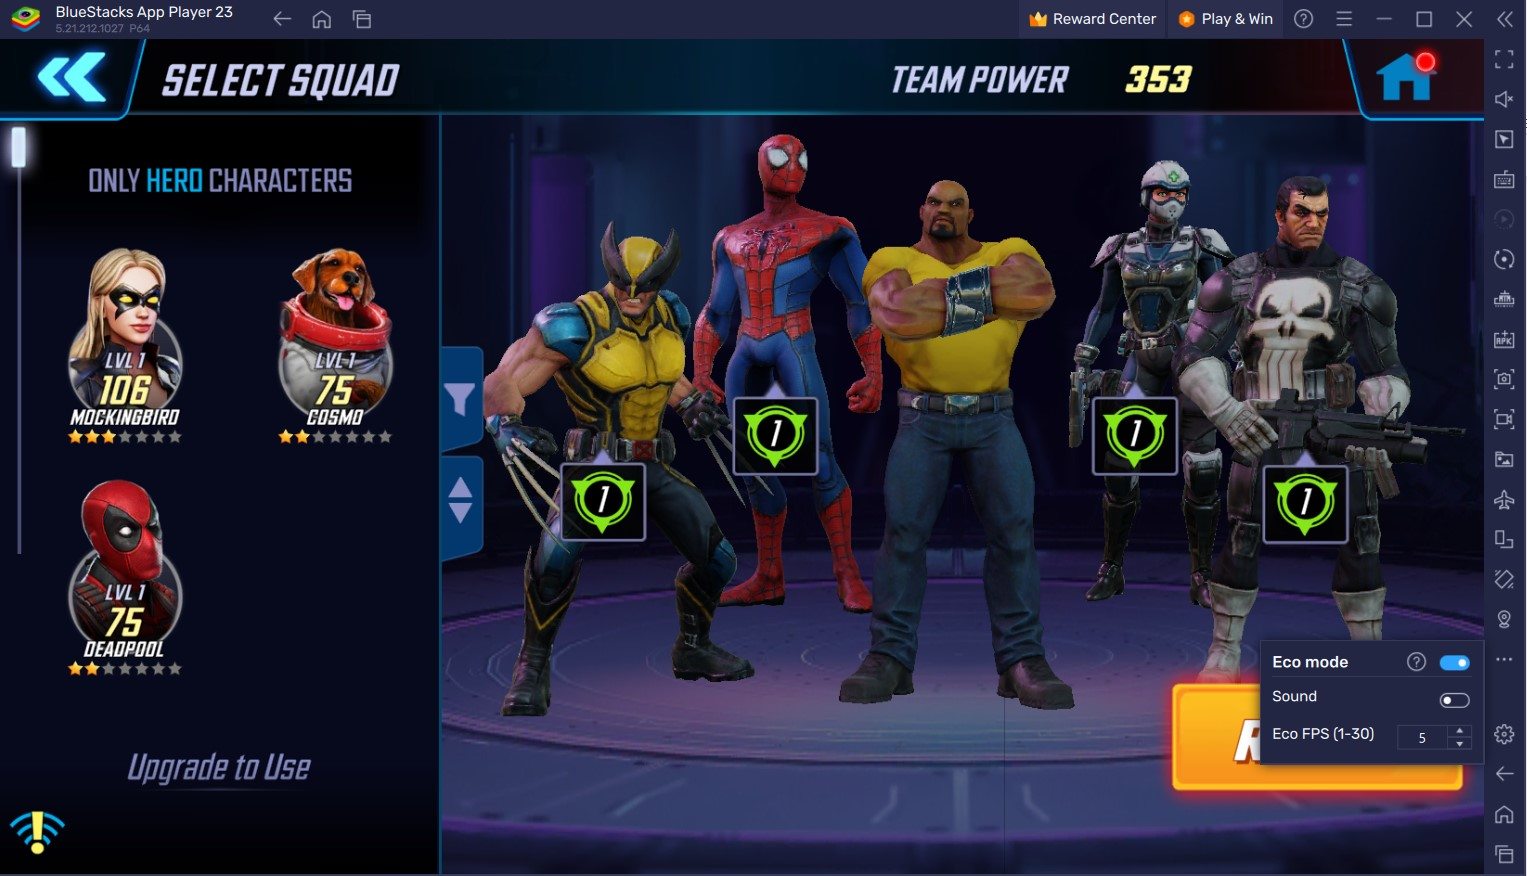
Eco Mode is designed to help you get more RAM usage while maintaining the fun of playing your favourite game on BlueStacks. It works magically by reducing the FPS on a single instance or all running instances, thereby freeing up more RAM for your PC or Laptop to utilize. Gamers can access Eco Mode by clicking on the metre looking icon located at the right-hand side of BlueStacks interface. From there, you can simply turn the tool “ON” or “OFF” and customize the frame rate for either a single running instance of BlueStacks or all instances.
High FPS and Customizable Graphical Settings
BlueStacks offers the best FPS and graphical optimization for MARVEL Strike Force! Enjoy playing the game at the highest FPS and highest resolution settings possible without noticing lags or frame drops using the High FPS and High-Definition features of BlueStacks.
Follow these simple steps:
- Open BlueStacks settings -> Performance -> Enable High frame rate.
Players can also set their desired resolution by going to BlueStacks settings -> Display -> Toggle with the different resolution and Pixel density settings to get your desired output.
Play MARVEL Strike Force your PC or Laptop with BlueStacks for an enhanced gaming experience.