BlueStacks Guide to Building Animal Farms in Minecraft

Minecraft is a game that teaches you the correlation between hard work, smart work and rewards. The most basic requirement to survive on Minecraft servers is food. While one can develop their own vegetable farms and go the green route, it is mostly tasking and takes a lot of time.
A much easier way is to hunt animals for food and materials. However, these animals are mostly scattered throughout the Minecraft world and it is quite laborsome to keep hunting them every day to restock the food and materials. Instead, users can build Animal Farms or an Animal Husbandry system to save time on their journey to survival and beat the Ender Dragon.
Here are a few easy steps that will aid your Animal Farm building adventure.
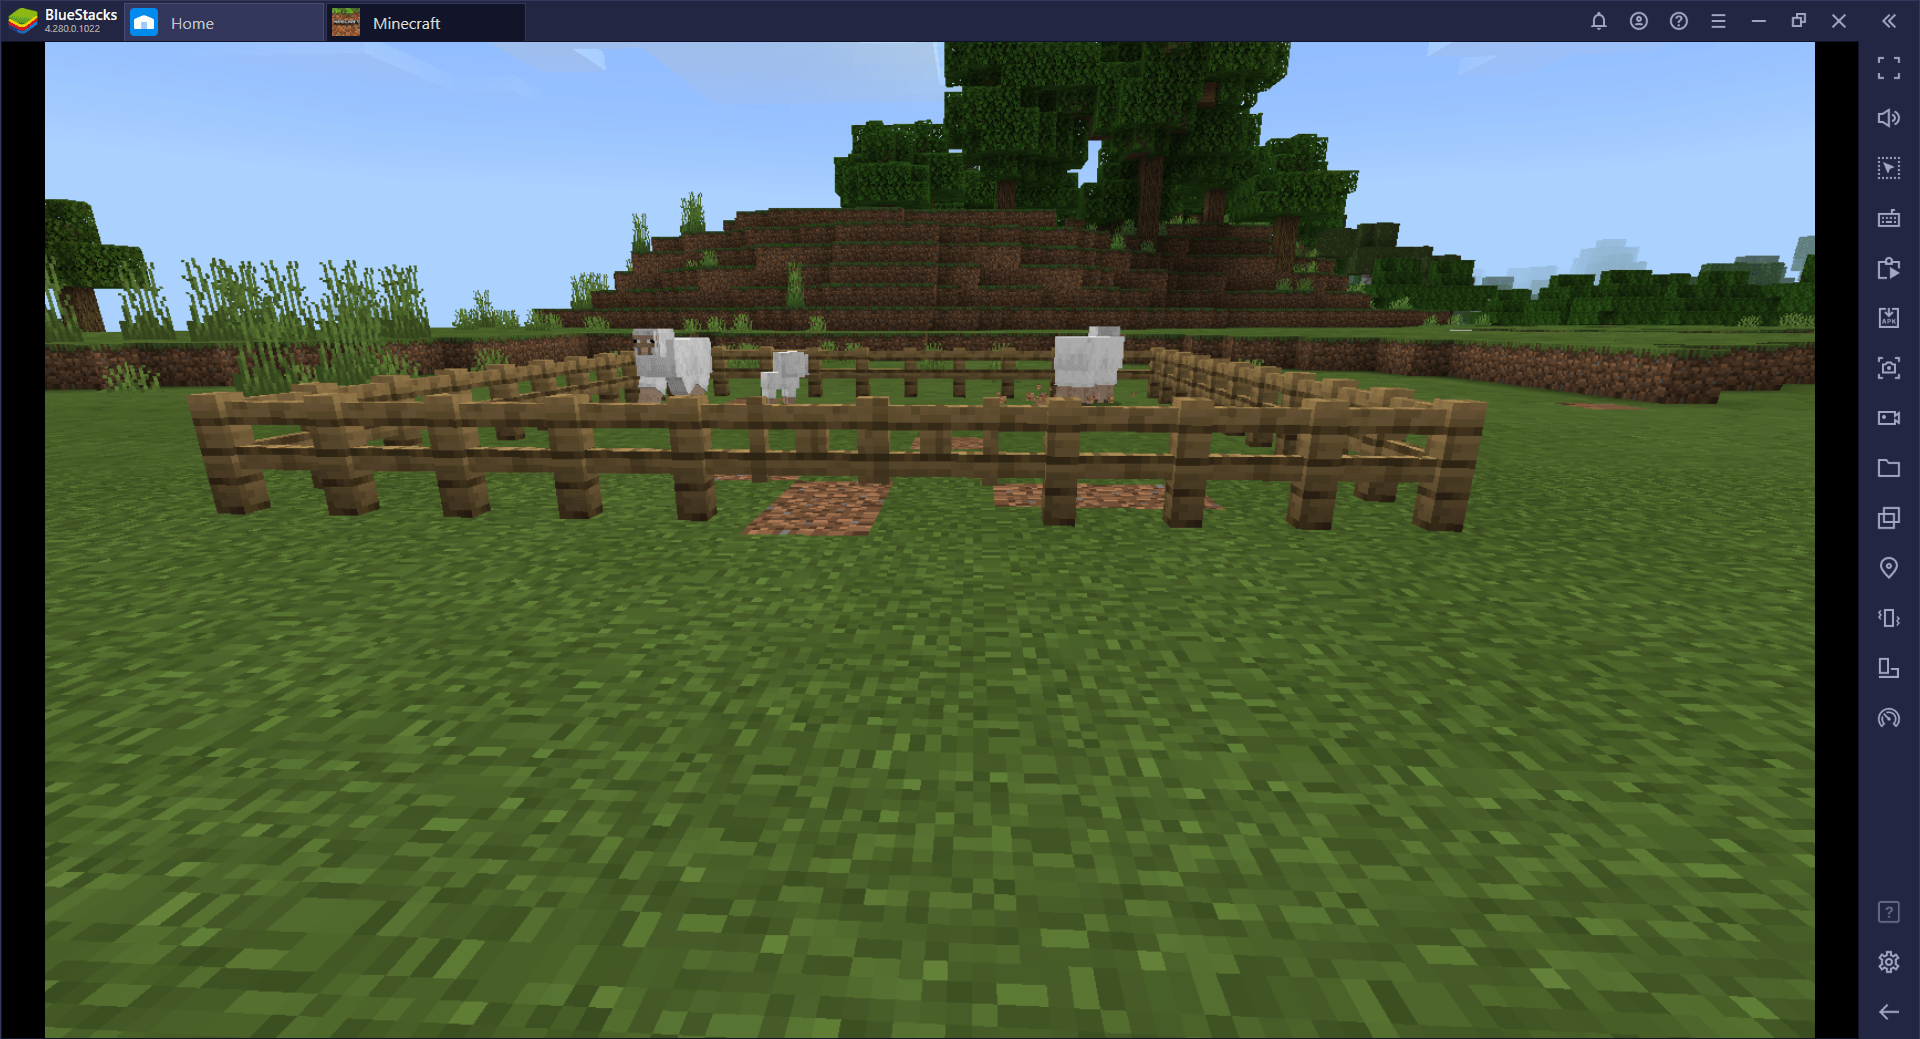
1. Build a fenced area
Animals can wander around so the first thing users should do is to make a fenced area, ideally one for each type of animal they intend to farm, breed and keep. Make sure the fenced area either has a doorway to go through or flat sheets in places above the fence to allow to-and-fro for the users themselves.

Make sure the farm is not too big, especially if you are trying to build multiple Animal Farms. Also, take extra care to ensure there is grass present where you build your farm, especially for sheep. Sheep that are sheared can grow back wool in no time upon eating the grass.
2. Lure the Animals
Once the fenced area is done, it is time for you to procure the animals. The first thing that enables you to do so is Wheat or Seeds, which can you scavenge from the vegetable and fruit farm that you built through our previous Minecraft guide.
Stash it in your hand and it will help you guide the cows and other animals towards the fenced area. Open the area for the animals to enter and close it soon after to prevent any escapes.
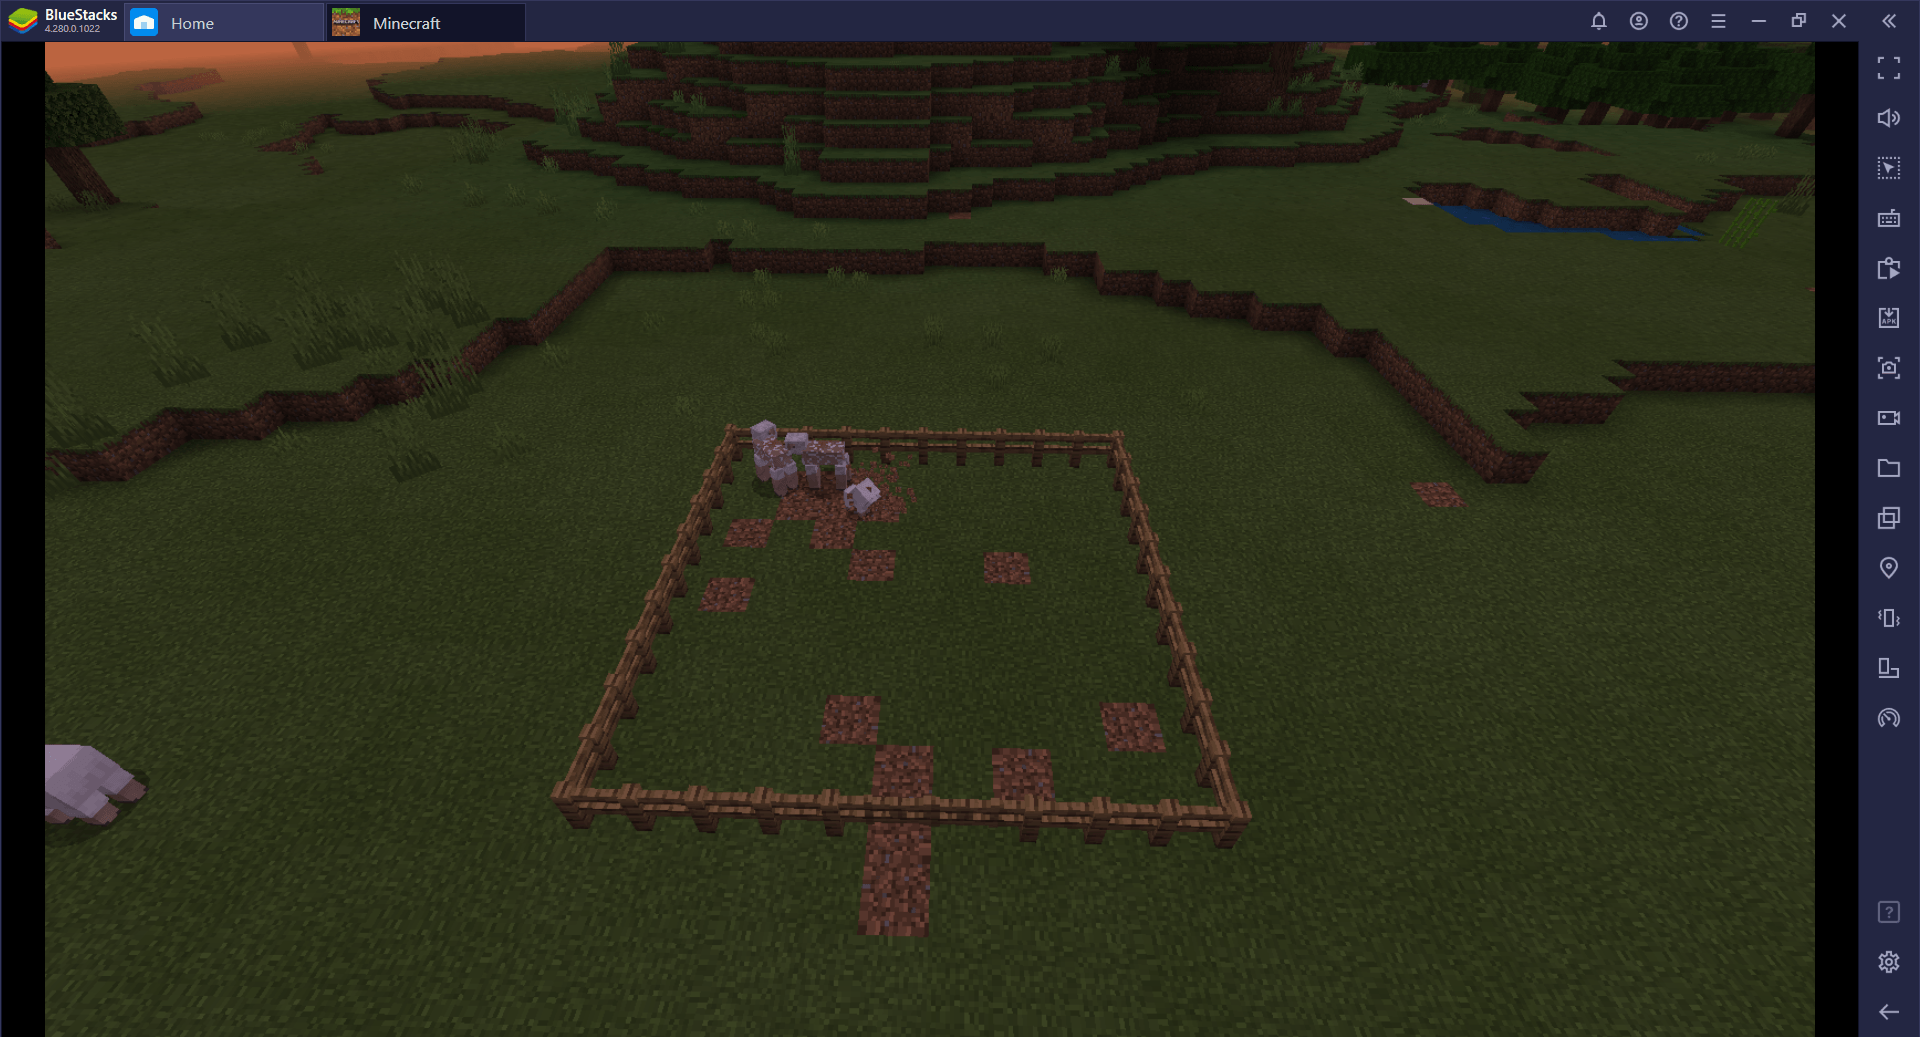
3. Breed to fill
Obviously, it is tiresome to manually fill the entire fenced area with animals. So, you can use the help of the breeding mechanism in Minecraft. Animals can breed among themselves upon consuming a certain food item and that can help increase their number without having to go through the manual effort of searching and luring each one.
Various animals have different breeding triggers – food items or items that trigger the breeding process. For cows and sheep, it is wheat; pigs eat carrot, potatoes and beetroot while Chickens can consume any type of seeds. Once bred, the two animals that were part of the process will not respond to further attempts of breeding for the next 5 minutes. The baby animal produced as a result of the breeding process can grow faster if given its favourite type of food, as mentioned above.
4. Harvest the Animals
Now, there are multiple ways to harvest items, materials and food from the Animals. Sheep can yield you wool without slaughtering them, if you use a shear. Other than shearing, slaughtering the sheep will also yield you wool along with meat. Chickens also yield eggs from time to time which can be helpful in making Cakes and other food items. You can milk cows by right-clicking on them. Make sure you are holding a bucket when attempting to procure milk.
Slaughtering is the most efficient way of gathering food and materials from Animals, though. Jump into the Farm or Husbandry and slaughter a few animals to gather meat. Cows will also give you leather, which will help you in making armour, saddle and even books.
5. Breed to restore and reset the Farm Cycle
After you are done procuring the harvest through slaughter, the numbers will decrease. To ensure restoration of numbers, you have to restart the breeding process and fill the farm or husbandry once again, thus resetting the Farm Cycle, which entails filling up the farm through breeding and then procuring the harvest through several processes including slaughter, which then brings us back to the need for breeding and so on.
This is an easy and efficient way to procure meat, materials and much more in Minecraft without spending a large portion of the server daytime out and about. Tell us what guide you want to see next in the comments below.