How to Optimize Your BlueStacks for Minion Masters on PC
Minion Masters has finally launched on the mobile platform a few days ago, bringing the popular card game to a much larger audience, but also inadvertently giving PC users an alternative method for enjoying it on their computers. By playing this game on PC with BlueStacks, players can get the authentic Minion Masters experience, even if their computer isn’t powerful enough to run the native PC version. This is because BlueStacks requires very little resources, comparatively speaking, and can still provide the very best graphics and performance in this game.
However, aside from giving users great visuals and frame rates, BlueStacks also offers a variety of tools that are designed to provide users with the very best gaming experience in Minion Masters. And while most of these tools come ready to use from the get-go, others require a bit of setup and tweaking to adjust them for this game. Luckily, in this guide, you’ll find a brief overview of the most useful BlueStacks features for Minion Masters, as well as instructions on how to configure some of these for this game.
Enjoying the Best Graphics and Performance
On the PC version, Minion Masters already looks and sounds great, so you can only expect the same from the mobile port. And while this is true for the most part, the mobile version has an advantage over its original counterpart, at least when you play it on BlueStacks: Players can get the very best performance and graphics, even with low-end PCs or machines with relatively outdated hardware. However, in order to achieve this level of performance and visual fidelity, they might have to tweak and adjust a few settings, both in the app as well as on BlueStacks.
For your convenience, we’ve broken down these tweaks into a few simple steps:
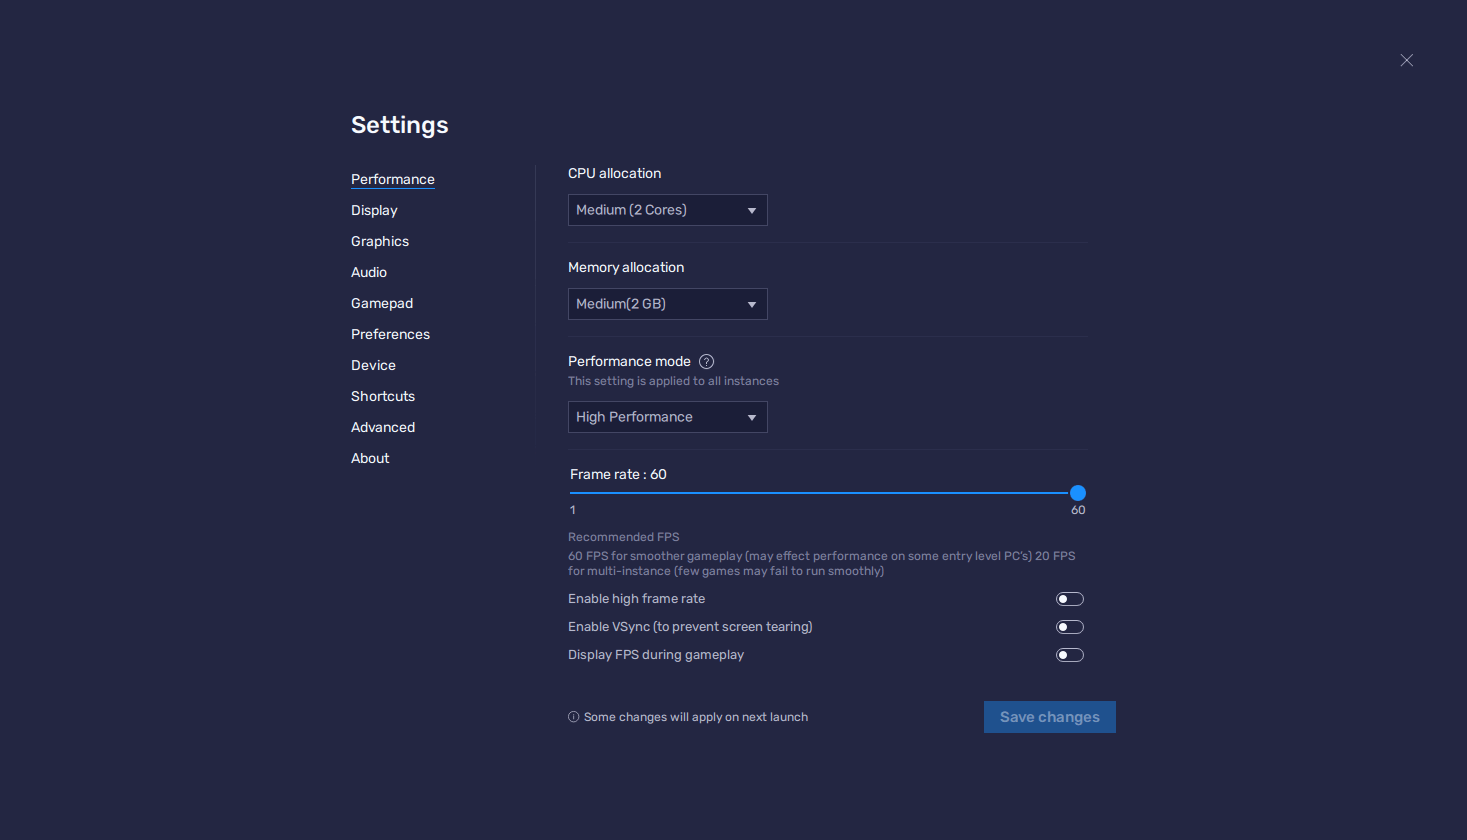
- Go to your BlueStacks settings by clicking on the hamburger menu in the top right, and then on “Settings”.
- Go to the “Performance” section, and set the parameters with at least 2 GB of RAM, 2 CPU cores, and the Performance Mode set to “High performance”. Finally, make sure to set the FPS slider below to at least 60 FPS. Finish by clicking on “Save changes” to commit the tweaks.
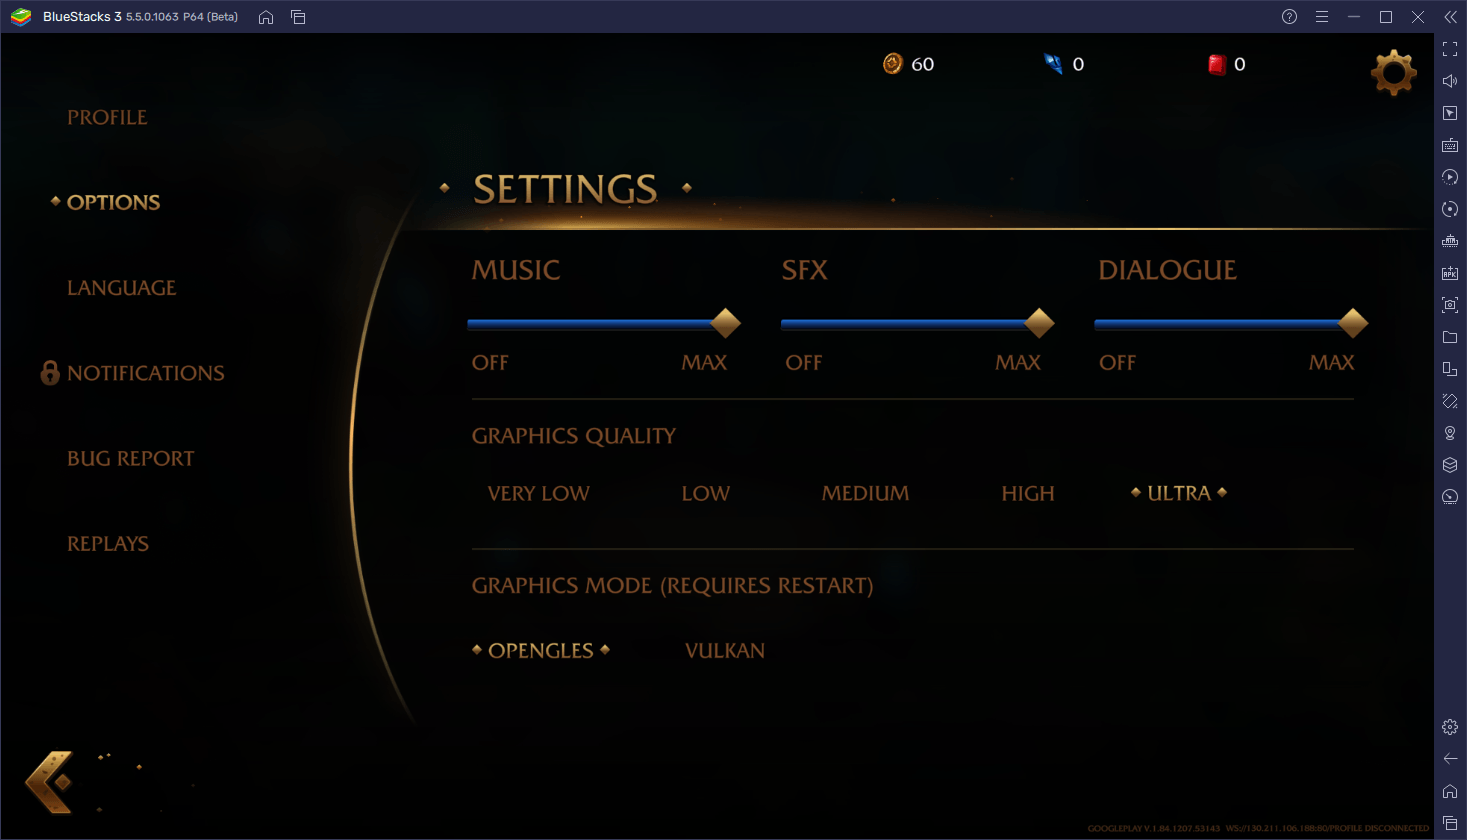
- Launch Minion Masters, and open the in-game settings.
- In this screen, simply set the quality of the game to “Ultra”
And that’s it. With these settings, your game should be running at a silky smooth 60 FPS, and with the best graphics possible. And as you can see from the resources you assigned to the emulator on step 2, this performance can be achieved with only 2 GB of RAM, and a CPU with at least 2 cores. Nowadays, most computers come with at least 8 GB of RAM and CPUs with at least 4 cores, so you should definitely be more than set to enjoy Minion Masters with the very best settings, and without taking up as much resources as the native PC version.
Play on Multiple Accounts With the Instance Manager
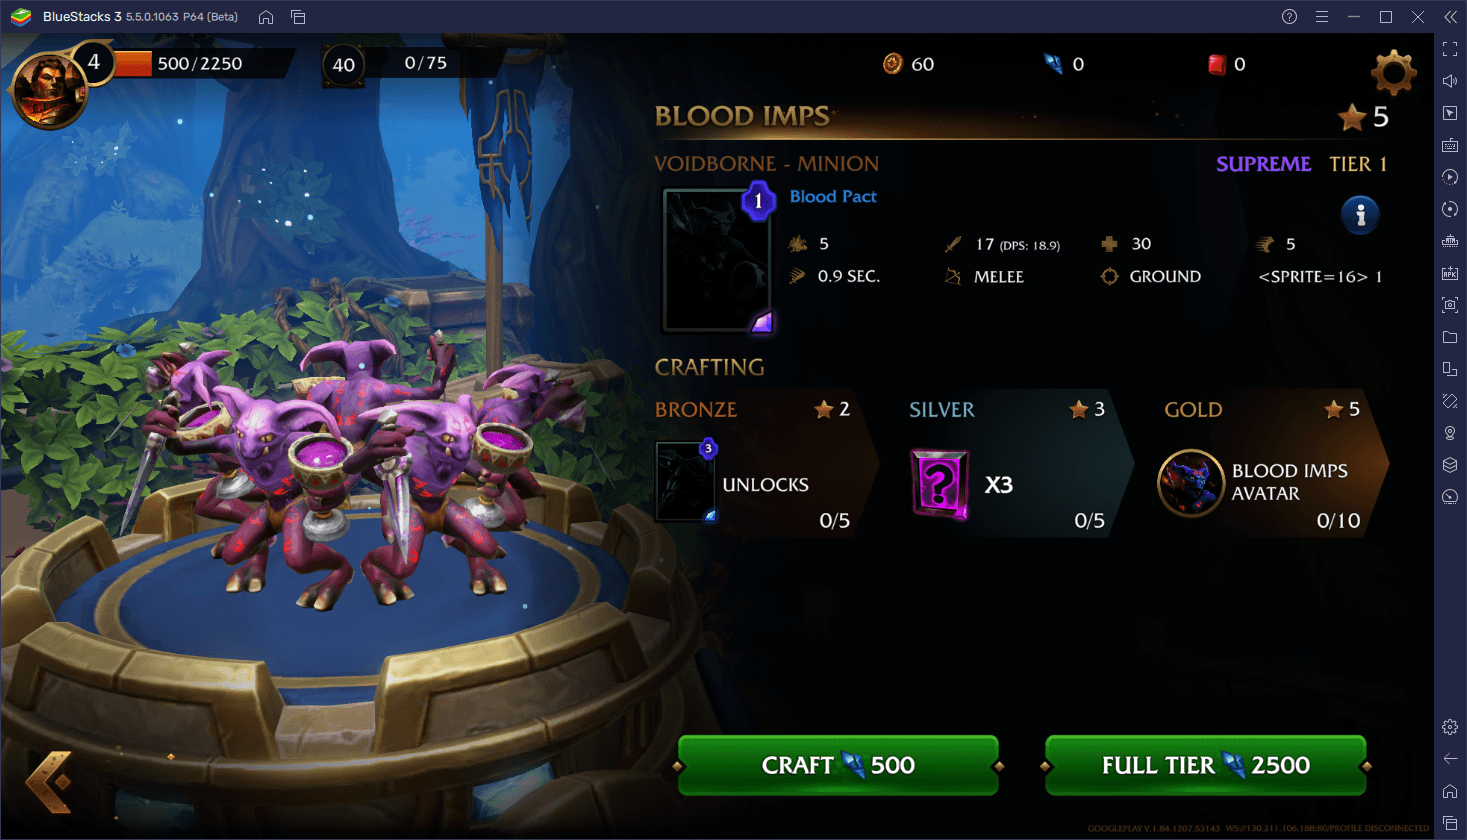
One of the particularities of Minion Masters, which is present in many other collectible card games, is that there are many, many ways to build decks, and countless combinations of builds and setups with which you can outplay your opponents. However, the downside to this is that it’s quite difficult to experiment, particularly since cards are obtained either from shards, or randomly from many of the game’s different modes. In this sense, most players either stick to the current meta builds, which tends to stifle creativity and fun.
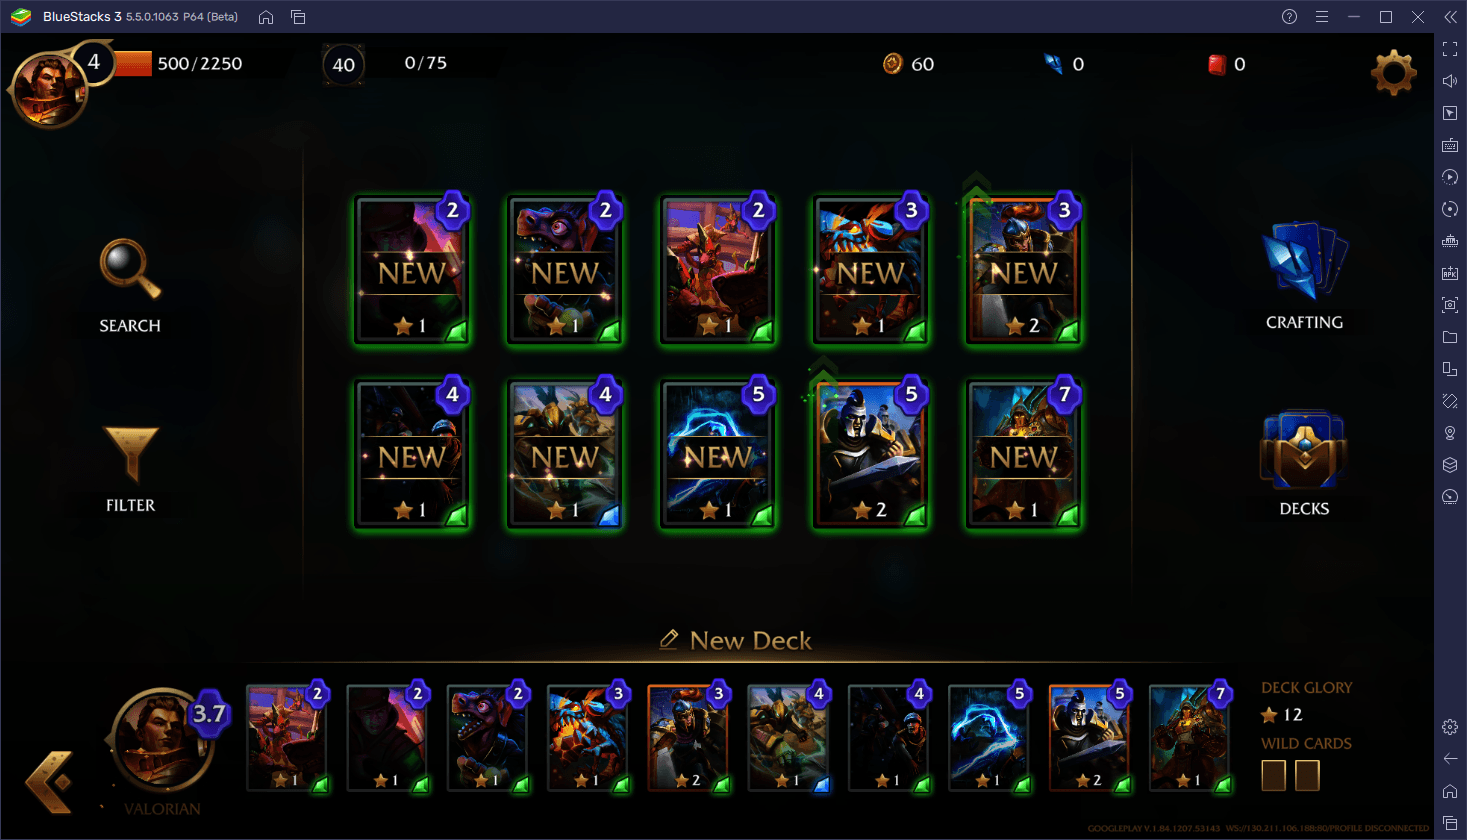
And while BlueStacks can’t help you to get the cards you want, since the results are mostly randomized, our Android app player can, at least, give you the means to experiment a bit more by letting you play on multiple different accounts simultaneously through the Instance Manager. In this sense, you could, in theory, have a few different accounts and put together a variety of builds, just to experiment and see what works best. And who knows, you might even discover a new meta in the process!
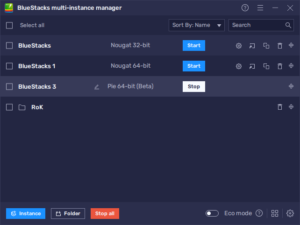
To access the Instance Manager, you simply need to press Ctrl + Shift + 8 while on BlueStacks. This new screen is where you can visualize your current instances, as well as run or close them, or modify or delete them. To create a new instance, simply click on the “+ Instance” button on the lower left, and follow the on-screen instructions to set up the new iteration. Just remember to give it enough CPU and RAM so that it can run the game correctly. Afterward, feel free to follow the steps in our Minion Masters PC setup guide (PC guide) to install the game on all your new instances.
Keep in mind, however, that when it comes to running multiple BlueStacks instances at the same time, your PC needs to be able to support all of them, or else you might start experiencing slowdowns. Fortunately, while BlueStacks can run on basically any PC out there, Minion Masters is also quite lightweight despite its awesome graphics. In this sense, you might be able to run a couple of instances without any issues. Nevertheless, if you’re having performance issues, you can go back to the BlueStacks settings and set the Performance Mode to “Low Memory”. Additionally, you might want to consider activating Eco Mode through the Instance Manager on the instances that aren’t currently in use, just to reduce their resource consumption while they’re in the background.
With BlueStacks, you can get the very best experience with Minion Masters on PC. Feel free to leave your own thoughts and comments in the section below.