How to Play Phoenix 2 on PC With BlueStacks


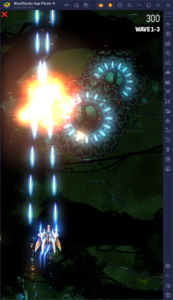
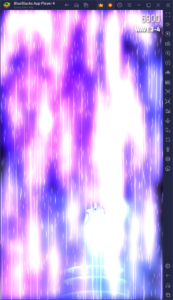
Phoenix 2, the stellar shoot ’em up arcade game, offers a visually stunning and action-packed experience for gamers who love a good challenge. What sets Phoenix 2 apart is its intense bullet hell stages, where players navigate through a barrage of projectiles, keeping the pressure on enemies while skillfully dodging attacks. For an enhanced gaming experience, playing Phoenix 2 on PC with BlueStacks is the way to go. With its superior controls and high frame rate capabilities, BlueStacks elevates your gameplay, making those challenging stages more manageable.
Installing Phoenix 2 on PC
- Go to the game’s page and click on the “Play Phoenix 2 on PC” button.
- Install and launch BlueStacks.
- Sign in to the Google Play Store and install the game.
- Start playing!
For Those Who Already Have BlueStacks Installed
- Launch BlueStacks on your PC.
- Search for Phoenix 2 on the homescreen search bar.
- Click on the relevant result.
- Install the game and start playing.
Minimum System Requirements
BlueStacks offers the best performance on any mobile game that you play on PC with our platform, and the best part is that it can run on virtually any system:
- OS: Microsoft Windows 7 and above
- Processor: Intel or AMD Processor
- RAM: Your PC must have at least 4GB of RAM. (Note: Having 4GB or more disk space is not a substitute for RAM.)
- Storage: 5GB Free Disk Space
- You must be an Administrator on your PC.
- Up-to-date graphics drivers from Microsoft or the chipset vendor
Now that you’re all set up with Phoenix 2 on BlueStacks, get ready to dive into a world of high-octane shoot ’em up action. With BlueStacks’ enhanced controls and smooth gameplay, those bullet hell stages won’t stand a chance against your newfound prowess. Happy gaming, and see you on the leaderboards!